 JB FX
JB FX

LOCKED-ON CAMERA
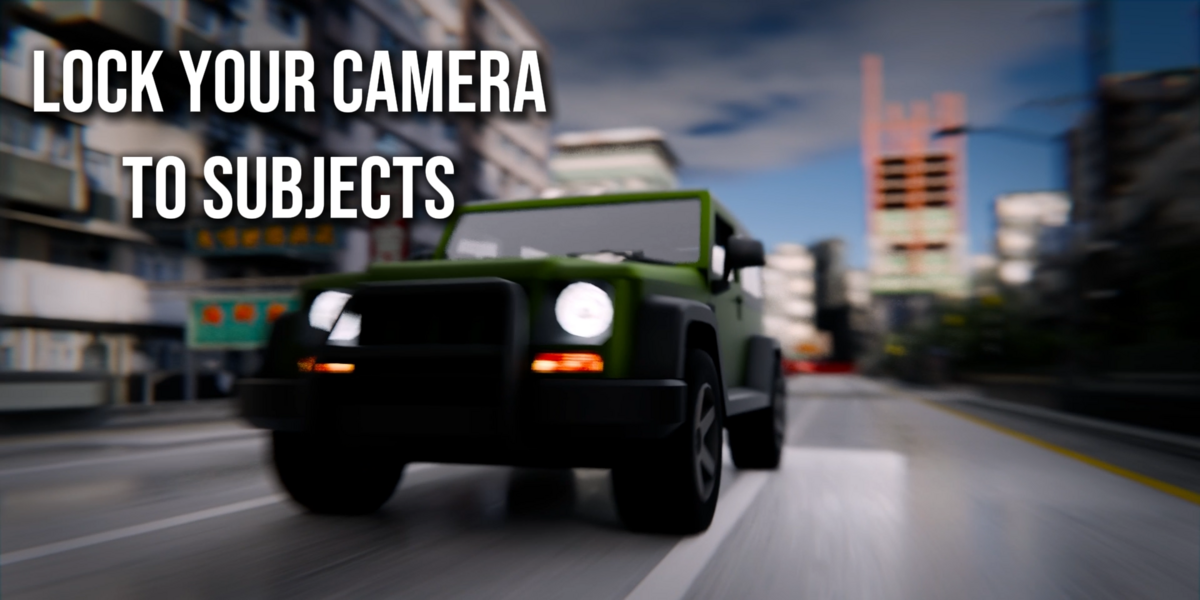
Keep Any Subject Locked in Frame While Your Camera Keeps Moving
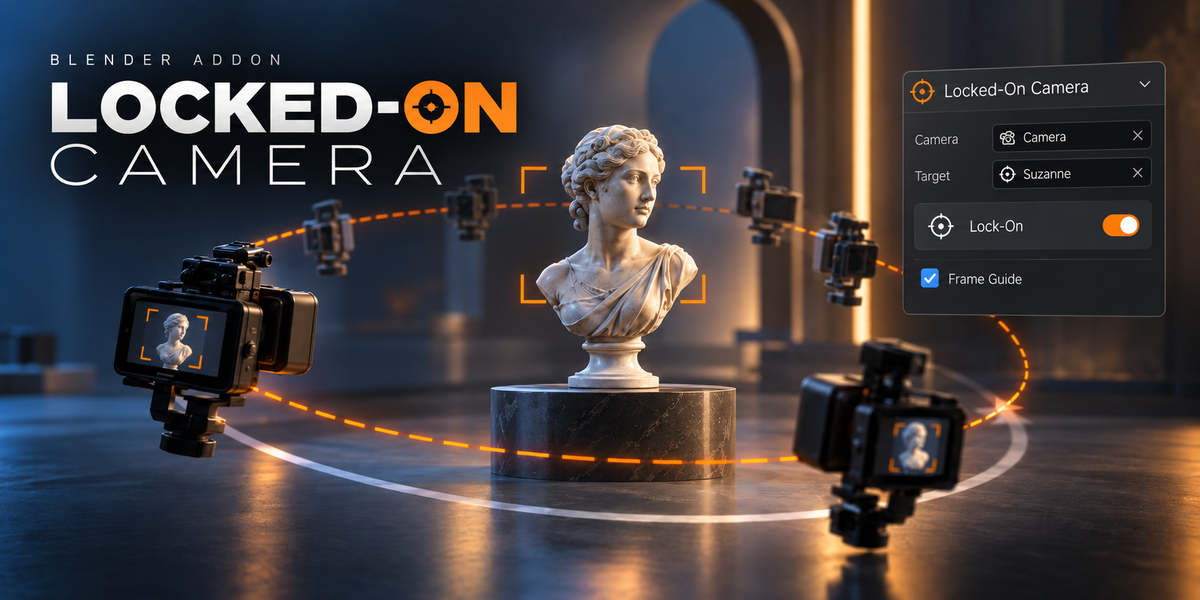
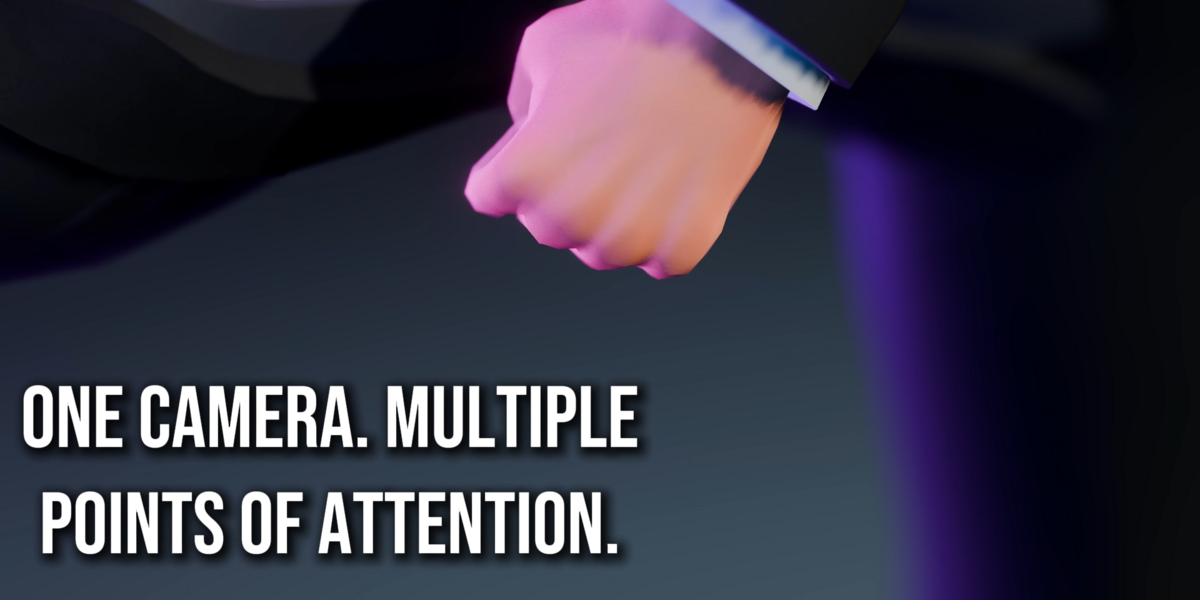
Locked-On Camera is a Blender camera-animation addon designed to keep a chosen subject consistently framed while preserving the camera movement you already created.
You can lock onto objects, empties, pose bones and deforming mesh regions, transition between multiple targets, add controlled camera shake, adjust composition, preview supported locks in real time and bake the final result into a clean independent camera.
1. INSTALLATION
Locked-On Camera is distributed as a Blender Extension.
Open Blender.
Go to Edit > Preferences > Get Extensions.
Open the extension menu.
Choose Install from Disk.
Select the Locked-On Camera ZIP file.
Enable the extension if necessary.
The addon appears in the 3D Viewport N-Panel.
2. BASIC WORKFLOW
The simplest workflow is:
Select or choose your camera.
Choose the target you want the camera to follow.
Set the frame range.
Press Create Locked Camera.
Preview and adjust the Locked-On result.
Add extra targets, camera movement, composition changes or shake if required.
Press Bake Camera when the shot is finished.
Your original camera remains available.
3. CREATE LOCK
The Create Lock section is where a new Locked-On camera setup begins.
Choose:
Camera
Target
Target Type
Start Frame
End Frame
Then press:
Create Locked Camera
For lightweight target types, the newly created setup enters Live Preview automatically.
Targets that require deformation sampling begin in Standard Mode.
Advanced creation options are available when needed but are hidden by default to keep the initial workflow simple.
4. TARGET TYPES
Object / Empty
Tracks the world-space movement of an object or Empty.
This is the fastest and simplest tracking method.
Recommended for:
Products
Vehicles
Props
Motion graphics
Rigid objects
Custom Empty targets
Object and Empty targets support Live Preview.
Pose Bone
Tracks a specific bone from an armature.
When Pose Bone is selected, choose:
Armature
Bone
Bone Point
The Bone Point determines which part of the bone is followed:
Head
Centre
Tail
Recommended for:
Character heads
Hands
Chest movement
Animated limbs
Rig-based tracking
Pose Bone targets support Live Preview.
Deformed Mesh
Tracks the evaluated visible mesh after modifiers such as an Armature modifier have been applied.
This is useful when the visible geometry moves but the object's origin does not.
Because evaluating deformed geometry is more expensive, this target type uses Standard Mode.
Lock Region
Lock Region tracks a local weighted region of a deforming mesh.
This is usually the best option when you want to follow a precise visible area such as:
Head
Chest
Shoulder
Hand
Face region
A Lock Region can be created from selected mesh vertices or faces.
Using a small local region is usually more stable than tracking the centre of an entire deforming character.
Lock Regions use Standard Mode.
5. LIVE MODE
Live Mode updates the Locked-On camera interactively.
It is designed for lightweight target types:
Object
Empty
Pose Bone
Use Live Mode when:
Blocking a shot
Moving a target interactively
Adjusting character animation
Scrubbing the timeline
Designing target transitions
Experimenting with composition
The camera reacts while you work.
Live Mode adds some realtime evaluation overhead, so Standard Mode remains available whenever a generated result is preferred.
6. STANDARD MODE
Standard Mode samples the animation over the selected frame range and generates the Locked-On result.
Use Standard Mode for:
Deformed Mesh tracking
Lock Region tracking
Heavy scenes
Final generated tracking
Situations where realtime evaluation is unnecessary
If you change the tracked animation while using Standard Mode, use Refresh Lock to update the result.
7. LOCKED CAMERA INSTANCES
Every Locked-On setup appears in the Locked Cameras list.
Each instance stores its own:
Source camera
Locked camera
Targets
Frame range
Lock mode
Target transitions
Camera movement
Composition settings
Camera shake
Viewport Lock Guide
Select an instance to reveal its controls.
Use Remove Rig to remove only the selected Locked-On setup.
8. ORIGINAL VIEW AND LOCKED VIEW
Use:
Original View
to inspect the source camera.
Use:
Locked View
to return to the generated Locked-On camera.
This makes it easy to compare the original shot with the Locked-On version.
9. LOCK STRENGTH
Lock Strength controls how strongly the camera follows the Locked-On correction.
At full strength, the target receives the complete Locked-On effect.
Reducing the value allows more of the original camera movement to influence the framing.
Lock Strength can be animated using Blender's normal keyframe controls.
This can be used to smoothly enter or leave the Locked-On effect.
10. MULTIPLE LOCK TARGETS
A single Locked-On camera can contain multiple targets.
For example:
Bottle Body
→ Bottle Cap
→ Label
→ Character Hand
→ Character Face
You do not need a separate camera for every target.
Use Add Target to add another lock target to the selected instance.
Targets can use different supported target types.
11. TARGET HANDOFFS
Targets after the first can transition from the previous target.
Each handoff provides controls for:
Transition Start
Transition Duration
Smoothness
Use Here to place the handoff at the current playhead frame.
During the transition, the camera smoothly shifts its attention from the previous target to the new one.
Available transition styles include:
Linear
Smooth
Very Smooth
Live-compatible targets can preview these transitions interactively.
12. VIEWPORT LOCK GUIDE
Enable:
Show Lock Guide
to display a small hollow tracking reticle in the Locked camera view.
The Lock Guide gives a visual indication of where the camera is maintaining the lock.
The guide is:
Purple during a normal lock
Orange during a target handoff
The Lock Guide is drawn as a viewport overlay.
It is not scene geometry and will never appear in the final render.
It also automatically disappears when:
Original View is active
The relevant Locked camera is not being viewed
The current frame is outside the lock range
13. CAMERA MOVEMENT
Locked-On Camera allows additional movement to be layered onto the generated camera.
Orbit
Adds rotational movement around the Locked-On setup.
Useful for:
Product shots
Character reveals
Stylized camera motion
Adding movement after the lock is established
Orbit can be animated with Blender keyframes.
Offset
Adds positional movement to the Locked-On camera.
Use this to push, pull or shift the camera while retaining the Locked-On behavior.
Offset can also be animated.
14. COMPOSITION & LENS
Composition & Lens provides direct access to useful camera-framing properties.
Camera Roll
Tilts the camera around its viewing direction.
This can create:
Dutch angles
Action-camera tilts
Stylized framing
Camera Roll can be animated.
Horizontal Offset
Directly controls the Locked camera's horizontal camera shift.
It can be keyframed normally.
Vertical Offset
Directly controls the Locked camera's vertical camera shift.
It can be keyframed normally.
Focal Length
Directly controls the Locked camera's focal length.
This allows you to animate zoom and lens changes from the Locked-On panel using Blender's normal keyframe system.
15. CAMERA SHAKE
Camera Shake adds procedural movement after the Locked-On correction.
This means the camera can feel handheld or energetic while the tracked subject remains visually controlled.
Press:
Add Camera Shake
Then adjust:
Strength
Controls the overall amount of shake.
Speed
Controls how quickly the shake changes.
Lower values create slower movement.
Higher values create faster, more energetic motion.
Use:
Remove Shake
to completely remove the shake layer without affecting the Locked-On tracking or source camera.
Camera Shake is applied only within the Locked-On instance's frame range.
16. USING AN EXISTING ANIMATED CAMERA
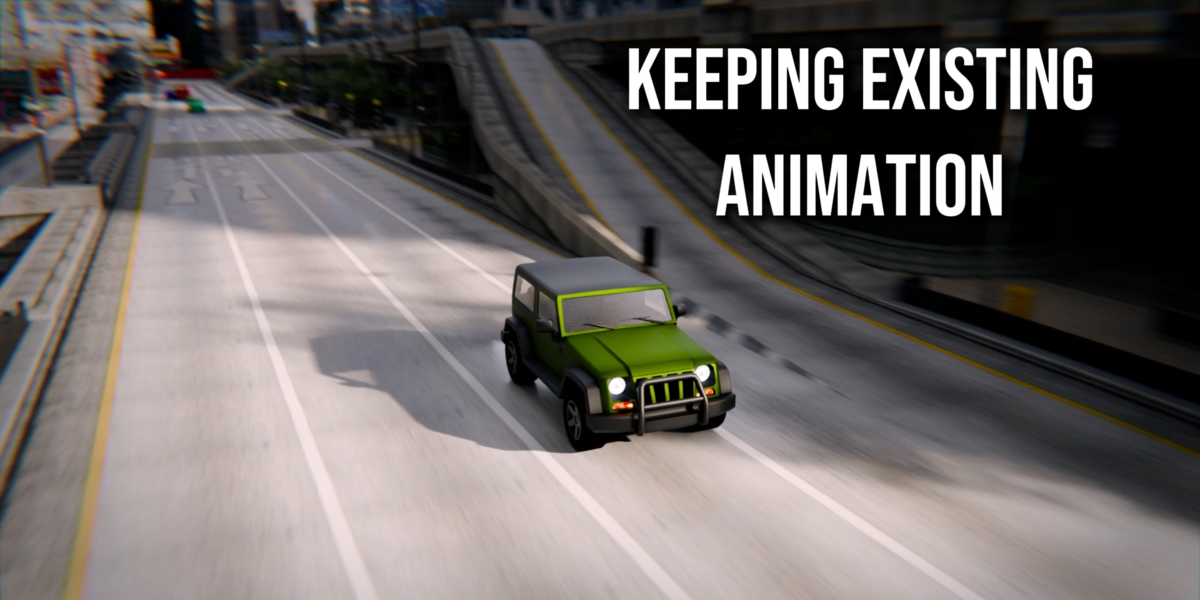
Locked-On Camera is designed to work with cameras that already contain animation.
The original camera movement is preserved as the base shot.
Locked-On then adds the tracking correction on top.
This allows you to keep:
Dolly movement
Orbit animation
Handheld animation
Camera constraints
Parenting
Existing rotation and translation
Existing camera motion
while improving the subject framing.
The original source camera remains untouched.
17. ANIMATABLE CONTROLS
Useful controls include Blender's normal keyframe diamonds.
Animatable properties include:
Lock Strength
Orbit
Position Offset
Camera Roll
Horizontal Offset
Vertical Offset
Focal Length
Use them exactly like standard Blender animation properties.
Move to a frame, adjust the value and insert a keyframe.
18. REFRESH LOCK
Use Refresh Lock when a Standard Mode setup needs to be recalculated after changes to the tracked animation.
Refresh updates the tracking result while preserving the Locked camera's editable composition controls.
Live Mode normally updates compatible target movement automatically.
19. BAKE CAMERA
When the shot is finished, press:
Bake Camera
The addon evaluates the final result and creates a normal independent Blender camera containing the finished animation.
The baked result can include:
Locked-On correction
Source camera movement
Target transitions
Camera movement
Camera Roll
Lens and shift animation
Camera Shake
The baked camera no longer needs the working Locked-On rig to reproduce the final shot.
Bake is recommended when:
The shot is approved
Preparing a final scene
Sending the file to another artist
Archiving the finished camera
Removing the working Locked-On setup
20. REMOVE RIG
Remove Rig removes the selected Locked-On working setup.
It is intended for removing one specific instance.
Other Locked-On instances remain untouched.
21. RESTORE ORIGINAL
Restore Original is the broader reset option.
Use it when you want to return the scene to the original camera setup.
The addon also attempts to restore camera-marker relationships that were changed when the Locked-On camera was created.
Because this is a larger reset action, it is kept separate from normal controls.
22. CAMERA MARKERS
If the source camera is bound to timeline markers, Locked-On Camera can transfer those bindings to the generated Locked camera.
The original marker relationships are stored so they can be restored when the setup is removed or restored.
23. PERFORMANCE
For the best performance:
Use Object, Empty or Pose Bone targets when possible.
Use Live Mode for interactive lightweight tracking.
Use Standard Mode for deformation-heavy tracking.
Use small local Lock Regions instead of tracking an entire character when possible.
Avoid unnecessarily long frame ranges.
Increase the sampling step only when appropriate.
Object and Pose Bone Live setups should normally create very quickly.
Deformed Mesh and Lock Region tracking can take longer because Blender must evaluate the mesh across the frame range.
24. LIVE MODE LIMITATIONS
Live Mode currently supports:
Object
Empty
Pose Bone
Live Mode does not currently support:
Deformed Mesh
Lock Region
These target types automatically use Standard Mode because realtime evaluated-mesh tracking could cause unnecessary viewport performance problems.
25. TROUBLESHOOTING
The camera is not following a deforming character correctly
If you are using Object tracking on an armature-deformed mesh, the object origin may not move with the visible geometry.
Use:
Pose Bone
Lock Region
Deformed Mesh
instead.
The wrong bone is being tracked
Open the target settings and confirm:
Correct armature
Correct bone
Correct Bone Point
Live Mode is unavailable
Check whether one of the targets uses:
Deformed Mesh
Lock Region
These target types require Standard Mode.
Standard tracking does not reflect recent animation changes
Press:
Refresh Lock
to recalculate the tracking result.
Camera Shake is too strong
Reduce:
Strength
and/or reduce:
Speed
Subtle values usually work best for natural handheld movement.
The Lock Guide is not visible
Confirm that:
Show Lock Guide is enabled
Locked View is active
You are looking through the Locked camera
The current frame is inside the Locked-On range
The guide does not appear in Original View or final renders.
The camera animation looks different after editing the original camera
If using Live Mode, compatible source-camera changes should update interactively.
If using Standard Mode, use Refresh Lock when the tracking result needs to be regenerated.
26. RECOMMENDED WORKFLOW
For most shots:
Animate the original camera normally.
Select the camera and target.
Create the Locked-On camera.
Work in Live Preview when available.
Add additional lock targets if required.
Adjust handoff timing.
Refine Lock Strength.
Add Orbit or Position Offset if needed.
Adjust Camera Roll, camera shift and focal length.
Add subtle Camera Shake if appropriate.
Use the Viewport Lock Guide while refining the shot.
Compare Original and Locked views.
Bake the final camera.
27. GOOD USE CASES
Locked-On Camera is especially useful for:
Product advertising
Character animation
Action scenes
Vehicle animation
Chase shots
Stylized cinematics
Motion graphics
Camera-heavy commercials
Storyboards and previs
Shots where attention needs to move between multiple subjects
28. VERSION
Locked-On Camera 1.0.2
Blender Extension compatible.
Designed for Blender 4.2 and newer.
29. QUICK SUMMARY
Locked-On Camera helps you:
Keep subjects consistently framed
Preserve existing camera animation
Preview supported locks live
Track objects, pose bones and deforming regions
Transition between multiple subjects
Add controlled camera shake
Animate camera composition
Visualize the lock in the viewport
Keep the original camera safe
Bake the final shot into a clean independent camera
Select a camera. Choose a target. Create the lock. Direct the shot.
-
$28.99
An individual user license
-
$220
Studio License
 Included
Includes 12 months of
- Support from JB FX
- Product updates
Extend this product’s Support Period +12 months: 50% of product price
Have questions before purchasing?
Login to message
| Blender Extension Compatible | Yes |
| Published | 1 day ago |
| Blender Version | 5.2 |
| Extension Type | Add-on |
| Render Engine Used | Cycles, Eevee |
| License | GPL |
