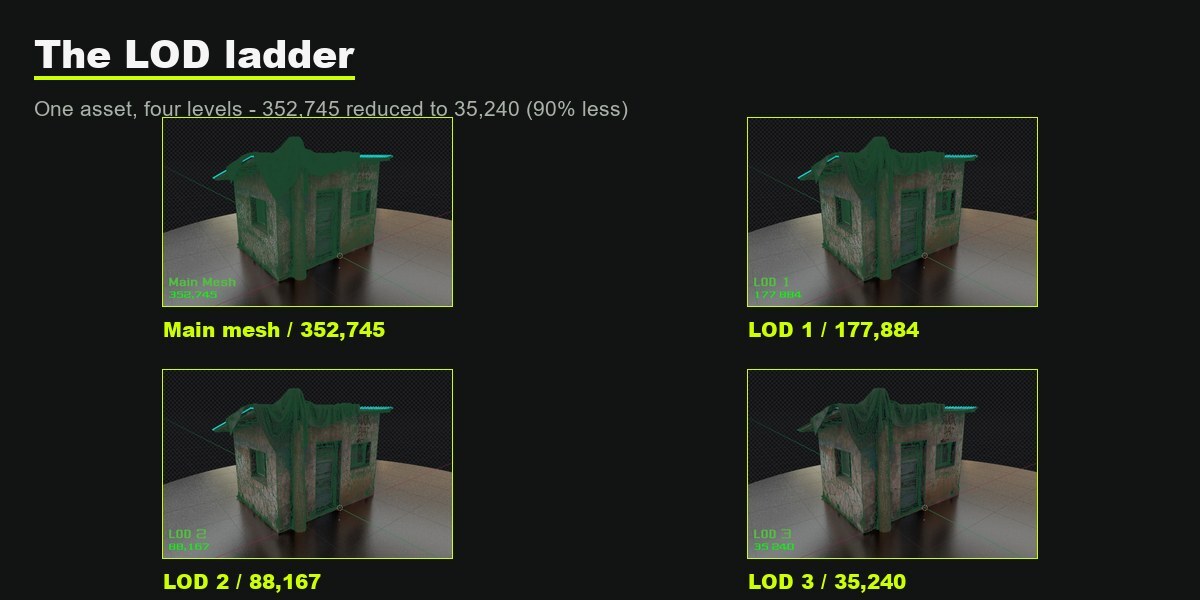
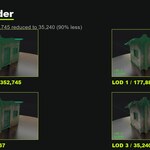
LOD Generator is a Blender add-on. It requires Blender 4.0 or newer (developed and tested on Blender 5.2.2 LTS). There are no external dependencies, no bundled engines and no network access - everything runs inside Blender using its native tools.
Install from the ZIP file (recommended):
Open Blender and go to Edit > Preferences > Add-ons.
Click Install from Disk (the dropdown arrow on the top-right of the Add-ons tab).
Select the downloaded lod_generator-1.1.0.zip file. Do not unzip it first.
Find LOD Generator in the add-on list and tick the checkbox to enable it.
Manual installation: copy the lod_generator folder into your Blender add-ons directory, then enable it in Preferences.
Once enabled, the add-on appears as LOD Generator in the 3D Viewport sidebar.
2. Getting Started
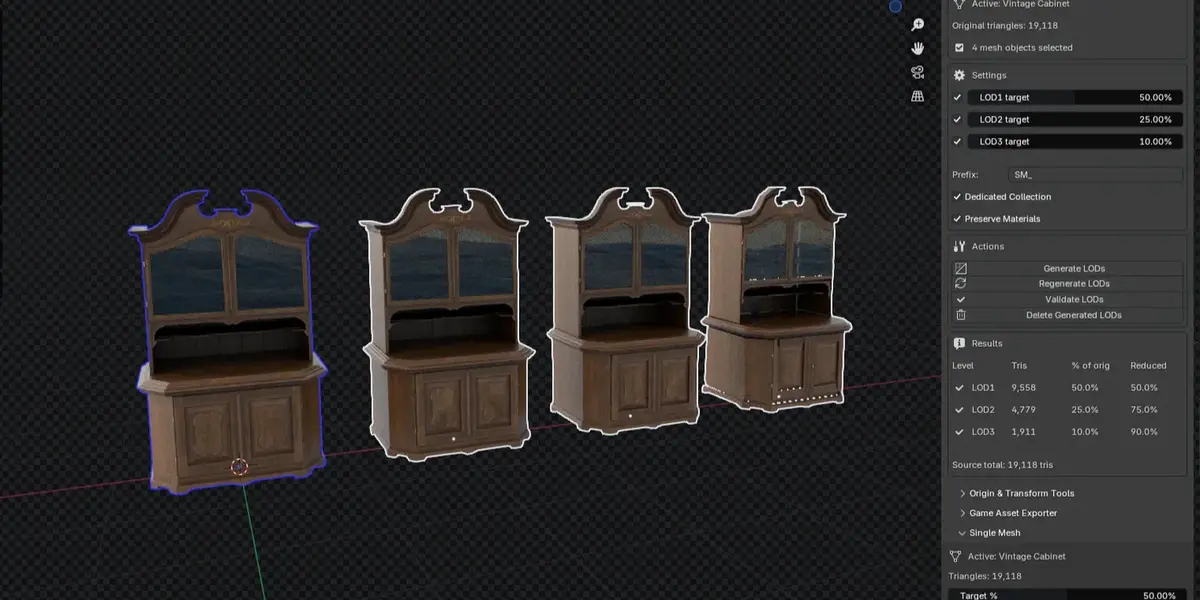
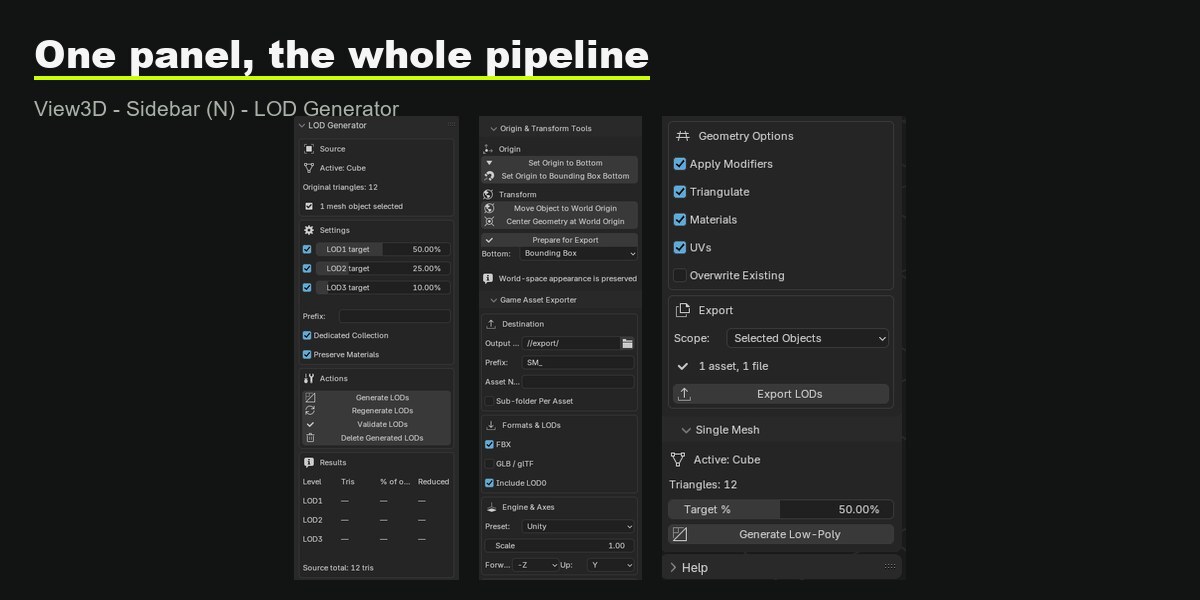
Open the sidebar in the 3D Viewport by pressing N and select the LOD Generator tab. The main panel is organised into four sections: Source, Settings, Actions and Results.
Source
Shows the active mesh object and its original triangle count.
Shows how many mesh objects are currently selected.
Settings
Setting
What it does
LOD1 / LOD2 / LOD3
Enable or disable each level independently.
Target %
Desired size as a percentage of the original triangle count. Defaults are 50 / 25 / 10.
Prefix
Added in front of generated names, e.g. prefix ENV_ turns Rock into ENV_Rock_LOD1.
Dedicated Collection
Place generated LODs in a collection named LOD Generator. The add-on only ever creates, links and removes this collection.
Preserve Materials
Keep material slots and per-face material assignments on generated LODs.
Actions
Button
What it does
Generate LODs
Creates LODs for every selected mesh object. Existing LODs of the enabled levels are replaced - never duplicated.
Regenerate LODs
Removes all previously generated LODs of the selection (including disabled levels) and rebuilds them.
Validate LODs
Checks existence, mesh validity, decreasing counts and achieved targets, and warns about orphaned LODs. A full report is printed to the console.
Delete Generated LODs
Asks for confirmation, then removes only the objects created by this add-on. Works on selected sources or directly selected LOD objects.
Results
A live per-level table for the active source shows the triangle count, the percentage of the original, and the actual reduction achieved. Levels that have not been generated yet show a dash. Note that LOD0 is always the untouched original - the add-on never modifies it.
The basic workflow
Select one or more mesh objects in the 3D Viewport.
Open LOD Generator in the sidebar.
Choose which LOD levels to create and set their target percentages.
Press Generate LODs.
Review the actual counts in the Results table.
Press Validate LODs to confirm the chain is sound.
3. Origin & Transform Tools
Open the Origin & Transform Tools sub-panel from the main panel. Every operator moves the object's origin (its pivot point) while preserving the world-space appearance of the mesh - your geometry never appears to jump in the viewport. Rotation, scale and parenting are handled correctly.
Operator
Result
Set Origin to Bottom
Pivot to the bottom-centre of the base mesh (mid X/Y, lowest Z). Modifiers are ignored.
Set Origin to Bounding Box Bottom
Pivot to the bottom-centre of the fully evaluated bounding box (modifiers included).
Move Object to World Origin
Moves the object so its pivot sits at world (0, 0, 0). Geometry moves with it.
Center Geometry at World Origin
Centres the evaluated geometry on world (0, 0, 0); the pivot follows the geometry.
Prepare for Export
The standard game-asset pivot: sets the origin to the asset bottom, then places that origin at world (0, 0, 0) so the asset stands on the ground plane. Choose Bounding Box or Mesh as the bottom reference.
If the object's mesh data is shared with other objects, the add-on automatically makes a single-user copy before editing, so origin changes never leak into other objects.
4. Game Asset Exporter
Open the Game Asset Exporter sub-panel to write each detected LOD to its own FBX and/or GLB file. A live summary in the panel reports how many assets and files the current setup will produce.
Destination
Output Folder - where the files are written. Missing folders are created on export.
Prefix - prepended to file names, e.g. SM_ plus source Rock gives SM_Rock_LOD0.fbx.
Asset Name - optional override for the base name; only used when a single asset is exported.
Sub-folder Per Asset - place each asset's LOD files in their own folder.
Formats & LODs
FBX and GLB / glTF - enable one or both. Each is written as a separate file per LOD.
Include LOD0 - also export the untouched source object as its own LOD0 file.
Engine & Axes
Preset - Unity (forward -Z, up Y), Unreal Engine (forward X, up Z), Godot (forward -Z, up Y), or Custom.
Scale - a uniform multiplier applied to exported geometry.
Forward / Up - set the FBX axes manually when using the Custom preset. glTF is always exported Y-up.
Geometry Options
Apply Modifiers - evaluate and apply the source's modifiers on the export copies.
Triangulate - make the exported meshes fully triangulated.
Materials and UVs - include or strip these on export.
Overwrite Existing - when disabled, existing files are skipped and reported instead of overwritten.
Export Scope
Selected Objects - export the selected mesh objects (tracked LODs are ignored as sources).
All Assets With LODs - export every mesh in the scene that has generated LODs.
Non-destructive by design. Applying modifiers, triangulation, scaling and stripping of materials or UVs are all performed on temporary copies in a throw-away collection. Your original source and LOD objects are never modified, and their selection state is restored afterwards.
5. Presets & Naming
Naming is predictable so downstream tools can rely on it. A generated object is named _LOD, and exported files follow _LOD.fbx (or .glb).
Source Rock, no prefix, all levels on -> Rock_LOD1, Rock_LOD2, Rock_LOD3.
With naming prefix ENV_ -> ENV_Rock_LOD1, and files SM_ENV_Rock_LOD1.fbx with an export prefix of SM_.
Each generated object stores its level and triangle count as custom properties, so the add-on and Validate always know which objects it created.
6. Single Mesh Mode
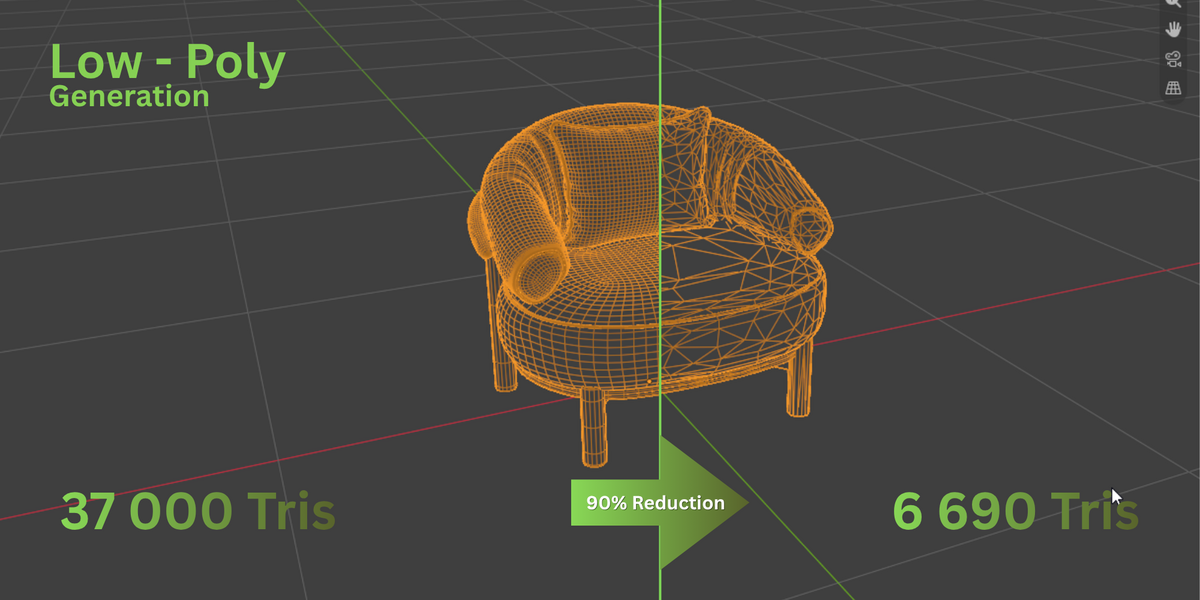
The Single Mesh sub-panel creates one simplified low-poly copy of the active mesh when you need an optimized asset rather than a complete LOD chain.
Select a single mesh object as the active object.
Open the Single Mesh panel and set the Target %.
Press Generate Low-Poly. A copy named _LowPoly is created; the original is untouched.
Generated LOD objects cannot be used as a Single Mesh source - select a normal mesh object instead.
7. Troubleshooting & Notes
Targets are approximate. Decimation is an approximation algorithm; the achieved count and percentage are always reported in the Results table.
Very small meshes. An object with 8 or fewer triangles is not reduced - a plain copy is created and the result is marked as skipped.
Modifiers are not baked. LODs are built from the base mesh; modifiers on the source are not included. Apply them first if you want the LOD to reflect the modified result.
Shape keys. These are removed on the LOD copy only (Decimate cannot run on a mesh with shape keys); the source keeps its shape keys.
Renaming a source after generating orphans its LODs. Run Validate to be warned, then select the orphaned LODs and use Delete to clean them up.
A linked or overridden object cannot be used as a source, and an object with no faces is skipped with a message.
The console prints full reports for Generate, Validate and Export.
That's everything
You now have the full workflow: generate, review, validate and export - all inside Blender.
 Greenfield Creatives