 loviz
Installation
- Download the file
loviz_mesh_reducer-1.0.0.zip. Do not unpack it. - In Blender open Edit > Preferences > Get Extensions.
- Click the arrow at the top right and choose "Install from Disk", then pick the file. Dragging the file into the Blender window works too.
- The panel is in the sidebar of the 3D viewport (key N), tab "Mesh Reducer".
Reduce
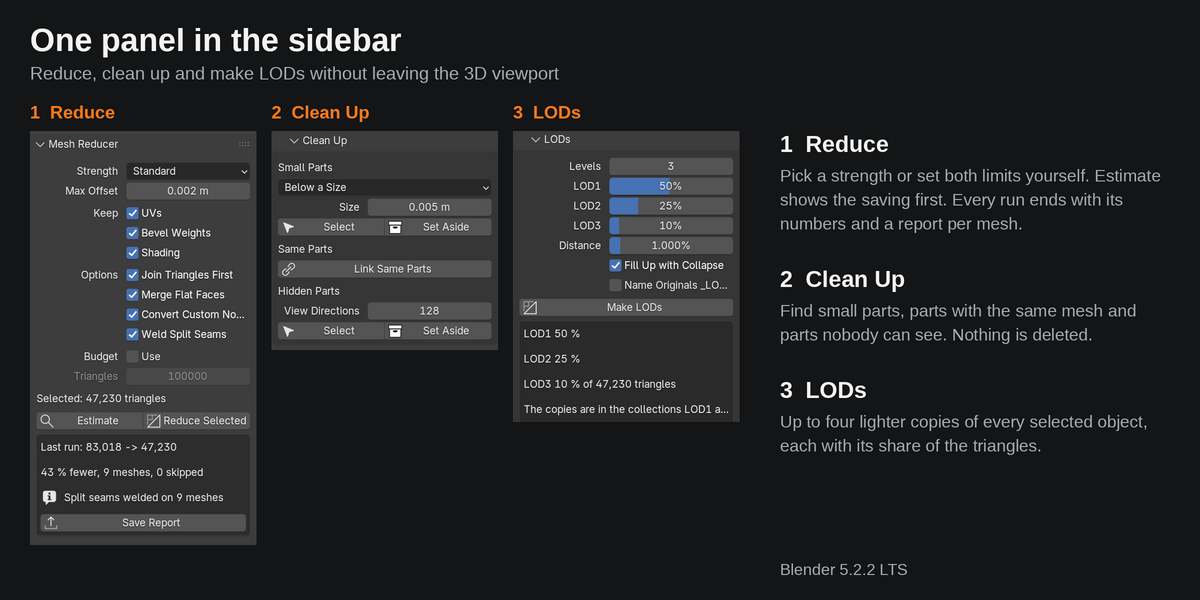
- Select mesh objects in Object Mode.
- Pick a strength.
- "Estimate" counts what a run would take off and changes nothing.
- "Reduce Selected" does it. The status bar shows the progress, Esc stops after the current mesh, Ctrl Z takes the whole run back.
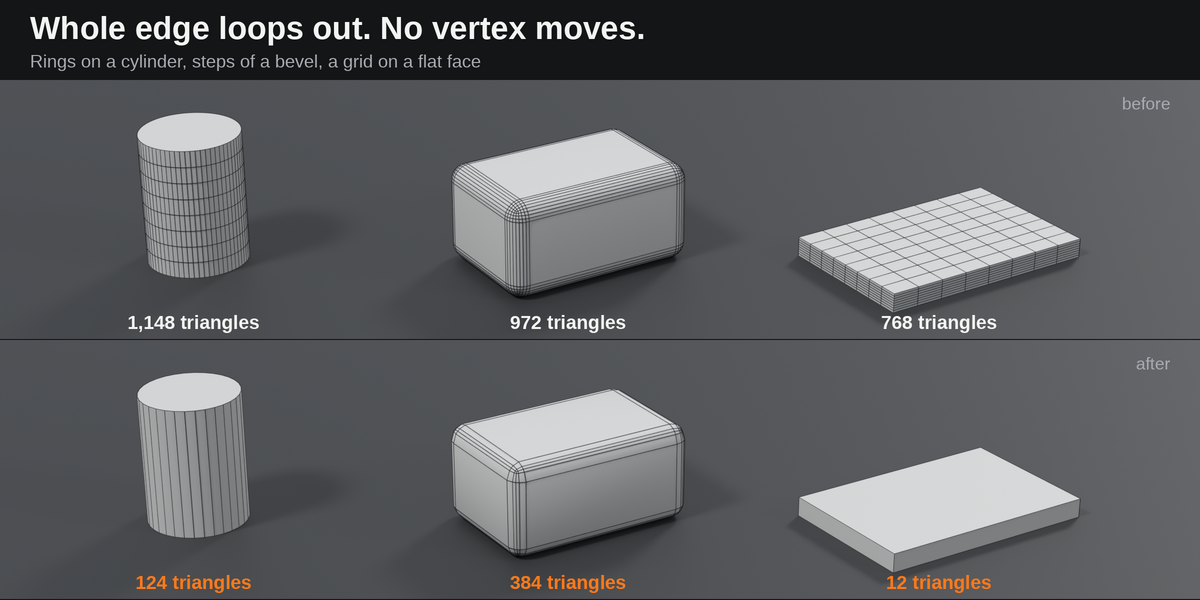
A loop goes only if all of this holds:
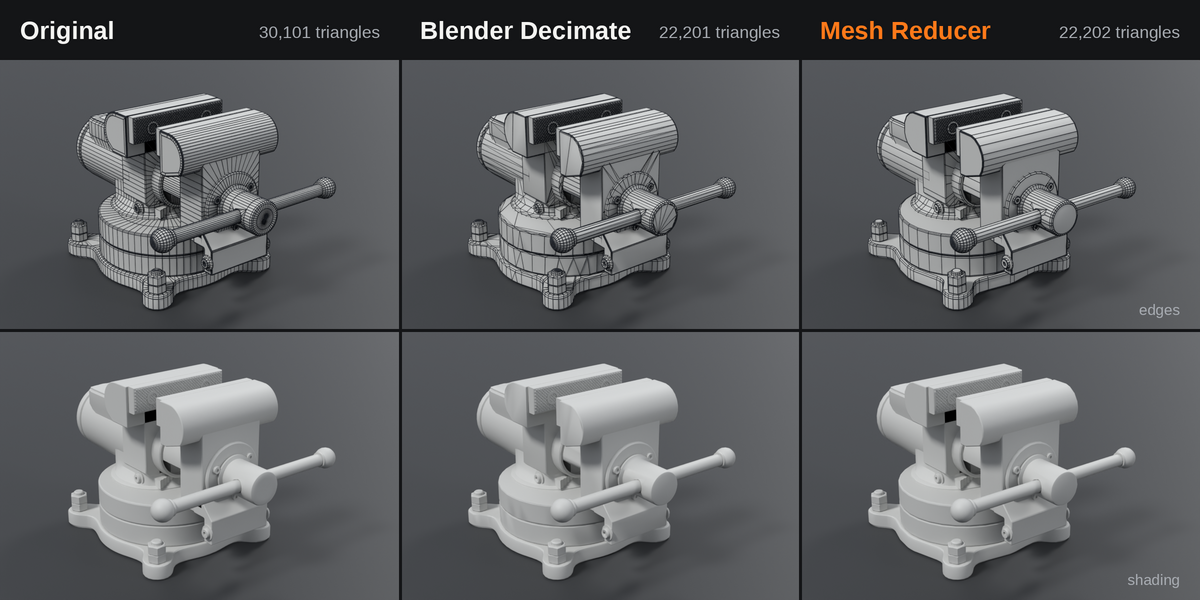
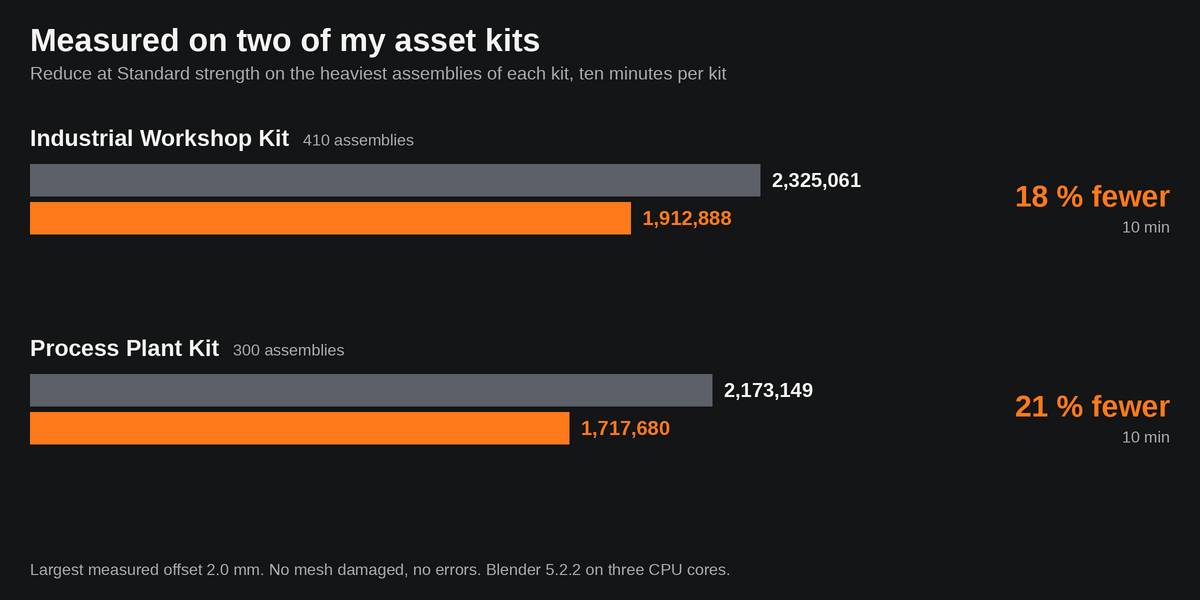
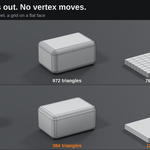
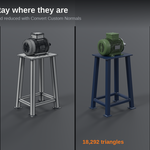
- Every vertex of it lies within the distance of the line between its two neighbours, and the new faces, down to the triangles they are filled with, lie within the distance of the surface the run started with. The passes of one run and the strength steps of a triangle budget are all measured against that surface, so they do not add up. A second run starts from what the first one left.
- The facet angle that results stays under the limit.
- None of its edges is a seam, a sharp edge, a material border or a change between smooth and flat shading.
When a mesh is done, the offset is measured both ways: the vertices it had against the surface that is left, and the triangles that are left against the surface it had. A mesh that comes out over the distance is done again from the start with a smaller one, and the report says so.
| Strength | Facet angle | Distance (share of object size) |
|---|---|---|
| Gentle | 20° | 0.2 % |
| Standard | 30° | 0.5 % |
| Strong | 45° | 1 % |
| Custom | free | free |
"Max Offset" caps the distance in scene units (default 2 mm in a metric scene), so a large object does not lose more shape than a small one.
Keep
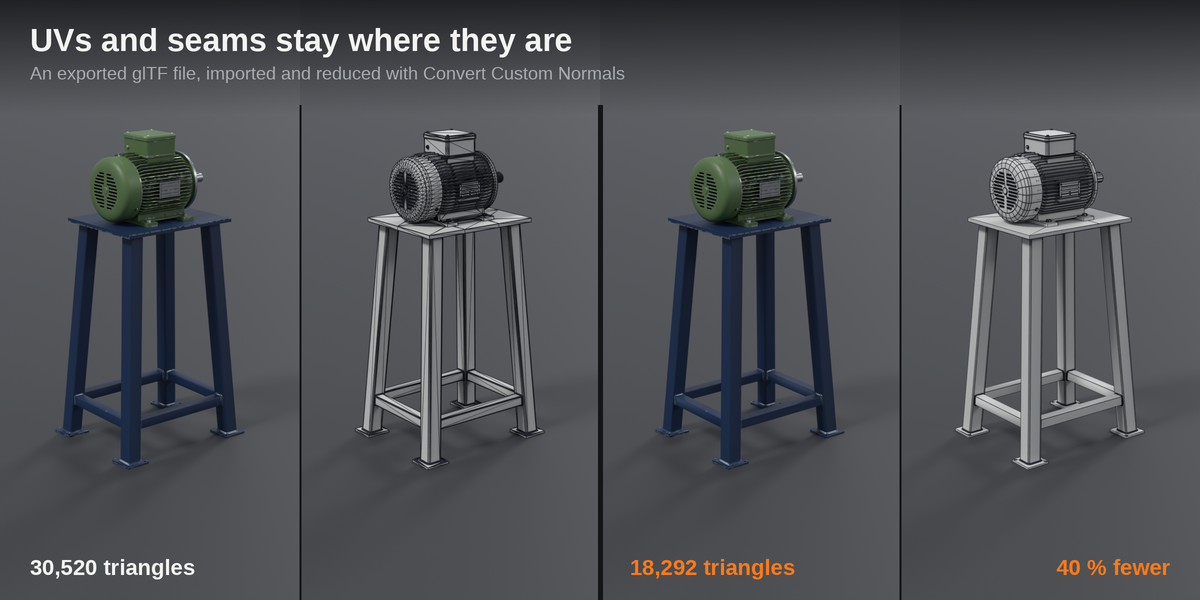
- UVs: a loop stays if removing it would shift the texture. With several UV maps (lightmap) the island borders of every map stay.
- Bevel Weights: edges with a bevel weight stay, so a Bevel modifier by weight finds them again.
- Shading: where two smooth faces meet at more than 30° and the edge is not marked sharp, the loop next to the corner stays. Without it the shading spreads over the whole face.
Options
- Join Triangles First: turns flat triangle pairs back into quads so loops can be found.
- Merge Flat Faces: merges faces that lie in one plane.
- Convert Custom Normals: off by default. Meshes with custom split normals are skipped, and nearly every imported FBX or glTF file has them. With this on, the hard edges are read from the normals and marked sharp, the custom normals are removed and the mesh is reduced like any other.
- Weld Split Seams: on by default. Importers split the vertices along UV seams and hard edges. They are welded first and the edge is marked sharp where the shading breaks, so the mesh looks the same and the seam cannot open.
Triangle Budget starts at the chosen strength and goes up one step at a time until the selection is under the budget. If Strong does not reach it, the run says so. The budget counts every mesh times the objects that show it.
Save Report writes the numbers of the last run per mesh as CSV, or as JSON if the file name ends in .json.
Imported FBX and glTF files
Turn on "Convert Custom Normals", otherwise the run skips them and the panel says why. The sharp edges written from the normals give the same picture wherever the normals were plain smooth or hard shading. Normals that were tuned by hand or weighted by face area are gone after the conversion, so look at the result before you save. Export afterwards as usual.
LODs
- Select the original objects.
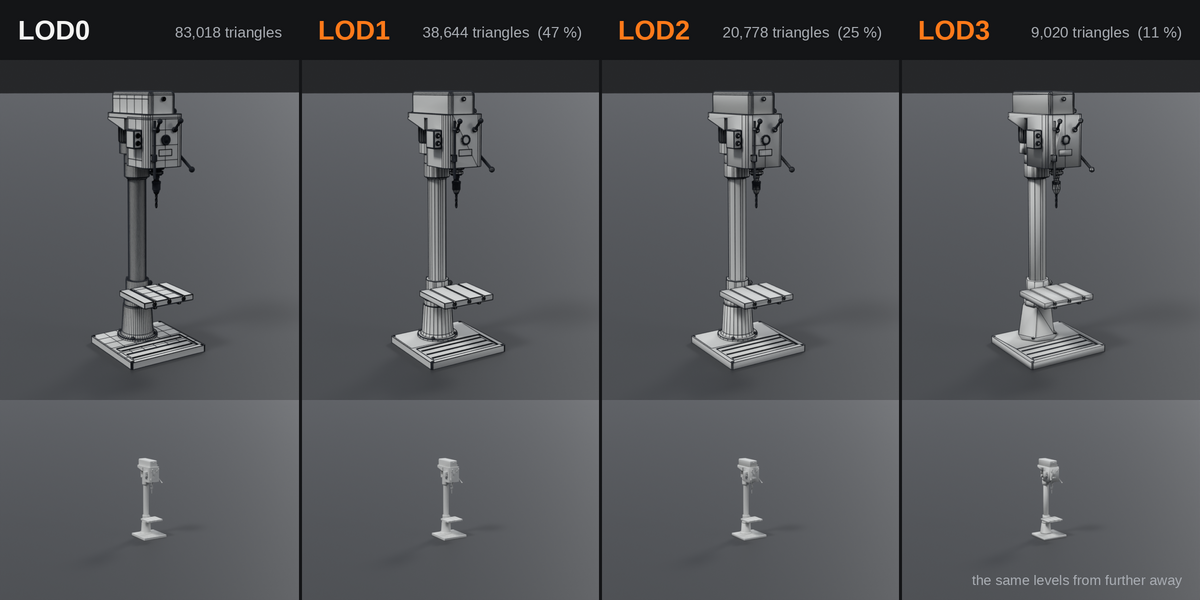
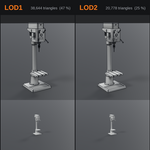
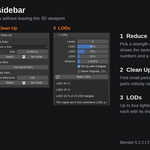
- Open "LODs" in the panel, set the number of levels and the share of triangles for each. The defaults are 50 %, 25 % and 10 %.
- "Make LODs". The copies appear in the collections LOD1 and up, which are switched off so the levels are not drawn on top of the original. Switch a collection on in the Outliner to look at its level.
- For export switch the LOD collections on and select the originals together with their copies.
- Every level starts from the loops of the level before and takes out more of them with wider limits (30°, 45°, 60° and 75°).
- Where the loops alone do not reach the share of a level, Blender's own Decimate (Collapse) does the rest. That part moves vertices. Turn "Fill Up with Collapse" off and a level keeps exactly what the loops leave.
- A level can come out lighter than its share, because the loops are removed up to the limits and not counted off one by one.
- The report names the way every level was made (loops, or loops and Collapse), its triangle count and the measured offset from the original surface.
- "Name Originals _LOD0" adds _LOD0 to the selected objects. Unity reads that naming on import and builds a LOD Group from it.
- Objects that share a mesh share their LOD meshes too. A second run replaces the copies of the first.
Clean Up
Open "Clean Up" in the panel and select the assembly. Each tool can select first, so you see what it found before anything moves.
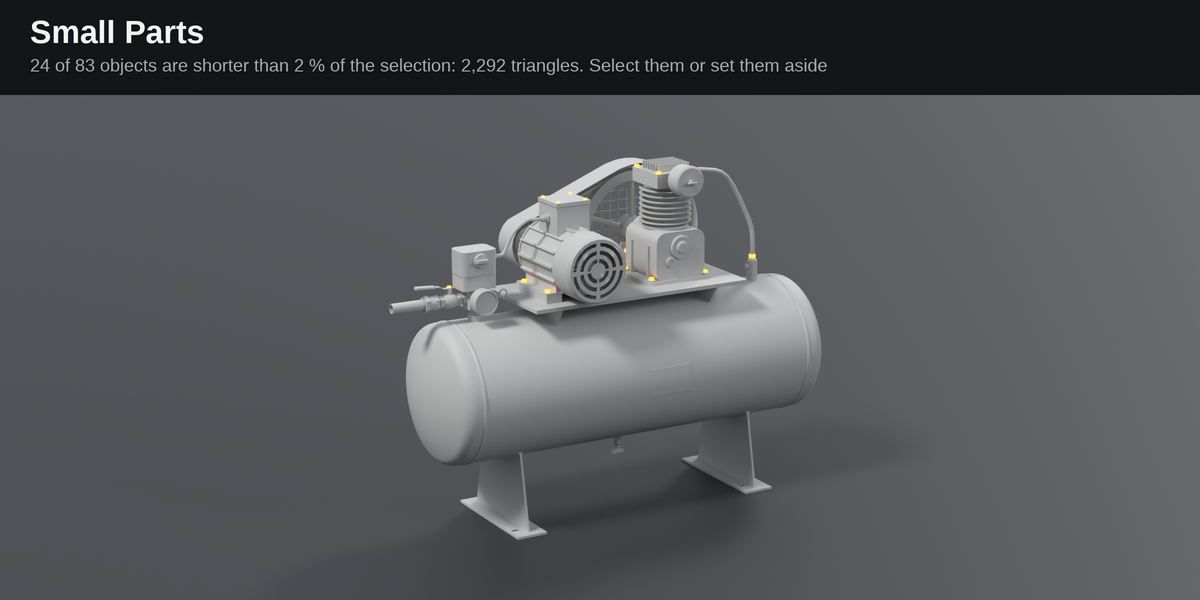
Small Parts. Choose "Below a Size" or "A Share of the Selection". "Select" leaves only the small parts selected, "Set Aside" moves them into the collection "Small Parts", which is switched off.
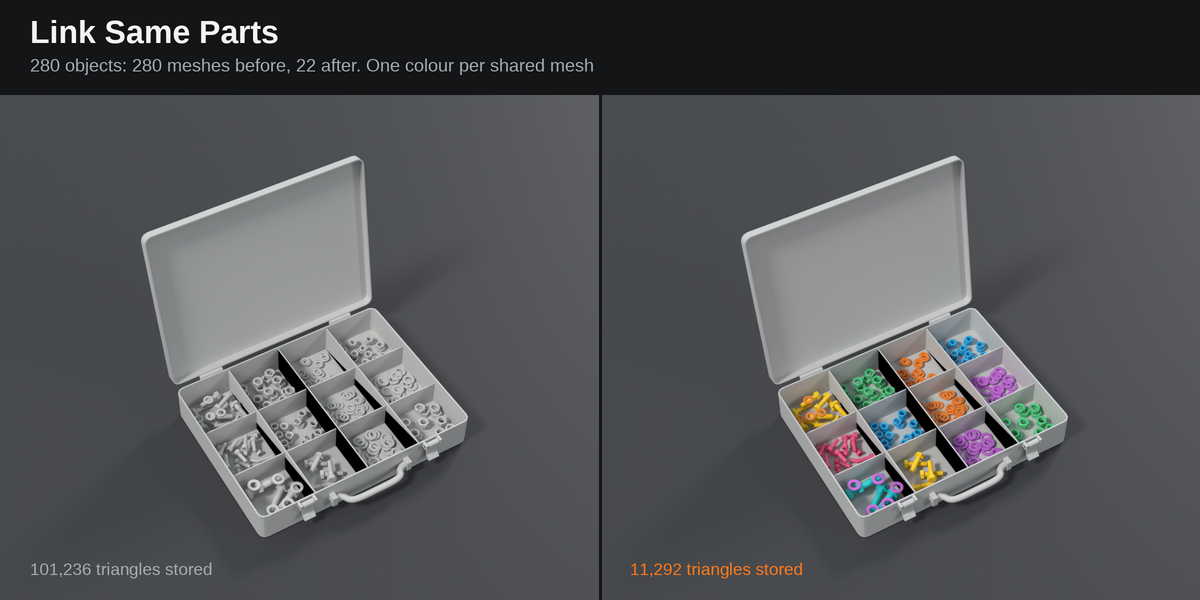
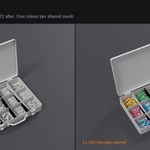
Link Same Parts. One click. A CAD export writes every screw as a mesh of its own. This finds the objects whose meshes are the same shape in another place and lets them share one mesh. The objects stay where they are.
- Parts count as the same only if materials, UVs, shading, sharp edges and bevel weights are the same too.
- Mirror images are left alone and counted.
- Objects with vertex groups, shape keys, constraints, animation or modifiers that depend on the origin keep their own mesh. The report says why for each of them.
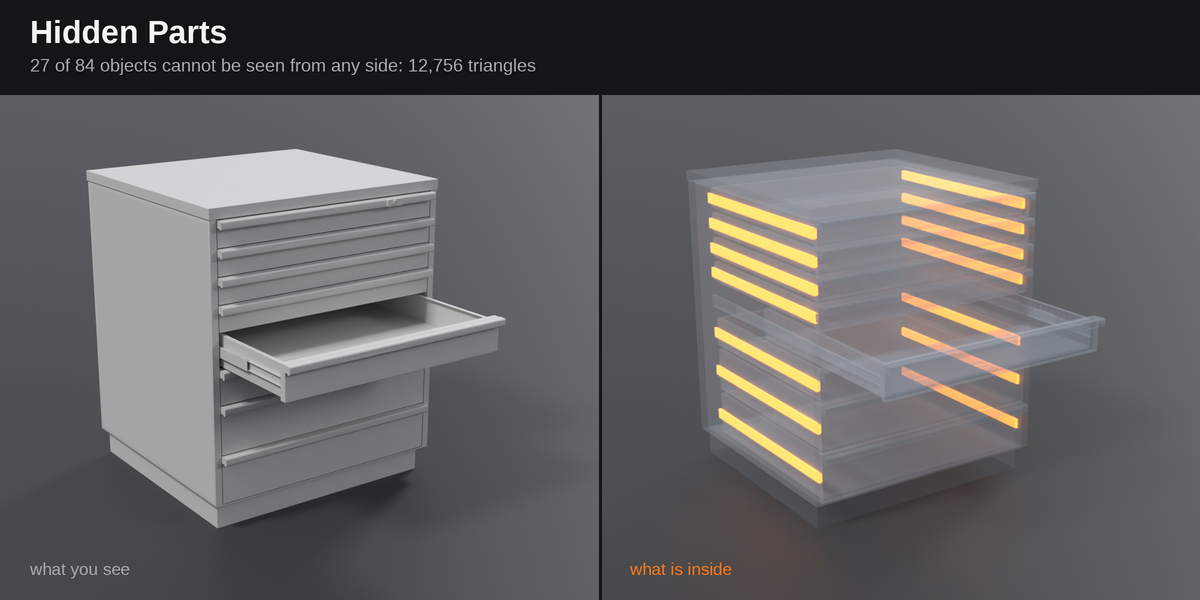
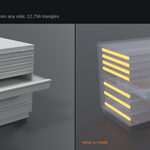
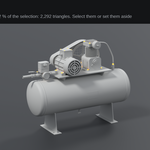
Hidden Parts. Looks at the selection from many sides (128 by default, up to 2,048) and finds the objects that cannot be seen from any of them: the bearing inside the housing, the bolt inside the wall.
- Glass does not hide what is behind it.
- Animated parts hide nothing and are never counted as hidden.
- "Select" shows what was found, "Set Aside" moves it into the collection "Hidden Parts", which is switched off.
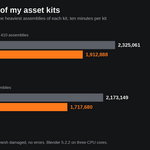
- The search takes up to 3 million triangles in one selection. Above that reduce first or select one assembly at a time.
A good order for a CAD import: Link Same Parts, then Hidden Parts, then Small Parts, then Reduce, then LODs.
Limits
- Triangulated meshes are turned back into quads first where two triangles are flat. Where the triangles of a curved surface do not pair up into the quads it was built from, the loops are not found and that part stays as it is.
- The facet angle is held along the loops that go. On a surface curved in two directions the angle between two new faces can end up a few degrees above it.
- Vertex colours, face sets, creases and custom attributes are not checked. Where a loop goes, the values on its vertices go with it.
- Hidden Parts looks from outside. A part that shows only through a narrow gap can be missed with few view directions. That is why it selects or sets aside and never deletes.
- LOD levels are not held to "Max Offset". Where Collapse fills up a level, the surface can sit centimetres away from the original on a machine-sized object. The report gives the measured offset of every level, so look at the strong levels from the distance they are made for.
- Thin parts such as sheet metal or wire can fall flat in a strong LOD level. Mesh Reducer removes the doubled faces that Collapse leaves there, so the mesh stays valid, but such a part can end up one-sided. Give it a higher share or leave it out of the selection.
- Link Same Parts compares shape, materials, UVs, sharp edges and bevel weights. An object with any other custom attribute keeps its own mesh, and the report names the attribute.
Questions
Does it change my UVs?
Reduce does not. With "Keep UVs" on, a loop stays if removing it would shift the texture. Only the Collapse part of the LODs moves vertices, and their UVs with them, as Decimate does.
My imported model is skipped. Why?
It has custom normals, as nearly every FBX and glTF file does. Turn on "Convert Custom Normals".
Can I take a run back?
Yes. Ctrl Z takes back a whole run of Reduce, LODs or Clean Up.
Does Clean Up delete objects?
No. It selects them or moves them into a collection that is switched off. "Link Same Parts" removes only mesh data that no object uses any more.
Does it work on characters or sculpts?
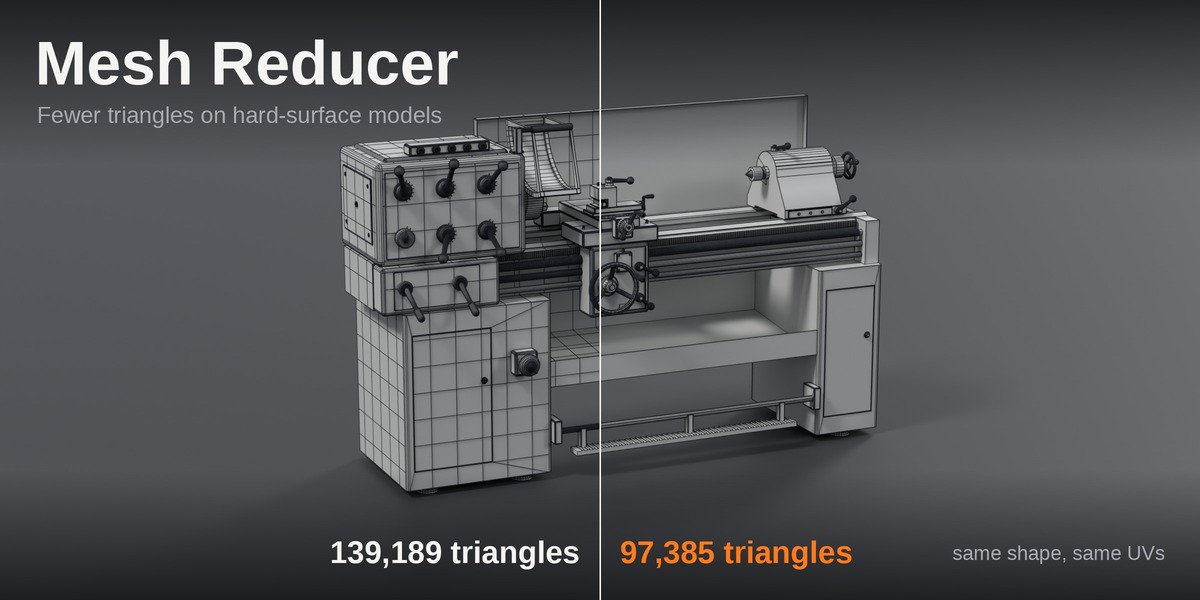
It runs, but it finds little there. It is made for hard-surface models: machines, vehicles, architecture, props, CAD data.
Which game engines do the LODs work with?
The copies are ordinary objects named _LOD1, _LOD2 and so on, which is the naming Unity reads on import. In other engines assign the levels by hand.
How do I get help?
Write to me through the contact button on the product page. Please add the report of the run, it tells me most of what I need.
Have questions about this product?
Login to message
| Blender Extension Compatible | Yes |
| Published | about 3 hours ago |
| Blender Version | 4.5 - 5.2 |
| Extension Type | Add-on |
| License | GPL |
Discover more products like this
edge-loops hard surface decimate optimization cad cleanup topology reduce polygons polycount LOD low poly game assets