 wantshot


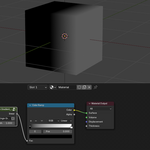
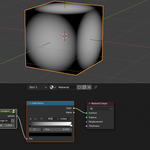
I frequently use gradients when working in the Shader Editor, but setting up the nodes one by one every single time was just too tedious. That's why I created this add-on to automate the process and speed up my workflow!
Once installed, this add-on adds a convenient new menu directly to your Shader Editor.

Here is what 'Make Gradient' can do for you:
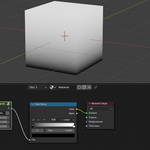
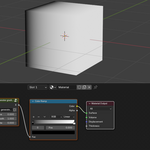
1. Generator Gradient (X / Y / Z) Instantly create directional gradients. With a single click, it sets up a custom node group with built-in controls for Move, Smooth, and Rotate, saving you from building the math nodes from scratch.
-
[Insert X-axis Image Here] Creates a gradient along the X-axis based on the selected object's Generated coordinates.
-
[Insert Y-axis Image Here] Creates a gradient along the Y-axis based on the selected object's Generated coordinates.
-
[Insert Z-axis Image Here] Creates a gradient along the Z-axis based on the selected object's Generated coordinates.
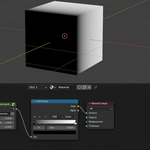
2. Origin Gradient (Linear / Sphere) This feature automatically creates an 'Empty' object parented to your active mesh and links the object coordinates to the gradient. This allows you to intuitively move, scale, and rotate the gradient directly in the 3D Viewport by simply controlling the Empty object.
-
Creates a linear gradient based on the Empty object. You can easily adjust the gradient's direction and start position by moving or rotating the Empty in the viewport.
- Creates a spherical gradient radiating from the Empty object's center. You can intuitively adjust the position and radius of the spherical gradient by moving or scaling the Empty.
Make_Gradient_1.01 Changelog
Nodes are now placed at the mouse cursor location.
Gradient nodes can now be correctly generated inside Node Groups.
