 Weltriva
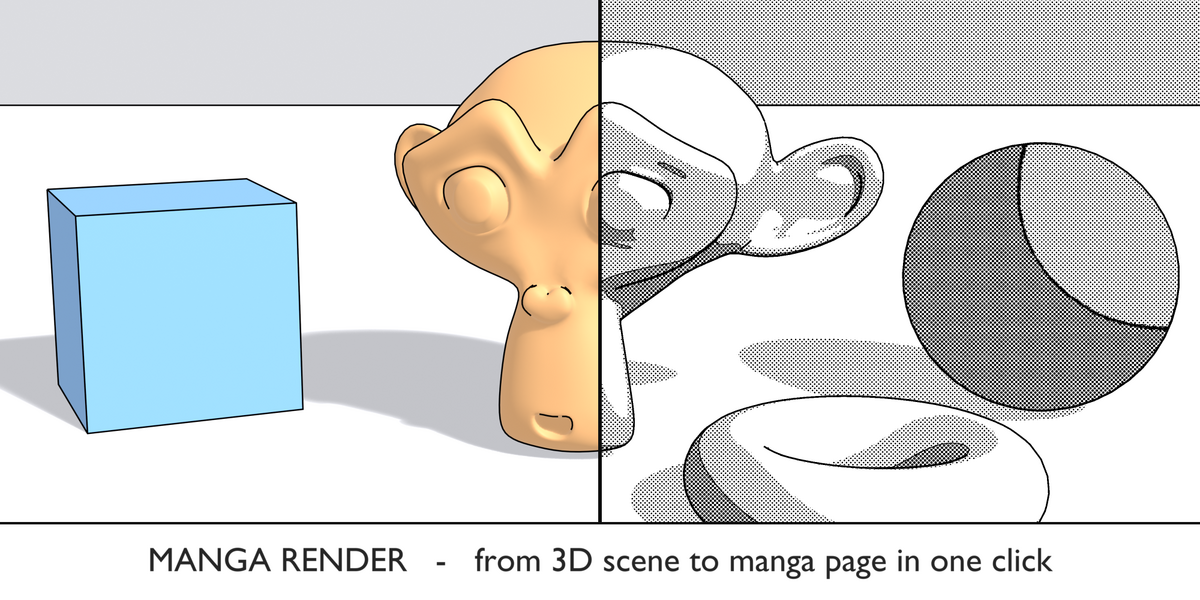
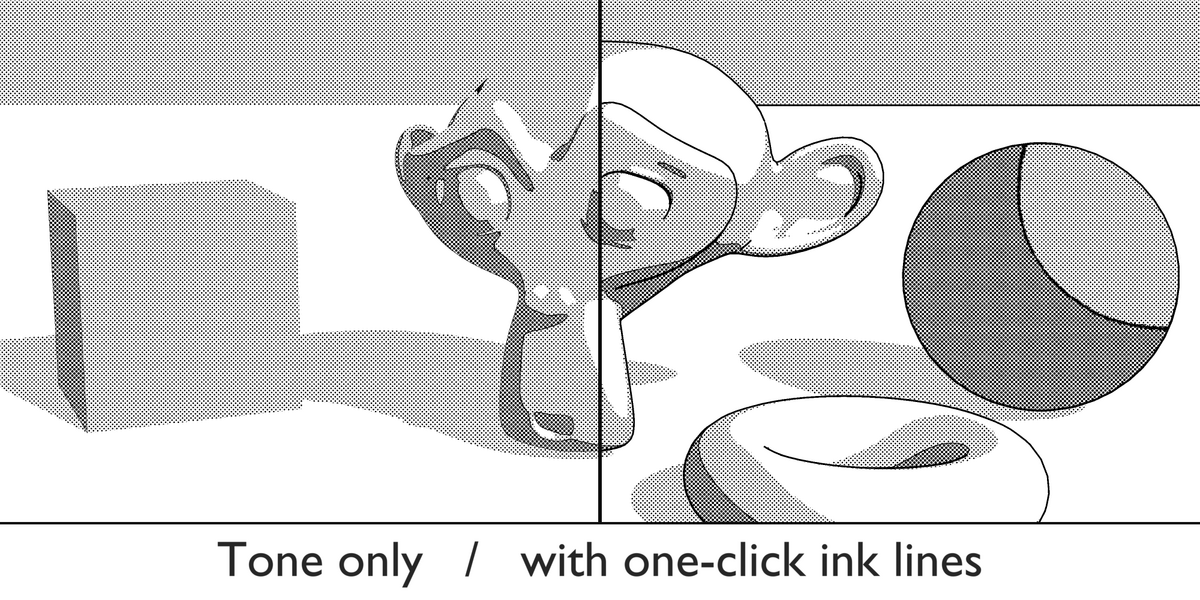
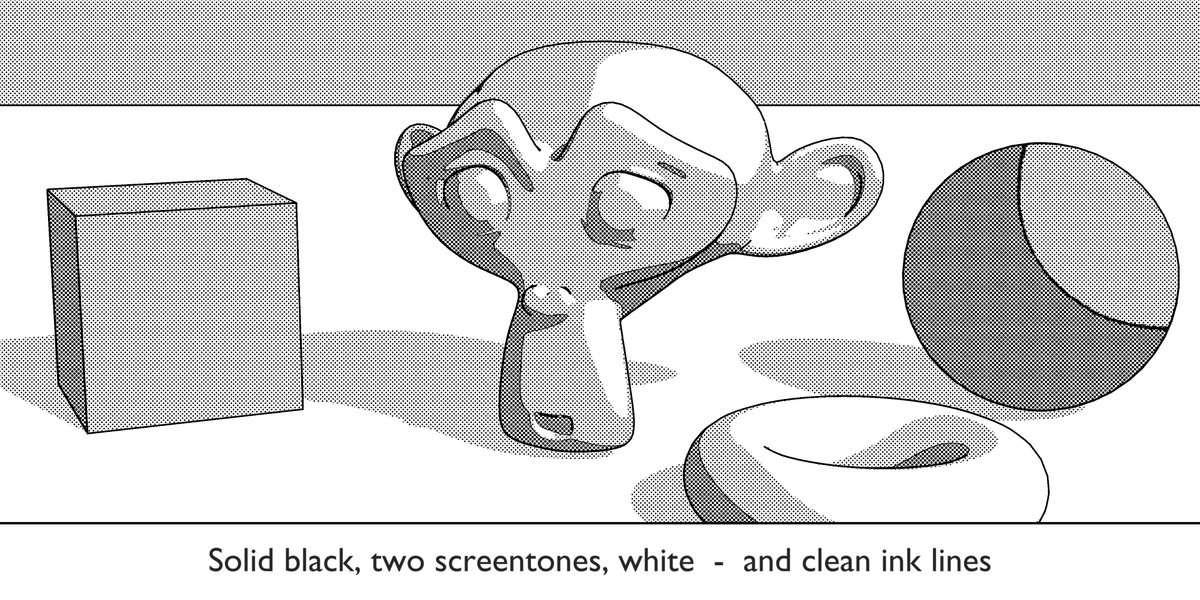
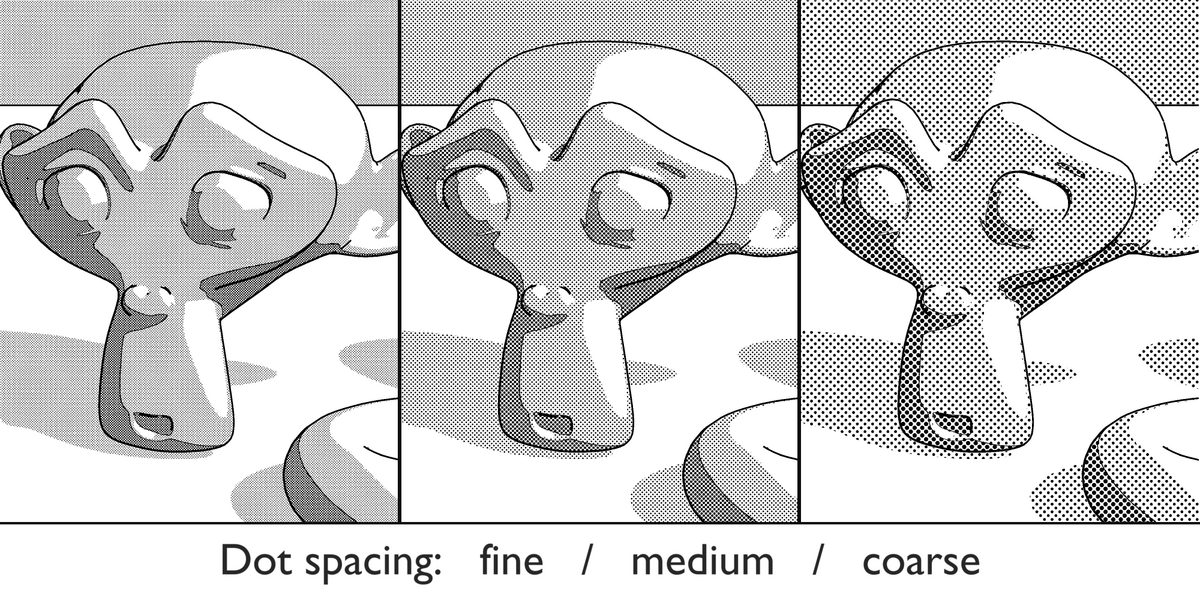
INSTALLATION
1. In Blender open Edit > Preferences > Get Extensions.
2. Click the arrow menu in the top right corner and choose Install from Disk.
3. Pick the downloaded ZIP file. The add-on is enabled automatically.
WHERE TO FIND IT
Open the sidebar of the 3D viewport with the N key and choose the Manga tab. A second panel is in the sidebar of the Image Editor.
RENDER A MANGA IMAGE
1. Click Set Up Ink Lines once to switch on black Freestyle outlines.
2. Click Render Manga. The current frame is rendered and converted.
3. The result is saved as a PNG to the folder in Save To and is also available in Blender as the image Manga Result.
CONVERT AN EXISTING IMAGE
Open the image in the Image Editor, open the sidebar with N, choose the Manga tab and click Convert Open Image.
SETTINGS
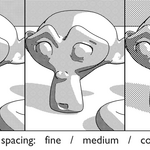
Dot Spacing: distance between screentone dots in pixels. Larger values give a coarser print look.
Screen Angle: rotation of the dot screen. 45 degrees is the classic manga look.
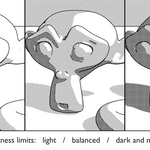
Black Below: everything darker than this becomes solid black.
Dark Tone Below: darker than this gets the dense screentone.
Light Tone Below: darker than this gets the light screentone, everything brighter stays white.
Smooth Edges (2x): renders at double size and scales down for anti-aliased dots and lines. Takes longer to render.
Line Thickness: thickness of the ink lines in pixels.
TIPS
Strong, simple lighting gives the cleanest tone shapes. One sun lamp works best.
If too much turns black, lower Black Below. If the image looks empty, raise Light Tone Below.
Have questions about this product?
Login to message
| Blender Extension Compatible | Yes |
| Published | about 1 hour ago |
| Blender Version | 4.2 - 5.3 |
| Extension Type | Add-on |
| Render Engine Used | Eevee, Freestyle |
| License | GPL |
