Materials Editor
 rfarencibia
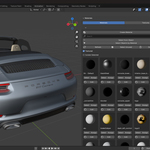
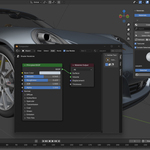
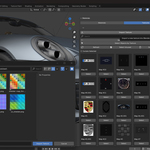
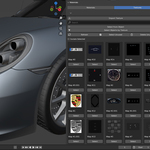
Installation
Download the Add-on File
You should have a.pyfile namedMaterialsEditor.pyor a similarly named Python file.-
Install via Blender Preferences
- In Blender, go to Edit > Preferences > Add-ons.
- Click Install…, then locate and select the
MaterialsEditor.pyfile. - Click Install Add-on.
- Once installed, check the box to enable the add-on.
-
Access the Add-on
- Open the 3D Viewport.
- Press N to open the Sidebar.
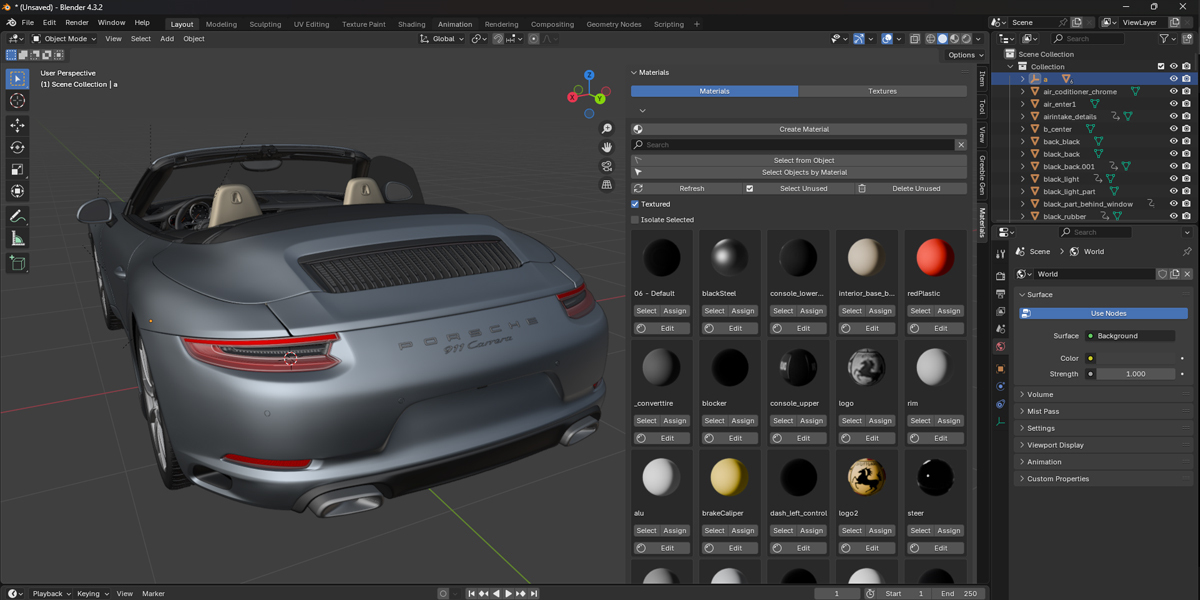
- Navigate to the Materials tab (the add-on’s name or category should appear there).
User Interface Overview
When you open the 3D Viewport Sidebar (N panel) and click on Materials, you’ll see two sub-tabs:
- MATERIALS
- TEXTURES
You can switch between them using the radio buttons at the top of the panel.
Additional Settings (Preferences)
Under Edit > Preferences > Add-ons, locate Materials Editor:
-
Preview Columns
Determines how many preview columns (2 to 5) are displayed in the panel’s grid. -
Preview Size
Adjust the size of the preview thumbnails (0.5x, 1.0x, or 2.0x the standard size).
These preferences let you fine-tune how the add-on displays materials and textures based on your monitor size or personal preference.
Materials Tab
Select MATERIALS at the top of the panel to reveal the Materials UI.
4.1 Top Buttons
-
Create Material
- Instantly generates a new material (with a Principled BSDF node).
- The new material will appear in the list with a default name (e.g., “Material.001”) and a generated preview.
-
Search Filter
- Quickly type in a partial or full name to narrow down the list of materials.
- Click X to clear the search.
-
Select from Object
- Captures all materials applied to the currently active object (or selected faces in Edit Mode) and marks them as “selected” in the add-on.
-
Select Objects by Material
- For whichever materials you’ve already selected in the add-on, this button finds all objects in the scene using them and selects those objects.
-
Refresh Previews
- Forces Blender to regenerate the thumbnail previews for all materials, useful if a preview seems outdated or blank.
-
Select Unused
- Finds materials that are not assigned to any objects. Marks those as “selected” in the list so you can see (and potentially delete) them.
-
Delete Unused
- Permanently removes all materials in the scene that aren’t assigned to any object.
-
Textured Toggle
- Switches the 3D Viewport shading mode between Material and Texture.
- Helpful if you want to see image textures plugged into your Principled BSDF nodes directly on your objects.
-
Isolate Selected
- When turned on, only shows materials that you’ve explicitly marked as “selected” in the list. Everything else is hidden from the preview grid.
Material Grid
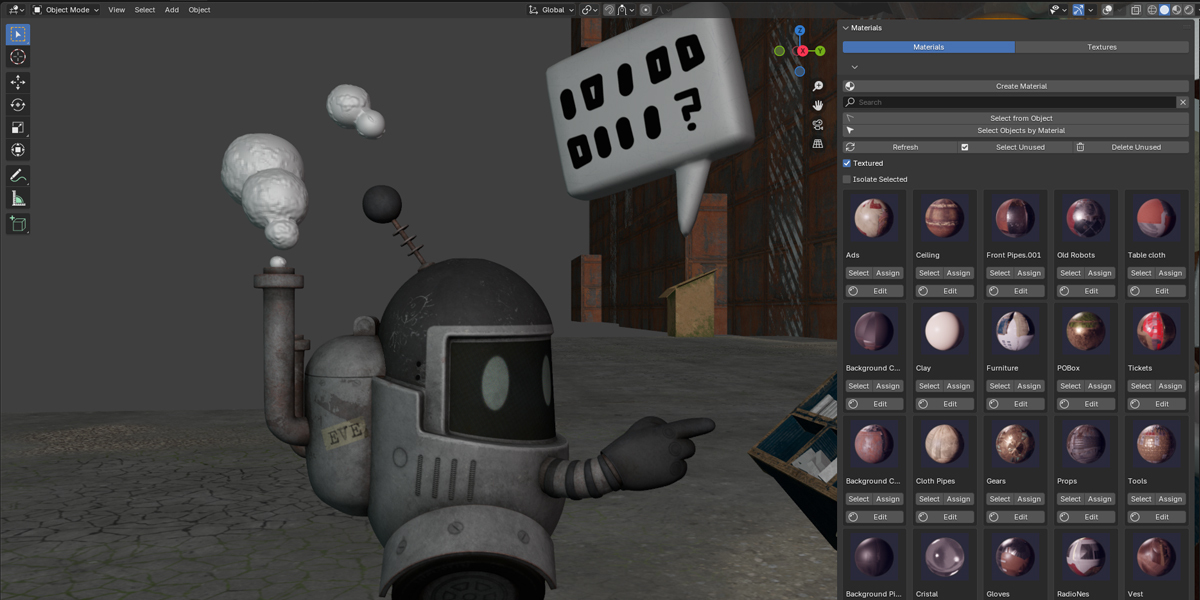
Below these controls, materials appear in a grid. Each material has:
Preview Thumbnail
If Blender has generated a preview, you’ll see the icon. Otherwise, a fallback icon is shown (e.g., “MATERIAL”).Name Label
Displays the material’s name from the Outliner.-
Select / Selected Button
- Toggles whether this material is selected or not.
- Useful when combined with Isolate Selected or the Select Objects by Material operator.
-
Assign
- Applies the chosen material to whichever objects or faces are currently selected in the scene.
- If you’re in Edit Mode, only the selected faces will be updated.
-
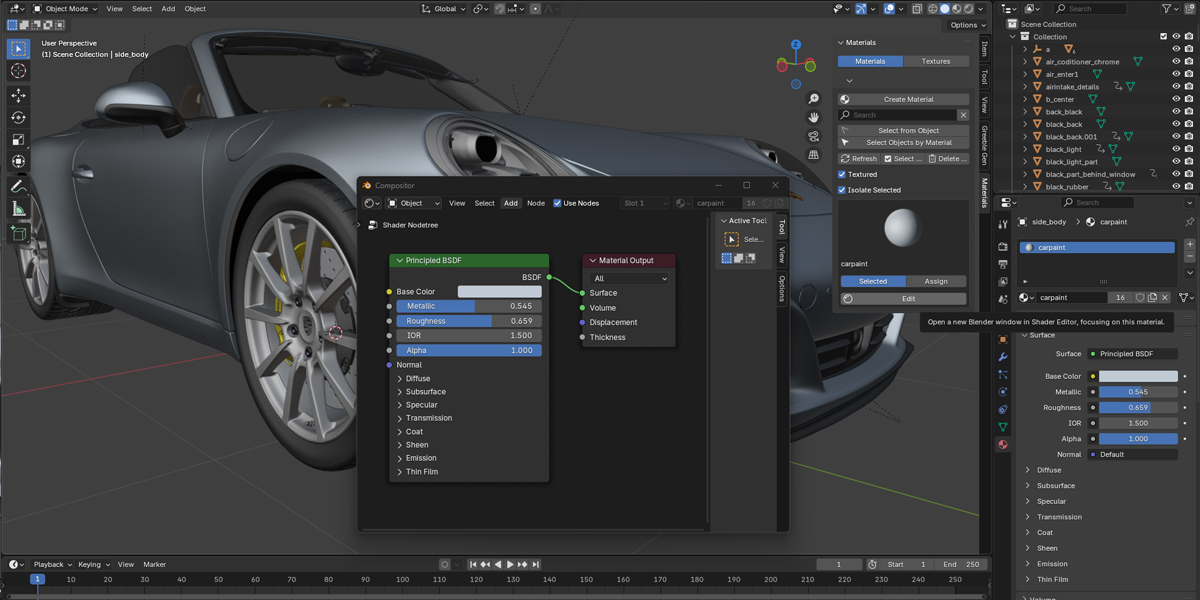
Edit
- Opens a new Blender window in Shader Editor mode, automatically focusing on this material.
- An object that uses this material is chosen so that the Shader Editor is pinned to the correct node tree.
Textures Tab
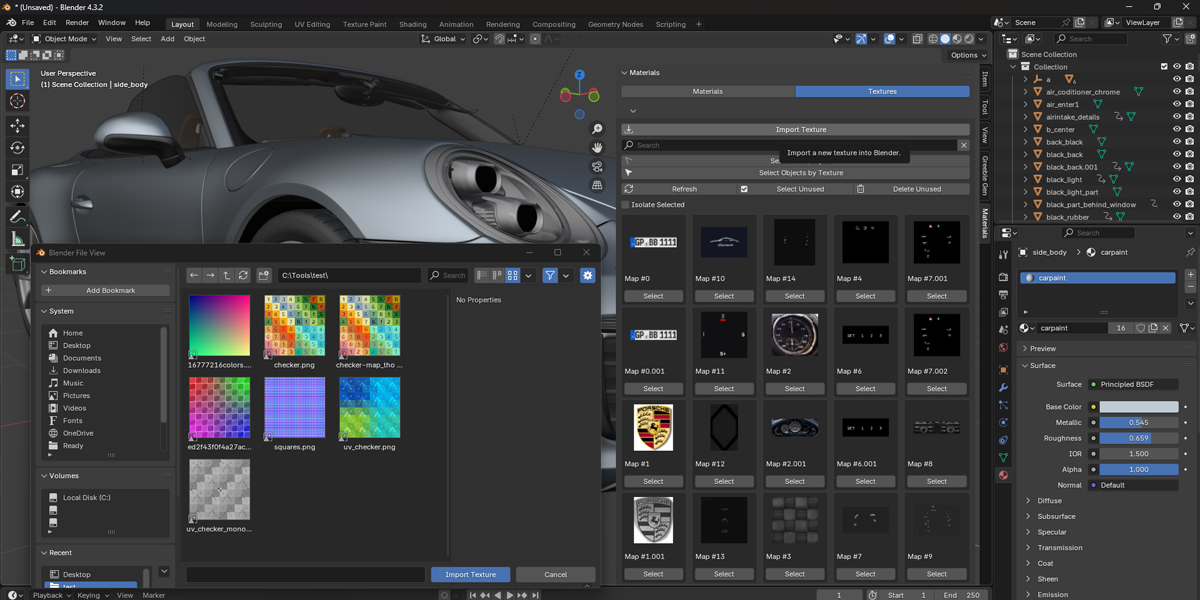
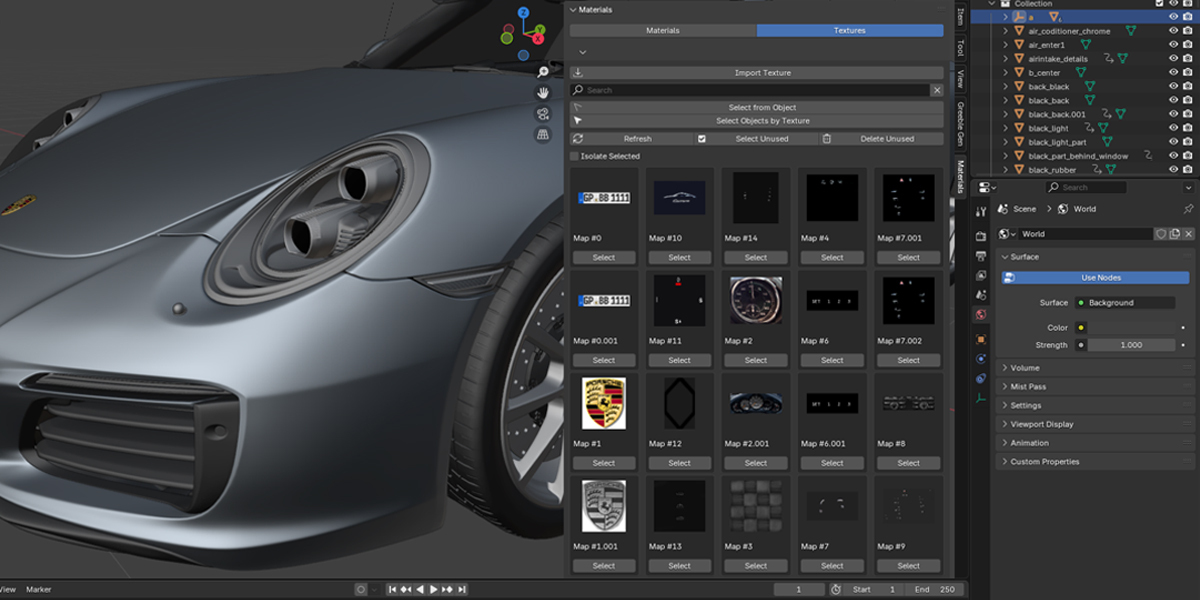
Click the TEXTURES radio button at the top to switch to the Textures UI. You’ll see many features parallel to the Materials tab, but specialized for image data.
5.1 Top Buttons
-
Import Texture
- Lets you select an image file from disk and load it directly into Blender’s images collection.
- The add-on tries to generate or refresh a preview for the newly imported texture.
-
Search Filter
- Type in part of a texture’s name to filter.
- The X button clears the filter.
-
Select from Object
- Checks all textures used by the currently selected objects (or faces) and Select them.
-
Select Objects by Texture
- For each texture you’ve flagged as selected, this finds all objects that rely on it and selects those objects.
-
Refresh Previews
- Forces the reloading or updating of thumbnails for all images
-
Select Unused
- Flags any images not utilized by any material node as “selected,” letting you quickly see which are unreferenced.
-
Delete Unused
- Permanently removes any images that aren’t in use by a material.
-
Isolate Selected
- Displays only images you’ve toggled as “selected” in the grid.
5.2 Texture Grid
Similar to the Materials grid, each texture entry has:
-
Preview Icon
- Shows the texture’s thumbnail if available.
-
Name Label
- Displays the texture’s name
-
Select / Selected Button
- Toggles whether this texture is selected
- Useful for focusing only on certain textures, or for operations like “Select Objects by Texture.”

Discover more products like this
Shader script classic asset deck tool theme shading style preview tools grid shelf texture materials previewer organizer Isolate hypershader drawer editor list slate manage hypershade Edition manager explore explorer Material import editors interface maya 2025addon file scripts editing