Mesh Matify
 EasyAddons
Installation
- Download the MeshMatify addon files
- In Blender, go to Edit > Preferences > Add-ons
- Click "Install" and select the downloaded ZIP file
- Enable the addon by checking the box next to "MeshMatify"
Interface
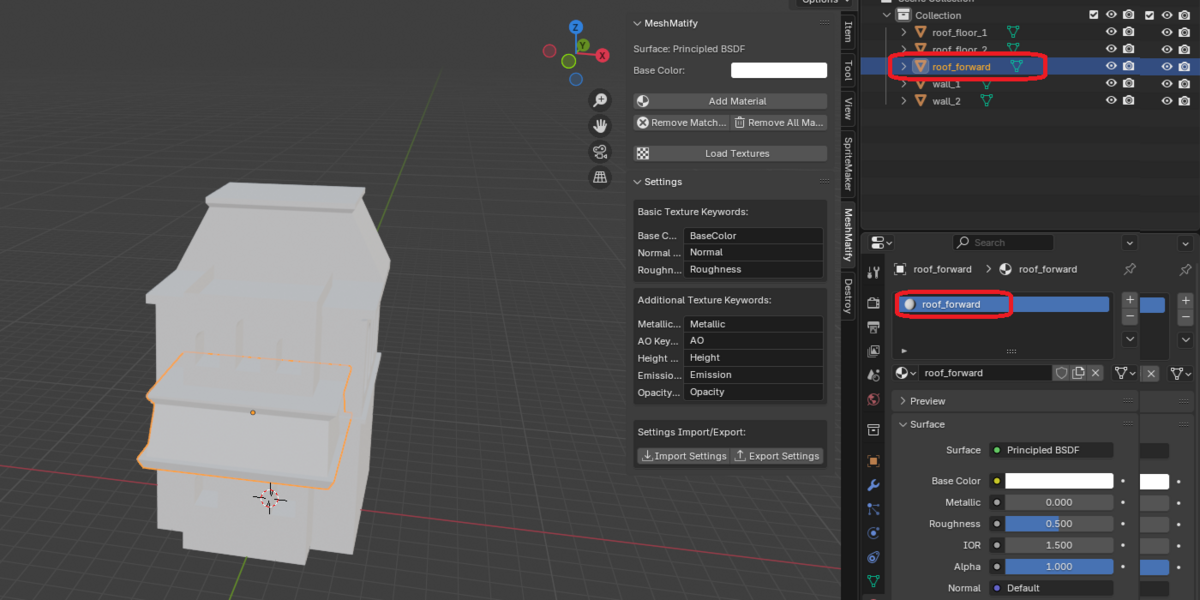
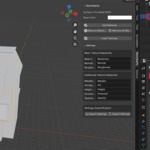
After installation, you can find MeshMatify in the 3D View sidebar. Open the sidebar by pressing N or clicking the small arrow on the right side of the 3D View, then select the "MeshMatify" tab.
The interface is divided into two main panels:
- Main Panel - For basic material creation and management
- Settings Panel - For configuring texture keywords and advanced options
Basic Usage
Creating Materials
- Select one or more mesh objects in the 3D View
- Adjust the "Base Color" setting in the MeshMatify panel
- Click "Add Material" to create and apply a material to each selected object
- The material will be named the same as the mesh object
Removing Materials
- Click "Remove Matching Material" to remove materials that match the mesh name
- Click "Remove All Materials" to clear all materials from the selected objects
Working with Textures
Loading Textures
- Select one or more mesh objects
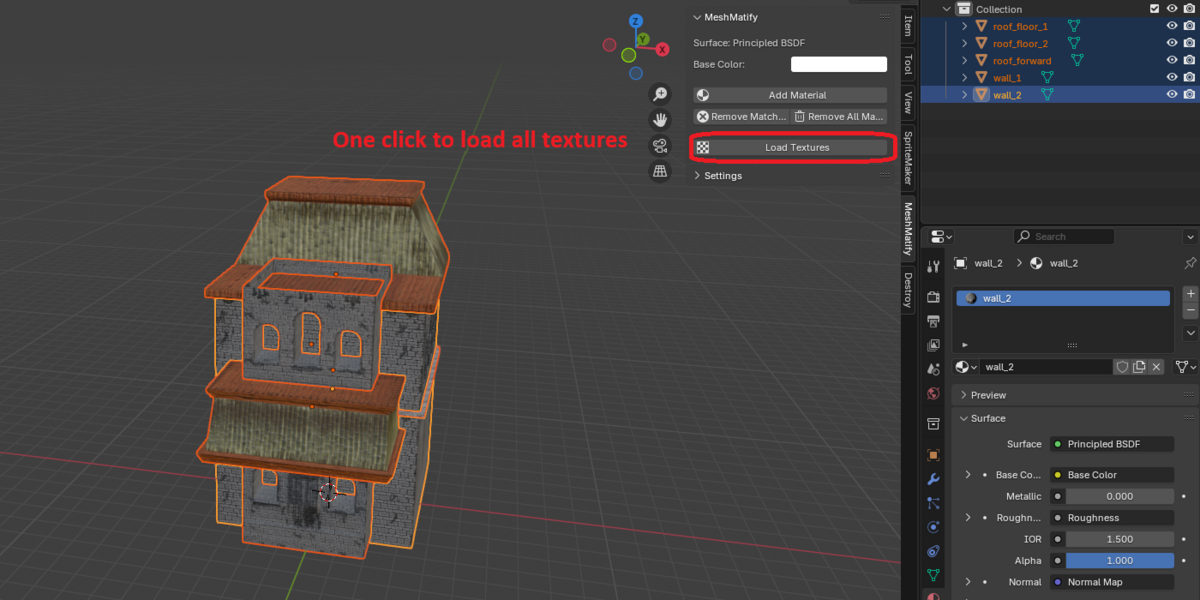
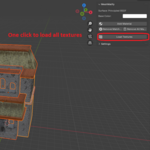
- Click "Load Textures"
- Navigate to the folder containing your texture files
- MeshMatify will:
- Search for textures that include the object's name
- Look for keywords like "BaseColor", "Normal", etc.
- Automatically set up a proper material with all found textures
Texture Keywords
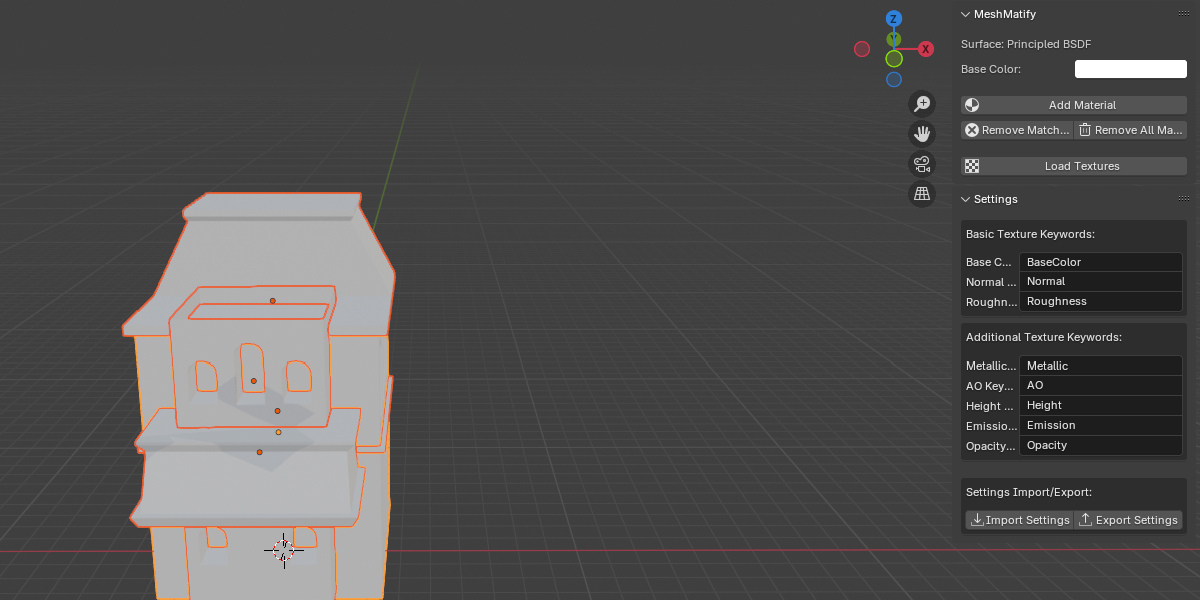
MeshMatify looks for specific keywords in texture filenames. You can customize these keywords in the Settings panel:
- Basic Texture Keywords:
- Base Color Keyword (default: "BaseColor")
- Normal Keyword (default: "Normal")
- Roughness Keyword (default: "Roughness")
- Additional Texture Keywords:
- Metallic Keyword (default: "Metallic")
- AO Keyword (default: "AO")
- Height Keyword (default: "Height")
- Emission Keyword (default: "Emission")
- Opacity Keyword (default: "Opacity")
Saving and Loading Settings
You can save your keyword preferences and material settings:
- Open the Settings panel
- Under "Settings Import/Export":
- Click "Export Settings" to save your current settings to a JSON file
- Click "Import Settings" to load previously saved settings
Recommended Workflow
- Organize your texture files with proper naming conventions:
- Include the object name in the texture filename
- Add appropriate keywords (e.g., "ObjectName_BaseColor.png")
- In Blender:
- Select your objects
- Use "Add Material" for basic materials, or
- Use "Load Textures" to automatically set up materials with textures
- Adjust settings as needed and export them for future use
Texture Naming Examples
For an object named "Chair":
- Chair_BaseColor.png
- Chair_Normal.png
- Chair_Roughness.png
- Chair_Metallic.png
- Chair_AO.png
- Chair_Height.png
- Chair_Emission.png
- Chair_Opacity.png
The addon will find these textures and set up a proper PBR material with all channels configured correctly.
Notes
- The addon only supports Principled BSDF shader currently
- Materials are named the same as the mesh objects they're applied to
- The texture loading system uses keywords to determine the texture type
- Make sure your textures use common image formats (PNG, JPG, etc.)
$3
Have questions about this product?
Login to message
| Blender Extension Compatible | Yes |
| Published | over 1 year ago |
| Blender Version | 4.3, 4.2, 4.1, 4.0 |
| Extension Type | Add-on |
| License | GPL |
