Metal Textures For Blender 3D
 BienenFisch Design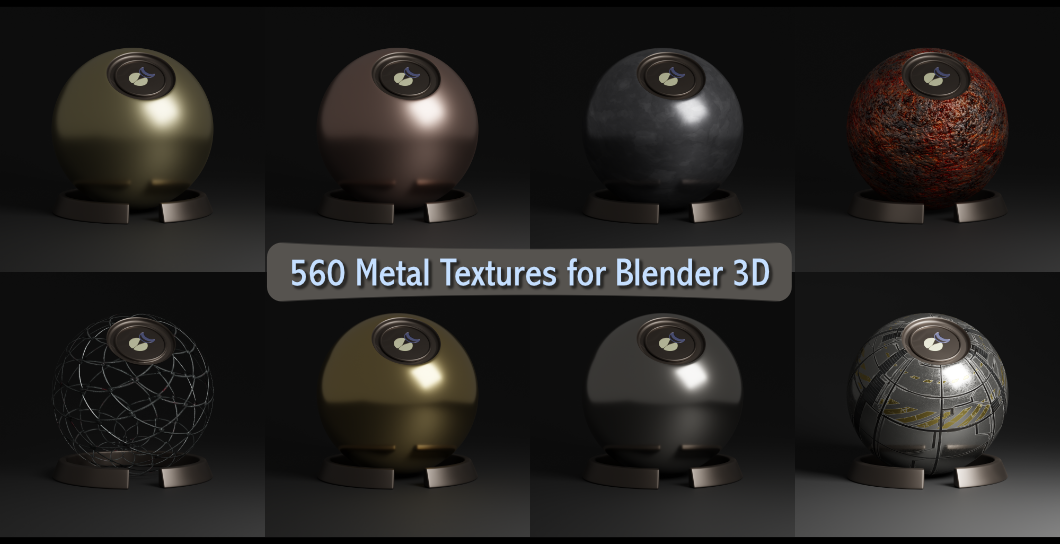
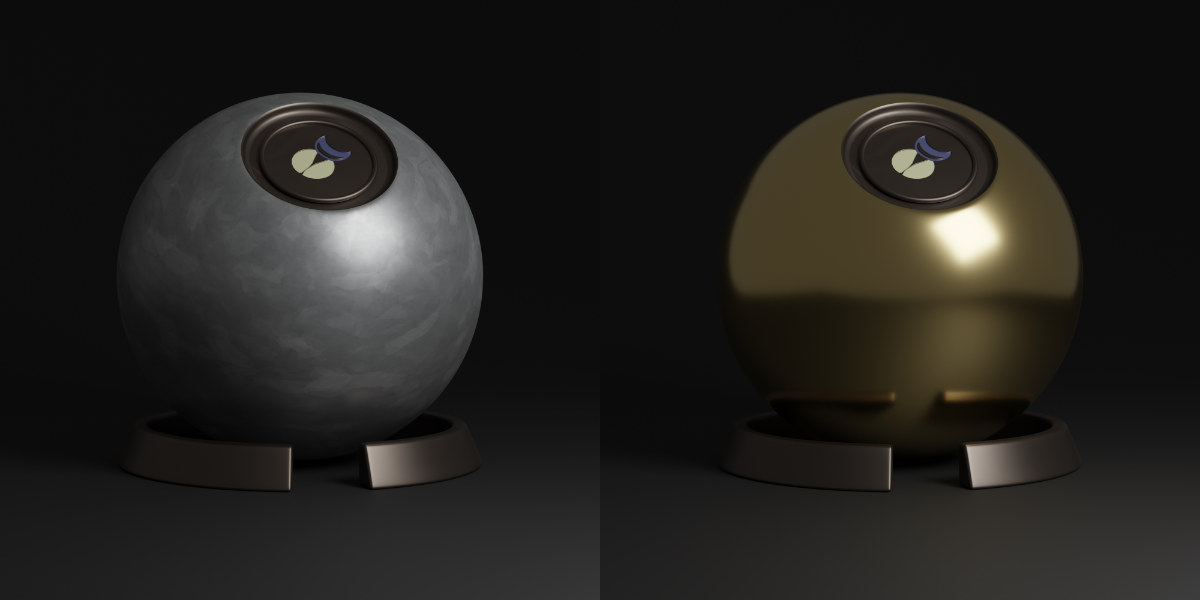
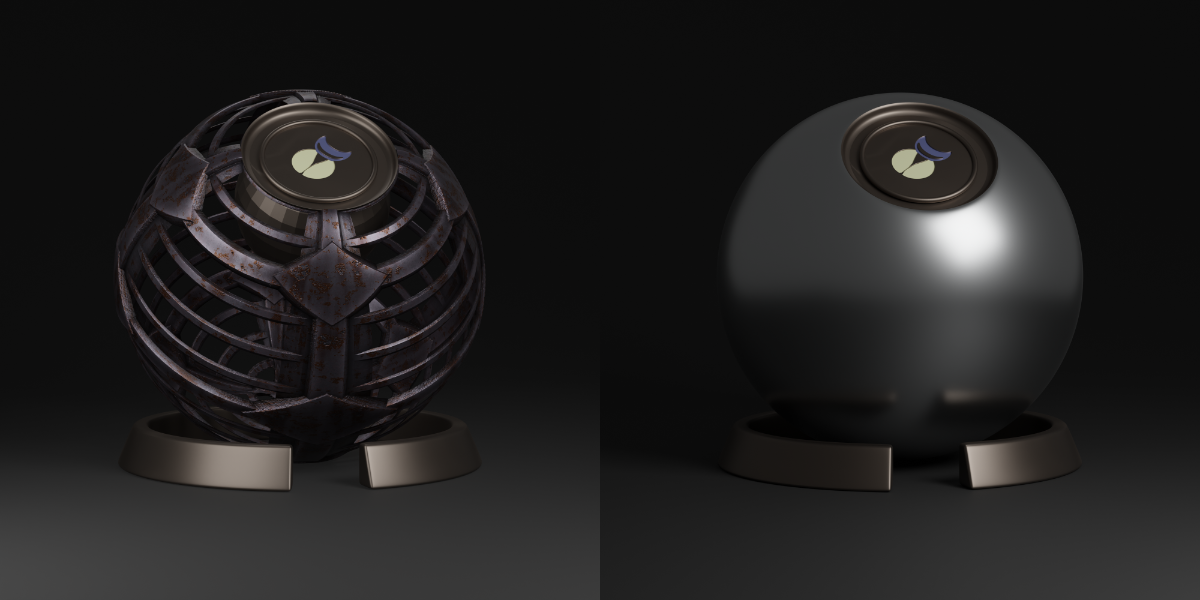
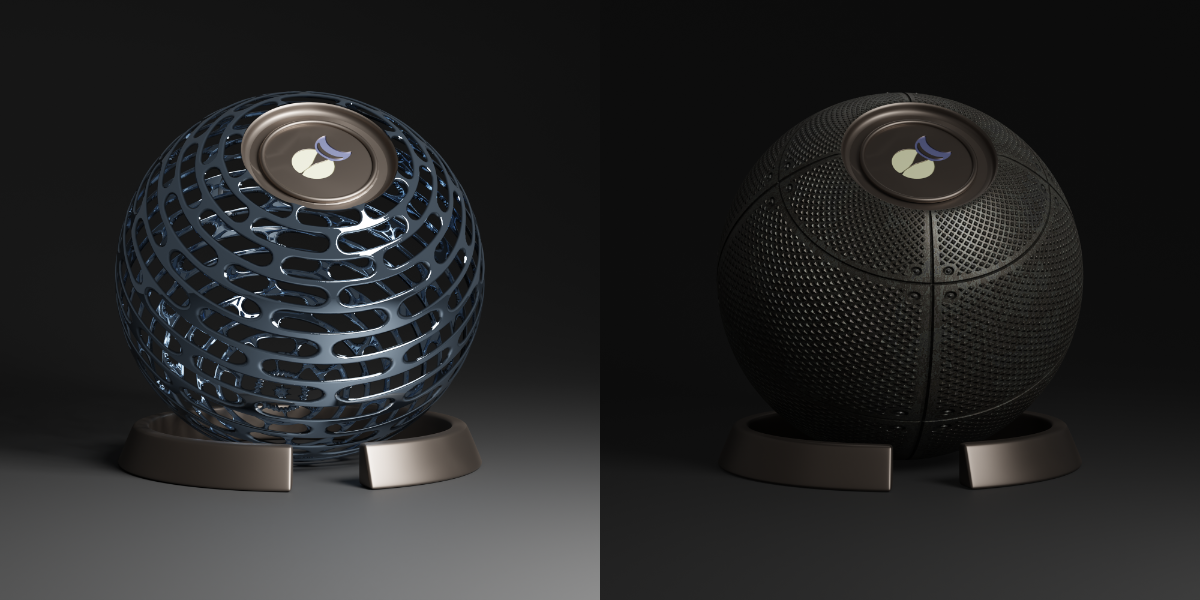
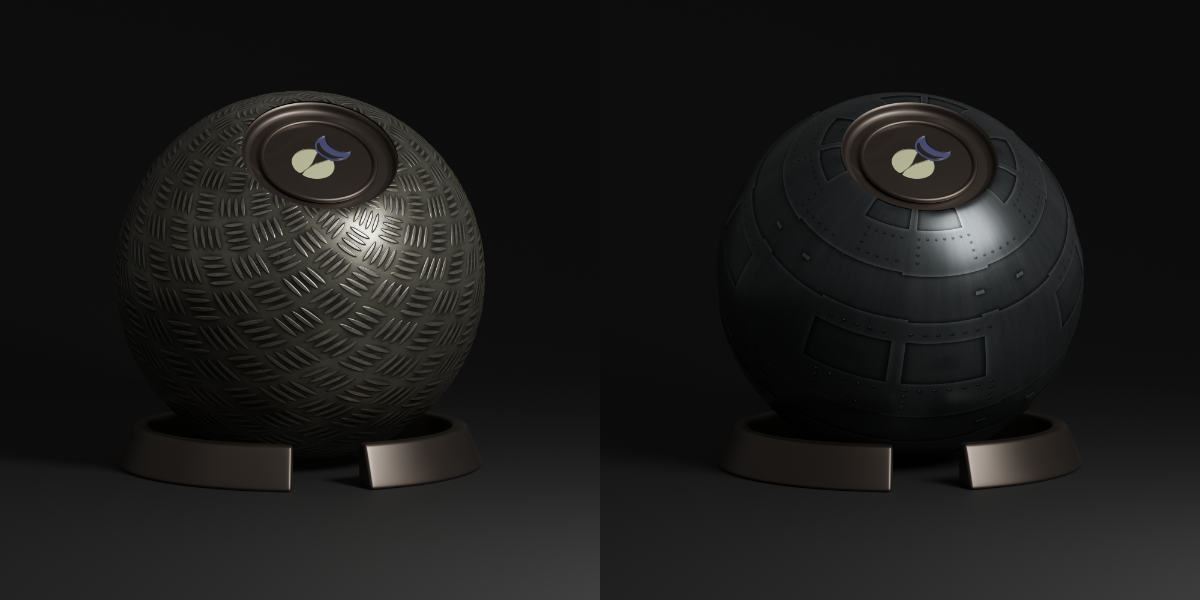
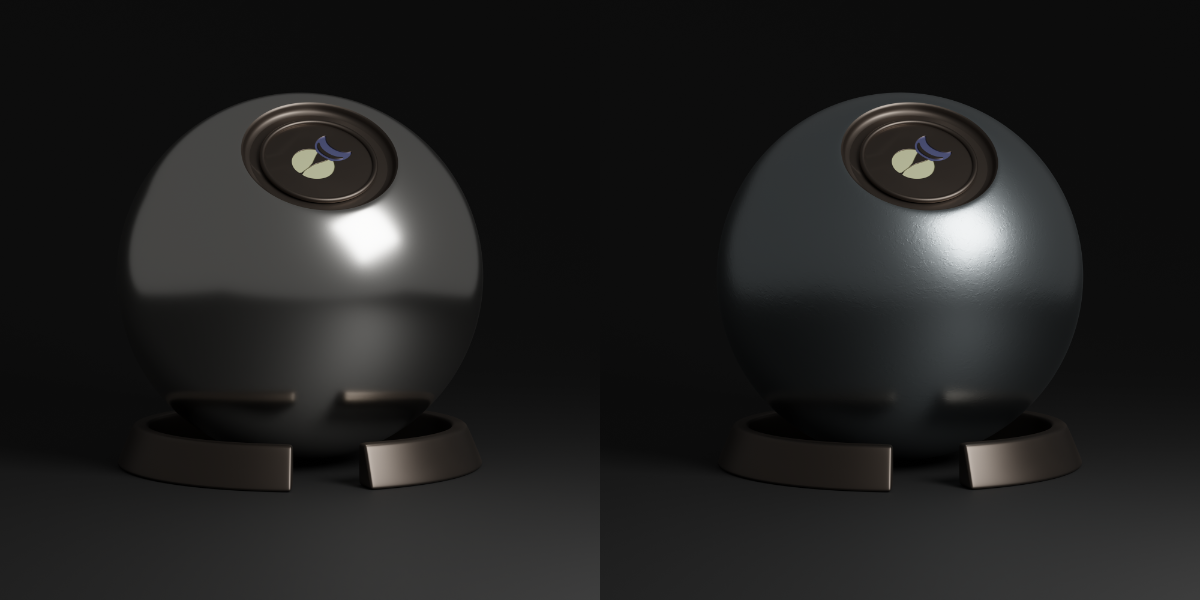
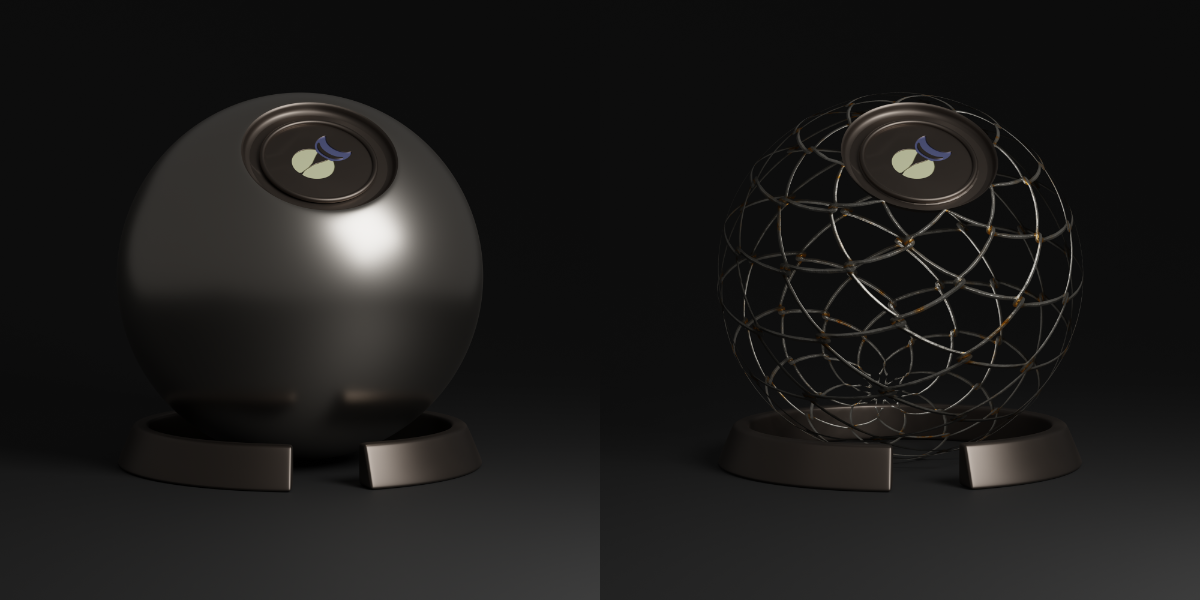
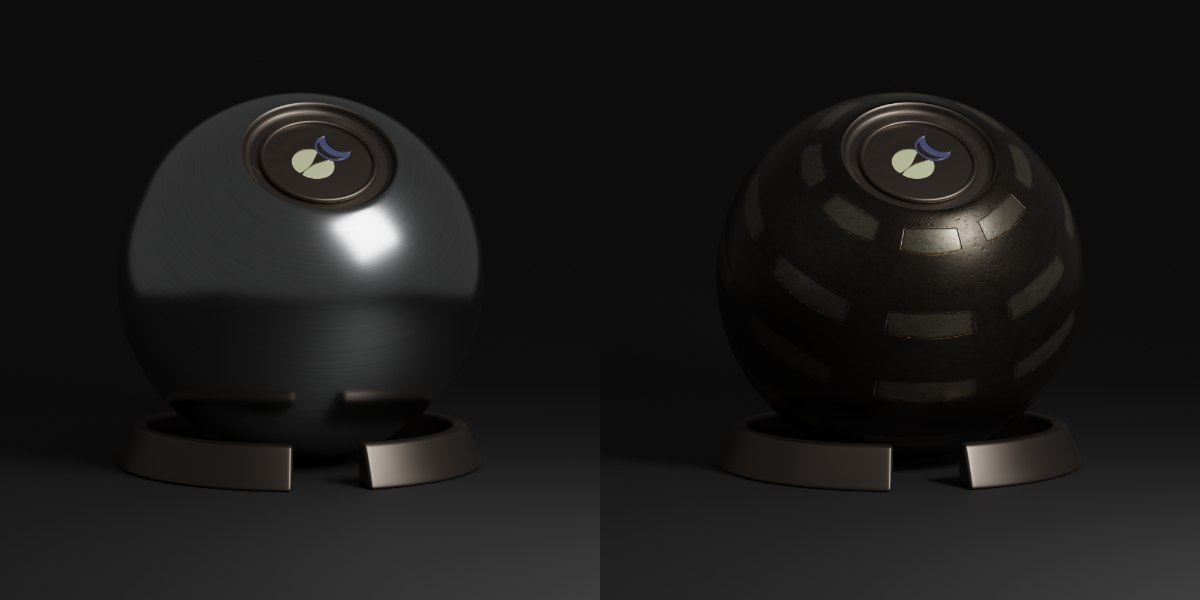
Metal Textures - How to install
Note: For unpacking the *.zip files I recommend the program 7-zip. You can download 7-zip here: https://www.7-zip.org/.
- Navigate with Windows Explorer to the directory with the downloaded *.zip files.

- Right mouse click on the first zip File (metal-textures-for-blender-3d.zip.001). Choose from the context menu 7-zip -> Extract files.
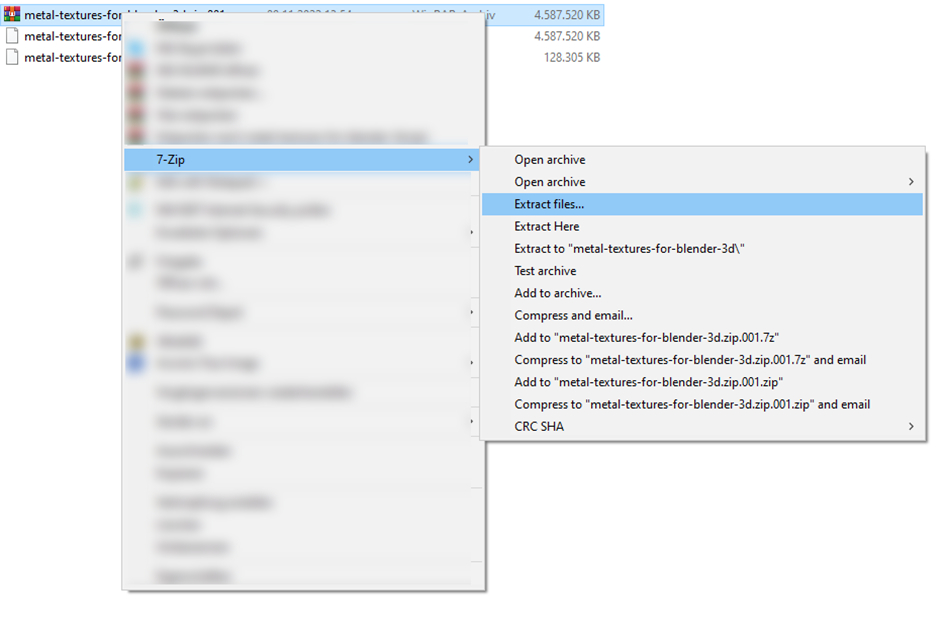
- Use the following settings and click OK.

- Lean back and have a coffee.

Metal Textures - How to use
- After extracting all *.zip files into a folder of your choice (for example: C:\BFD Metals) start Blender 3D and navigate to Edit – Preferences – File Paths. Then enter the library name (for example: BFD METALS) and the path to the metal textures you just extracted (for example: C:\BFD Metals).

- Save the settings (Preferences) and restart Blender.

- Drag upwards while holding the left mouse button (see picture).

- Navigate to the Editor Type in the bottom left and select the Assets Browser (Shortcut: Hold Shift and press F1 twice).

- Click with mouse on Current File and then click on BFD Metals.

- A new entry called BFD Metals should now appear.

- Click now BFD Metals and you will see all metal categories.

That's all. Happy Blending.
Troubleshooting For Blender 5.x and newer
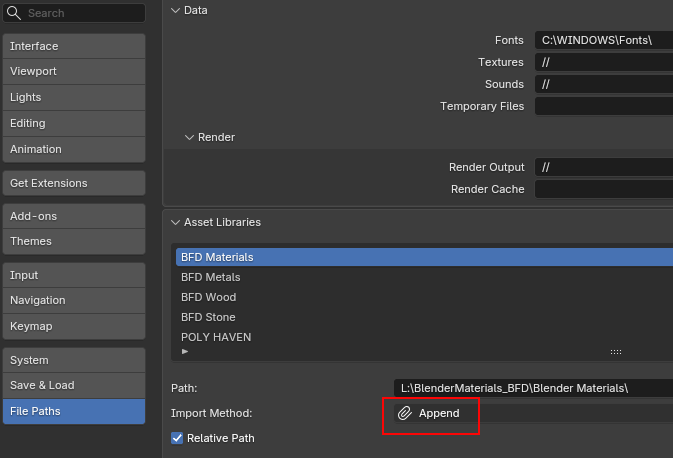
In Blender 5.x (and newer versions), the default setting forasset import is "Pack." This prevents you from editing parameters inthe Blender shading options. The following solution helps you resolve thiscommon issue in version 5.x:
1. Start Blender
2. Navigate to Edit -> Prefences -> File Paths
In Blender 5.x, the default setting for asset import is"Pack." To modify BienenFisch Design Texture Packs you must change this setting to "Append" (see picture below).
$25
Have questions about this product?
Login to message
| Sales | 20+ |
| Published | almost 4 years ago |
| Blender Version | 3.1 - 5.2 |
| Render Engine Used | Cycles |
| License | Royalty Free |