Motionflow
 Vederhus Film



Installation
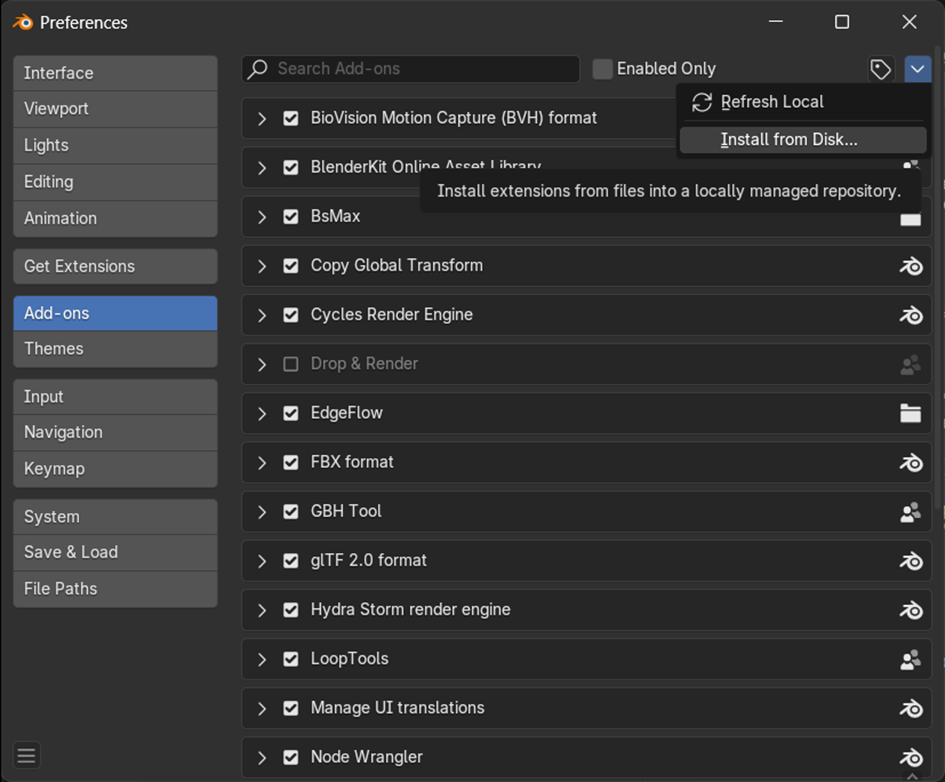
Download the *.zip file from Blender Market and going to Edit > Preferences > Addons > Install from Disk…
User Interface
Once the addon has been installed, it will appear in your right-hand sidebar under a tab called MotionFlow. This sidebar is located to the right of the 3D view and to the left of the object panel.
Once expanded, the addon’s main UI panel looks like this:
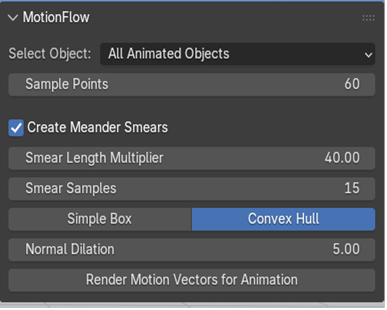
Select Object: Select the animated object for which to calculate motion vectors, or simply select All Animated Objects. In this case, each animated object in a scene will have its own folder inside the selected output folder. Please note that should you choose to select All Animated Objects, there will be a direct correlation between Sample Points, the number of animated objects in a scene, and the speed of the calculations.
Render Motion Vectors for Animation: This brings up the output folder selection dialog where the calculated motion vectors will be stored.
Sample Points: The number of points that are sampled per object. A higher value will increase the fidelity of the motion vectors but will take longer to calculate.
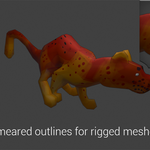
Create Meander Smears
Check this to generate motion smears in addition to motion vectors. It means that the pass will take slightly longer to complete. Please see the “Outline Smear.blend” demo for an example of outline smears.
Smear Length Multiplier
The length that the smear will be multiplied by, in pixels. This has no impact on calculation speed.
Smear Samples
The number of samples to use when smearing the outline. More samples means more calculations.
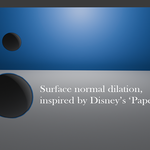
Normal Dilation
How far along an object’s normal to dilate the outline (in object-space units).
Set this to 0 for no dilation.
Simple box
Uses a simple box outline to mask objects. Not very accurate, but faster.
Convex hull
Calculates a Convex Hull to use for masking objects. More accurate, slightly slower.
Output folder selection interface
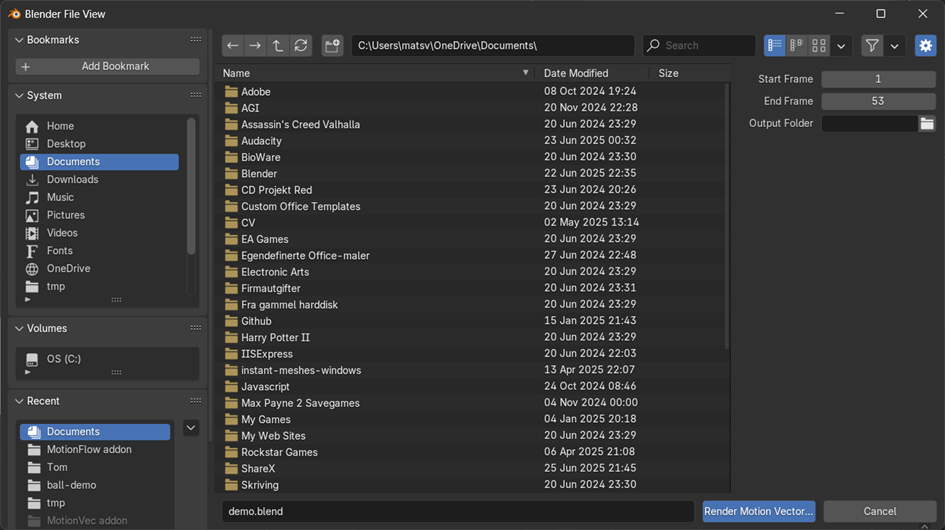
Start Frame: Start frame of your animation, defaults to one.
End Frame: The end frame of your animation (or the end frame of the first object’s animation, if you’re calculating motion vectors for every object in a scene).
Output folder: Here, you can manually specify an output folder. Don’t click the folder icon – it’ll just show a warning that Blender can’t launch another browser dialog. The path has to be typed or copied manually.
Render Motion Vectors for Animation: Clicking this will output the motion vectors for the currently selected object (or all objects in a scene) to the selected output folder. Inside the folder, the addon will create a new folder with the name specified in the text field to the left of the button. If more than one object is being saved, one folder will be created for each object inside the folder.
Have questions about this product?
Login to message
| Published | 9 months ago |
| Blender Version | 3.6 - 5.0 |
| Extension Type | N/A |
| Render Engine Used | Cycles, Eevee, Freestyle |
| License | GPL |