 MF3D
MF3D



Install:
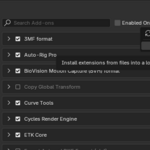
Blender => Edit => Preferences => Get Extensions OR Add-ons => Downward Arrow in top right corner => Install from Disk => Select .zip and click Install from Disk
After installation it should be automatically activated.
If you deactivated it before then do the following to activate it again:
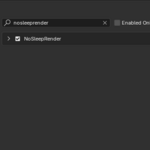
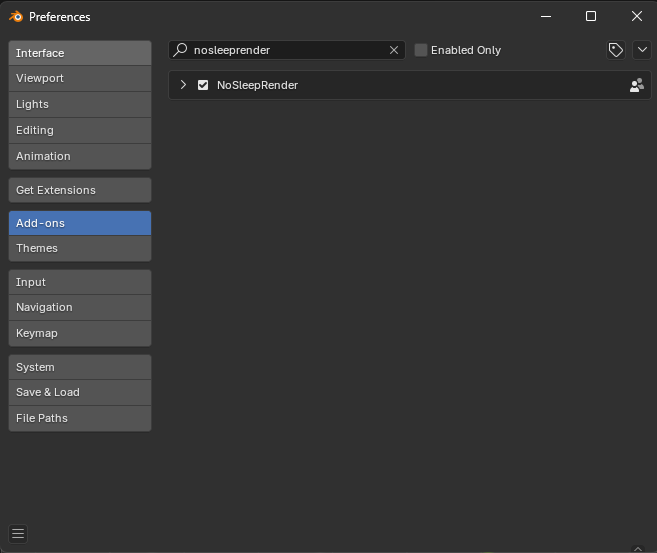
Blender => Edit => Preferences => Add-ons => Search for 'NoSleepRender' in the searchbar at the top => Click the checkbox on the left of 'NoSleepRender'
Testing (WINDOWS):
On windows in the searchbar look for 'Power Plan'.
OR
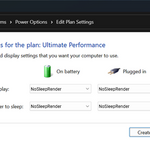
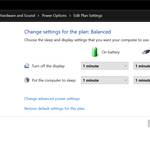
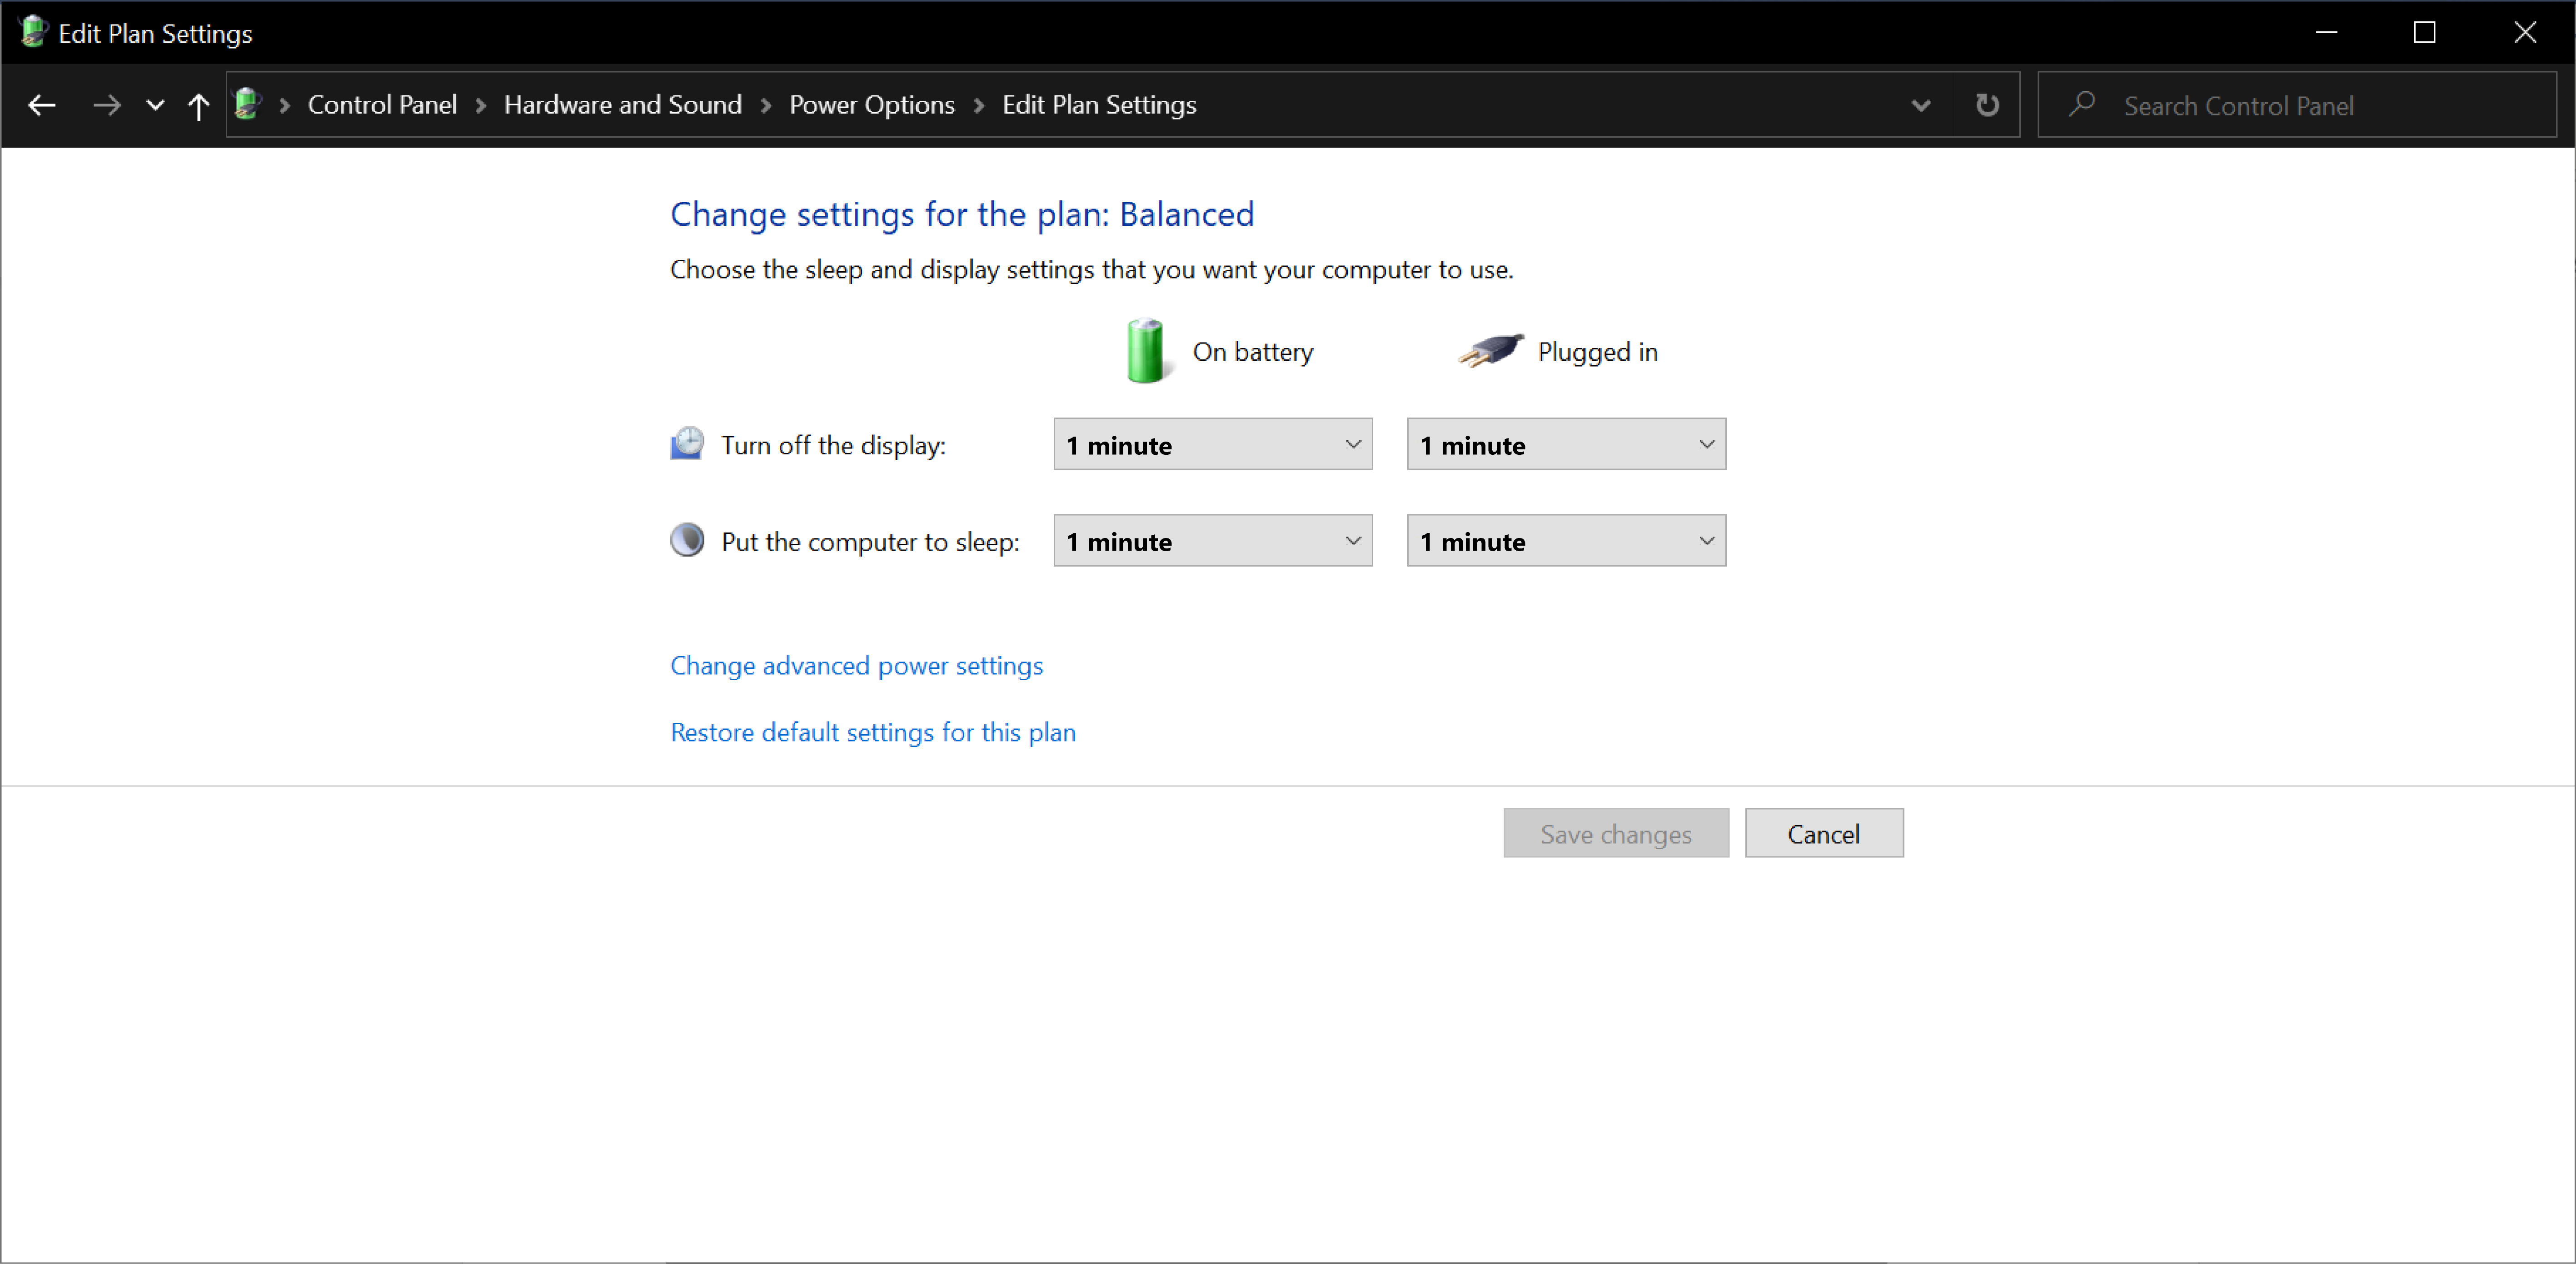
On windows go to Control Panel => Hardware and Sound => Power Options => Select your power plan and click on "Change plan settings"
Here you can now change the timeout values. For testing you can set all to 1 Minute.
(After you have confirmed it works you can change the values back to your preference.)
Start rendering a longer render. For example an animation that might take several minutes or hours to finish.
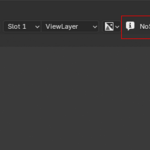
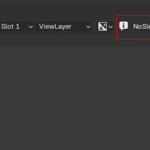
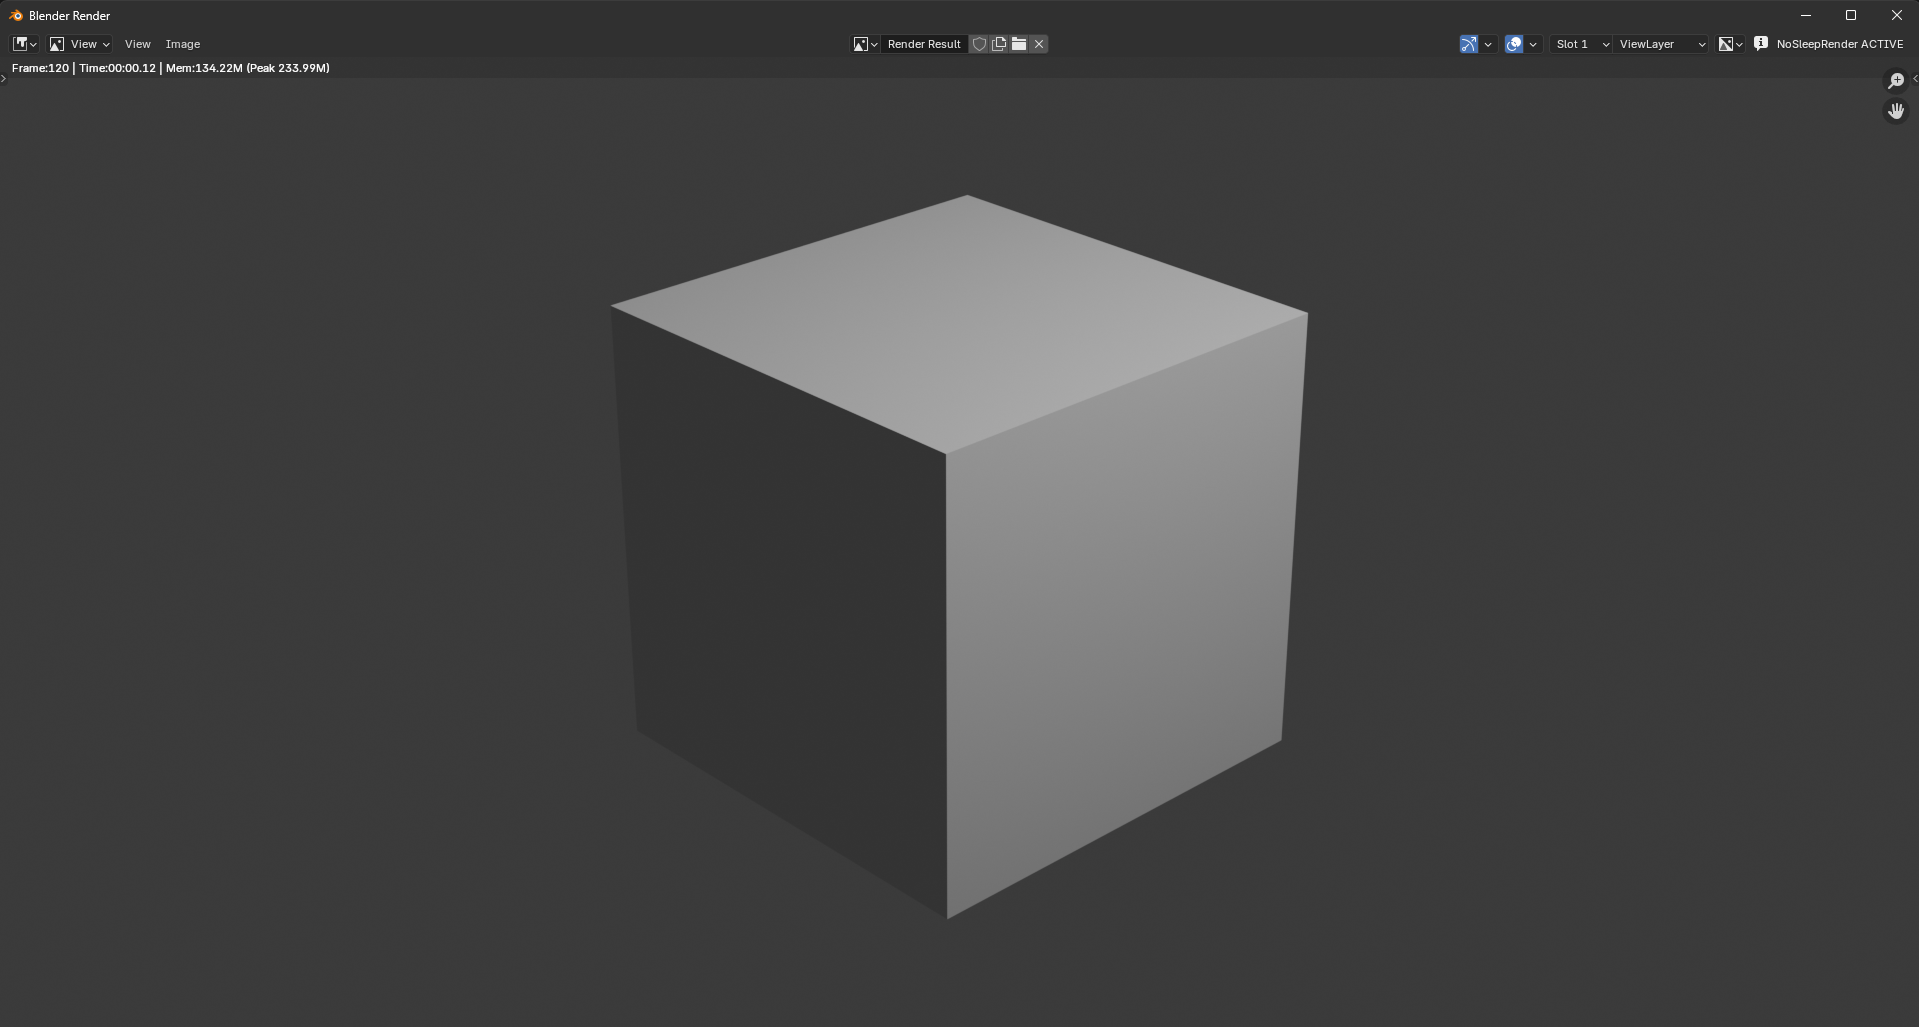
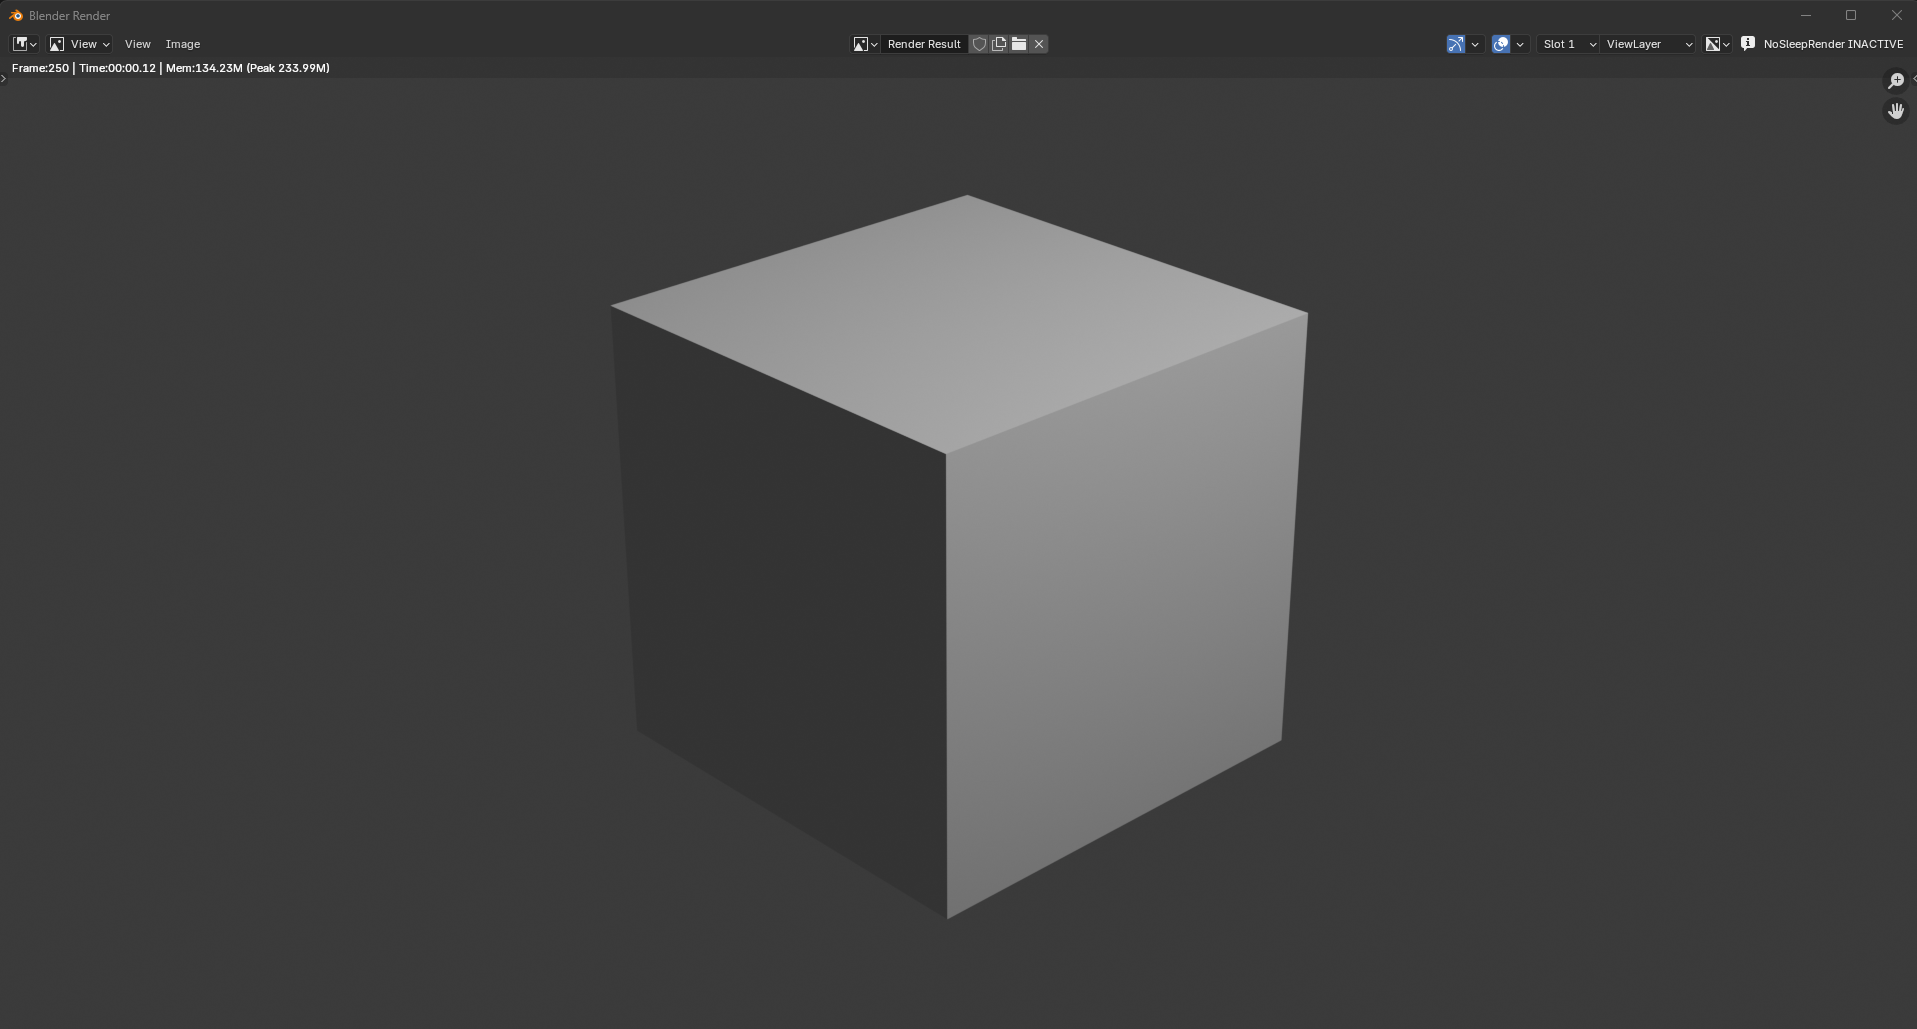
In the render preview window while it's rendering the frames you will see in the top right corner an indicator if 'NoSleepRender' is ACTIVE or INACITVE.
While it shows ACTIVE. Windows will NOT go to sleep/hibernation mode. The rendering will continue.
Once the render finishes it will show INACTIVE. Windows will be allowed to go to sleep/hibernation mode again.
It will use the previously set timeout. (In the example above after 1 minute)
Have questions about this product?
Login to message
| Published | over 1 year ago |
| Blender Version | 3.0 - 5.2 |
| Render Engine Used | Cycles |
| License | GPL |
Discover more products like this
nosleeprender battery animation off power blender sleep overnight hibernation on 3D rendering