 Jooapa


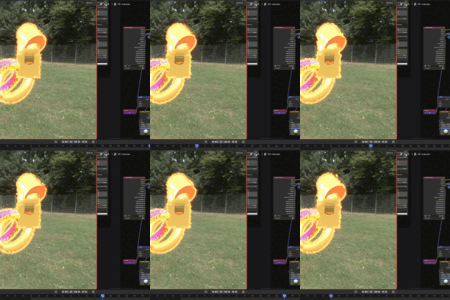
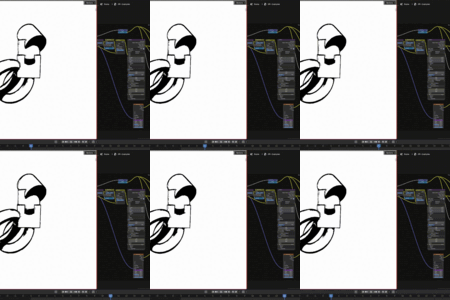
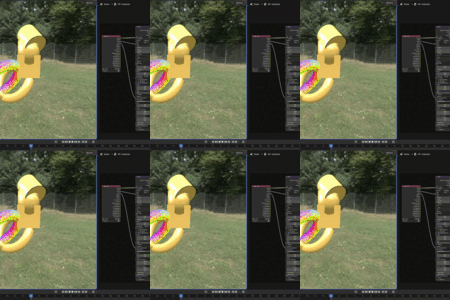
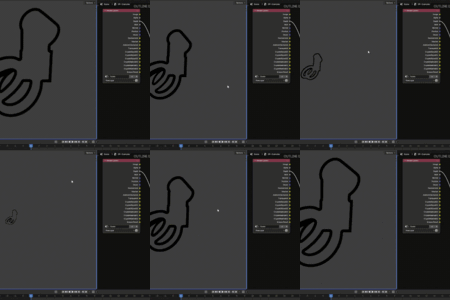
Outline+ is a really big Compositor node for Blender 5.0+. You can think of Outline+ as a workflow rather than just a node.
It allows you to create outlines for your 3D models in a very flexible way. You can customize the thickness, color, and style of the outlines to fit your artistic vision.
ℹ️ Cursived text on lists means the default value.
Workflow
Node Setup
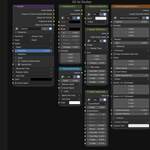
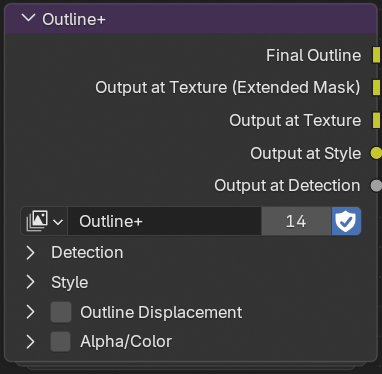
To use Outline+, you need to append it to your blender project from the provided .blend file. Once appended, you can connect it to your Compositor node tree.
Asset Library
This also supports the Asset Library. Just add the Outline+*.blend file to a folder and select the folder in the preferences -> File Paths -> Asset Libraries -> +
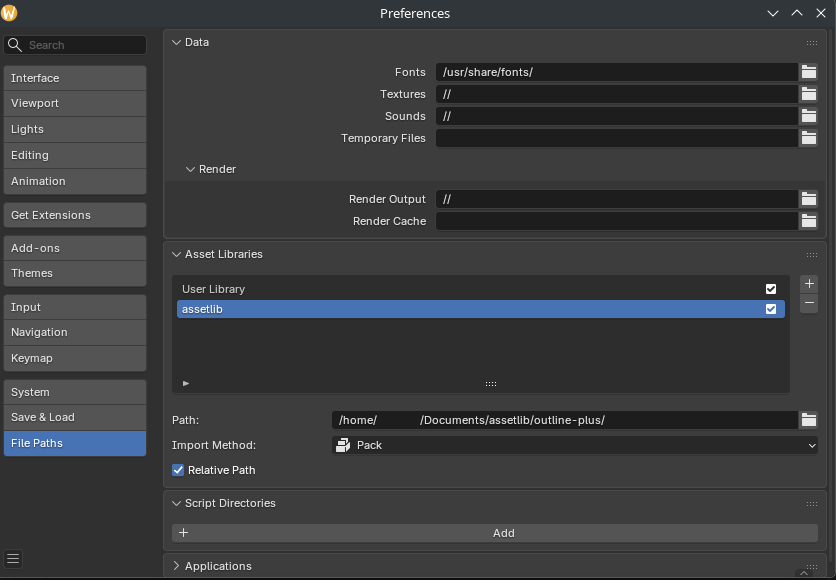
In this Setup i have
|outline-plus/
|- ./Outline+.blend
In the asset library you can drag n drop the assets. (There are example outlines, and the laast one is the main Outline+ Node)

Detection
First step is to detect any edges in your render. The Detection tab allows you to choose different methods for this.
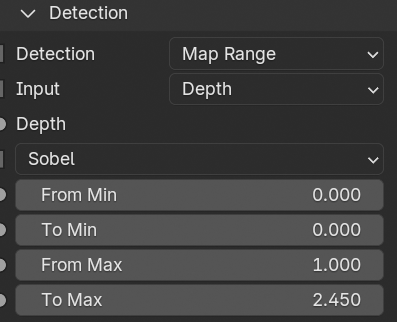
There are presets available for placing depth, normal and Cryptomatte passes in your render layers. You can also manually connect these passes to the corresponding inputs of the Outline+ node.
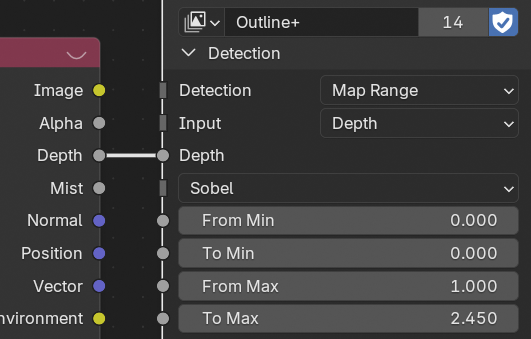
(at all steps, you can get the output of each section by connecting the corresponding output socket to a Viewer node)
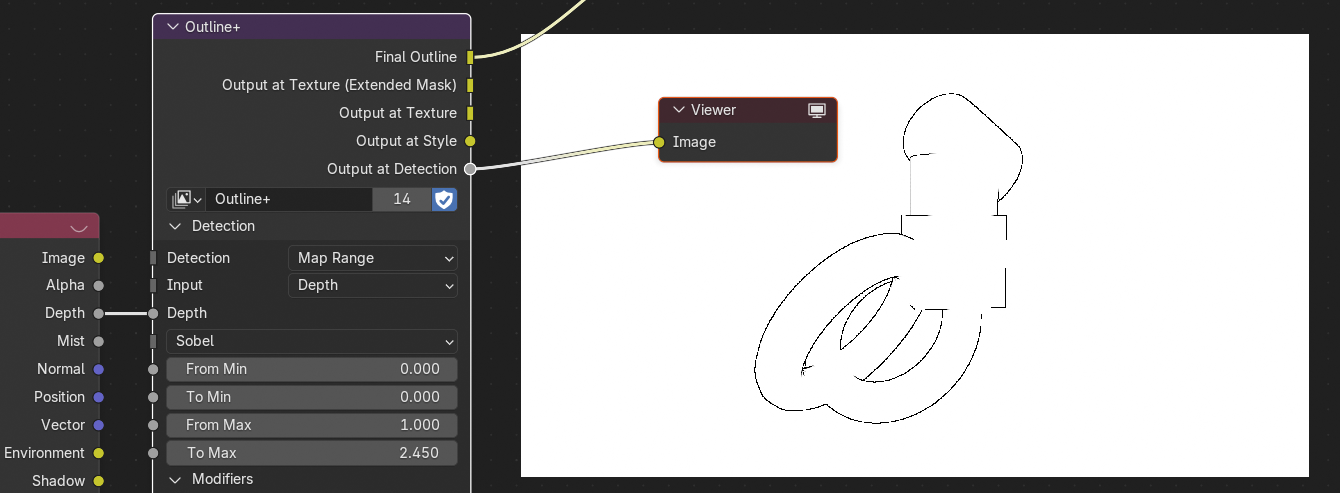
In example above, the Depth pass is used with the sobel filter to detect edges based on depth differences.
Detections
Detections are the ways you can modify how edges are shown on the render using all the data from the filters (in this case "Sobel").
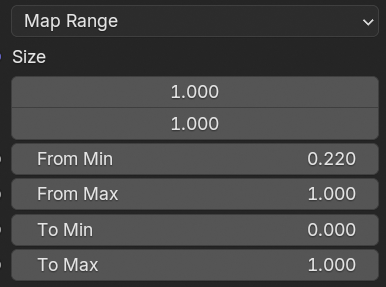
Map Range — Four value floats that allow you to remap the input values to a new range.
Greater Than — A value that sets the minimum value for an edge to be considered. Values below this will be ignored.
Intersection — When enabled, this option will only show edges that intersect with other edges, creating a more complex outline effect.
↳ Once selected, the Cryptomatte and Depth options appear. These are necessary to define which edges will be intersected.
None — No additional modifications are applied to the detected edges.
Modifiers
Modifiers are additional effects that can be applied to the detected edges to enhance their appearance.
Depth-Based Width — This modifier adjusts the width of the edges based on their depth in the scene using thresholds. (Must connect Depth pass to the input)
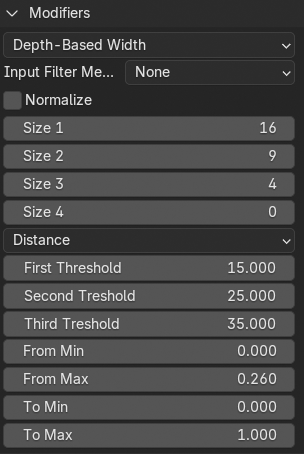
None — No modifiers are applied to the detected edges.
Style
Once the edges are detected, you can customize their appearance in the Style tab. (No color management is applied here)
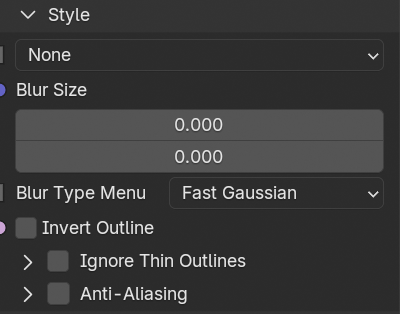
Dilate/Erode — These options allow you to increase or decrease the thickness of the edges.
Size — A value that sets how much to dilate or erode the edges.
Type
Steps — Applies the effect in discrete steps, creating a more pixelated look.
Threshold — Creates a smoother transition for the dilate/erode effect.
↳ Falloff: Creates a smoother transition for the threshold effect.
Distance — Creates a more natural look.
Feather — Softens the edges of the dilate/erode effect.
↳ Smooth, Sphere, Root, Inverse Square, Sharp, Linear
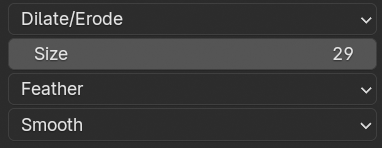
Example render where i use feather smooth:
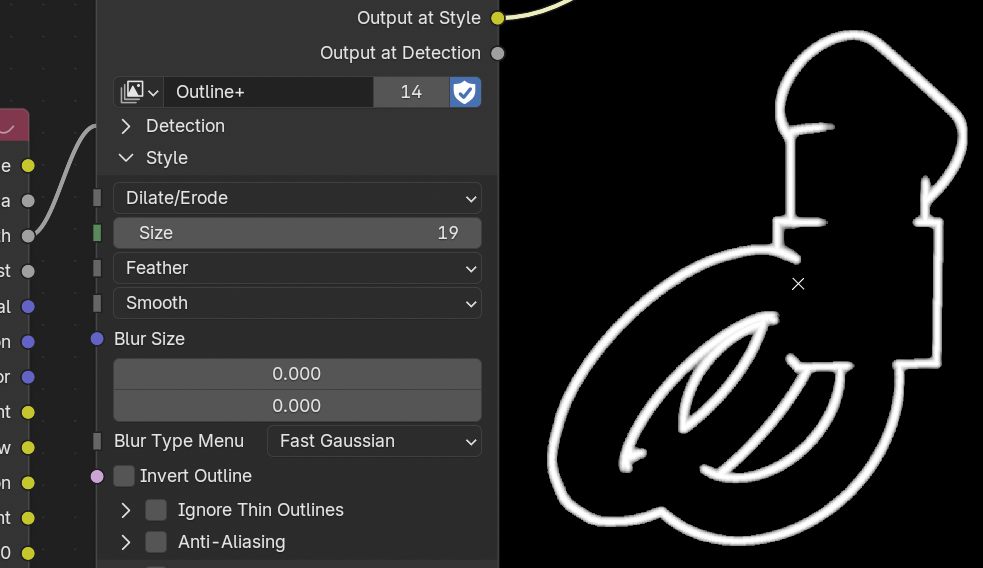
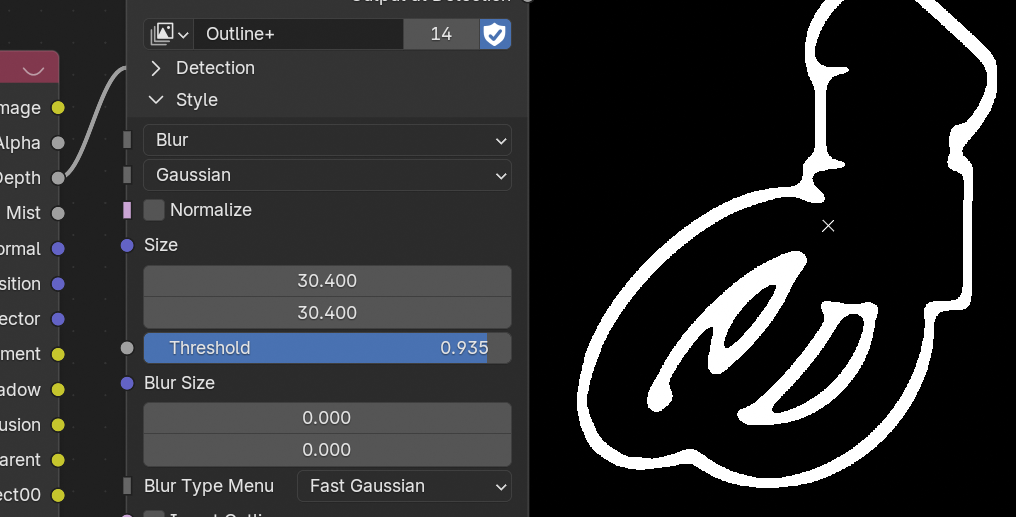
Blur — This option applies a blur effect and threshold the edges to create a softer look.
Blur Types — There are all the default blur types from Blender.
Normalized — When enabled, this option normalizes the blur effect. Creates a more consistent blur across the edges.
Size — A value that sets the amount of blur applied to the edges.
Threshold — A value that sets the minimum value for an edge to be considered after blurring.
ie. where I aplied a lot of blur and low threshhold creating this smooth feeling in the edges:
Kirsch — This option applies a Kirsch filter to the edges. Sometimes creating a cool double edge effect.
None — No additional styling.
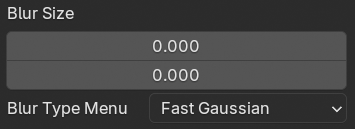
Then you can blur the whole thing if you want to soften the outlines even more.
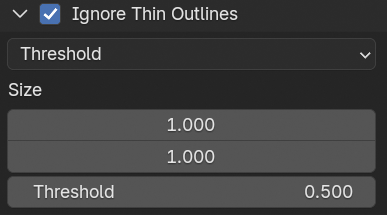
Ignore Thin Outlines
If this option is enabled, any outlines that are thinner than the specified threshold will be ignored. This can help to reduce noise and unwanted details in the final outline effect.
There are two types of methods to ignore thin outlines:
Threshold
Map Range
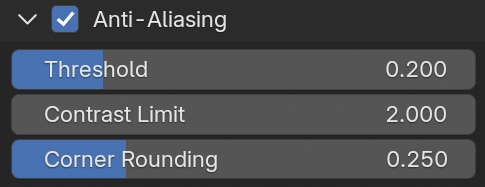
Anti-Aliasing
You can choose to apply anti-aliasing to the outlines to smooth out jagged edges.
aaaand at the you can choose wether you want to Invert the outlines or not.
Outline Displacement
This section allows you to displace the outlines based on a texture or procedural pattern.
General Settings
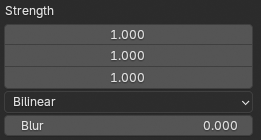
Strength — A value that sets the intensity of the displacement effect.
Interpolation — The method used to interpolate the displacement effect.
Blur — A value that sets the amount of blur applied to the displacement effect.
Mapping
This section allows you to control how the displacement effect is mapped onto the outlines. There are two main ways to map the displacement:
Positional — Uses the position of the pixels to map the displacement effect.
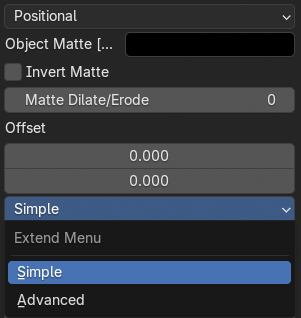
This method requires you to connect the Position pass to the texture.
Firstly for this method to work, you must have a Object Matte. What im meaning a render that has in black and white the object you want to displace the outline from. You can use the Outline+'s Fast Object Matte node for this.
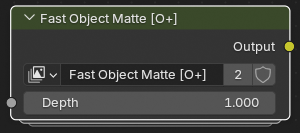
(Connect the depth pass to the Fast Object Matte node and output to the Object Matte.)
Invert Matte — Inverts the black and white values of the Object Matte.
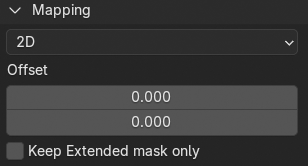
Offset — A (X,Y) value that shifts the position of the displacement effect.
Translate — A (X,Y) value that moves the displacement effect.
Extend
This option allows you to extend the displacement effect beyond the edges of the Object Matte.
Simple — Allows you to Control the extension using Two Vectors.
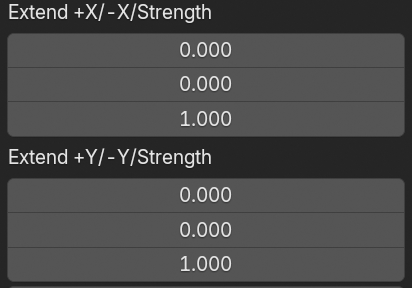
Extend Simplify — Will basically scales the objects extended part of the matte.
Extend Rotation — Rotates the extended part of the matte.
Advanced — Gives you all the control of the whole extend process with 4 4D Vectors and 4 2D Vectors.
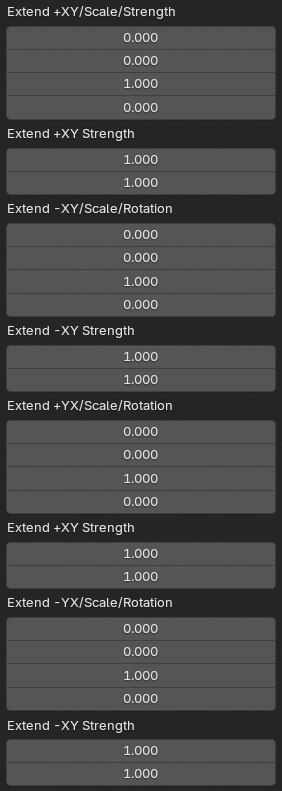
This Amount of control is useful for really complex shapes where Simple extend does not work well. (Usually Simple Extend is enough for most cases)
2D — Uses 2D coordinates to map the displacement effect.
Texture
This section allows you to choose the texture or preset used for the displacement effect.
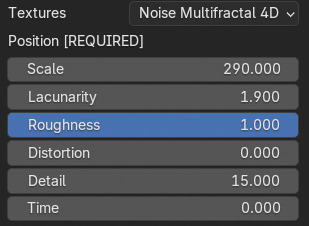
Custom Texture — You can connect your own texture to the input socket. (There is a bug where the Multifractals parameters shows even if you are using a custom texture)

Make sure to add the Position pass to the custom texture node if you are using Positional mapping.
Noise Multifractal 4D — A procedural noise texture that creates a multifractal pattern.
Alpha/Color
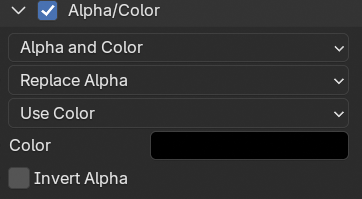
Finally, you can customize the color and alpha of the outlines.
Options
Alpha and Color — Allows you to set both the alpha and color of the outlines.
Alpha Only — Allows you to set only the alpha of the outlines, keeping the original color.
Color Only — Allows you to set only the color of the outlines, keeping the original alpha.
Set Alpha Type
Replace
Apply Mask
Color
RGBA
4D Vector — Allows to set the color using a 4D vector input. (Allows for <1 range values creating interesting transparency and glow effects)
Invert Alpha — Inverts the alpha values of the outline.