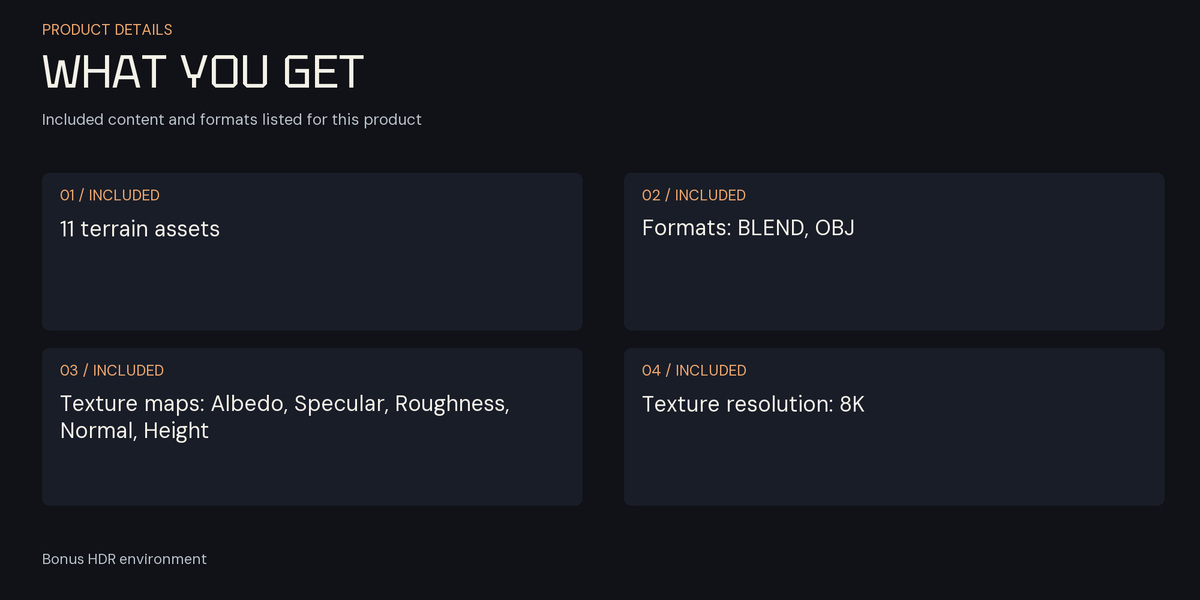
11 Alien Rocky Terrains — 8K Textures, Blend & OBJ
 Space Store
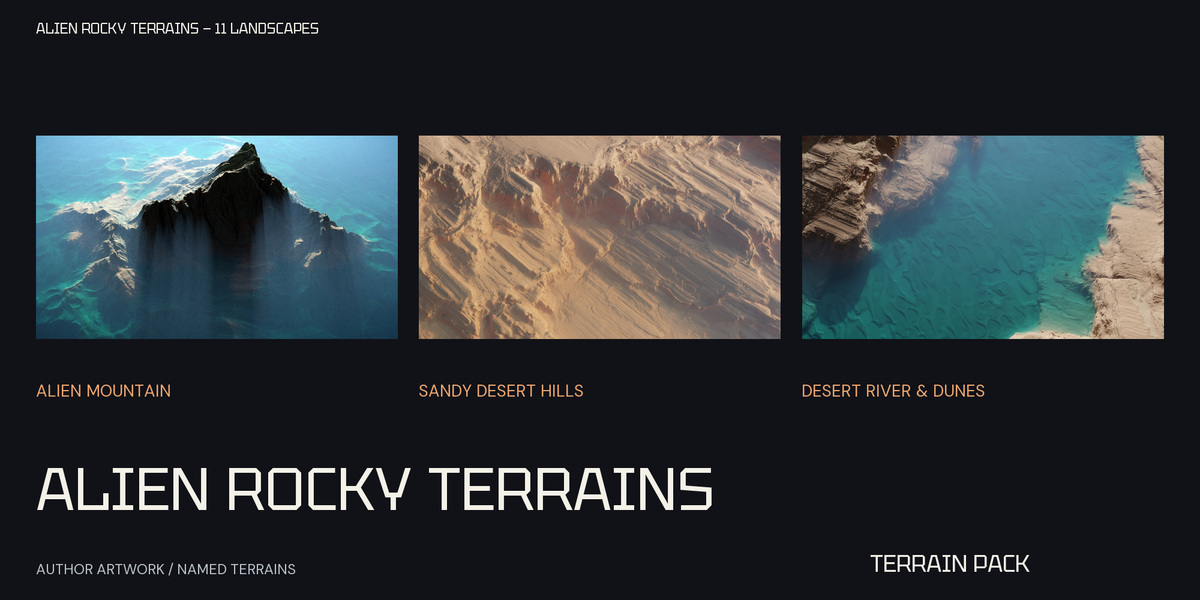
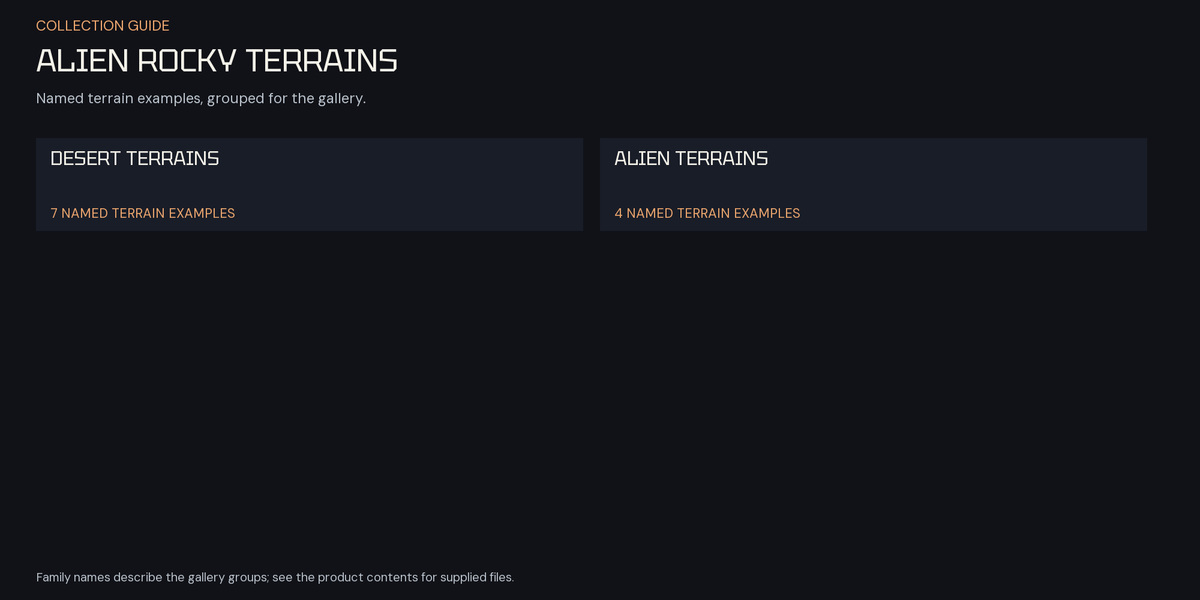
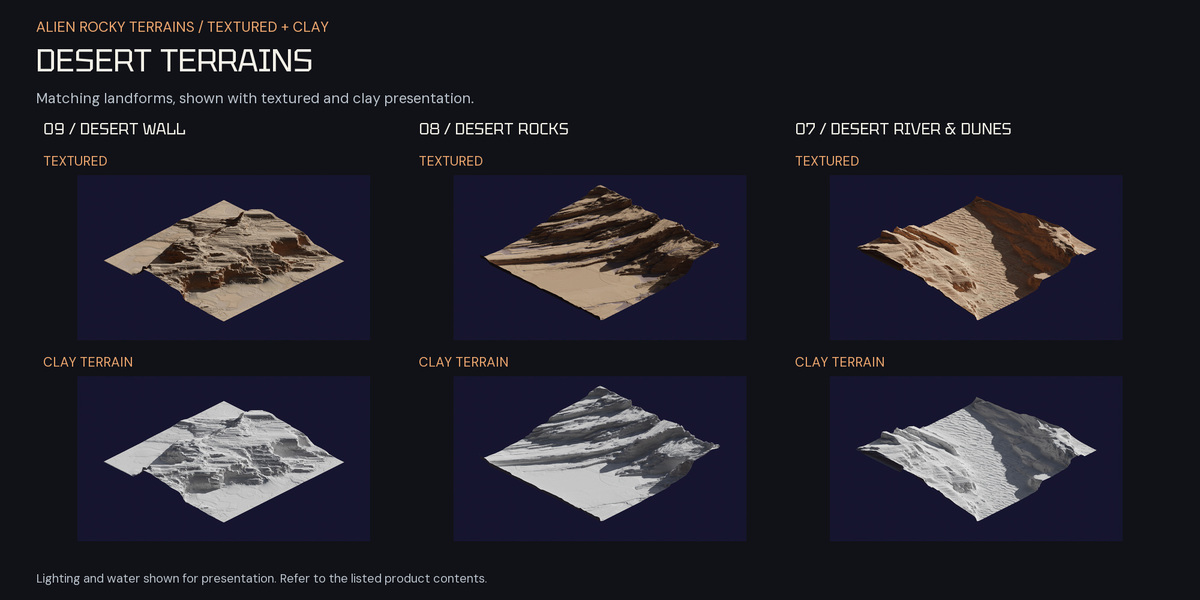
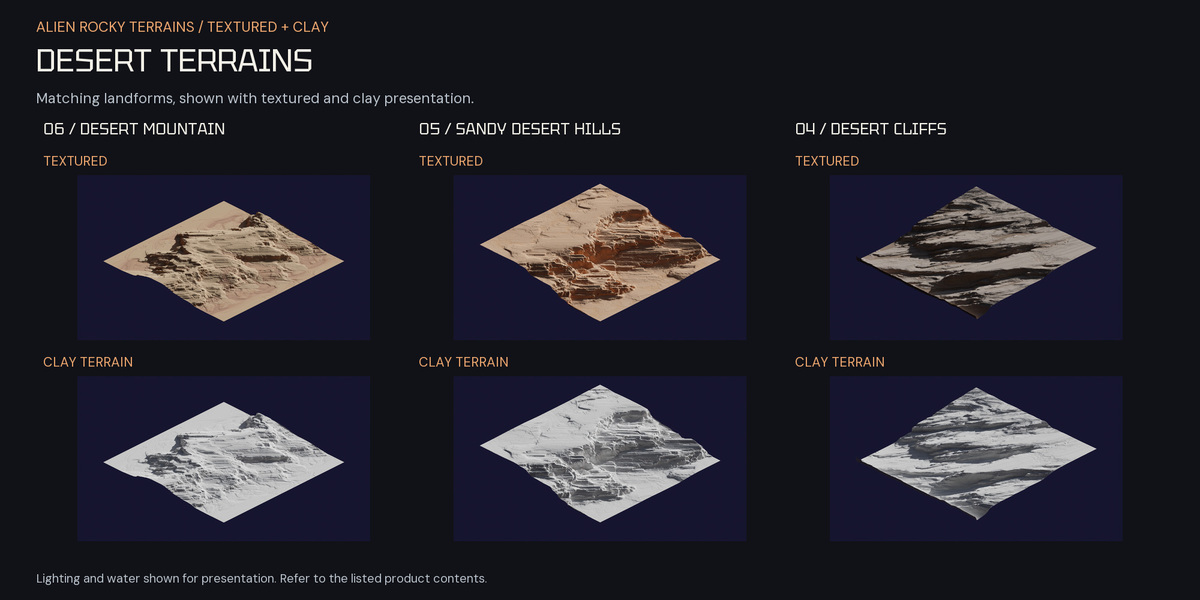
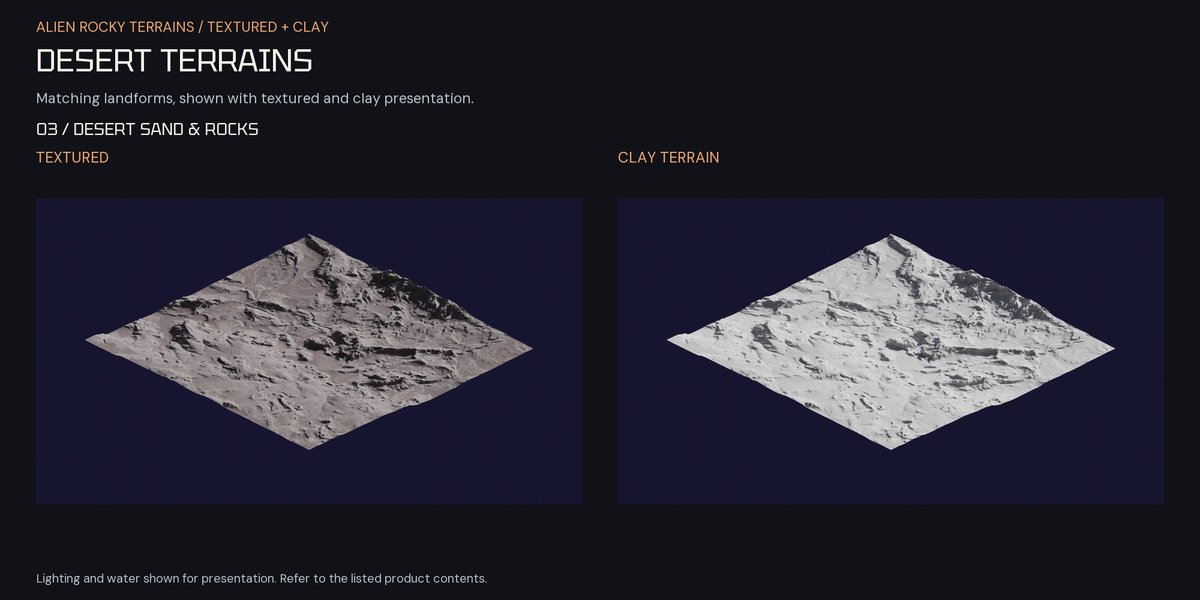
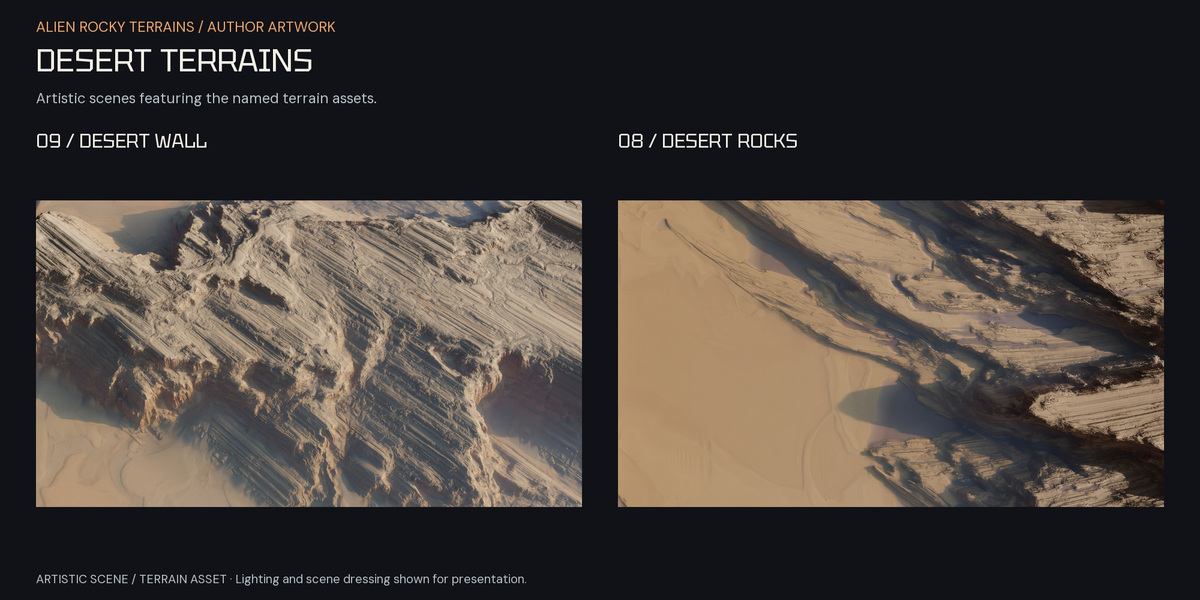
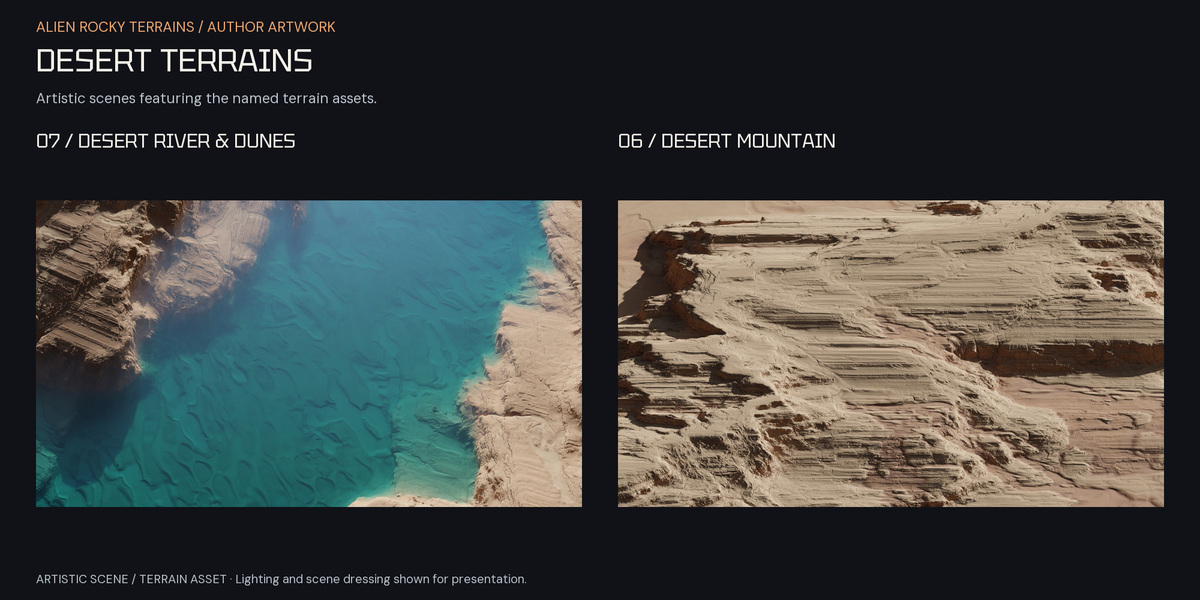
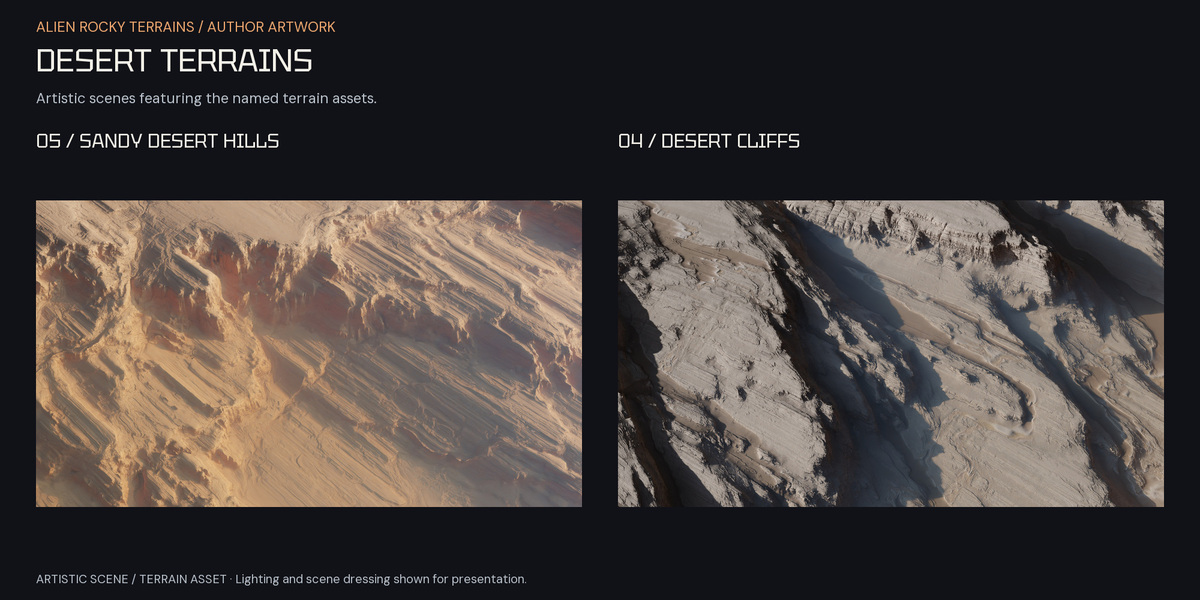
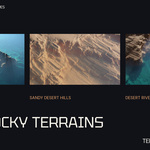

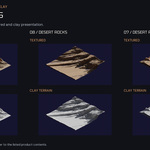
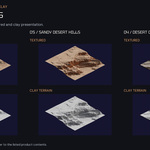
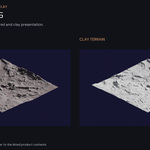
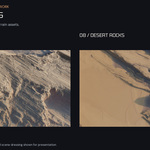
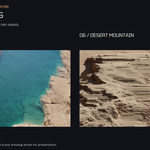
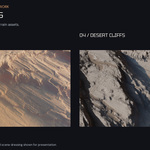
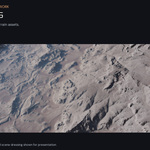
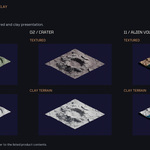
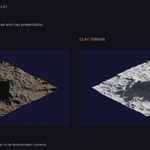
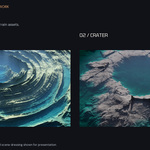
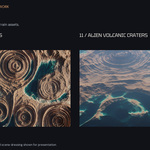
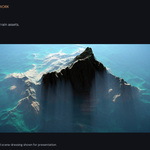
Use Blender 4.5 LTS or 5.2 LTS with Cycles for the supplied setup; checks used 4.5.15 and 5.2.3. Start with one terrain in a working copy.
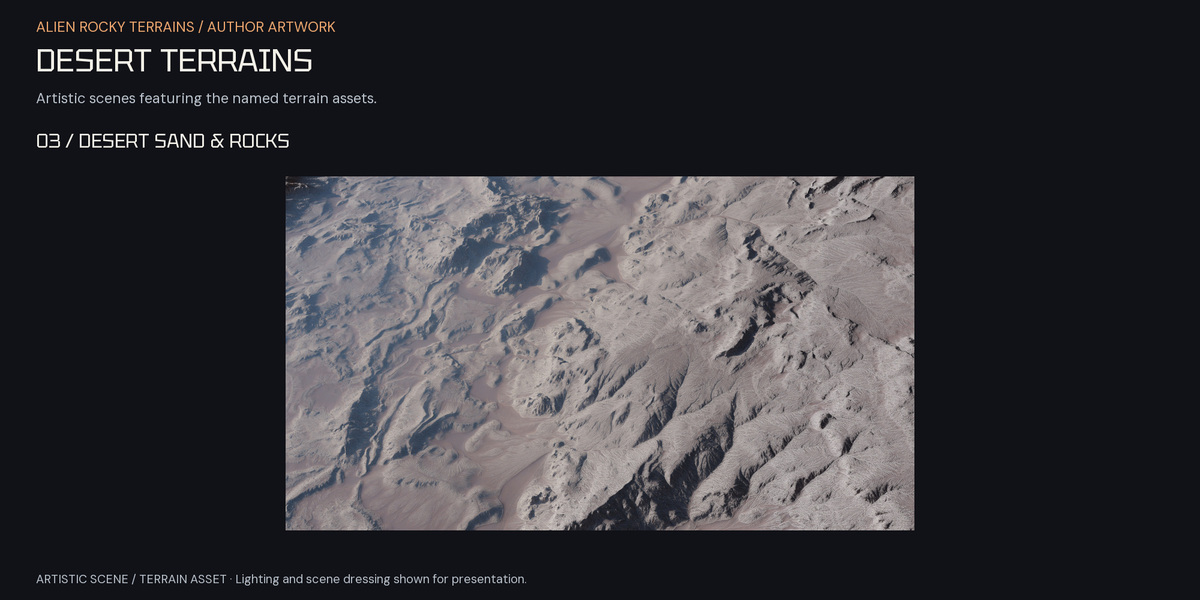
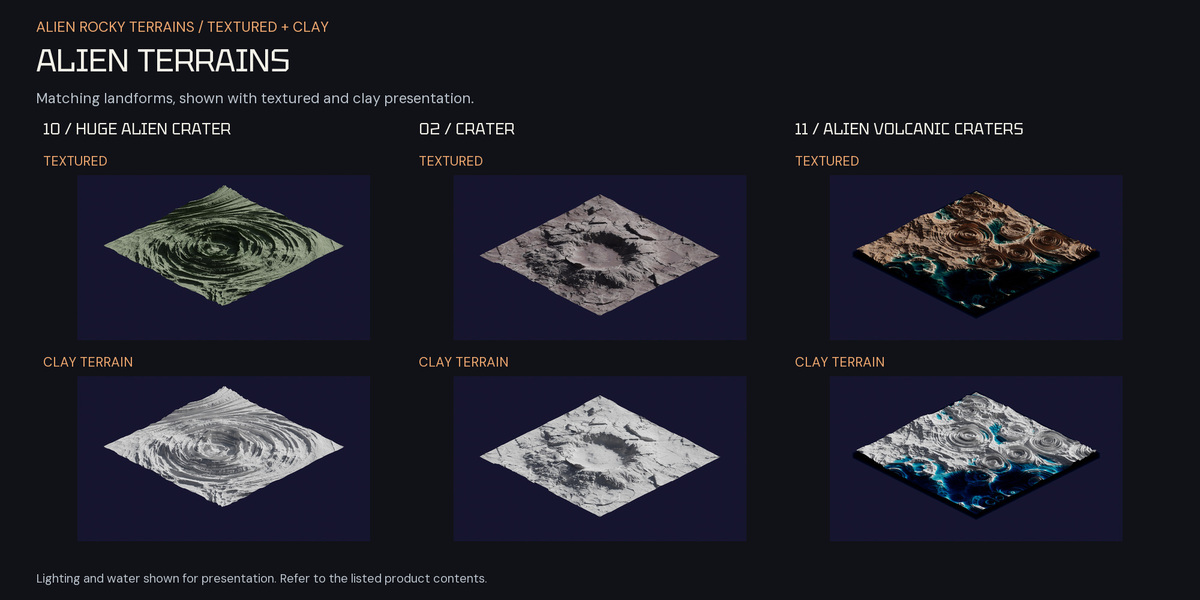
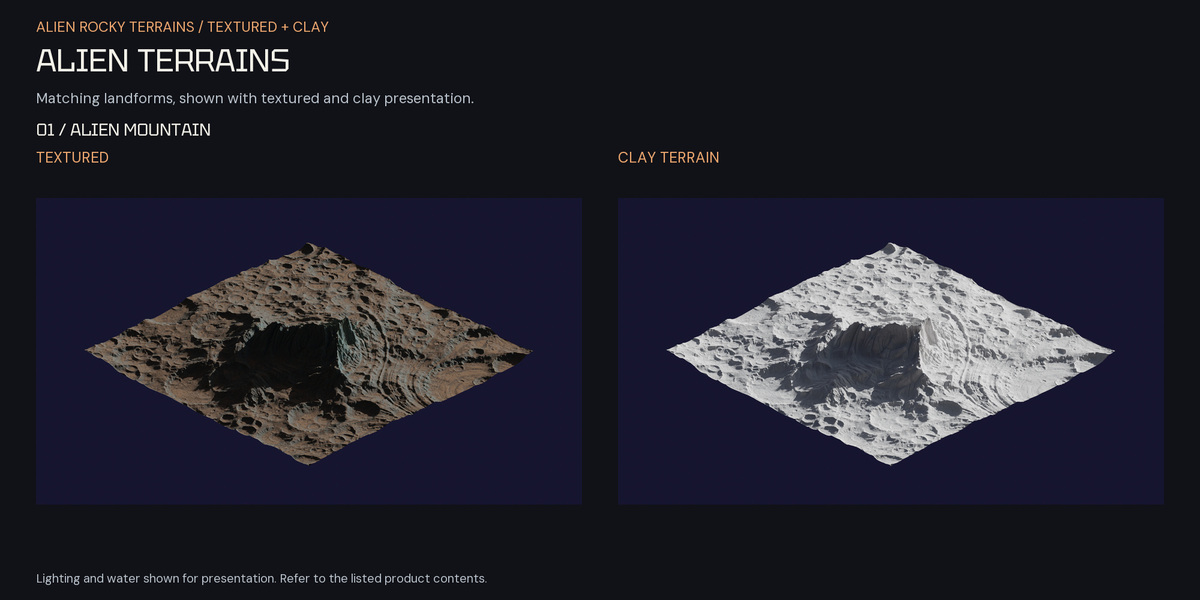
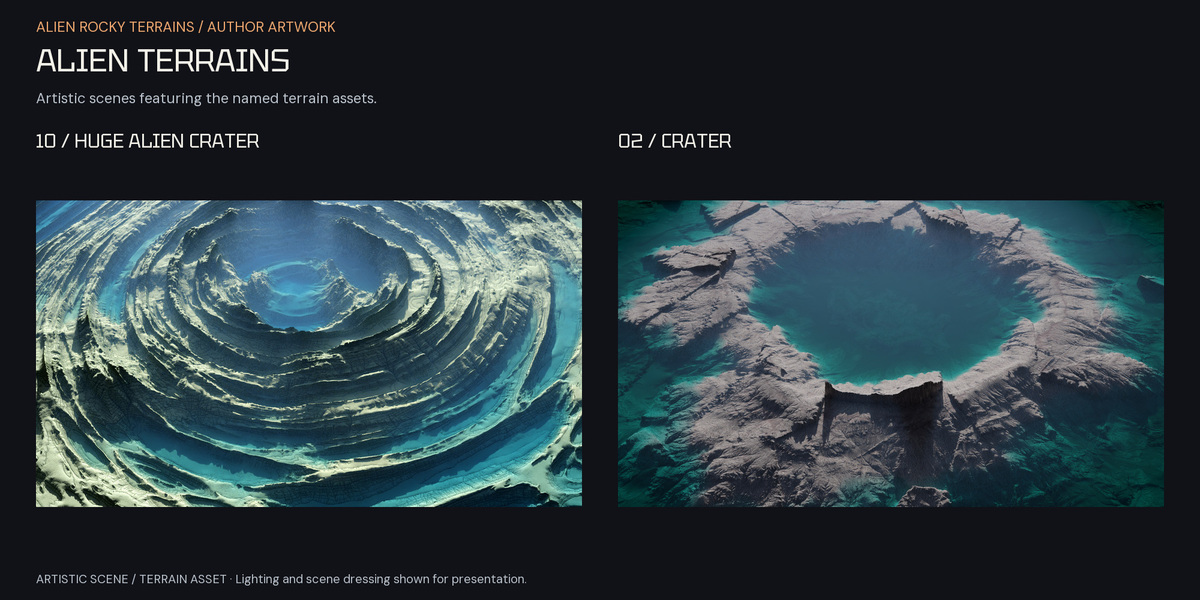
Match gallery captions to downloads
| Gallery name | Download files |
|---|---|
| Desert Wall | Desert Wall.blend Desert Wall.rar |
| Desert Rocks | Desert Rocks.blend Desert Rocks.rar |
| Desert River & Dunes | Desert river.blend Desert River.rar |
| Desert Mountain | Desert Mountain.blend Desert Mountain.rar |
| Sandy Desert Hills | Desert Hill.blend Desert Hill.rar |
| Desert Cliffs | Desert Cliffs.blend Desert Cliffs.rar |
| Desert Sand & Rocks | Desert.blend Desert.rar |
| Huge Alien Crater | Huge crater.blend Huge Crater.rar |
| Crater | Crater.blend Crater.rar |
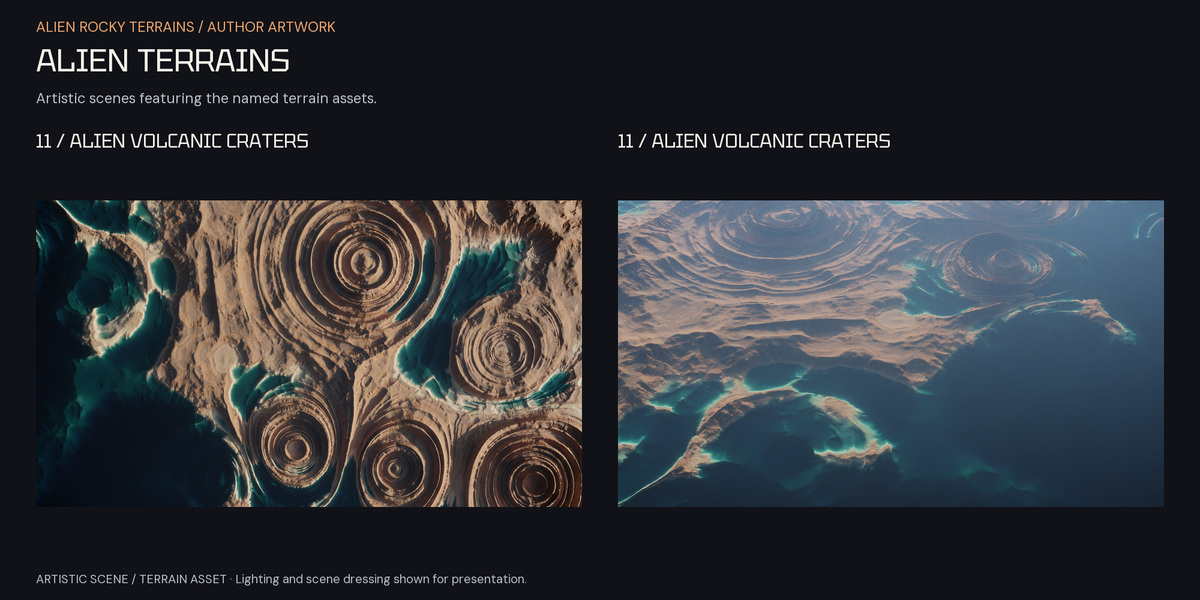
| Alien Volcanic Craters | Whorl craters.blend Whorl craters.rar |
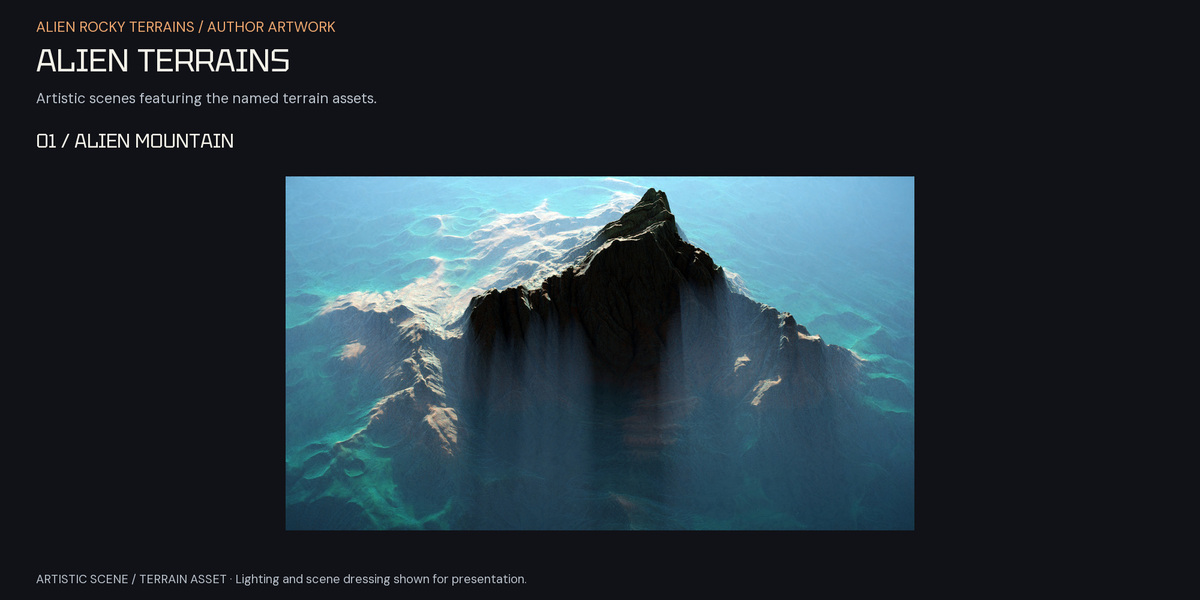
| Alien Mountain | Alien Mountain.blend Alien Mountain.rar |
Choose a terrain and download its files
- Use the gallery captions to choose a landform. For the authored Blender setup, download that terrain's BLEND file.
- Download the corresponding RAR when you need OBJ geometry and separate texture maps. Extract it into its own folder and preserve the folder structure.
- The BLEND and RAR represent the same terrain in different workflows. You do not need to download every file to try one asset.
Use the Blender setup
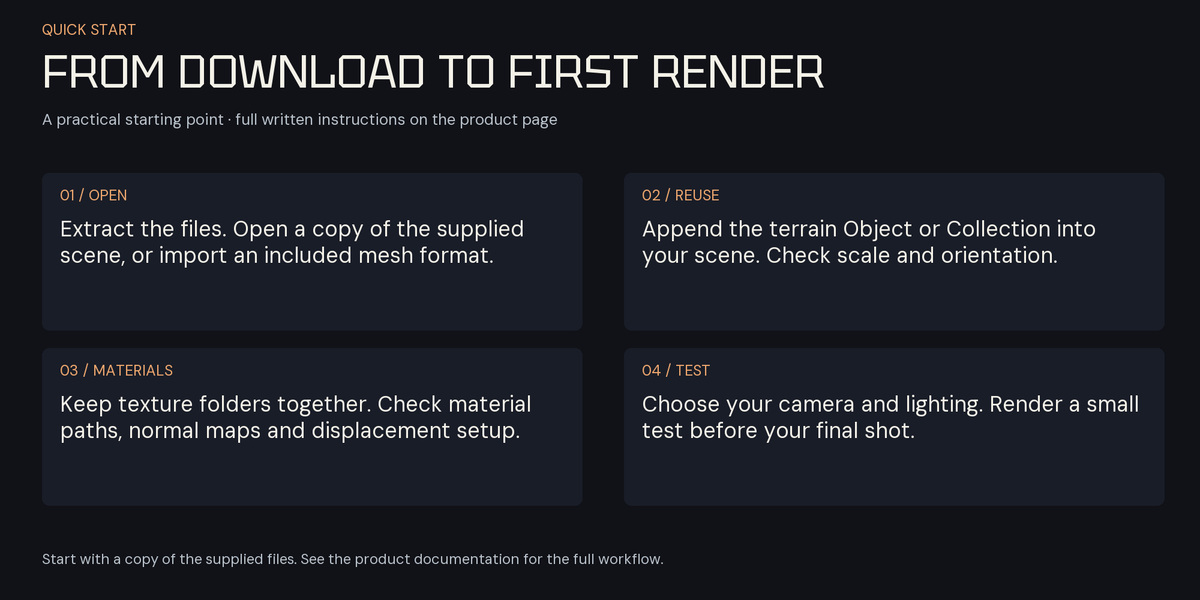
- Open a working copy of the BLEND and inspect the material in Rendered viewport shading with Cycles.
- Adjust the camera and lighting for your own shot. To reuse the terrain in another Blender scene, choose File > Append and select its Object or Collection, preserving its materials and coordinate setup.
- If moved image links are missing, choose File > External Data > Find Missing Files and select the extracted texture directory.
- Make a small preview before rendering at full size. Large maps and detailed terrain geometry can require substantial memory.
Import OBJ and connect the maps
- Import the OBJ into an application that supports Wavefront geometry, then check orientation, object scale and material assignments.
- Use sRGB for albedo and Non-Color data for normal, roughness and height. In Blender, connect a tangent-space normal map through a Normal Map node.
- Use the supplied Blender material as a reference for the specular map and other material connections. Other applications may require manual conversion.
- Check the material setup, subdivision and memory budget before enabling height displacement; a height map alone does not add geometry.
Bonus environment
The HDR is a static 7680 × 4320 image. Inspect projection, framing and image wrap in your intended camera view; seamless 360° coverage is not promised.
Load Alien atmo galaxy sunrise 8k.hdr into a World Environment Texture setup. Adjust rotation, strength and exposure to suit the terrain and camera.
Before the final image
Check texture paths and close-up detail, then save a separate scene. Add your own set dressing as needed. The gallery artwork illustrates possible compositions rather than promising every illustrated prop or effect as a supplied asset.
License
New purchases use the Superhive Standard Royalty Free license. Previously granted licenses and applicable third-party terms remain valid.
Have questions about this product?
Login to message
| Sales | 10+ |
| Dev Fund Contributor | |
| Published | about 3 years ago |
| Blender Version | 4.5 - 5.2 |
| Render Engine Used | Cycles |
| License | Royalty Free |