Parametric
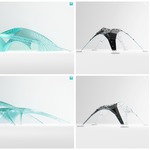
 ParametrStudio









Installation & Usage Guide
1. How to INSTALL Gravity Shell (Add-on)
Gravity Shell is a standard Blender Add-on.
Open Blender and go to Edit > Preferences > Add-ons.
Click Install... at the top right and select the downloaded
.zipfile.Search for "Gravity Shell" in the list and check the box to enable it.
Location: You will find the new tools in the 3D Viewport Sidebar (press N) under the tab Gravity Shell.
2. How to RUN WallCraft (Geometry Nodes)
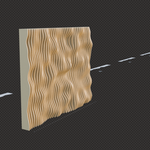
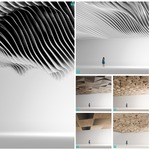
WallCraft is delivered as a production-ready template scene powered by Geometry Nodes.
Open the included WallCraft
.blendfile.Select the Wall object in the viewport.
Go to the Modifier Properties panel (the wrench icon).
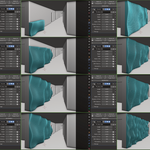
Play: Adjust the sliders (Height, Pattern, Thickness) to generate your design instantly.
Pro Tip: You can also "Append" the WallCraft Node Group into your own scenes like any other Blender data.
3. How to INSTALL the Asset Library
The collection is packed into a single Catalogue File for easy access.
Save the
.blendlibrary file to your preferred folder on your hard drive.In Blender, go to Edit > Preferences > File Paths.
Scroll down to Asset Libraries.
Click the (+) button and select the folder where you saved the file.
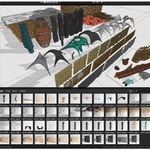
Usage: Open the Asset Browser editor in Blender. Select your new library from the dropdown menu, and simply drag & drop the models into your scene.

Technical Notes
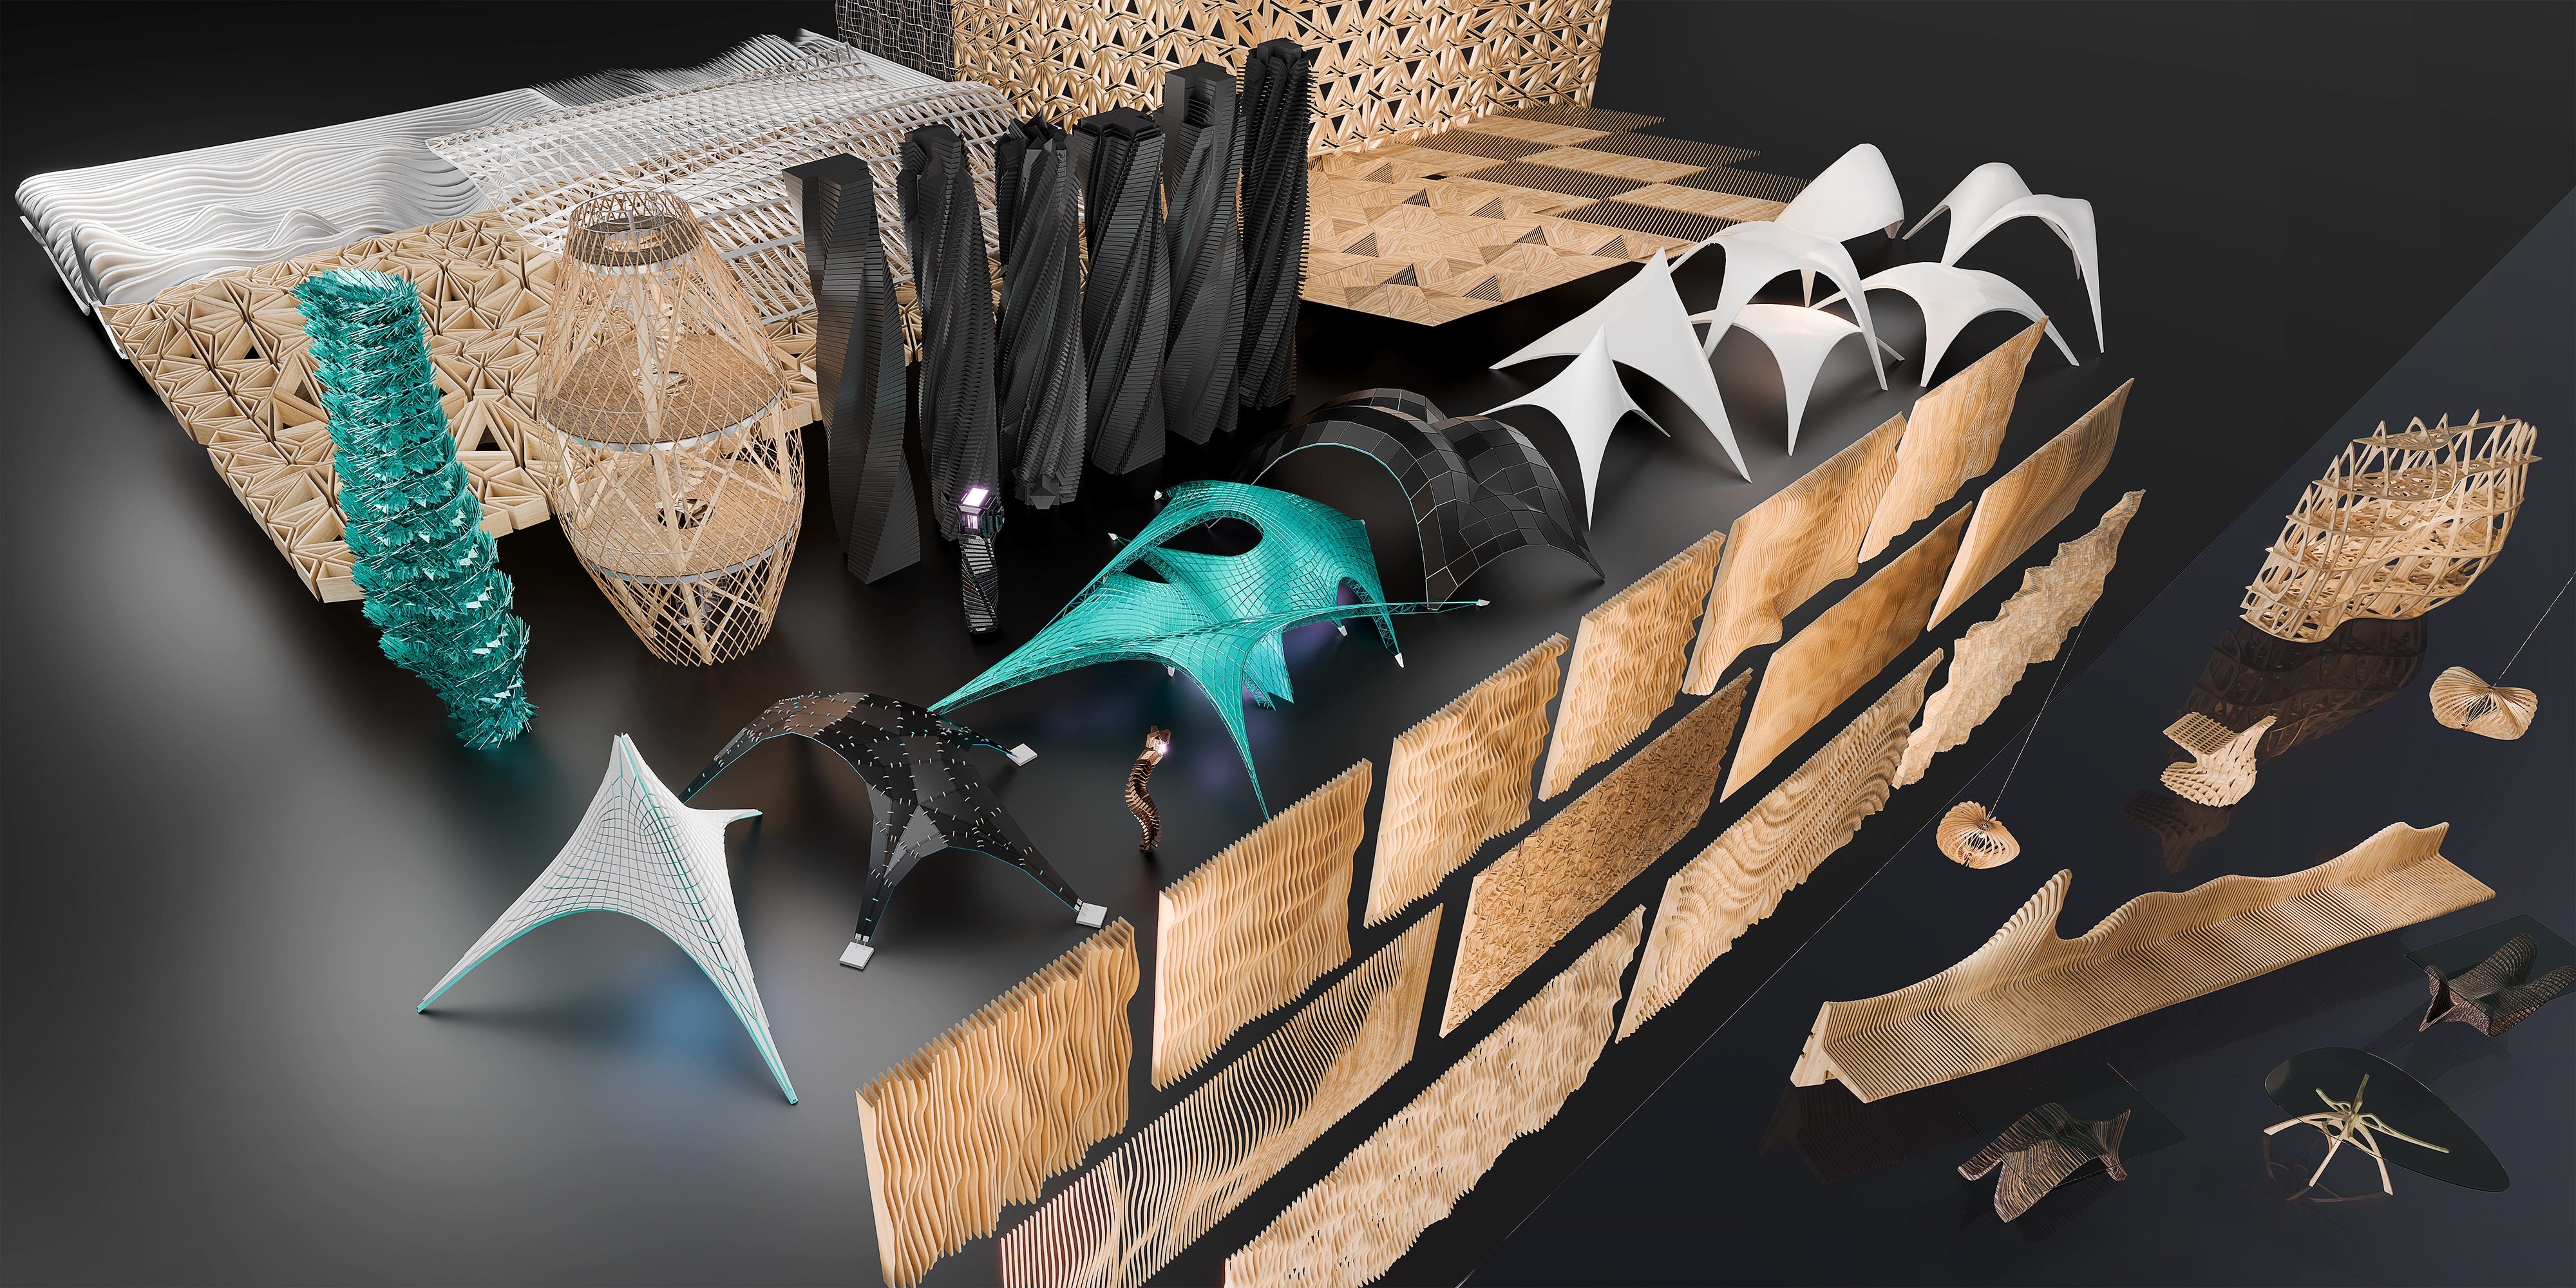
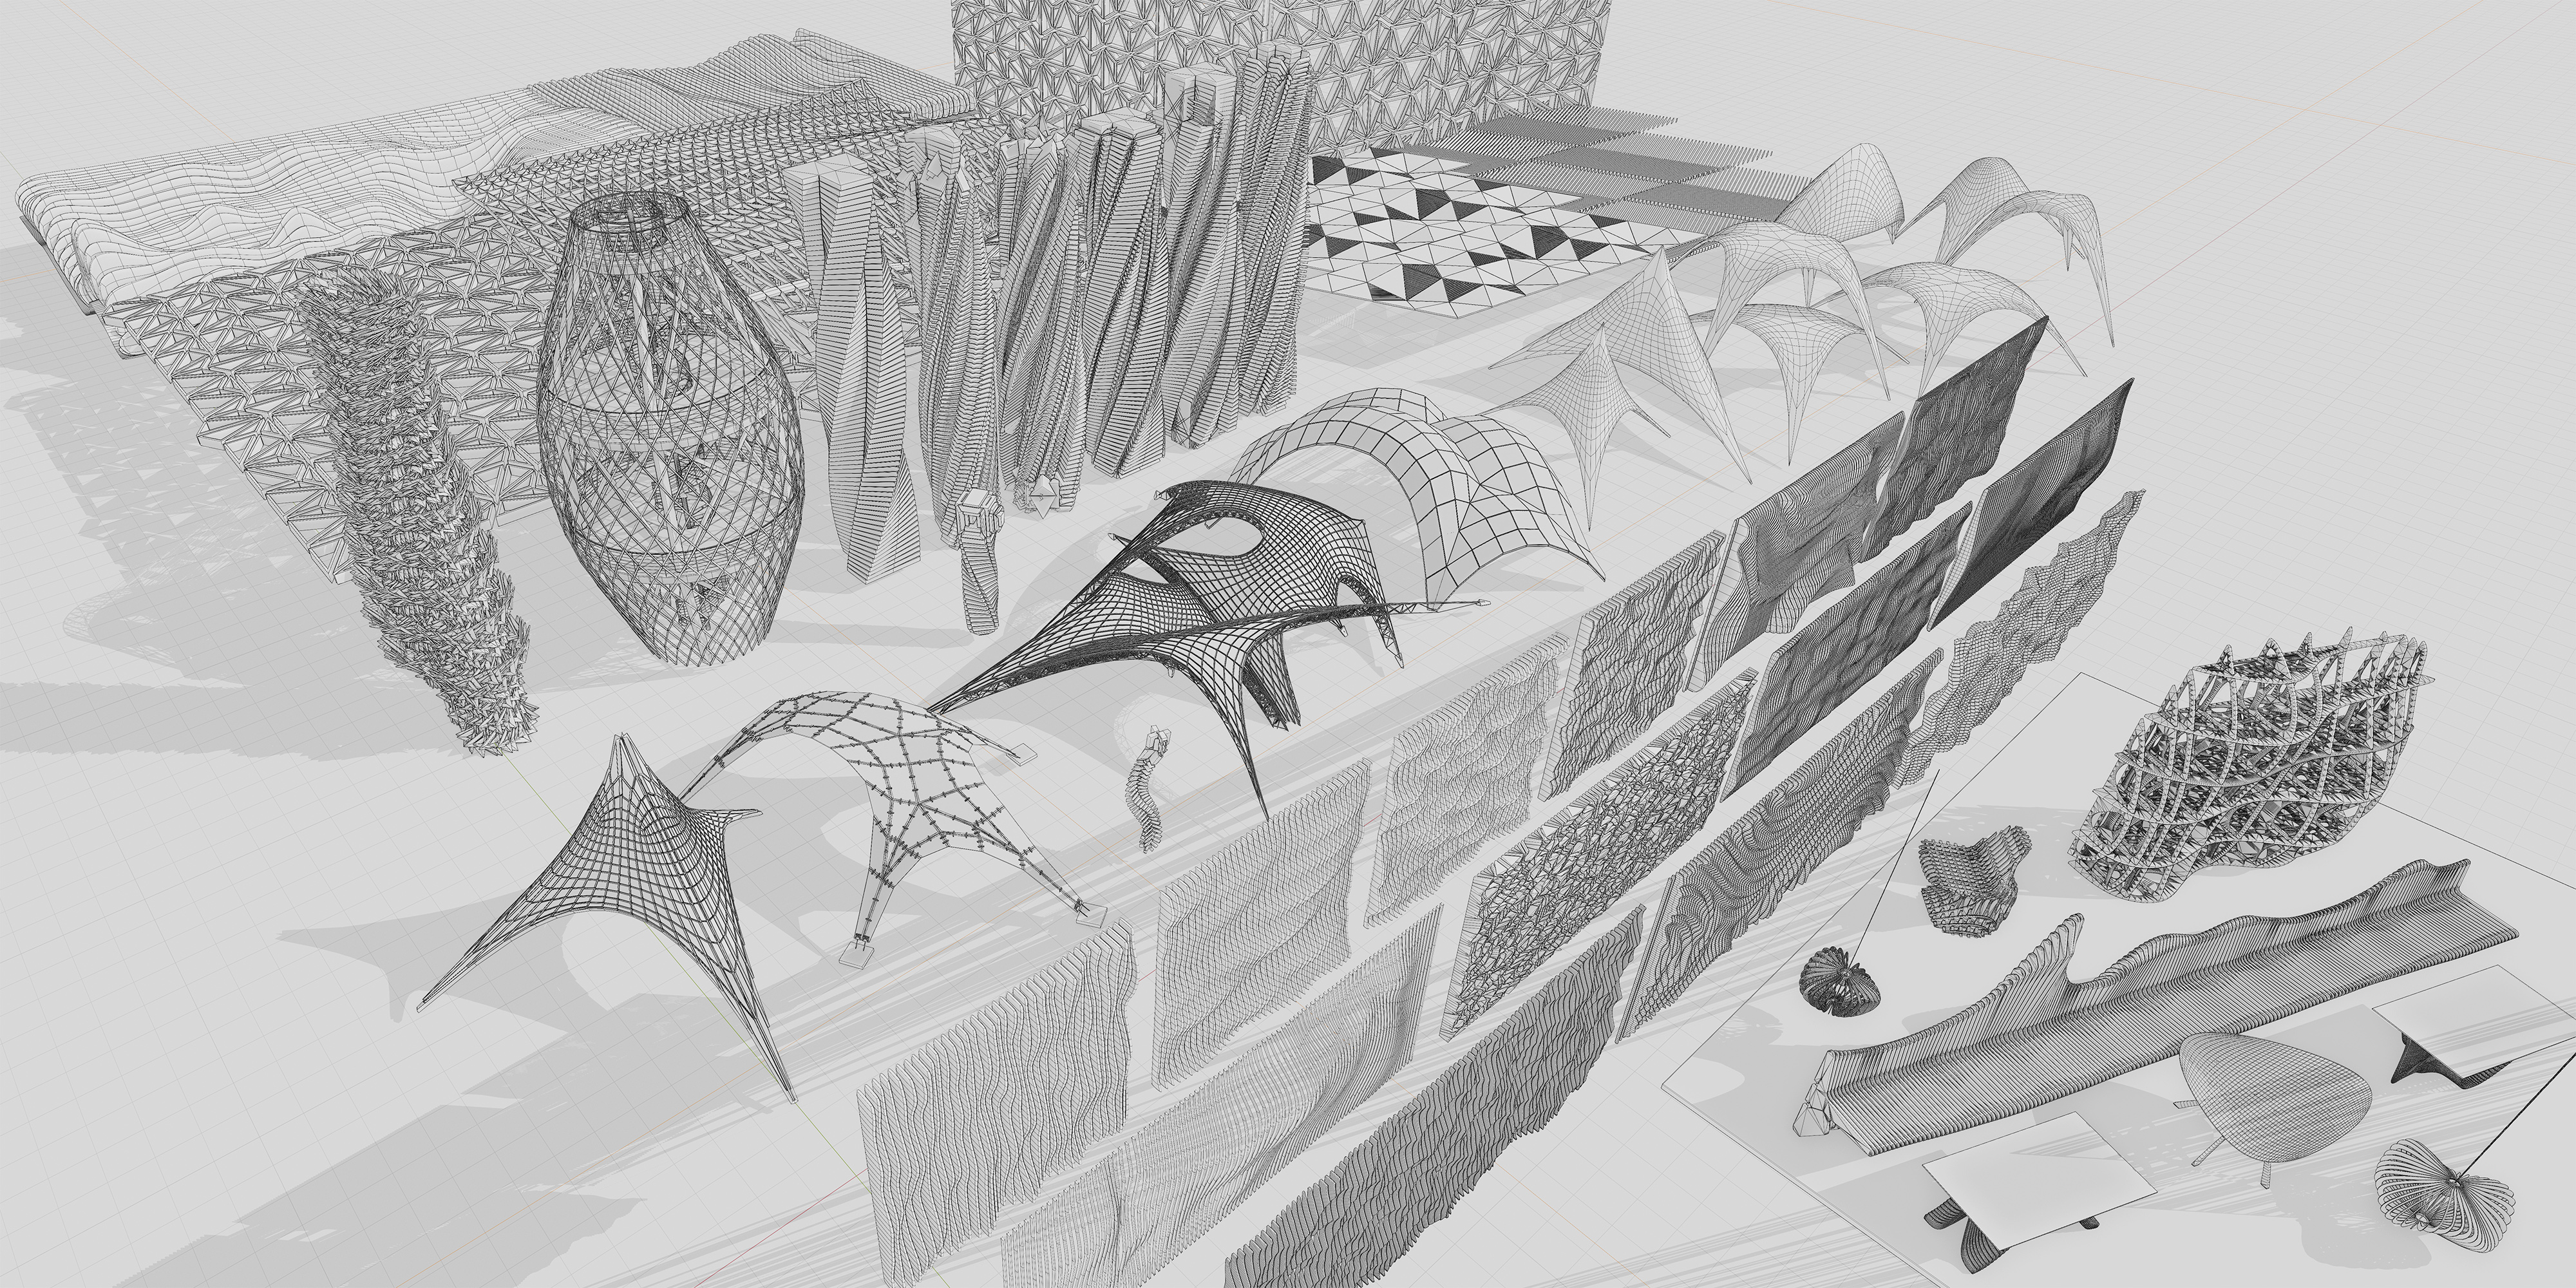
OPTIMIZATION & LINKING Some assets feature high-density topology because they were generated from complex NURBS geometry. To keep your working scene light and responsive, we strongly recommend Linking these collections rather than Appending them.
Workflow Tip: If you need to edit the geometry, modify it in the source library file, and the changes will propagate to your main scene automatically.
COMPATIBILITY While this is a native Blender Asset Library, we have included FBX versions of the models. This makes the design library compatible with other software like 3ds Max, Cinema 4D, or Unreal Engine.
RENDER SETTINGS (AgX vs Filmic) The studio lighting in the provided scenes is calibrated for the AgX View Transform (Very High Contrast), which is the new standard for realistic rendering in Blender.
Legacy Support: If you are using an older version of Blender without AgX, we have included an adjusted setup for Filmic to ensure the images still look professional.
IMPORTANT NOTE
3D People: The human figures shown in the promotional renders (Humano) are for scale reference only and are not included in the package.
Have questions about this product?
Login to message
| Sales | 40+ |
| Dev Fund Contributor | |
| Published | about 3 years ago |
| Blender Version | 3.0 - 5.2 |
| Misc Data | Uvs-Unwrapped, Normal-Mapped, Textured |
| License | Royalty Free |