Plushwright – One-Click Plush Toys
 GPolygon Design
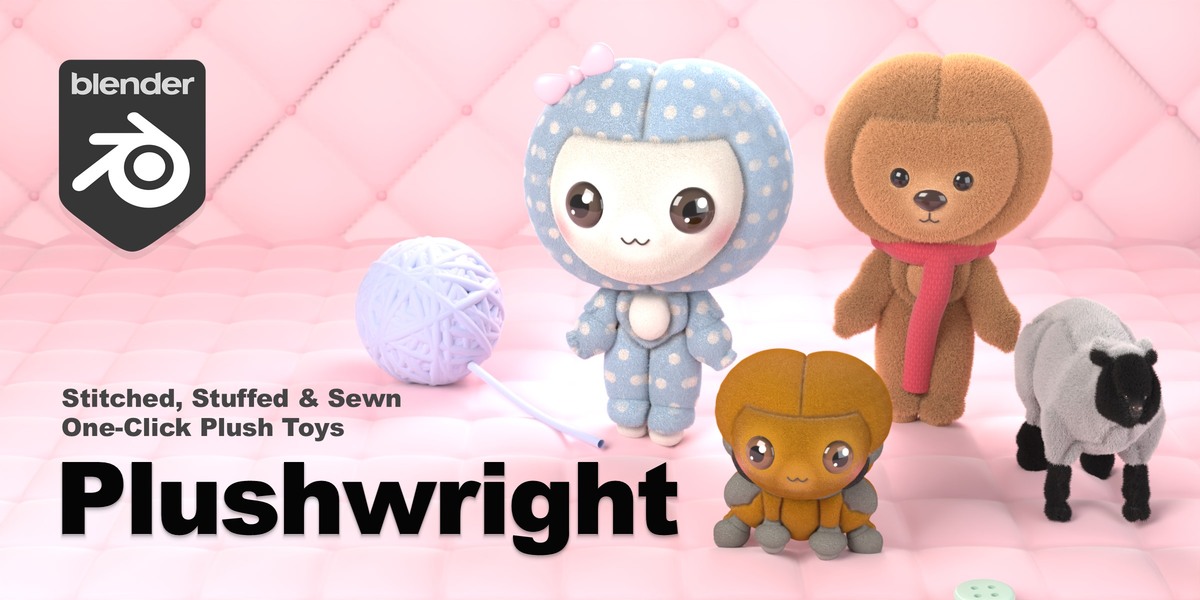
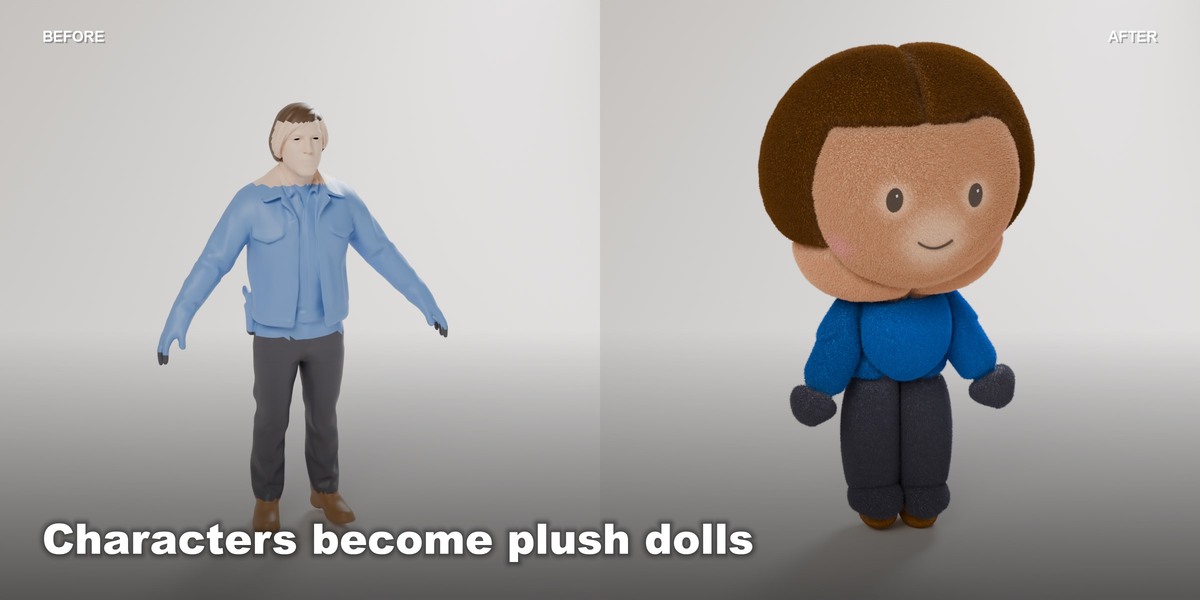
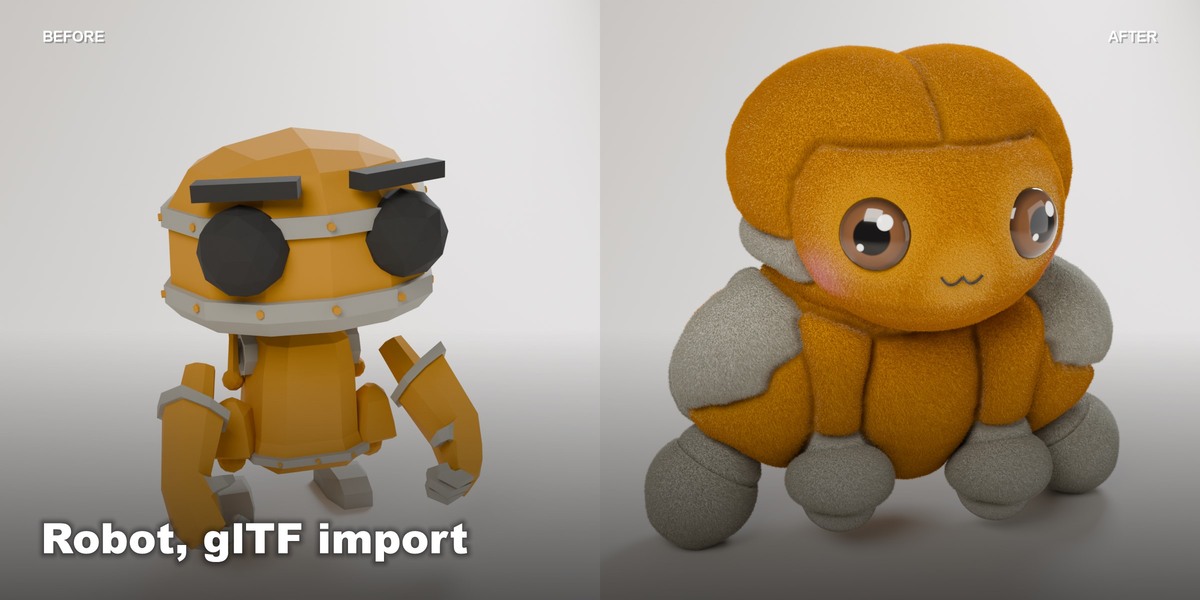
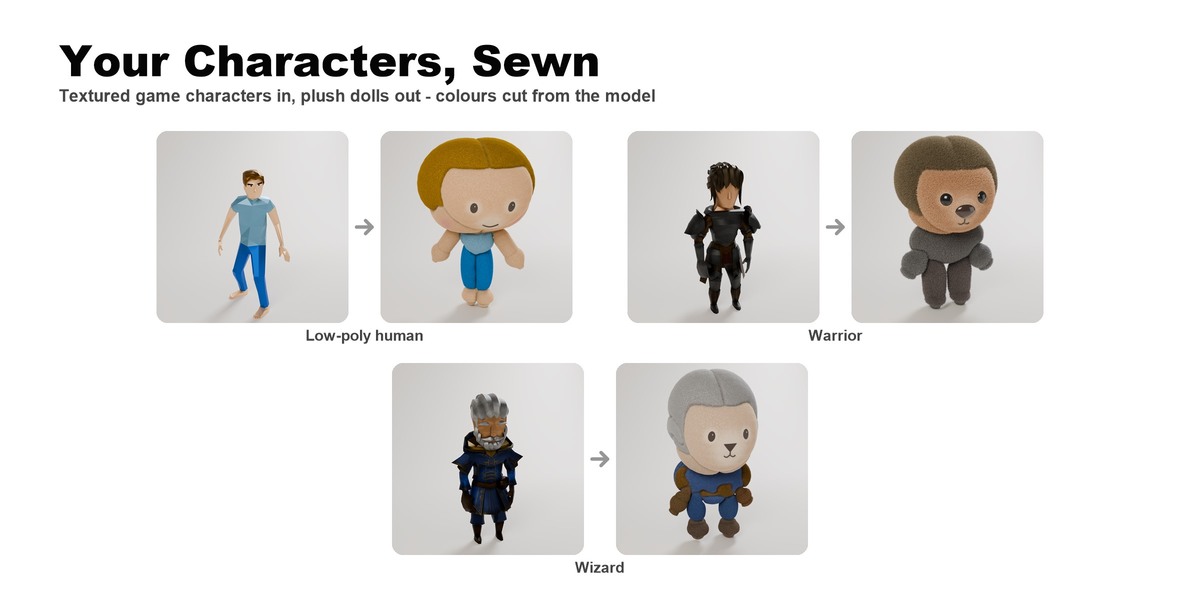
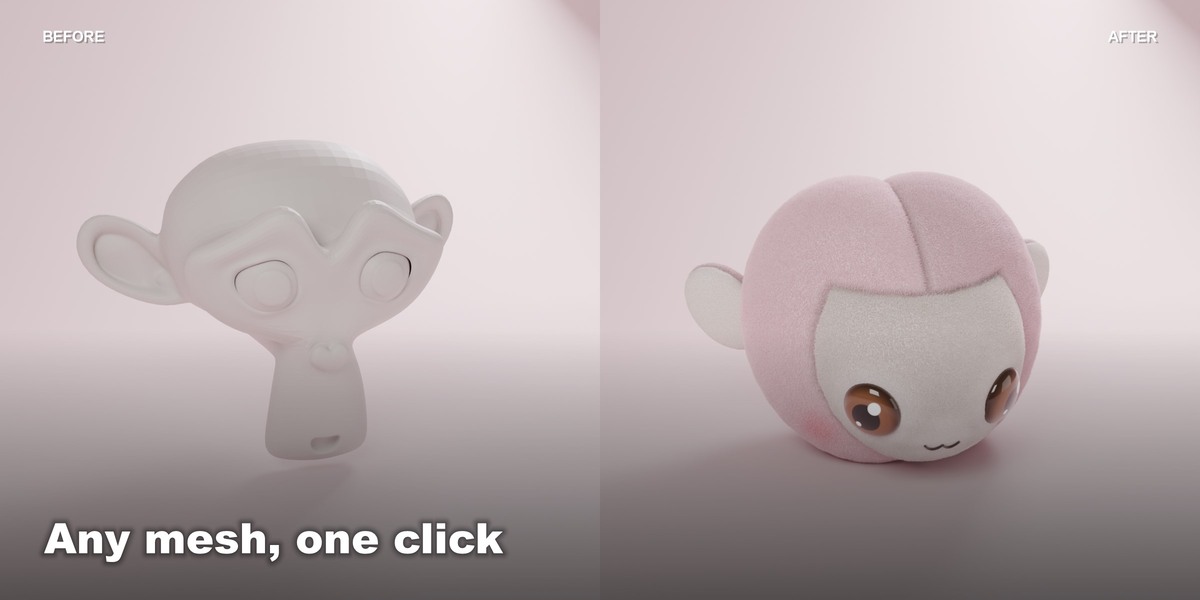
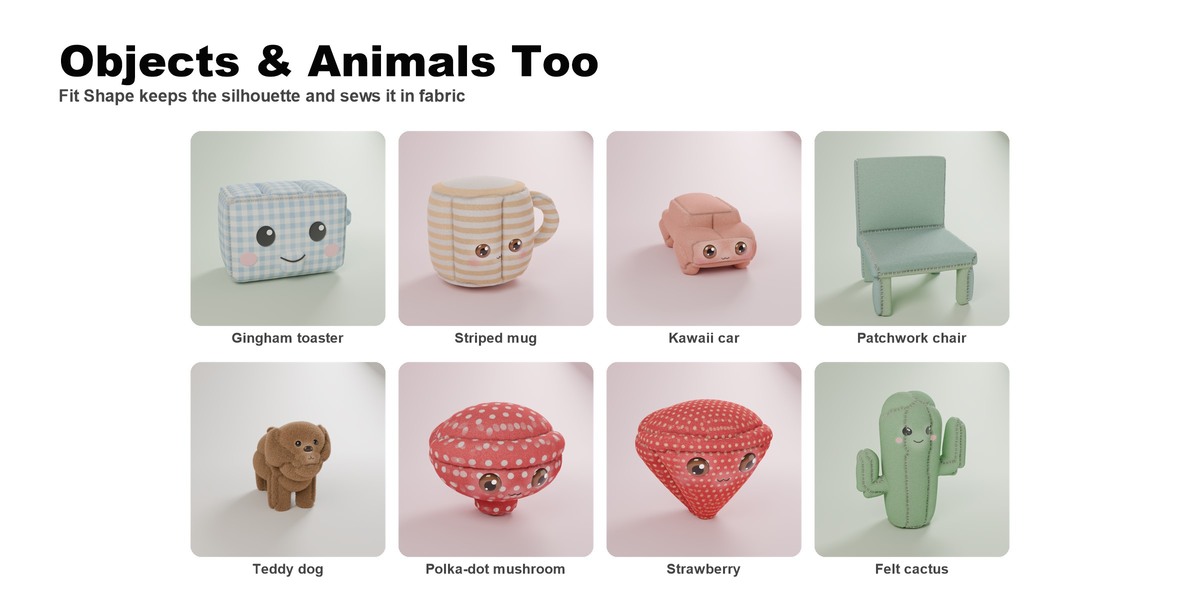
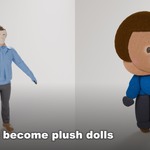
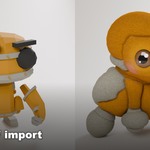
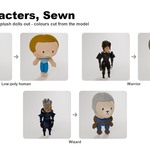
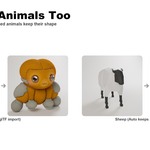
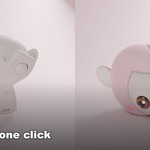
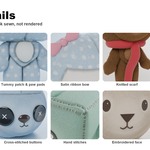
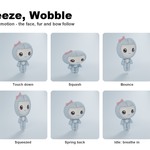
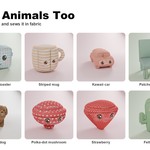
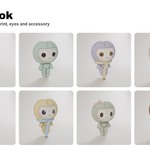
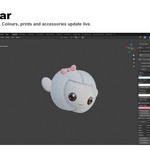
Plushwright turns any mesh into a stitched, stuffed plush toy: real sewn panels, stuffing that puffs between the seams, fibres, a sewn-on face, and a studio to show it off. It is not a material swap: the plush is a new mesh built from your model.
Works with Blender 4.2 LTS, 4.5 LTS, 5.1 and 5.2 · Cycles and Eevee · pure Python, no compiled parts.
1. Install
- Edit › Preferences › Get Extensions › the ▾ menu (top right) › Install from Disk…
- Pick
plushwright-x.y.z.zip. - Open the 3D Viewport sidebar (N) › Plushwright tab.
2. Quick start
- Select a mesh (a character, an animal, a mug, a car: anything).
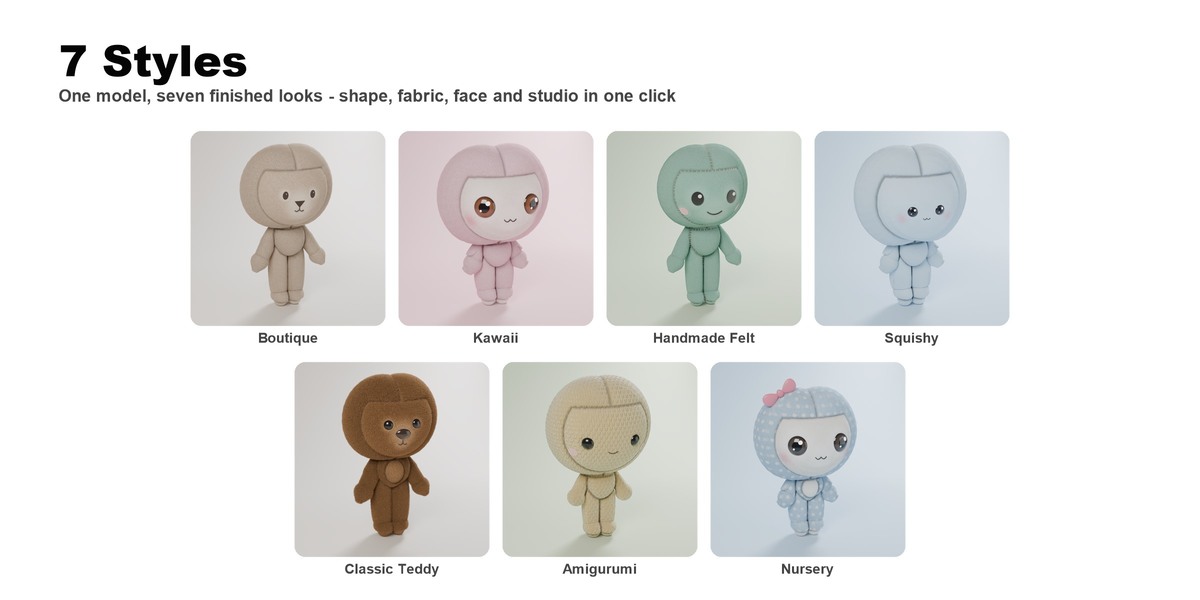
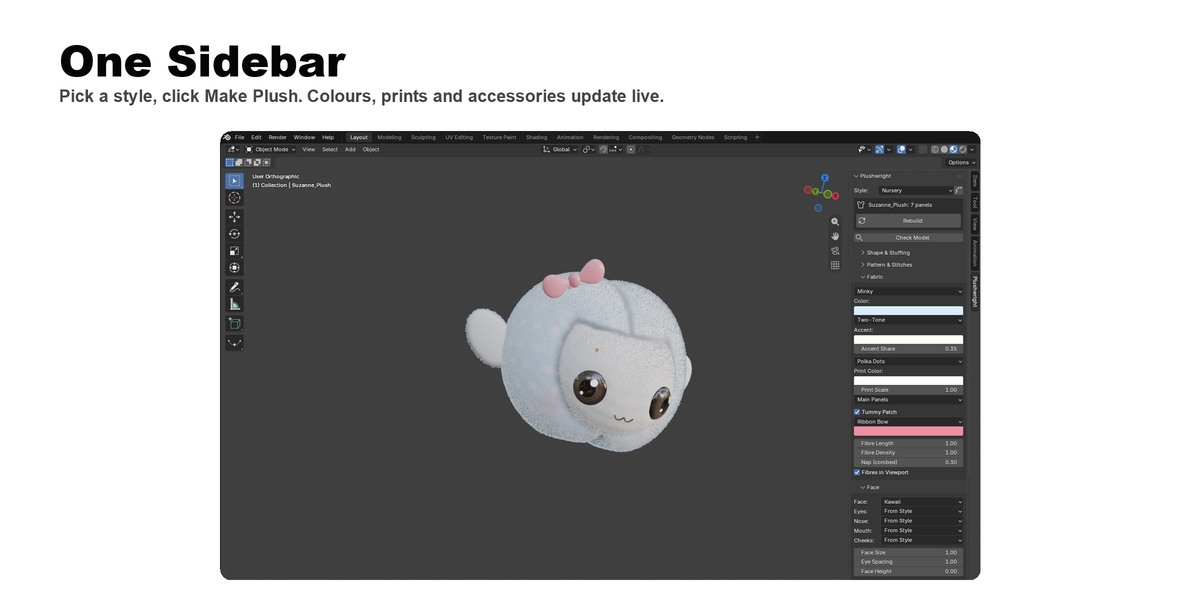
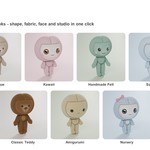
- Pick a Style (Boutique, Kawaii, Handmade Felt, Squishy, Classic Teddy, Amigurumi or Nursery).
- Click Make Plush. Your model is hidden and the plush appears in its place, with a face sewn on.
- Click Plush Studio (in Tag, Studio & Motion) for a backdrop, soft lights and a camera. Render with F12.
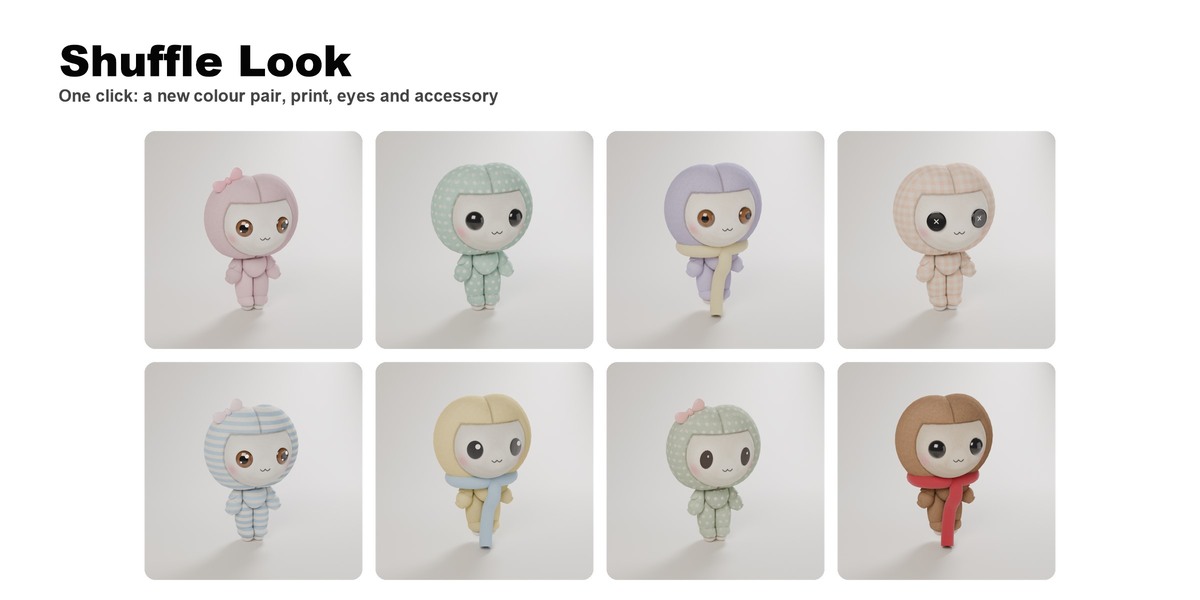
Want ideas? The dice button next to Style (Shuffle Look) picks a new colour pair, print, eyes, accessory and panel cut within the current style.
Changed a setting? The Rebuild button turns red; click it to sew the plush again. Colours, prints, fibre length and accessories update live without a rebuild. A face you placed by hand survives Rebuild.
3. How the plush is made (Method)
- Auto (default): picks for you and says what it picked in the status bar.
- Toy Redesign: rebuilds the model from simple sewn parts (round head, soft body, tube arms and legs, paws). Best for characters, creatures and heads.
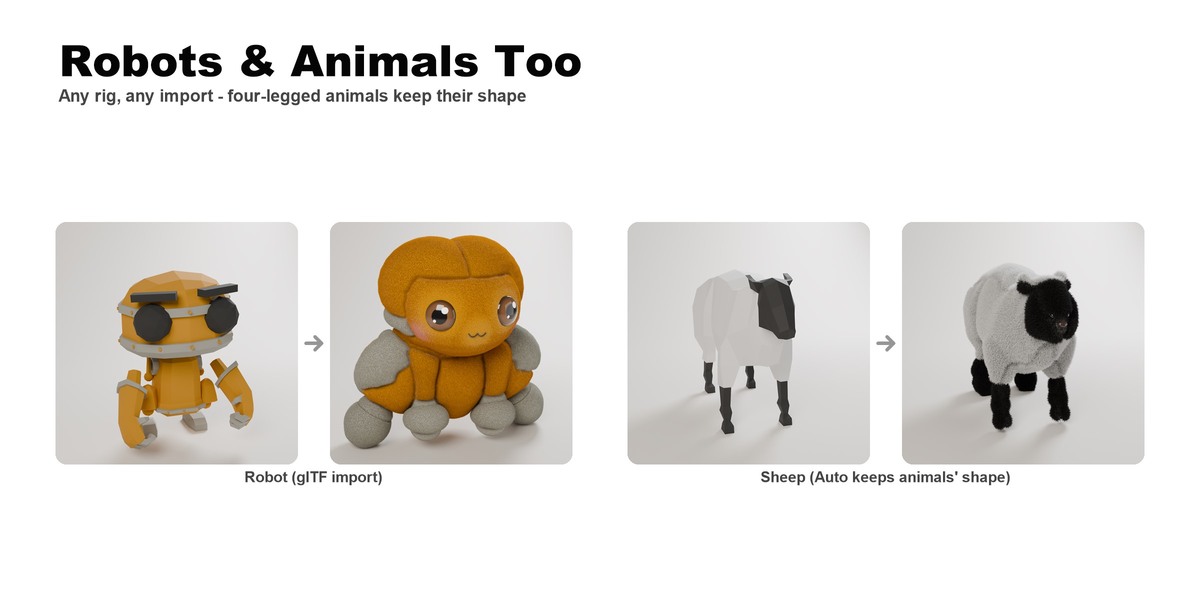
- Fit Shape: keeps your model's shape and sews fabric panels over it. Best for objects (food, mugs, cars, furniture) and four-legged animals.
Auto sends rigged characters, standing characters without a rig, heads with ears and round bodies to Toy Redesign; four-legged animals (rigged or not) and everything else to Fit Shape. The plush appears where your character stands in the scene, even when the rig's rest pose is somewhere else (common with glTF and FBX imports).
Characters: a rig gives the cleanest result (Mixamo, Rigify, .L/.R or Left/Right bone names all work). Without a rig, a standing character (T- or A-pose) is split into head, body, arms and legs automatically. Sitting characters, arms glued to the body or long dresses may not split; Auto then keeps the shape and Check Model suggests rigging it.
Model colours: the fabric panels are cut from your model's own colours (materials and textures): a hoodie becomes a blue fabric piece, trousers a dark one, a sheep's black face its own piece. A model in one neutral grey (clay, Blender's default material) keeps the style's colours. Turn off Model Colors to always use the style's colours.
4. Shape & Stuffing
- Front: the axis your model's face looks along (default -Y). Eyes go on the front.
- Proportions: Natural, Soft (bigger head, shorter limbs) or Chibi (big head, small chubby body).
- Arms Down: lowers T-pose arms (Toy Redesign).
- Simplify Detail: melts small sculpted detail away (Fit Shape).
- Stuffing / Softness / Chubby Limbs: how far panels puff out, overall rounding, thicker thin parts.
- Gravity Sag / Sit on Floor: undersides bulge and the bottom flattens like a real stuffed toy.
- Seam Pinch / Seam Wrinkles: how deep the seams pull in, and the puckers beside them.
- Detail: Preview (fast), Standard, High (close-ups).
5. Pattern & Stitches
- Pattern: Auto Panels, Front/Back + Gusset, Front/Back, or My Seams (sew along edges you marked as seams).
- Panels / Mirror Panels / Variation: how many pieces, mirrored left/right, a different cut.
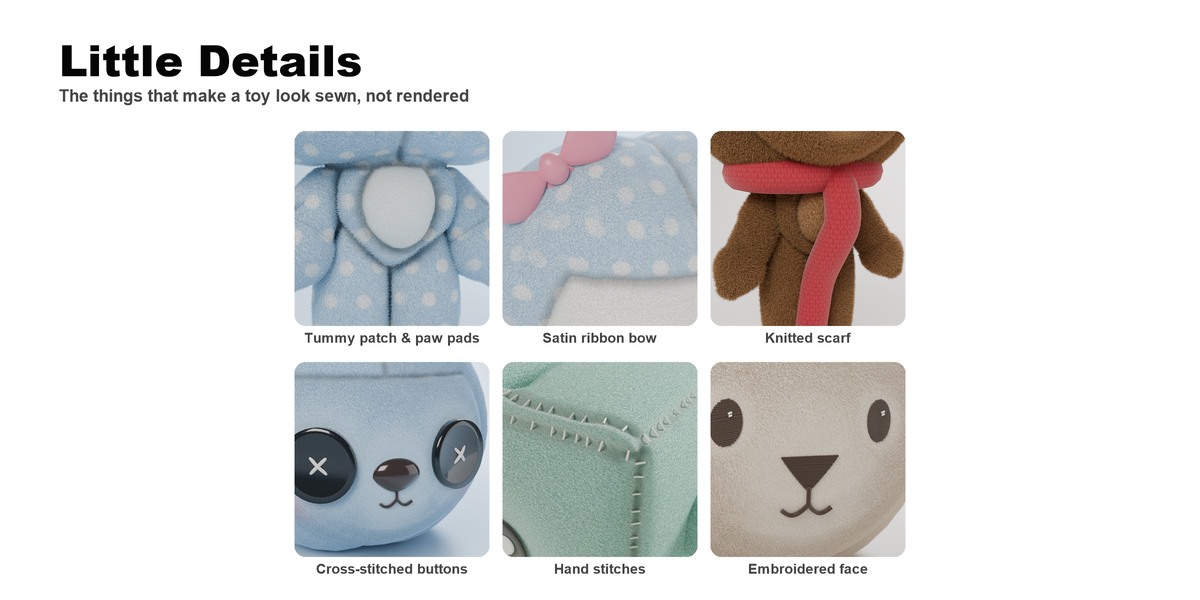
- Stitches: hidden (machine-sewn) or visible hand stitches, with thread colour, spacing and thickness.
Seams follow the silhouette and the joins between parts; on a head the face is its own oval piece, so no seam crosses the face.
6. Fabric
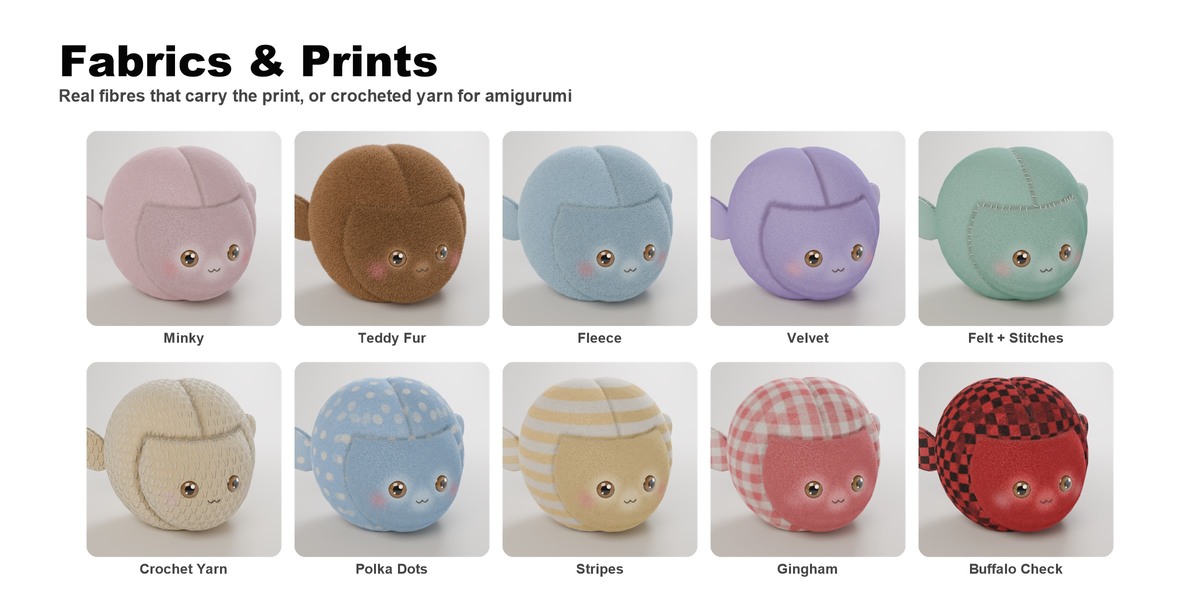
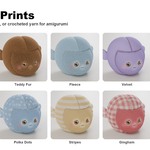
- Fabric: Minky, Teddy Fur, Fleece, Velvet, Felt, Crochet Yarn (amigurumi) or Bare.
- Colour: one fabric, Two-Tone or Patchwork.
- Print: Polka Dots, Stripes, Gingham or Buffalo Check on all, main or accent panels. The fibres carry the print; the face stays plain.
- Tummy Patch: an accent patch with short pile, plus paw pads (Toy Redesign).
- Accessory: a satin Ribbon Bow or a Knitted Scarf in any colour.
- Fibre Length / Density / Nap, and Fibres in Viewport for a light preview while you work.
7. Face
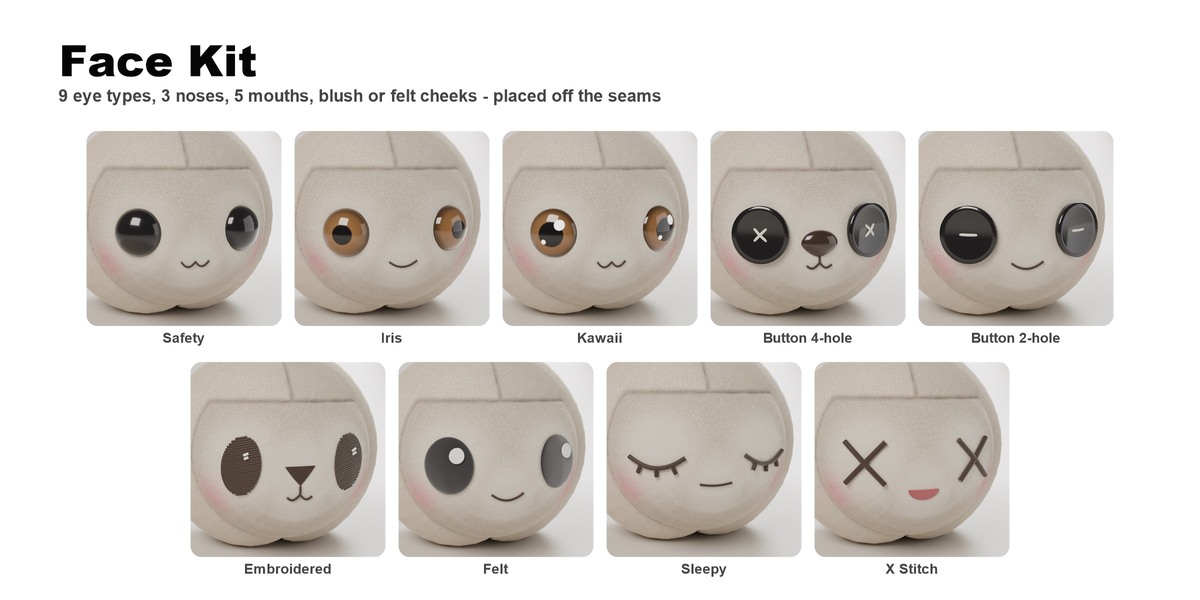
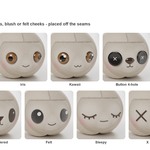
- Face template: Boutique, Kawaii, Felt, Tiny, Classic Teddy, Amigurumi.
- Override any part: Eyes (Safety, Iris, Kawaii, Button 4-hole, Button 2-hole, Embroidered, Felt, Sleepy, X Stitch), Nose (None, Embroidered, Plastic, Button), Mouth (Smile, Cat "w", Teddy, Line, Open), Cheeks (Blush, Felt Circles).
- Face Size / Eye Spacing / Face Height and colours.
- Auto Face re-sews the template face; the trash icon removes it.
- Add at Cursor: Shift+Right-click on the plush to place the 3D cursor, then add an eye (mirrored), nose, mouth or cheek exactly there.
Tip for human characters: set Nose to None and Mouth to Smile for a doll face instead of an animal face.
8. Tag, Studio & Motion
- Add Tag: a folded satin label sewn into a low back seam.
- Plush Studio: sweep backdrop, lights and a framed camera. Presets: Product, Pastel Pink, Pastel Blue, Sage, Night. Turntable orbits the camera over 120 frames.
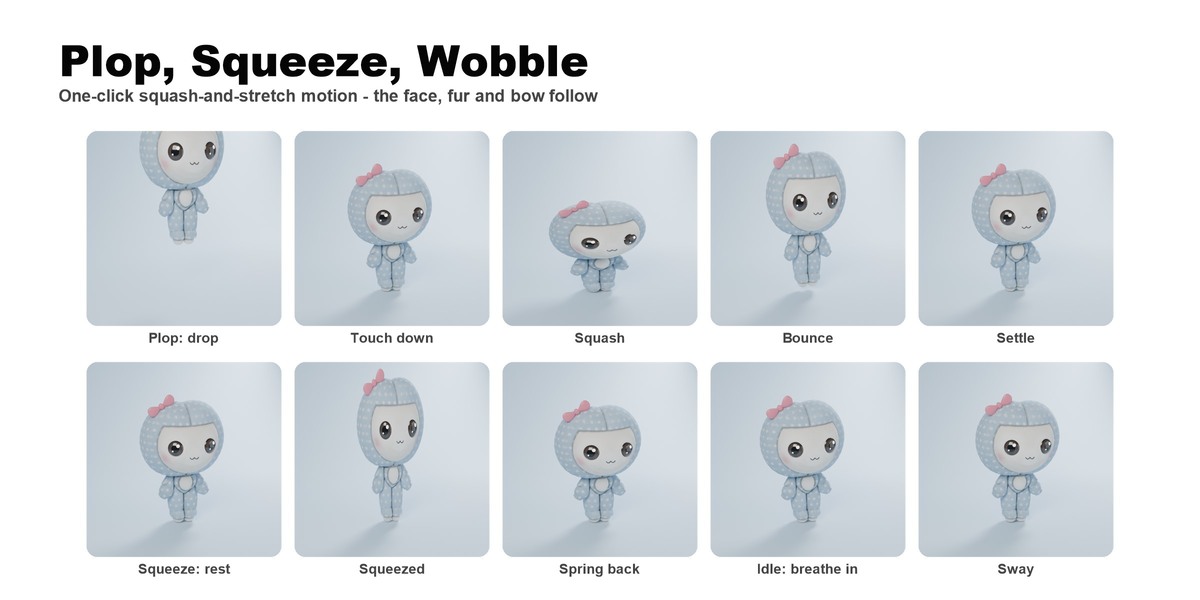
- Motion: squash-and-stretch on a pivot at the plush's base: Plop (drops and squashes), Squeeze (springs back), Idle Wobble (a looping breath and sway). ✕ removes it.
9. Check Model
Click Check Model before making a plush. It reports the front axis, open or very thin parts, flat objects, separate pieces, symmetry, unweighted rig parts, T-pose, and which method Auto will use.
- The model's front looks along -Y (or set Front).
- Closed mesh; give single planes a Solidify modifier.
- Characters stand; if rigged, every part is weighted to the rig.
- Thin parts: raise Chubby Limbs.
10. Tips
- Standard detail is enough for most renders; use High for face close-ups.
- The plush is an ordinary mesh with helper objects (face, fibres, stitches, accessories) parented to it. Move or scale the plush and everything follows; deleting it removes its helpers too.
- Duplicates: Shift+D a plush, then Rebuild the copy; it gets its own materials and face.
- Fibres are a Geometry Nodes hair object; for a lighter scene use Bare or Crochet Yarn.
- Your source model is only hidden, never changed.
11. Known limits
- Four-legged animals keep their shape (Fit Shape); there is no quadruped redesign yet. If the animal faces sideways, set Front to its real front; a tall upright tail can be mistaken for the head.
- Without a rig, unusual poses (sitting, crossed arms) don't split into parts.
- Characters frozen mid-walk in their rest pose turn slightly sideways as plushes.
- Motion is squash-and-stretch on the whole plush, not a rig: limbs don't move on their own.
Have questions about this product?
Login to message
| Blender Extension Compatible | Yes |
| Dev Fund Contributor | |
| Published | about 9 hours ago |
| Blender Version | 4.2 - 5.2 |
| Extension Type | Add-on |
| Render Engine Used | Cycles, Eevee |
| License | GPL |