Poly Light Match - Image Based Lighting Setup
 Poly Playground


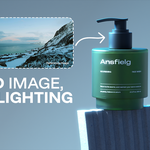
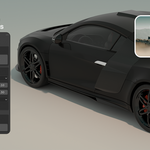
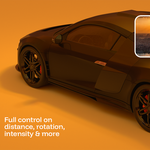
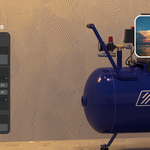
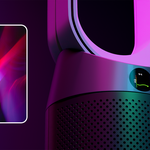
PolyLightMatch
Automatically create 3D lighting setups from reference images in Blender.
Installation
1. Download zip fodler and unzip for PolyLightMatch(version).py
2. In Blender go to Edit > Preferences > Add-ons > Install
3. Select the downloaded file and enable PolyLightMatch
4. Find the panel in 3D Viewport > Sidebar (N key) > PolyLightMatch tab
How to Use
Basic Workflow
1. Click "Select Reference Image" and choose your photo
2. Choose a preset (Movie, Portrait, Landscape, Product) or use Custom
3. Click "Analyze & Create Lights"
4. Adjust colors and intensity with the real-time controls
Main Controls
- Light Intensity: Overall brightness (default 0.10)
- Color Boost: Make colors more vibrant (1.0-2.0)
- Lights: Number of lights to create (2-8)
- Light Type: Area, Point, or Sun lights
Add More Colors
After creating lights, click "Add More Colors" to find additional unique colors from your image. Each click adds one more light with a different color.
Real-Time Adjustments
- Color Saturation: Adjust color intensity of all lights
- Intensity Multiplier: Brighten or dim all lights
- Distance: Move lights closer/further
- Height: Raise or lower lights
- Spread: Adjust light distribution
- Rotate Setup: Rotate entire lighting rig
HDRI
- Enable "HDRI" to use your reference image as world background
- Click the X button to remove HDRI when active
Tips
- Use high contrast images for best results
- Start with a preset that matches your scene
- Work in Material Preview or Rendered viewport mode
- Keep Color Boost between 1.0-1.5 for natural results
Presets
- Movie: 4 lights, dramatic (0.12 intensity)
- Portrait: 3 lights, soft (0.08 intensity)
- Landscape: 2 lights, natural (0.10 intensity)
- Product: 3 lights, bright (0.15 intensity)
Have questions about this product?
Login to message
| Sales | 100+ |
| Dev Fund Contributor | |
| Published | 12 months ago |
| Blender Version | 4.2 - 5.0 |
| Render Engine Used | Cycles, Eevee |
| License | GPL |