Premium Leather Penny Loafer
 Cognito Visuals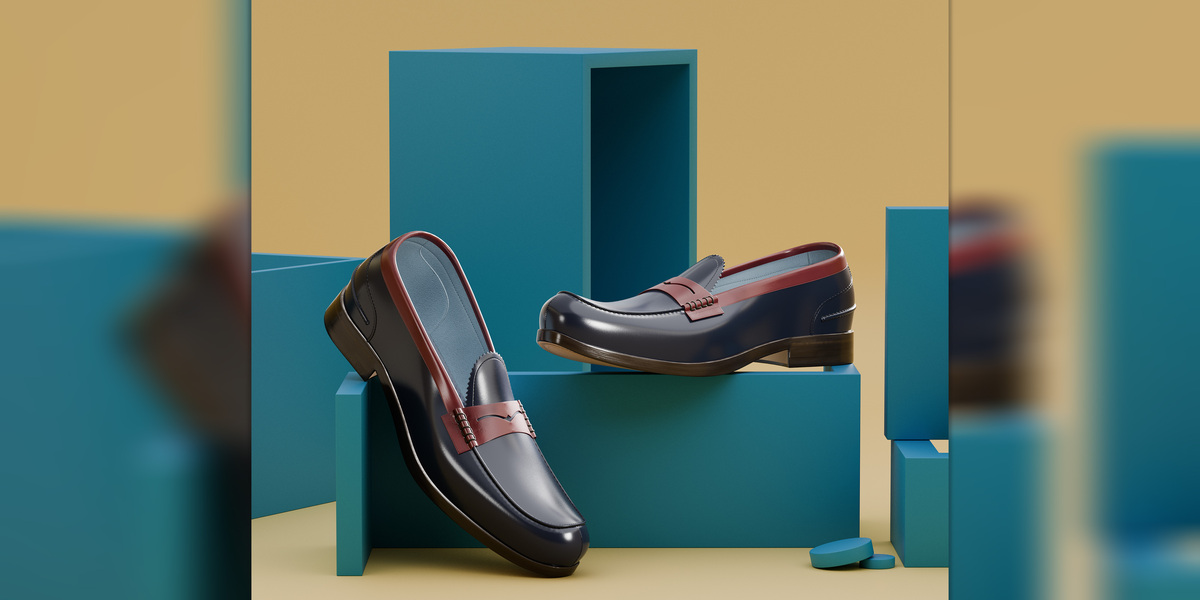
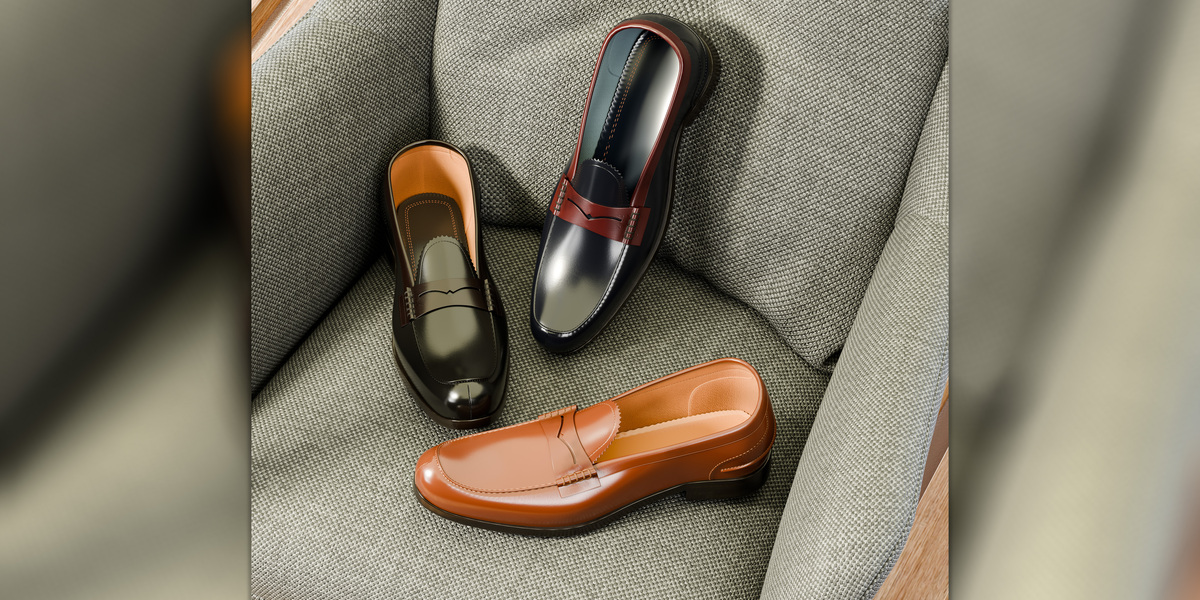
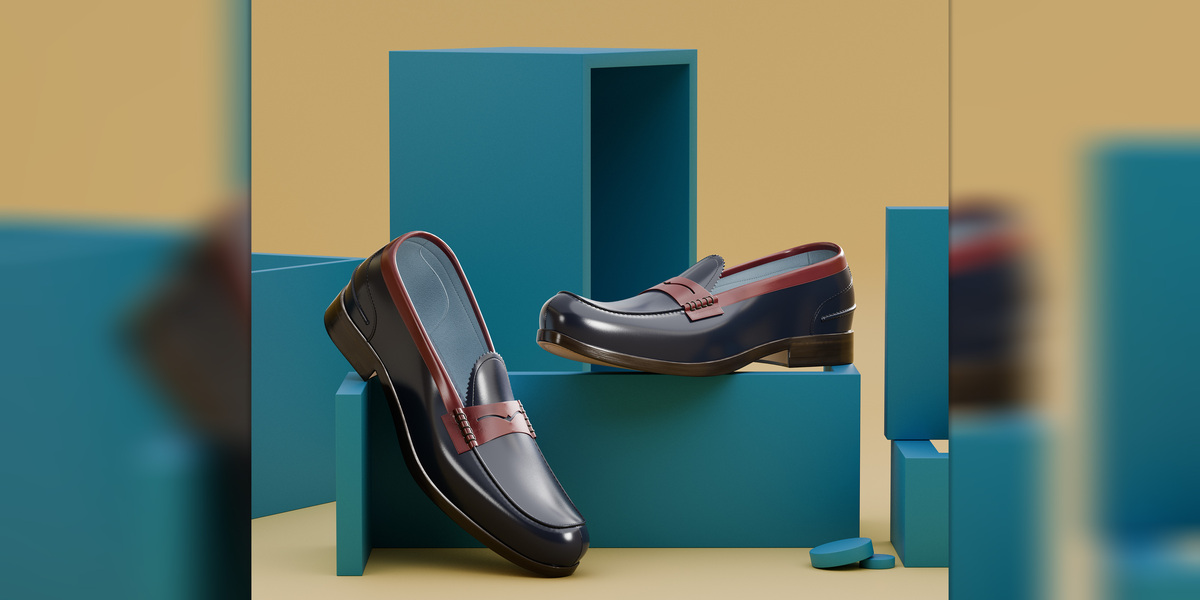
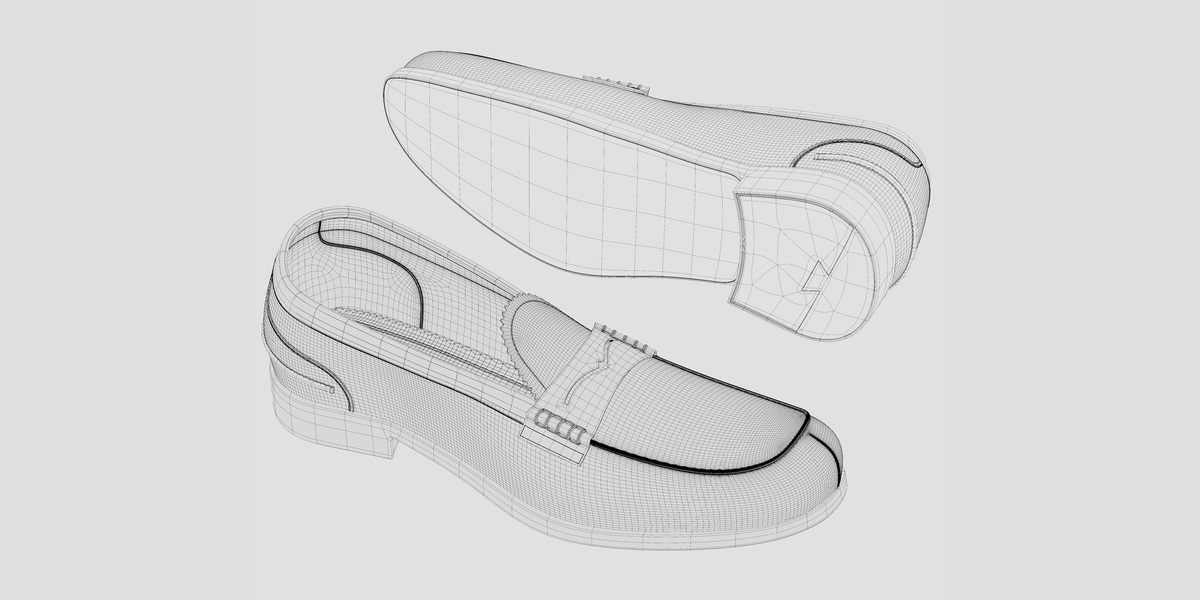
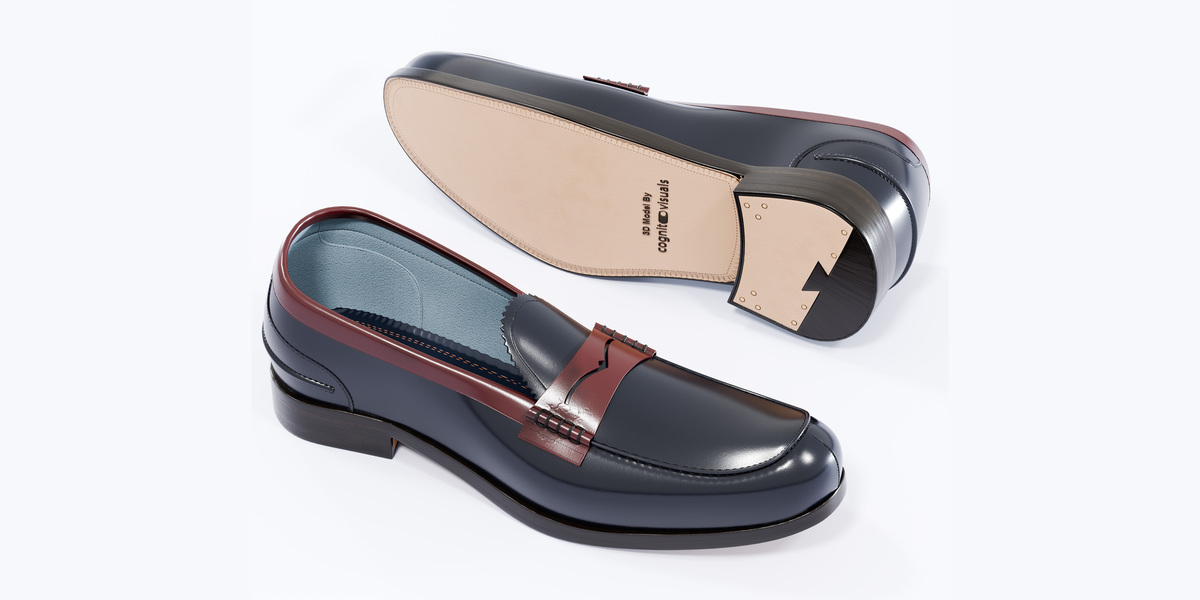
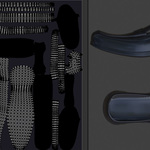
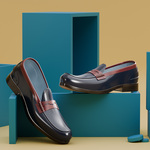
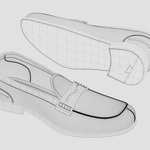
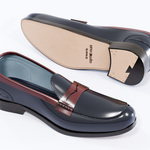
Premium Leather Penny Loafer
Blender Setup & Usage Documentation
Thank you for purchasing the Premium Leather Penny Loafer 3D Model.
This guide explains how to use the model in Blender, achieve a smooth and clean result with Subdivision Surface, and correctly set up the included PBR materials and textures.
1. Requirements
For the best results, use:
Blender 5.2 or newer
Cycles or Eevee render engine
PBR-compatible material workflow
The included
.blendfile and texture files
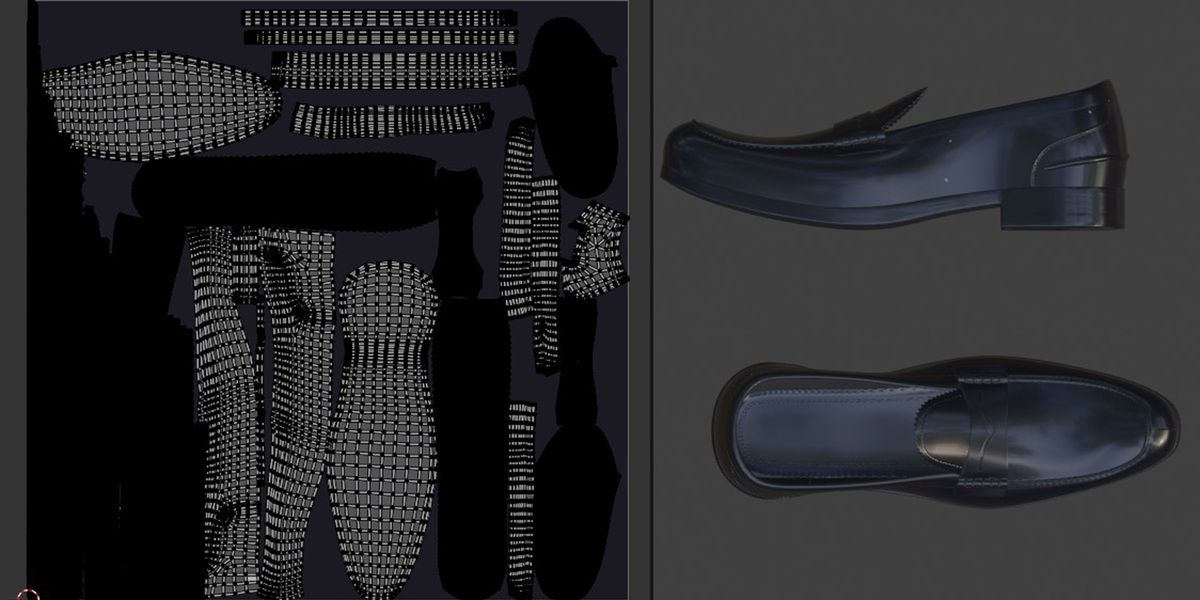
The model is supplied with UVs and PBR material information, making it suitable for product visualization, fashion renders, animation, advertising, and other professional workflows.
2. Opening the Blender File
Open Blender.
Go to File → Open.
Select the included
.blendfile.If Blender displays a missing texture warning, use File → External Data → Find Missing Files.
Select the folder containing the supplied textures.
Click Find Missing Files.
After the textures are located, save the file:
File → Save
This will preserve the corrected texture paths.
Recommended
Keep the .blend file and texture folder together. Avoid moving or renaming the texture files after linking them to the Blender project.
3. Using Subdivision Surface
The model can be smoothed further using Blender's Subdivision Surface modifier.
Subdivision Surface increases the density of the mesh and smooths the overall shape, which is particularly useful for close-up footwear renders.
Step 1 — Select the Shoe
Select the loafer object in the 3D Viewport.
If the model consists of multiple objects, apply the subdivision settings individually to the appropriate mesh components.
Step 2 — Add Subdivision Surface
With the object selected:
Properties → Modifiers → Add Modifier → Subdivision Surface
Alternatively, use the keyboard shortcut:
Ctrl + 1
This adds a Subdivision Surface modifier with Viewport Level 1.
You can also use:
Ctrl + 2 — Level 2
Ctrl + 3 — Level 3
Ctrl + 4 — Level 4
Recommended Settings
For most product renders:
Viewport: 1–2
Render: 2–3
Level 2 is generally a good starting point for close-up renders.
Higher subdivision levels increase polygon density and memory usage, so only increase the level when additional smoothness is actually required.
4. Smooth Shading
After adding Subdivision Surface:
Select the object.
Right-click in the 3D Viewport.
Choose Shade Auto Smooth or the appropriate smooth-shading option available in your Blender version.
For a particularly clean product-render result, make sure the model's normals are correctly oriented.
You can check the surface direction by enabling:
Viewport Overlays → Face Orientation
5. Subdivision Tips
The loafer contains several small details such as stitching, seams, sole edges and leather construction details.
For this reason, avoid applying extremely high subdivision levels unnecessarily.
Recommended workflow
For viewport work:
Subdivision Level: 1–2
For final product renders:
Subdivision Level: 2–3
For extreme close-ups:
Increase only if necessary.
If your computer becomes slow after enabling subdivision, reduce the viewport level while keeping a higher render level.
For example:
Viewport = 1
Render = 3
This allows you to work efficiently while still producing a high-quality final render.
6. PBR Material Setup
The model uses a physically based material workflow.
PBR stands for Physically Based Rendering and allows the leather surface to respond realistically to lighting.
A typical leather material can use the following texture maps:
Base Color / Albedo
Roughness
Normal
Metallic, when applicable
Ambient Occlusion, when supplied
For leather, the Metallic value should normally remain at 0.
7. Creating the Leather Material
Open the:
Shading Workspace
Select the leather material assigned to the loafer.
The main shader should use:
Principled BSDF
connected to:
Material Output → Surface
The basic structure should look like:
Texture Maps → Principled BSDF → Material Output
8. Base Color Map
The Base Color texture controls the primary color and appearance of the leather.
Add:
Shift + A → Texture → Image Texture
Load the supplied Base Color texture.
Connect:
Image Texture – Color → Principled BSDF – Base Color
For a standard color texture, keep:
Color Space: sRGB
Do not connect a Base Color texture through a Normal Map node.
9. Roughness Map
The Roughness map controls how glossy or matte the leather appears.
Add another:
Image Texture
and load the supplied Roughness texture.
Connect:
Image Texture – Color → Principled BSDF – Roughness
Set the texture's:
Color Space: Non-Color
Important
Roughness is not a color texture. Always use Non-Color data for roughness maps.
A lower roughness value produces a smoother/glossier appearance.
A higher roughness value produces a more matte appearance.
For leather, realistic roughness variation is important because completely uniform roughness can make the material look artificial.
10. Normal Map
A Normal map adds small surface details without significantly increasing the geometry.
Add:
Image Texture
Load the supplied Normal map.
Set:
Color Space: Non-Color
Then add:
Shift + A → Vector → Normal Map
Connect:
Image Texture – Color → Normal Map – Color
Then:
Normal Map – Normal → Principled BSDF – Normal
The recommended basic setup is:
Normal Texture
↓
Normal Map Node
↓
Principled BSDF Normal
Do not connect the Normal texture directly to the Principled BSDF Normal input.
11. Metallic Map
Leather is generally a non-metallic material.
If no Metallic map is supplied:
Principled BSDF → Metallic = 0.000
If a Metallic texture is included with the product, set its:
Color Space: Non-Color
and connect it to the Metallic input.
For genuine leather, the metallic response should normally remain at or very close to zero.
12. Ambient Occlusion
If an Ambient Occlusion map is included, it can be used to enhance contact and recessed areas.
Ambient Occlusion can be combined with the Base Color using a Mix Color node, depending on the desired material setup.
However, AO should be used carefully.
Avoid making the entire shoe excessively dark, particularly around the stitching and seams.
13. PBR Color Space Summary
Use the following color-space settings:
| Texture | Color Space |
|---|---|
| Base Color / Albedo | sRGB |
| Roughness | Non-Color |
| Normal | Non-Color |
| Metallic | Non-Color |
| Ambient Occlusion | Non-Color |
| Height / Displacement | Non-Color |
This is important for maintaining physically accurate material values.
14. Texture Coordinate Setup
The model is UV unwrapped.
For standard PBR textures, use the model's UV coordinates.
A typical setup is:
Texture Coordinate → UV → Image Texture
The Image Texture nodes should use:
Vector = UV
This ensures the supplied textures align correctly with the geometry.
You generally do not need to unwrap the model again unless you substantially modify the geometry or UV layout.
15. Adjusting Leather Appearance
You can customize the appearance of the loafer by modifying the Principled BSDF settings.
For example, you can change:
Base Color
Adjust the Base Color or use a Color Ramp/Mix Color node to create different leather colors.
Roughness
Adjust the overall roughness to create:
Matte leather
Semi-gloss leather
Polished leather
Normal Strength
The Normal Map strength can be adjusted to control the visibility of small surface details.
Avoid excessive Normal strength, as this can make the leather look overly rough or synthetic.
16. Rendering in Cycles
For the most physically accurate result, use:
Render Engine → Cycles
For a product visualization:
Select Cycles as the render engine.
Choose your preferred CPU/GPU device.
Use an appropriate sample count.
Enable denoising if required.
Use a large, soft light source for realistic leather highlights.
The included scene can be used as a starting point for rendering.
You can also replace the lighting with your own HDRI or studio lighting setup.
17. Rendering in Eevee
The model can also be rendered using Eevee for faster previews and real-time visualization.
Eevee is useful for:
Quick previews
Product presentations
Animation previews
Interactive applications
Real-time visualization
Make sure the material uses the Principled BSDF and that all texture maps are correctly connected.
18. Achieving a Professional Product Render
For a high-quality footwear render, consider using:
Large softbox-style lights
A subtle fill light
A controlled rim or edge light
A neutral background
Soft contact shadows
Appropriate depth of field
Leather responds strongly to highlights, so lighting is especially important.
A large area light positioned above and to the side of the shoe can produce attractive highlights across the leather surface.
19. Changing the Shoe Color
To create a different leather color:
Open the Shading Workspace.
Select the leather material.
Locate the Base Color texture.
Use a Mix Color or Color Ramp node if you want to tint the existing texture.
Adjust the color while preserving the original roughness and normal information.
This allows you to create multiple product variants without rebuilding the entire material.
For example:
Black leather
Dark brown leather
Tan leather
Burgundy leather
Dark navy leather
The exact result will depend on the original texture and lighting setup.
20. Troubleshooting
Textures are missing
Use:
File → External Data → Find Missing Files
Then select the folder containing the supplied textures.
The shoe looks too shiny
Increase the Roughness value or verify that the Roughness texture is correctly connected and using Non-Color.
The leather looks flat
Check that the Normal map is connected through a Normal Map node and that the texture is set to Non-Color.
Also make sure the scene contains directional lighting capable of producing visible surface highlights.
The model becomes too heavy
Reduce the Subdivision Surface Viewport level.
For example:
Viewport = 1
Render = 2 or 3
There is usually no need to use the highest subdivision level while modeling or positioning the shoe.
The model looks distorted after subdivision
Check:
Object scale
Surface normals
Modifier order
Edge/support geometry
Whether the correct objects have been subdivided
Do not apply extremely high subdivision levels unless necessary.
21. Recommended Workflow
For a typical product visualization project, the following workflow is recommended:
1. Open the .blend file
↓
2. Confirm textures are linked
↓
3. Check the PBR material
↓
4. Enable Smooth Shading
↓
5. Add Subdivision Surface if required
↓
6. Set Viewport Level to 1–2
↓
7. Set Render Level to 2–3
↓
8. Adjust leather color/roughness if needed
↓
9. Set up studio lighting
↓
10. Render with Cycles or Eevee
22. Final Notes
This Premium Leather Penny Loafer 3D Model is designed to provide a flexible starting point for professional footwear visualization.
You can freely customize the material appearance, lighting, camera, background and render settings to match your project requirements while keeping the original geometry and PBR workflow intact.
For the best visual results, pay particular attention to lighting, roughness and normal-map strength, as these have a major impact on the realism of leather materials.
Enjoy creating with the model!
 Included
Includes 12 months of
- Support from Cognito Visuals
- Product updates
Extend this product’s Support Period +12 months: 50% of product price
Have questions before purchasing?
Login to message
| Published | 4 days ago |
| Blender Version | 5.2 |
| Render Engine Used | Blender-Internal, Cycles, Eevee, Octane, Vray |
| Misc Data | Uvs-Unwrapped, Low-High-Resolution, Normal-Mapped, Textured |
| License | Royalty Free |