 Mrs Eliza
Animation Offset Tool for Blender
1. Overview
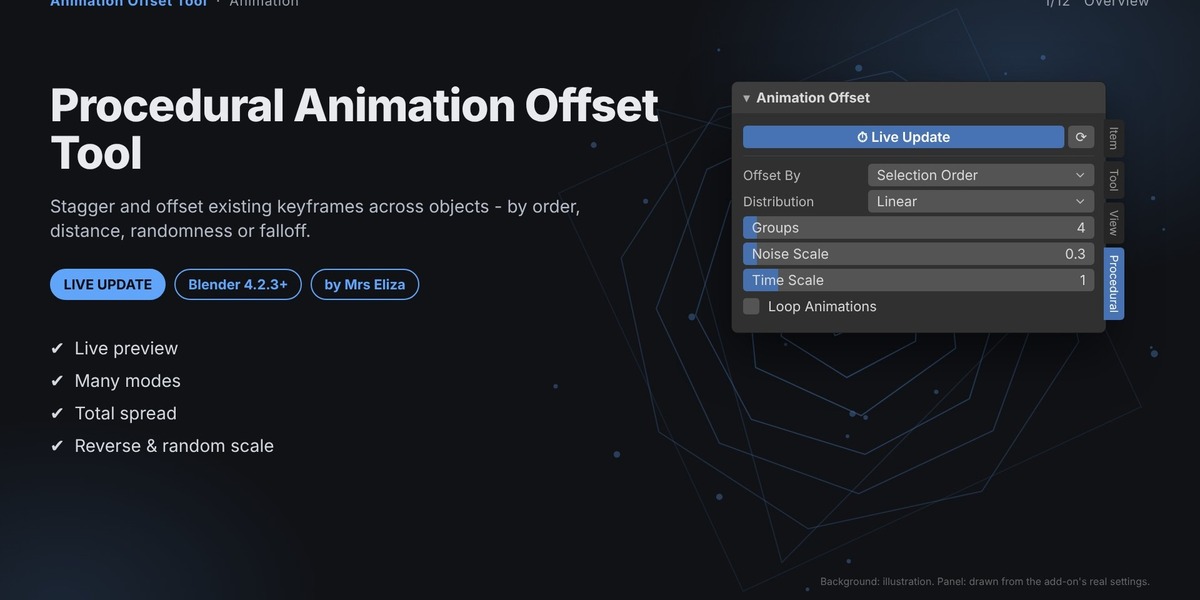
The Animation Offset Tool helps you create staggered animations by shifting existing keyframes across multiple objects. Create cascading motion, ripple effects, synchronized sequences, and dynamic animation transitions with just a few clicks.
You can offset animations using selection order, object names, position, distance, angle, or random distribution. Fine-tune timing with adjustable frame spreads, time scaling, falloff, and reverse controls.
The live preview always works from the original animation timing, allowing you to experiment freely without unwanted timing drift.
2. Key Features
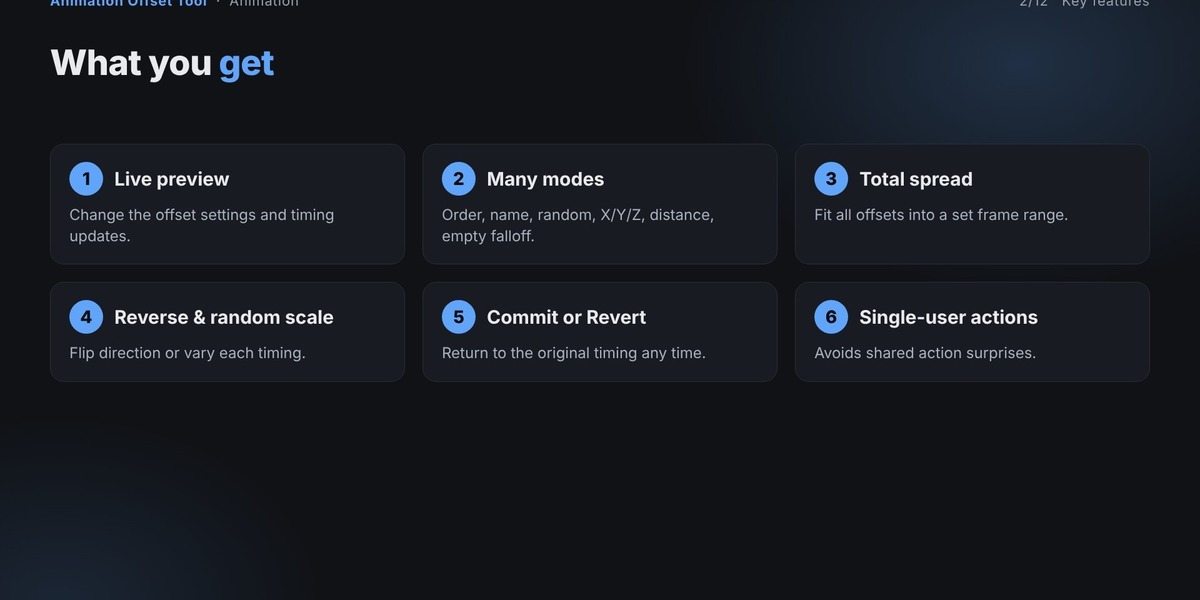
Multiple Offset Modes: Offset animations by selection order, name, position, distance, angle, or noise field.
Live Preview: See timing changes immediately while adjusting settings.
Flexible Distribution: Choose linear, smooth, slow start, slow end, or stepped timing.
Random Animation: Generate varied timing with adjustable random seeds.
Time Scaling: Stretch or compress individual animation timing.
Total Frame Spread: Fit all offsets within a specified frame range.
Reverse Animation: Reverse the offset sequence.
Distance-Based Falloff: Create ripple effects from an empty or group center.
Animation Looping: Add Cycles modifiers to repeat animations.
Color by Offset: Apply colors based on each object's animation timing.
Material Customization: Adjust colors, glow, roughness, metallic, and textures.
Custom Presets: Save, load, and reuse your own animation setups.
One-Click Setup: Quickly create a complete example with materials and optional lighting.
3. Installation
Download the add-on ZIP file.
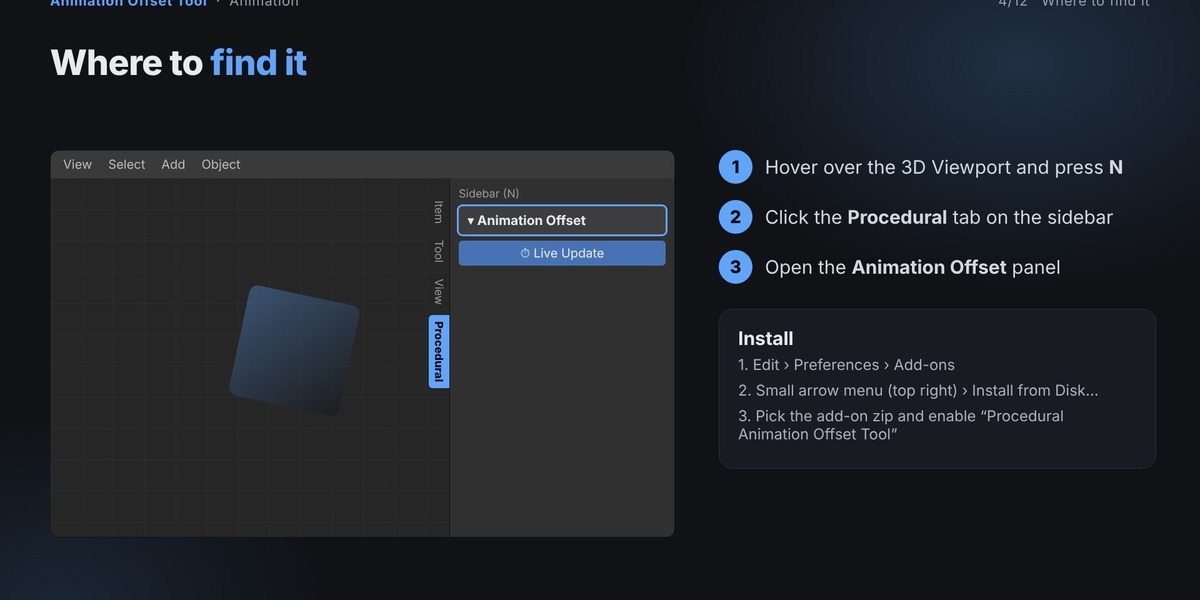
Open Blender and navigate to Edit → Preferences → Add-ons.
Open the menu in the upper-right corner of the Add-ons section.
Select Install from Disk.
Choose the downloaded ZIP file without extracting it.
Enable the add-on using the checkbox next to its name.
Compatibility: Blender 4.2.3 or newer.
Make sure you select the individual add-on ZIP file rather than a bundle containing multiple add-ons.
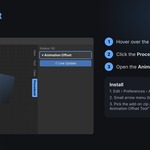
4. Opening the Add-on
Open the 3D Viewport.
Press N to open the sidebar.
Select the Procedural tab.
Find and expand the Animation Offset panel.
5. Getting Started
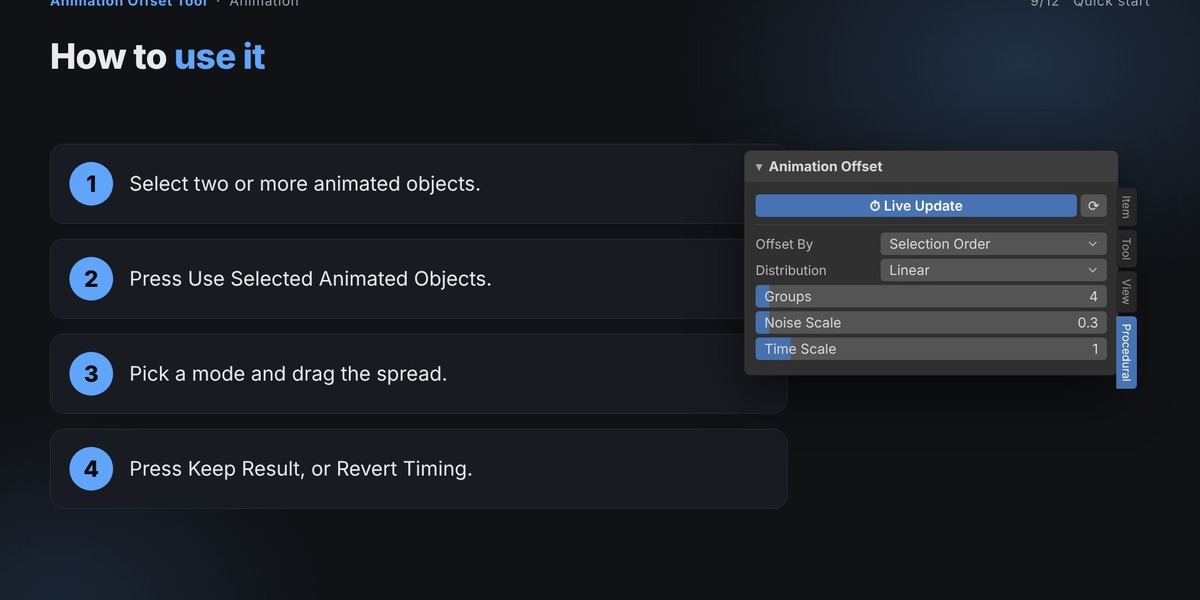
Follow these simple steps to create your first staggered animation:
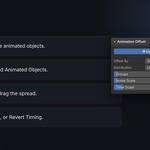
Select two or more objects that already have keyframes.
Click Use Selected Animated Objects.
Choose an offset mode.
Adjust Frames Per Step or Total Spread.
Customize the timing and distribution.
Click Keep Result to accept the changes or Revert Timing to restore the original animation.
All timing adjustments are calculated from the original animation state, so you can experiment without accumulating unwanted offsets.
6. Offset Modes
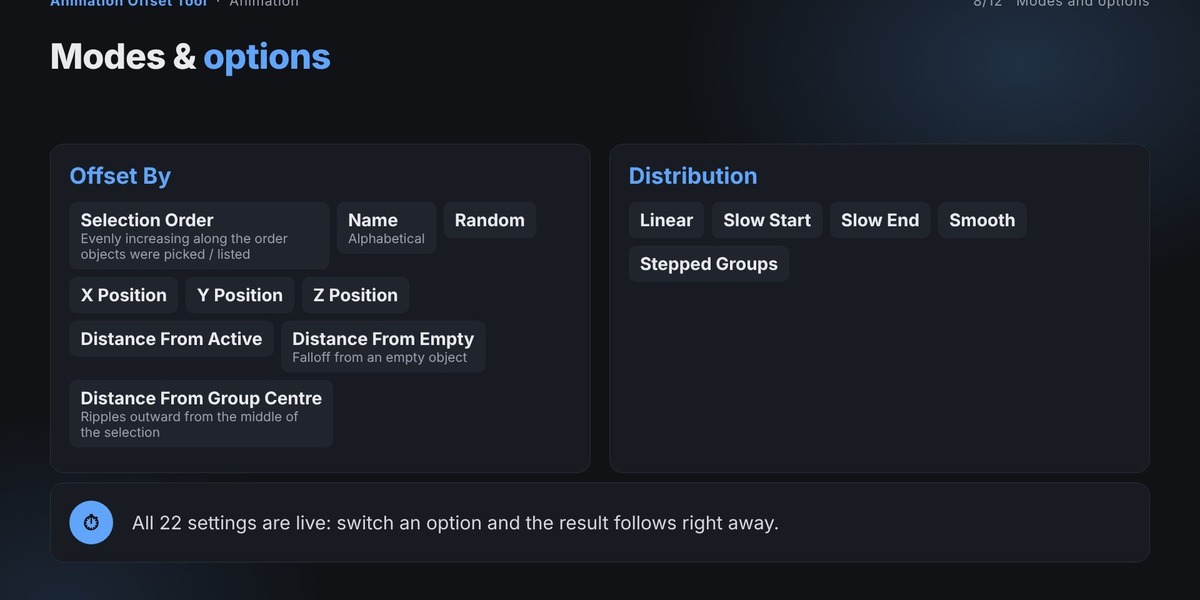
Choose how the animation timing is distributed across selected objects.
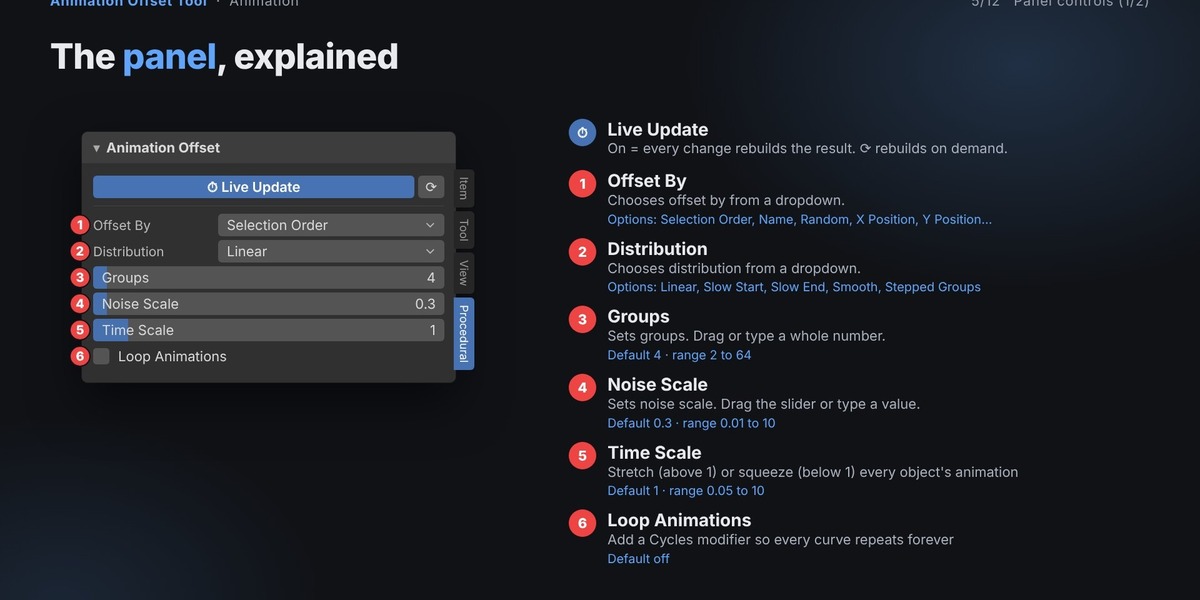
Selection Order: Staggers objects according to their selection order.
Name: Offsets objects alphabetically by name.
Random: Assigns random timing offsets.
X Position: Uses the object's X-axis position.
Y Position: Uses the object's Y-axis position.
Z Position: Uses the object's Z-axis position.
Distance From Active: Offsets objects according to their distance from the active object.
Distance From Empty: Creates a falloff effect from a selected Empty.
Distance From Group Centre: Creates outward ripple effects from the center of the selected objects.
Angle Around Centre: Distributes animation timing around the group like a rotating sweep.
Noise Field: Creates smooth, randomized animation patterns.
7. Distribution Options
Control how timing offsets are spread across your objects.
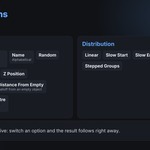
Linear: Distributes offsets evenly.
Slow Start: Begins gradually and increases the timing difference.
Slow End: Starts faster and slows toward the end.
Smooth: Creates a smooth transition between offsets.
Stepped Groups: Divides objects into separate timing groups.
8. Settings Guide
Animation Timing
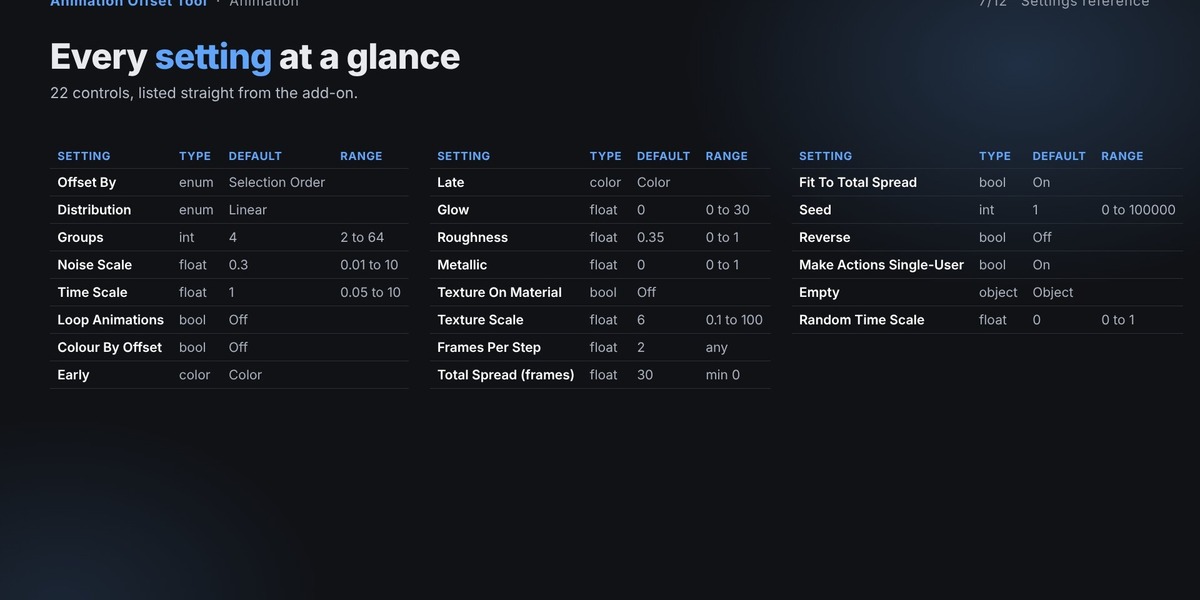
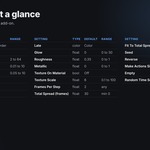
Frames Per Step: Controls the number of frames between consecutive objects.
Total Spread: Sets the overall animation offset range in frames.
Fit To Total Spread: Automatically fits all offsets within the specified frame range.
Time Scale: Stretches or compresses the animation timing of every object.
Random Time Scale: Randomly varies the animation speed of individual objects.
Reverse: Reverses the offset sequence.
Seed: Controls randomization. The same seed produces the same result.
Loop Animations: Adds Cycles modifiers to animation curves for continuous looping.
Align All To Start Frame: Aligns the first keyframe of selected objects to the current frame.
Distribution Controls
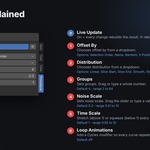
Groups: Sets the number of groups for stepped distribution (2–64).
Noise Scale: Controls the scale of the noise field.
Empty: Selects the Empty object used for distance-based falloff.
Material & Appearance
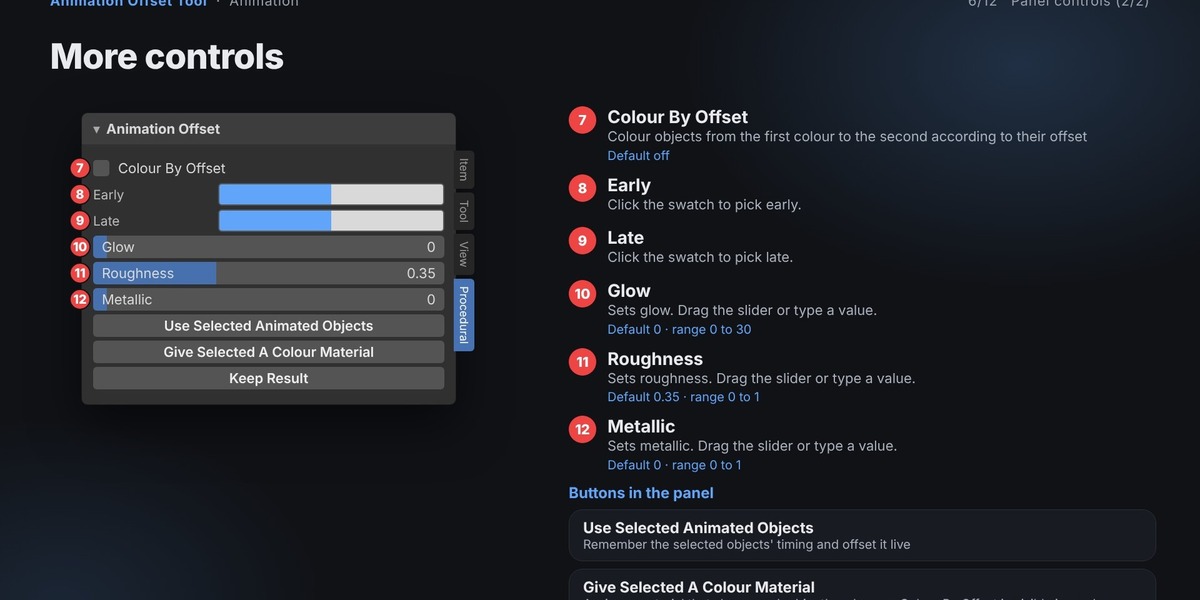
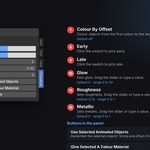
Colour By Offset: Assigns colors according to each object's animation offset.
Early: Sets the starting color.
Late: Sets the ending color.
Glow: Controls material emission intensity.
Roughness: Adjusts surface roughness.
Metallic: Controls the metallic appearance.
Texture On Material: Enables material textures.
Texture Scale: Adjusts the texture size.
Make Actions Single-User: Creates independent animation actions when multiple objects share the same action.
9. Presets & One-Click Setup
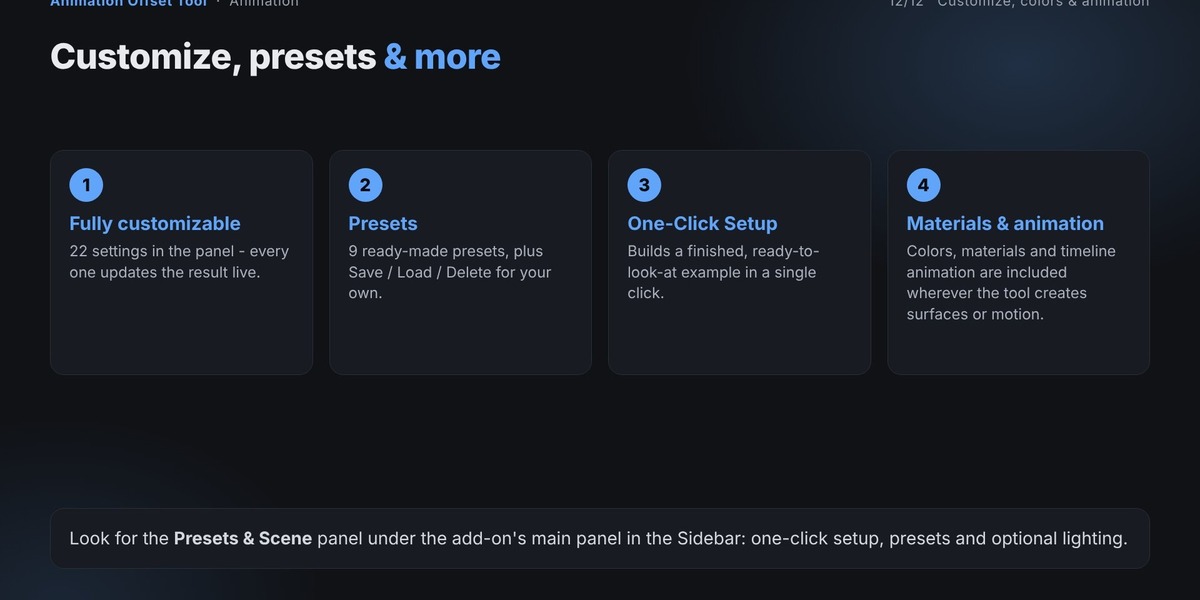
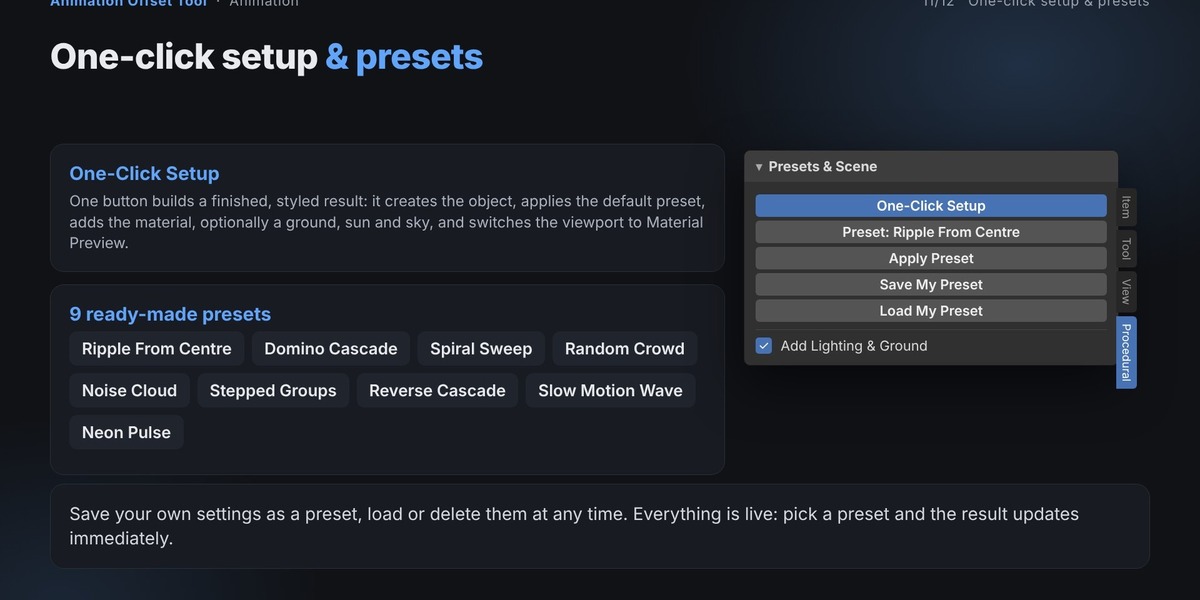
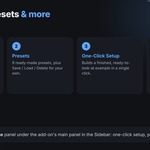
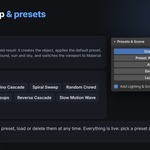
The add-on includes 9 built-in animation presets to help you create different animation styles quickly.
Available presets:
Ripple From Centre
Domino Cascade
Spiral Sweep
Random Crowd
Noise Cloud
Stepped Groups
Reverse Cascade
Slow Motion Wave
Neon Pulse
One-Click Setup
Click One-Click Setup to automatically create a ready-to-preview example. It applies the default Ripple From Centre preset, creates materials, and optionally adds lighting and a ground plane.
The viewport also switches to Material Preview so you can see the result immediately.
Custom Presets
Create and manage your own animation styles:
Save My Preset: Saves your current settings under a custom name.
Load My Preset: Loads a previously saved preset.
Delete My Preset: Removes a saved custom preset.
Apply Preset: Applies the selected built-in preset.
Custom presets are stored in your Blender configuration folder and remain available across different projects.
10. Main Panel Buttons
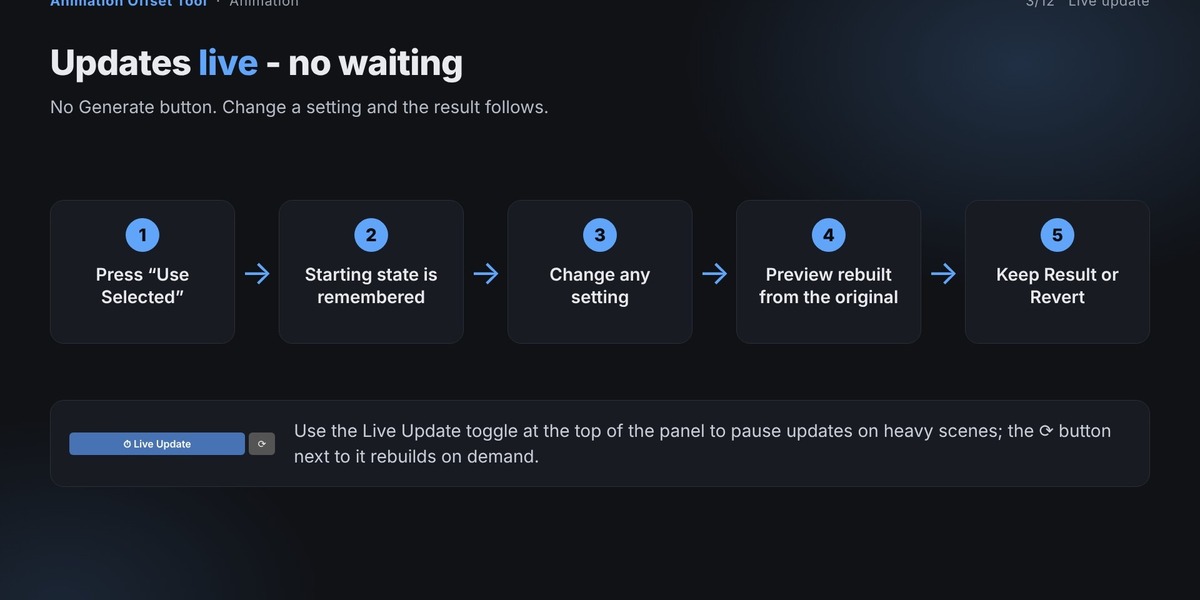
Use Selected Animated Objects: Stores the original timing of selected animated objects and starts the live preview.
Give Selected A Colour Material: Assigns a material that displays the colors generated by Colour By Offset.
Keep Result: Accepts the current animation timing.
Revert Timing: Restores the original animation timing.
Align All To Start Frame: Aligns selected objects to the current frame.
One-Click Setup: Creates a complete preset-based example.
Apply Preset: Applies the selected built-in animation preset.
Add Lighting & Ground: Adds a ground plane, Sun light, and sky color.
11. Live Update & Preview
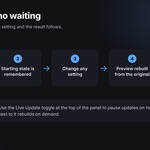
Live Update is enabled by default. Any setting changes automatically update the preview after a short pause.
You can also use the refresh button to rebuild the result manually when Live Update is disabled.
The add-on remembers the original animation timing when you start a preview. Every adjustment is calculated from that starting state rather than the previous preview.
When satisfied, click Keep Result. To return to the original timing, click Revert Timing.
12. Tips for Better Results
Use Distance From Empty to create ripple effects spreading from a specific point.
Enable Fit To Total Spread when you need an animation to finish within a specific frame range.
Keep Make Actions Single-User enabled when objects share animation actions.
Use Align All To Start Frame before applying a new offset for consistent timing.
Experiment with different distribution modes to create more natural animation sequences.
Change the random Seed to explore different animation variations.
13. Common Issues & Troubleshooting
Nothing happens when applying an offset.
Make sure your selected objects already have keyframes. The add-on modifies existing animations rather than creating new ones.
All objects move together instead of staggering.
Your objects may share the same animation action. Enable Make Actions Single-User before starting the preview.
The Revert Timing button is missing.
The button is available only while an animation preview is active.
How can I undo my changes?
Use Revert Timing before accepting the result. You can also use Blender's standard Ctrl + Z undo functionality.
14. Important Notes
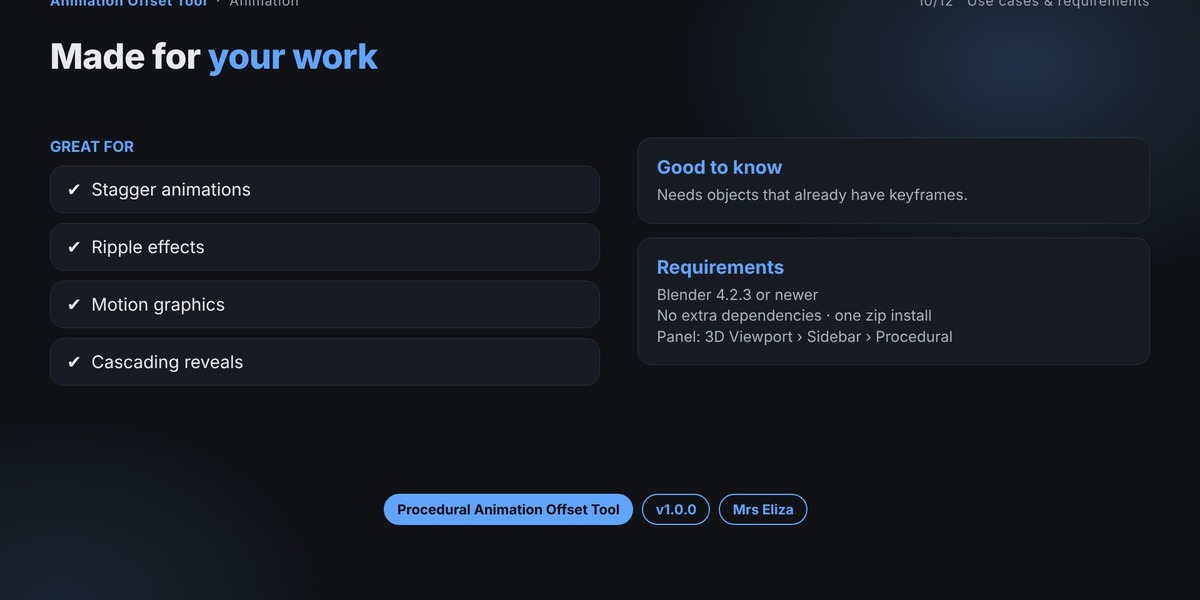
Requires objects with existing keyframe animations.
The add-on offsets existing keyframes; it does not automatically create object animations.
Use Revert Timing to restore the original timing before accepting a preview.
Saving your Blender project preserves the changes created by the add-on.
The add-on is not required to open a saved
.blendfile, but it is needed to continue using its live editing features.
15. Support
If you experience any issues, please include the following information when contacting support:
Blender version.
Add-on name and version.
Steps to reproduce the issue.
Full error message from the Info Editor or Blender System Console.
This information helps identify and resolve problems more efficiently.