 Mrs Eliza
1. Overview
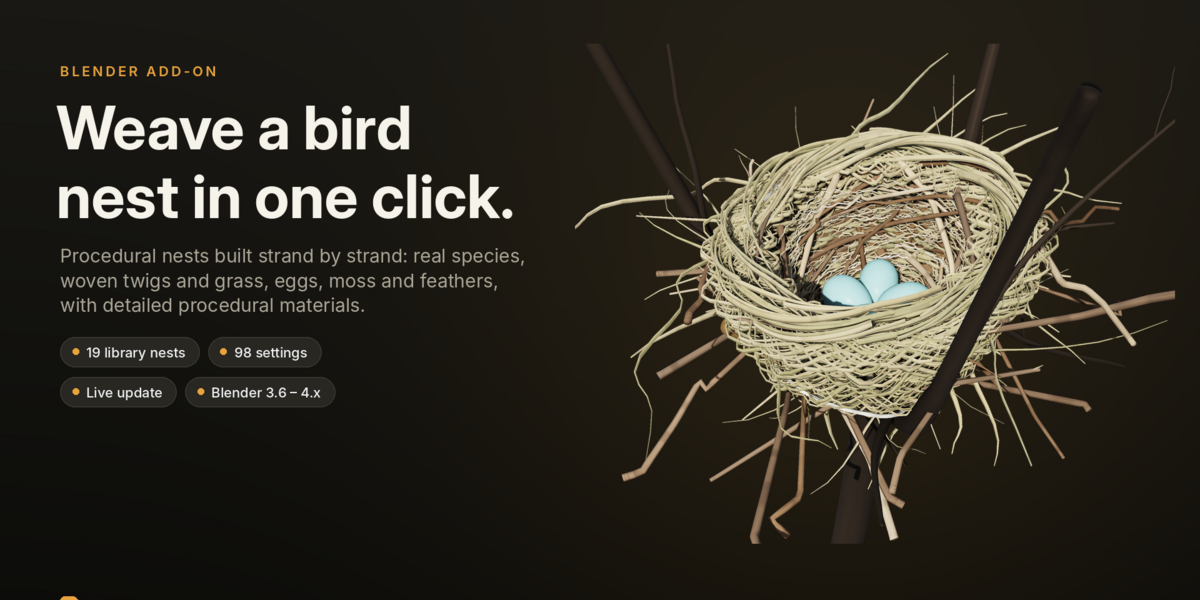
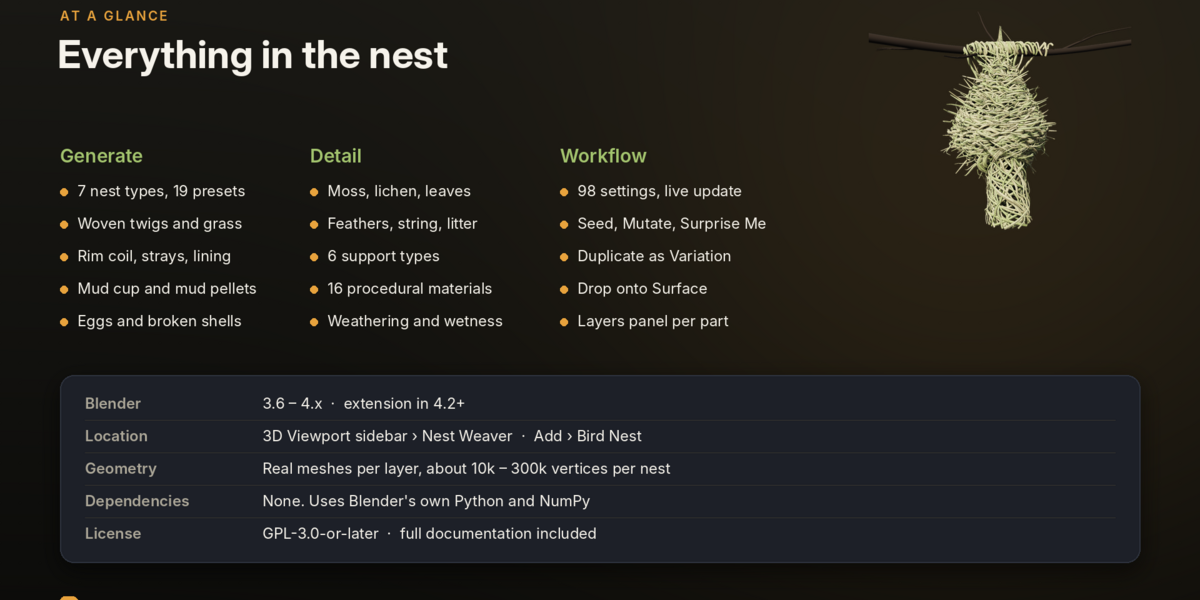
Bird Nest Weaver builds woven bird nests procedurally in Blender. Pick one of 19 real-world nests, or shape your own with 98 settings, and the nest rebuilds itself as you change them. This guide covers version 1.1.0.
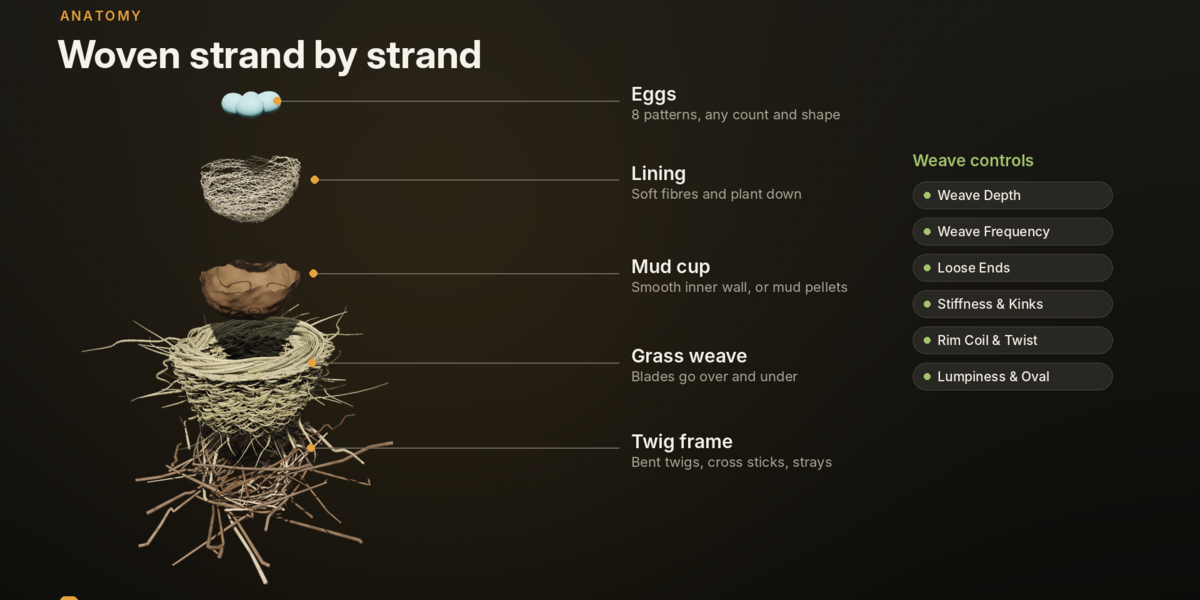
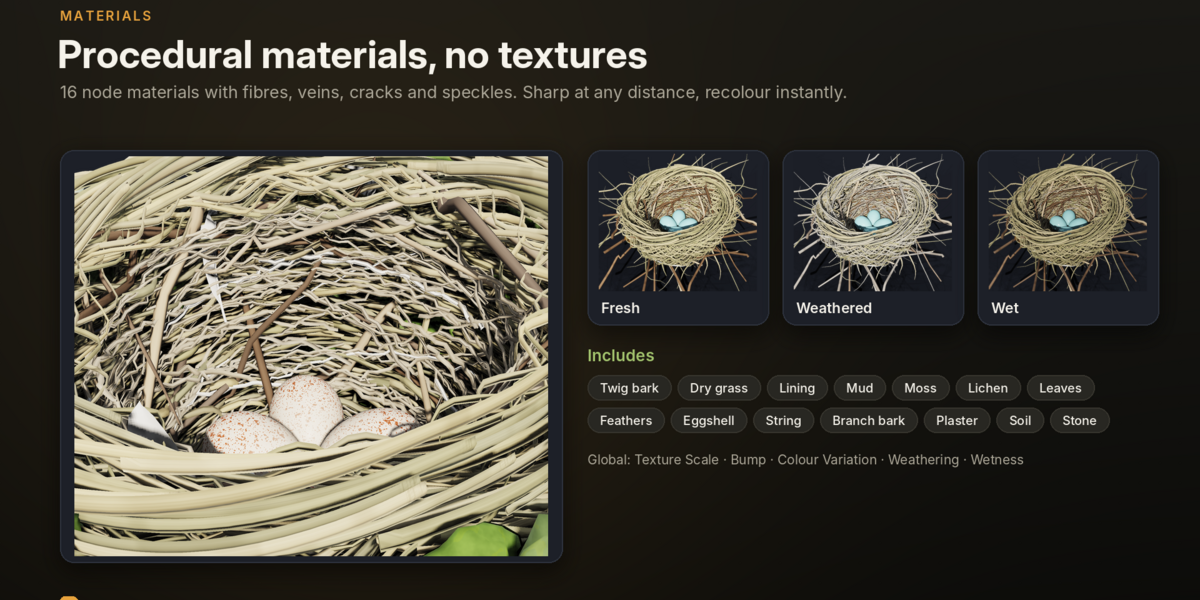
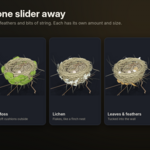
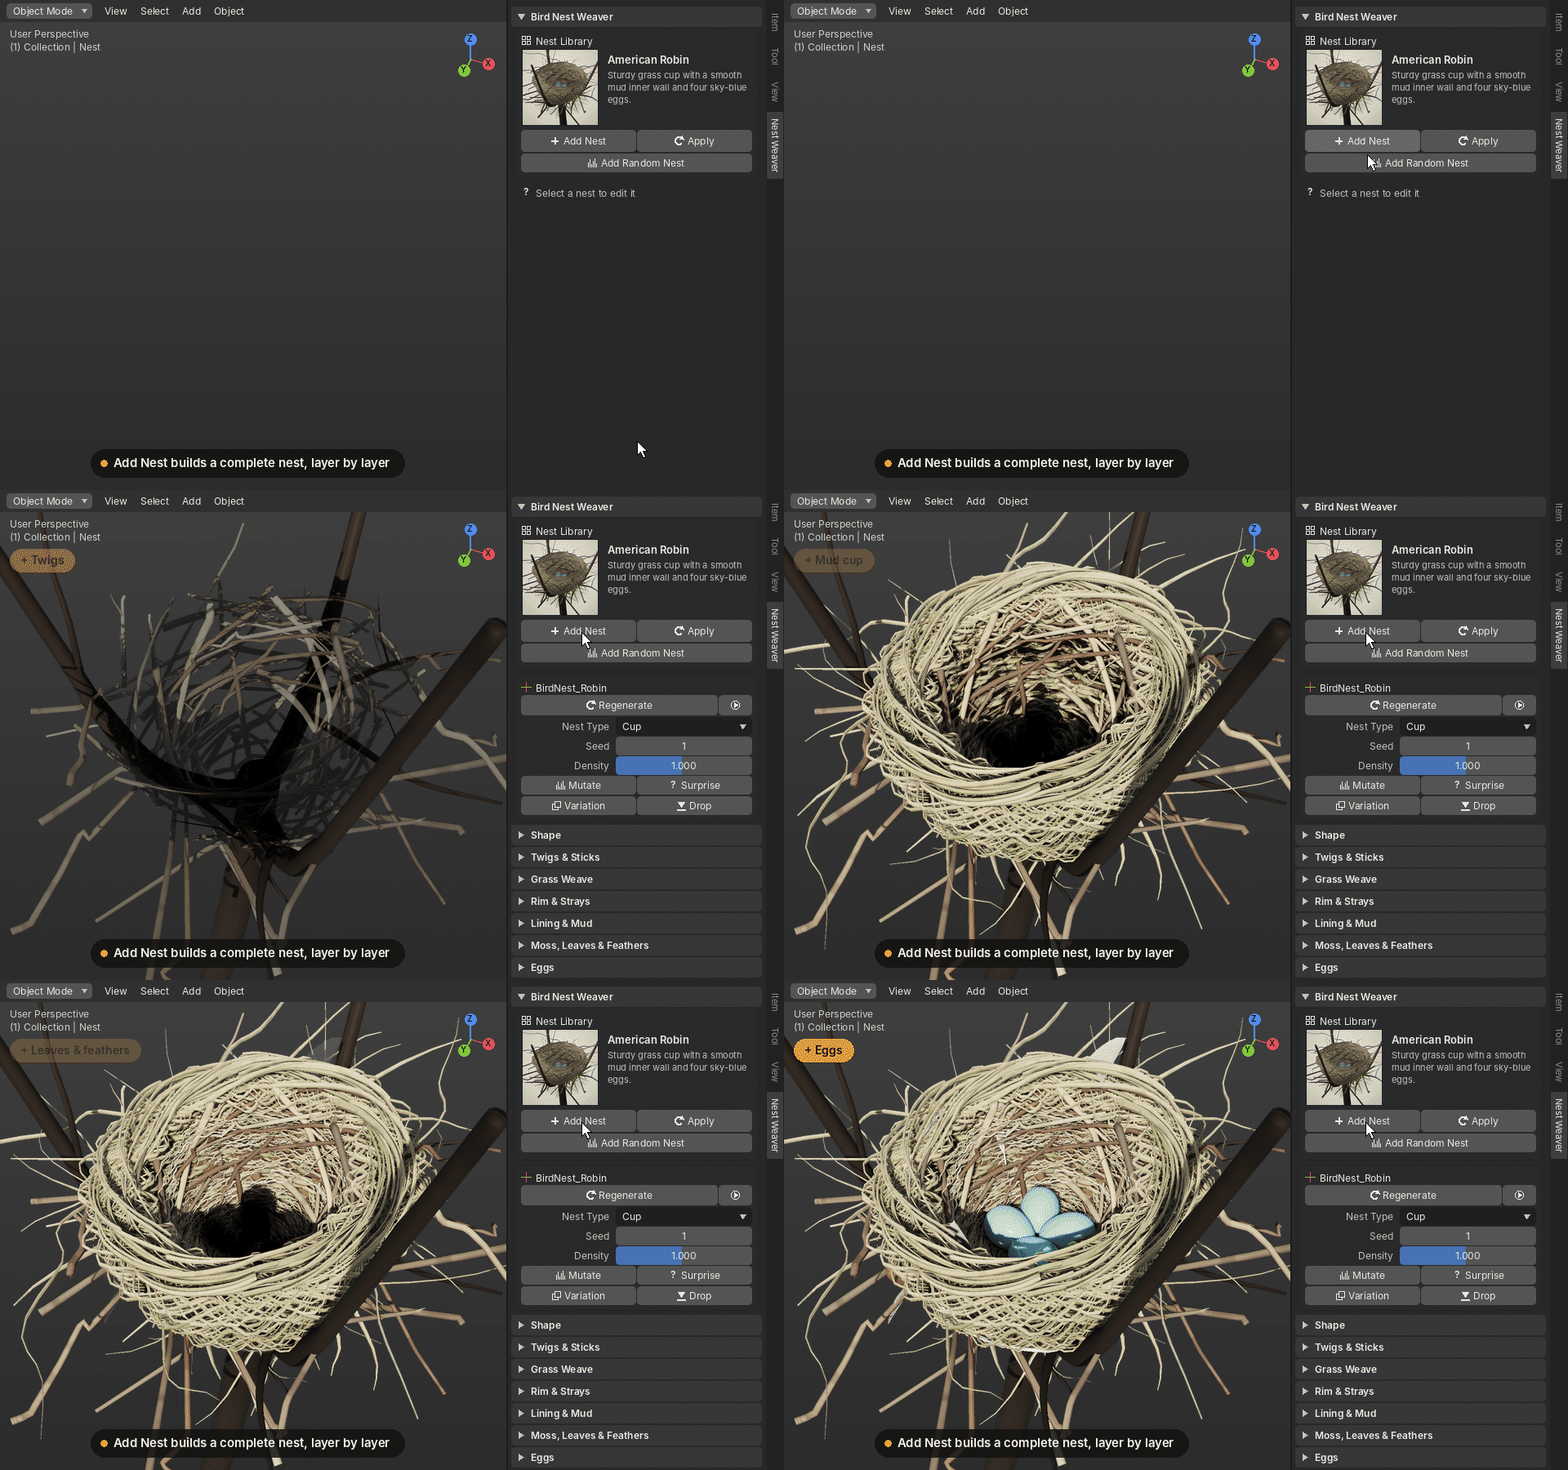
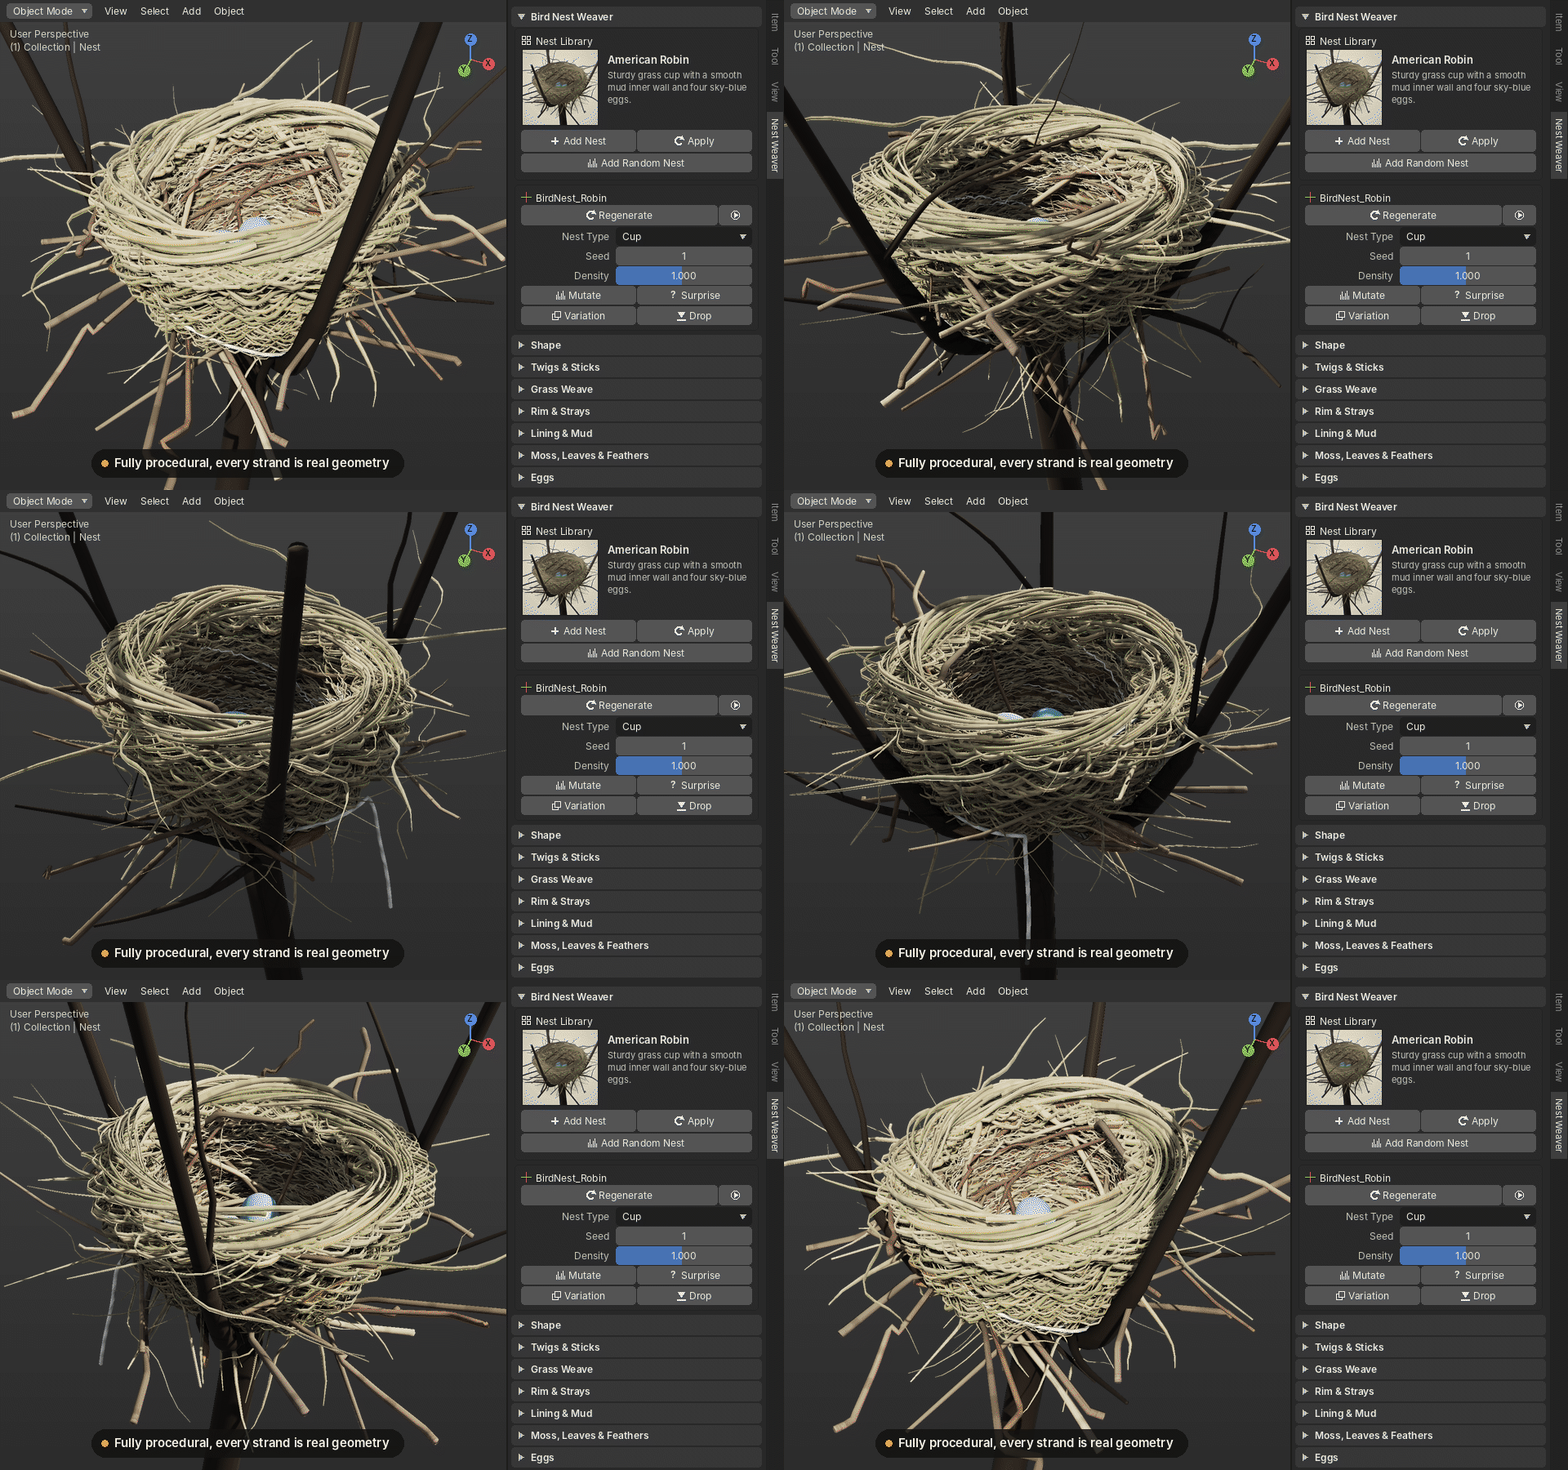
A nest can include woven twigs and grass, a coiled rim, soft lining, a mud cup or mud pellets, moss, lichen, leaves, feathers, string, eggs in 8 patterns, and a support such as a branch, a wall or the ground. Everything is shaded with 16 procedural materials, with no image files.
It works in Blender 3.6 to 4.x, and installs as an extension in Blender 4.2 and newer. It needs no extra Python packages.
2. Installation
Install bird_nest_weaver.zip as downloaded, without unzipping it.
- Blender 4.2 and newer: Edit → Preferences → Get Extensions, then the ⌄ menu (top right) → Install from Disk…, and pick the zip.
- Blender 3.6 to 4.1: Edit → Preferences → Add-ons → Install…, pick the zip, then tick Add Mesh: Bird Nest Weaver.
You'll find it in the 3D Viewport sidebar (press N) under the Nest Weaver tab, and in Shift+A → Bird Nest.
To update, remove the old version, restart Blender and install the new zip. Nests already in your scenes keep working.
3. Quick start
- Place the 3D cursor where the nest should go.
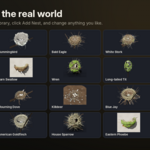
- In the Nest Weaver tab, click the large thumbnail, pick a nest (for example American Robin) and click Add Nest.
- Change any setting in the sub-panels. The nest updates a moment after you stop dragging.
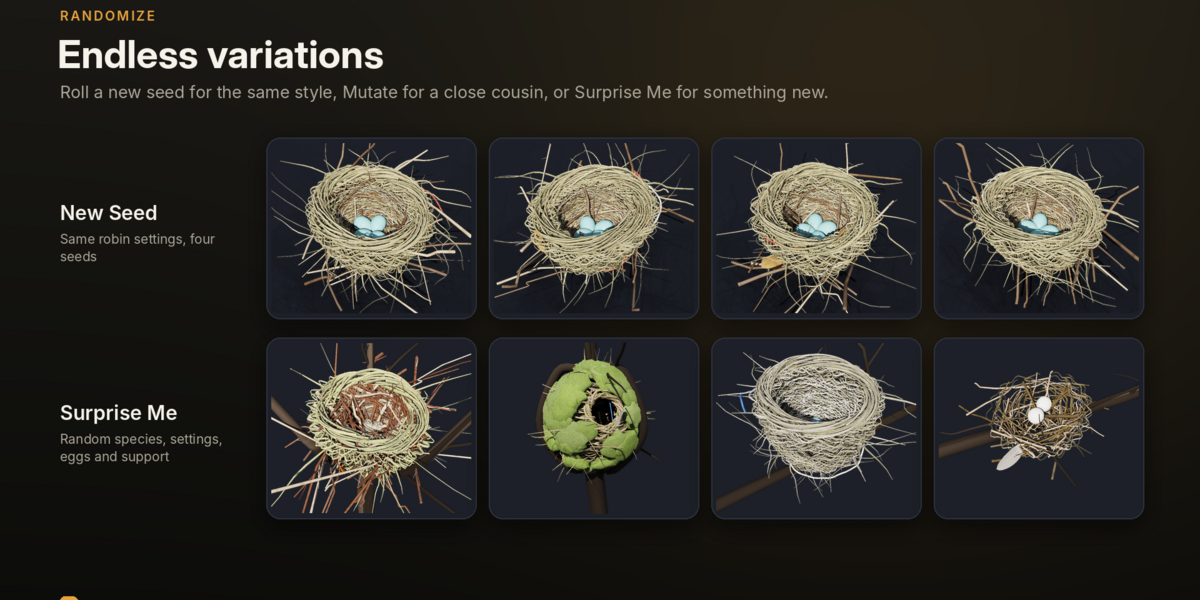
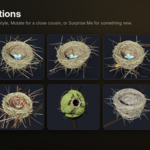
- Click the dice next to Seed for a new arrangement, Mutate for a small variation, or Surprise for a whole new nest.
- Render with Cycles or EEVEE.
Tip: lower Density to 0.3–0.5 while experimenting, and raise it again for the final render.
4. The interface
The Nest Weaver tab has a main panel and ten sub-panels. The sub-panels appear when a nest, or any part of one, is selected.
The main panel holds the library: a thumbnail picker with each nest's description, plus the Add Nest, Apply, Add Random Nest and Browse Library buttons. When a nest is selected it also shows Regenerate with the Live Update toggle, Nest Type, Seed, Density, Mutate, Surprise, Variation, Drop, Delete Nest, and a line with the vertex count and build time.
The sub-panels group the settings: Shape, Twigs & Sticks, Grass Weave, Rim & Strays, Lining & Mud, Moss Leaves & Feathers, Eggs, Support, Materials, and Layers. Each one shows only the settings that apply to the current nest type.
5. Nest types and the library
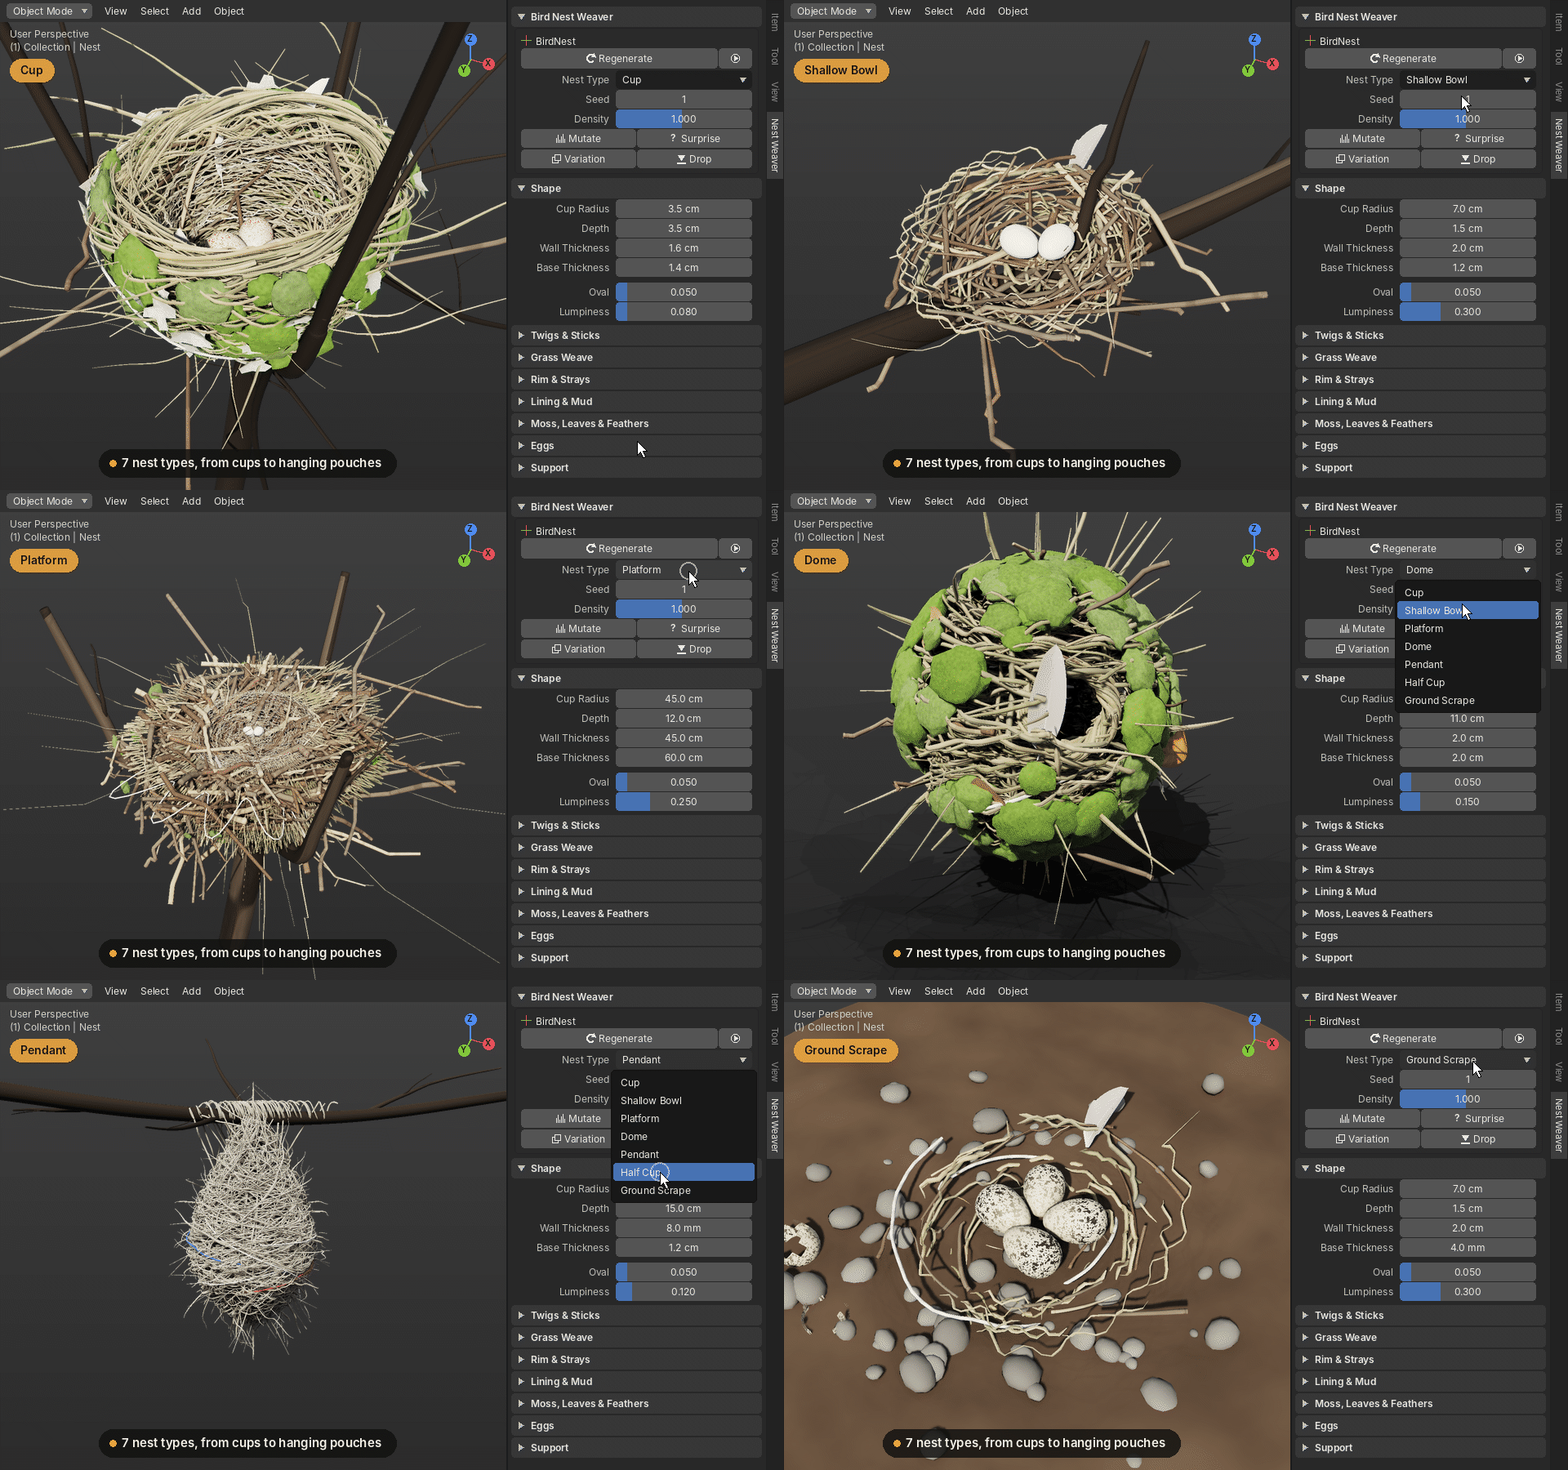
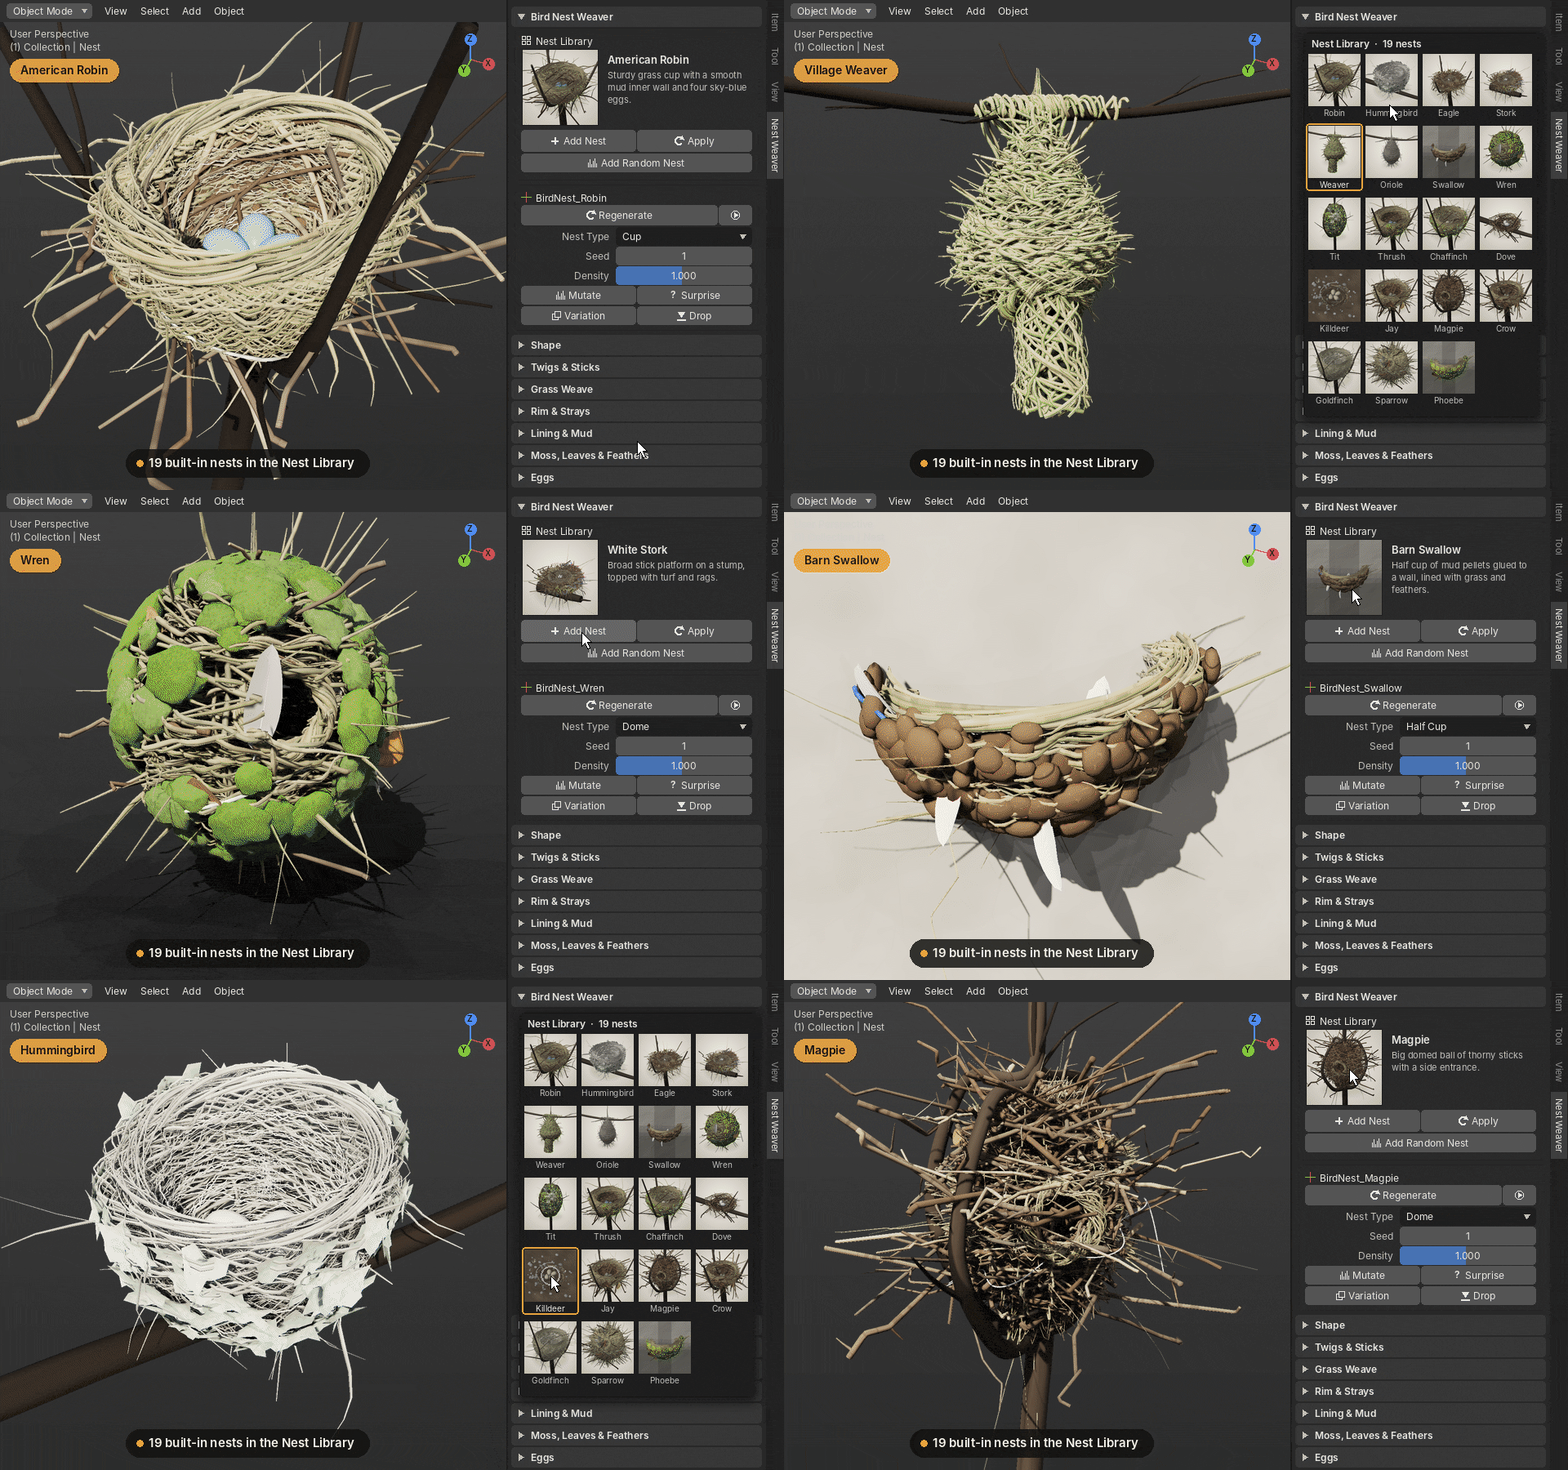
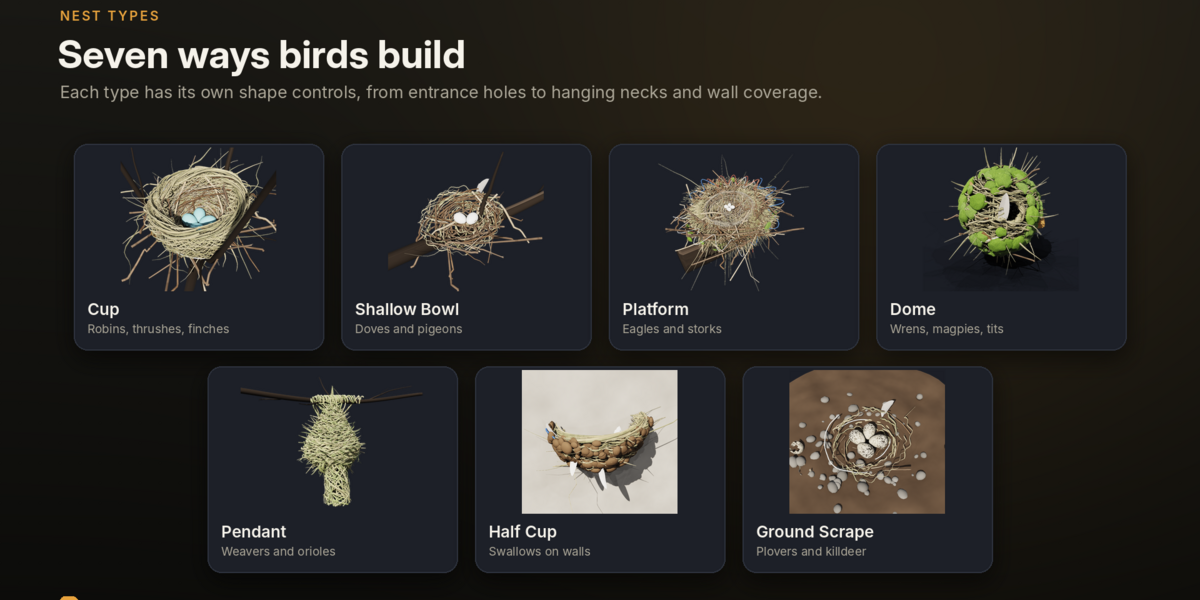
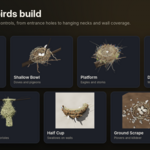
Nest Type sets the basic shape. There are seven types:
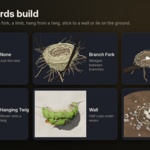
- Cup: an open cup with a curled lip. Robin, Song Thrush, Chaffinch, Blue Jay, American Crow, Goldfinch and Hummingbird.
- Shallow Bowl: a wide, flimsy bowl. Mourning Dove.
- Platform: a thick pile of sticks with a shallow cup. Bald Eagle and White Stork.
- Dome: a closed ball with a side entrance. Wren, Long-tailed Tit, Magpie and House Sparrow.
- Pendant: a hanging pouch, sometimes with an entrance tube. Village Weaver and Baltimore Oriole.
- Half Cup: a cup stuck flat to a wall. Barn Swallow and Eastern Phoebe.
- Ground Scrape: a shallow ring on the ground. Killdeer.
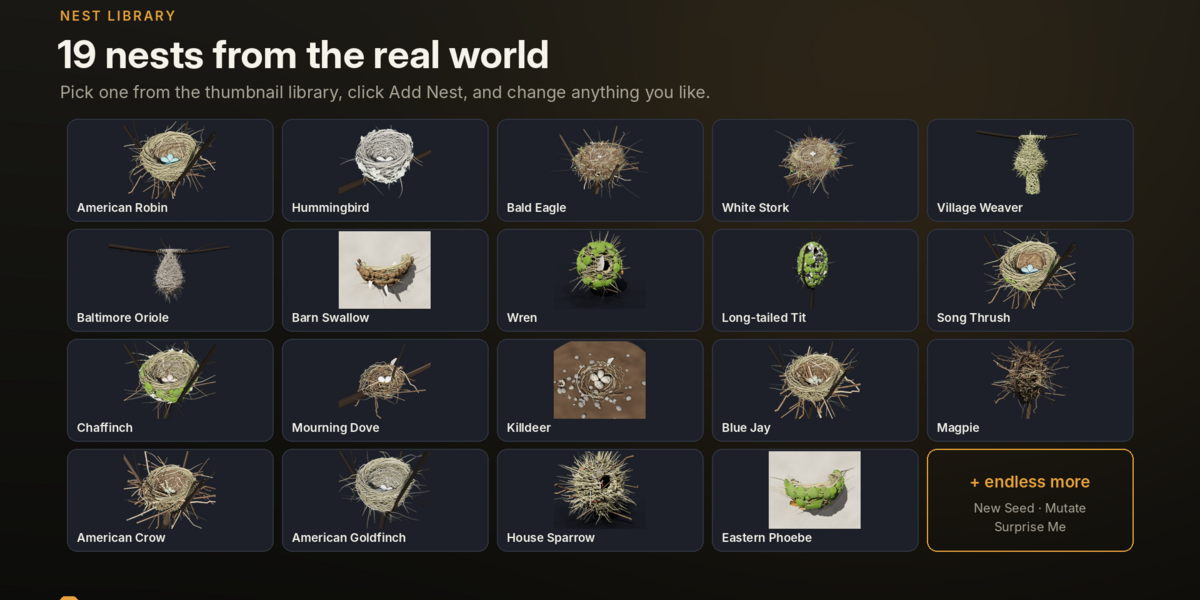
The names after each type are the 19 library nests. Click the big thumbnail for a quick pick, or the grid icon to browse them all side by side. Add Nest creates a new nest, and Apply gives the selected nest the chosen settings while keeping its position.
On Dome and Pendant nests, strands are cut around the entrance so the doorway stays open. Half Cup nests are pressed flat against their wall.
6. Settings by panel
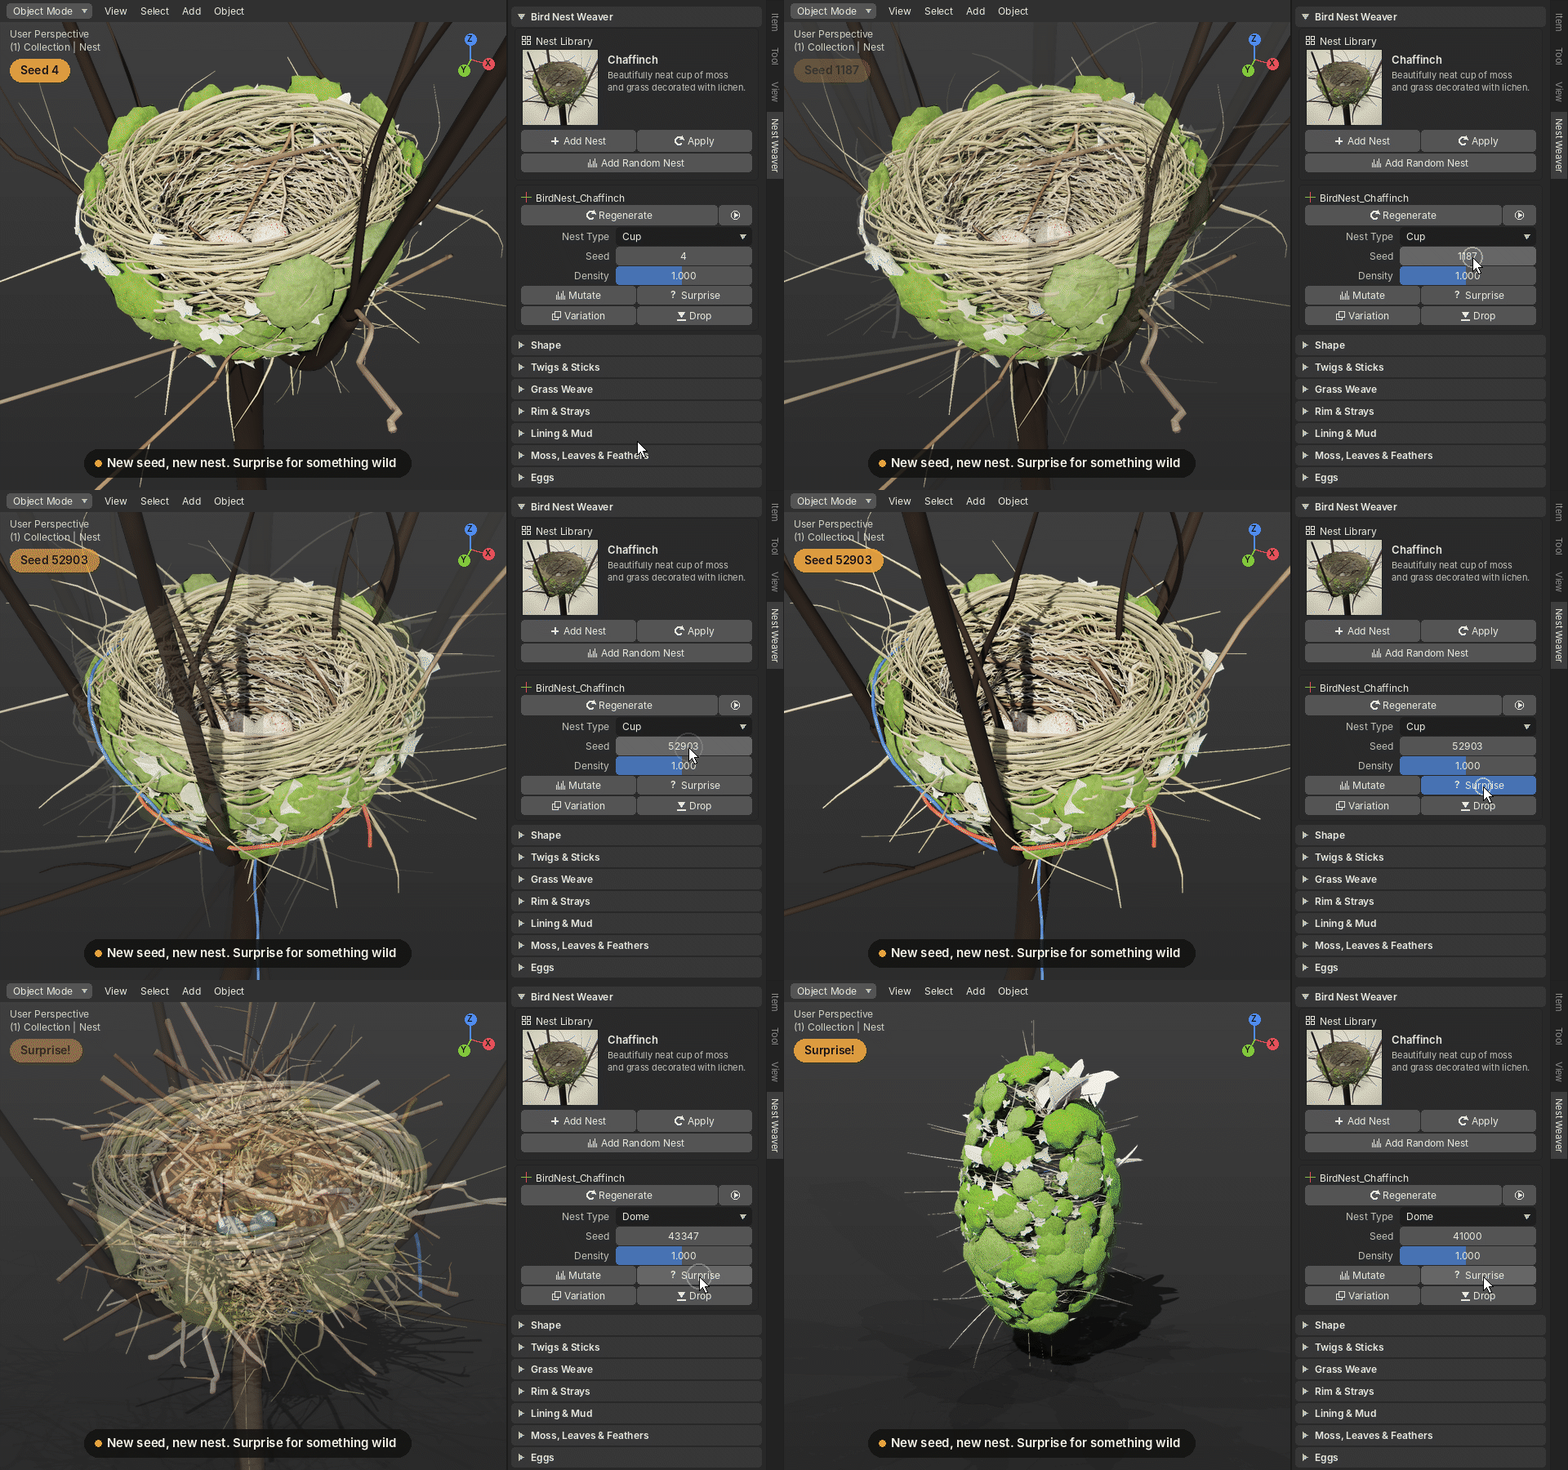
Every setting has a tooltip in Blender. These are the ones you'll use most. Lengths are in metres.
General. Seed changes the random arrangement. Density multiplies every strand count (lower is faster). Curve Resolution sets how smooth each strand is.
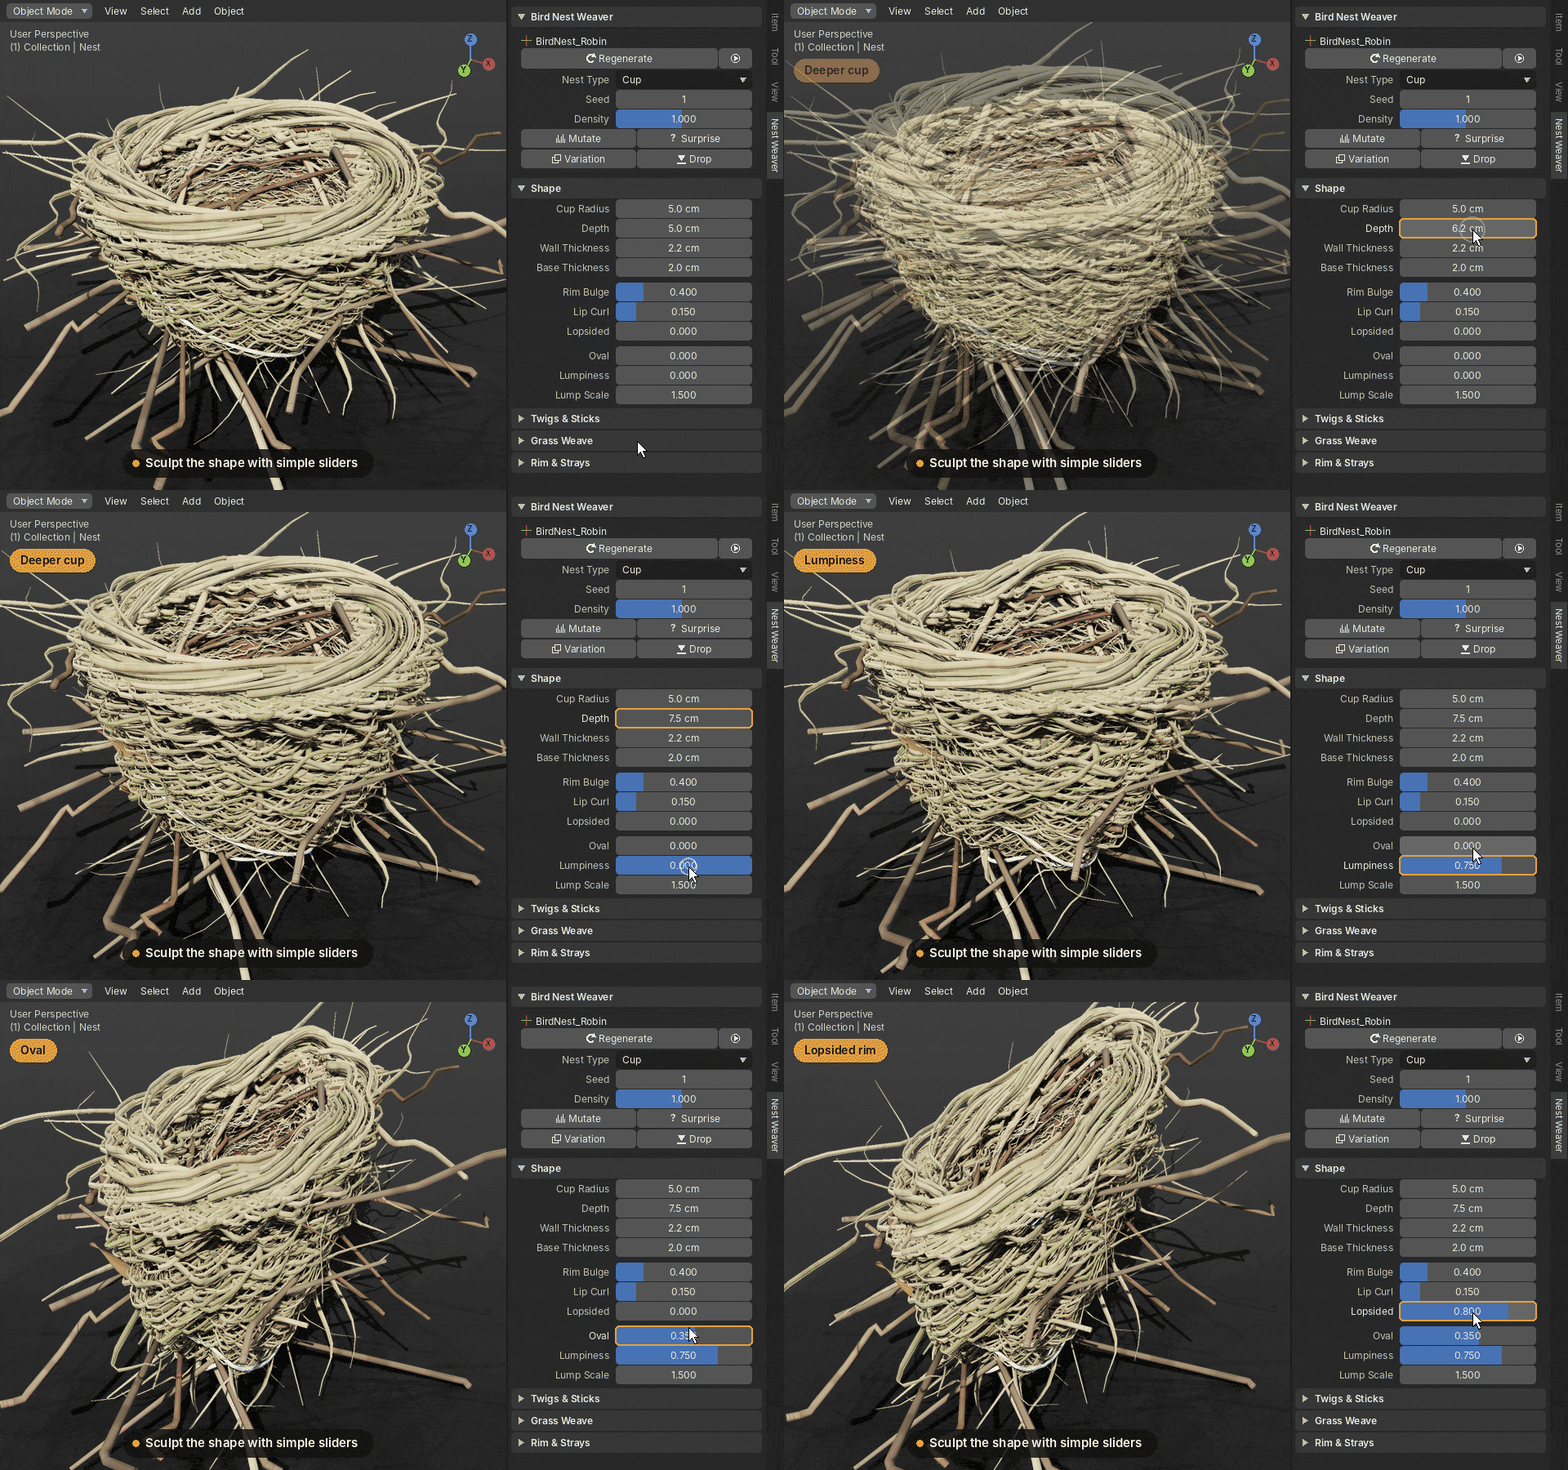
Shape. Cup Radius and Depth set the size of the inside; Wall Thickness and Base Thickness set how solid the nest is. Rim Bulge and Lip Curl shape the rim. Lumpiness, Oval and Lopsided make the nest less perfect. Domes and pendants add Entrance Radius, Height and Angle; pendants also have Neck and Entrance Tube, and half cups have Coverage.
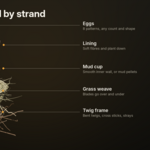
Twigs & Sticks. Twigs, Cross Sticks and Vertical Strands set how many there are. Twig Radius and Twig Length set their size. Stiffness runs from bendy (0) to straight sticks (1), and Kinks and Side Shoots add realism.
Grass Weave. Grass Strands, Blade Width and Blade Length set the grass. Flatness goes from flat ribbon to round fibre. Weave Depth and Weave Frequency control the over-and-under weave, and Loose Ends lets blade ends poke out.
Rim & Strays. Rim Strands, Rim Thickness and Rim Twist build the coiled rim. On domes, the rim rings the entrance instead. Stray Twigs, Stray Length and Messiness add twigs sticking out.
Lining & Mud. Lining Fibres, Curl and Down Tufts fill the cup softly. Mud Layer adds a smooth mud cup, shaped by Mud Height, Mud Position and Mud Roughness. Mud Pellets builds a swallow-style wall.
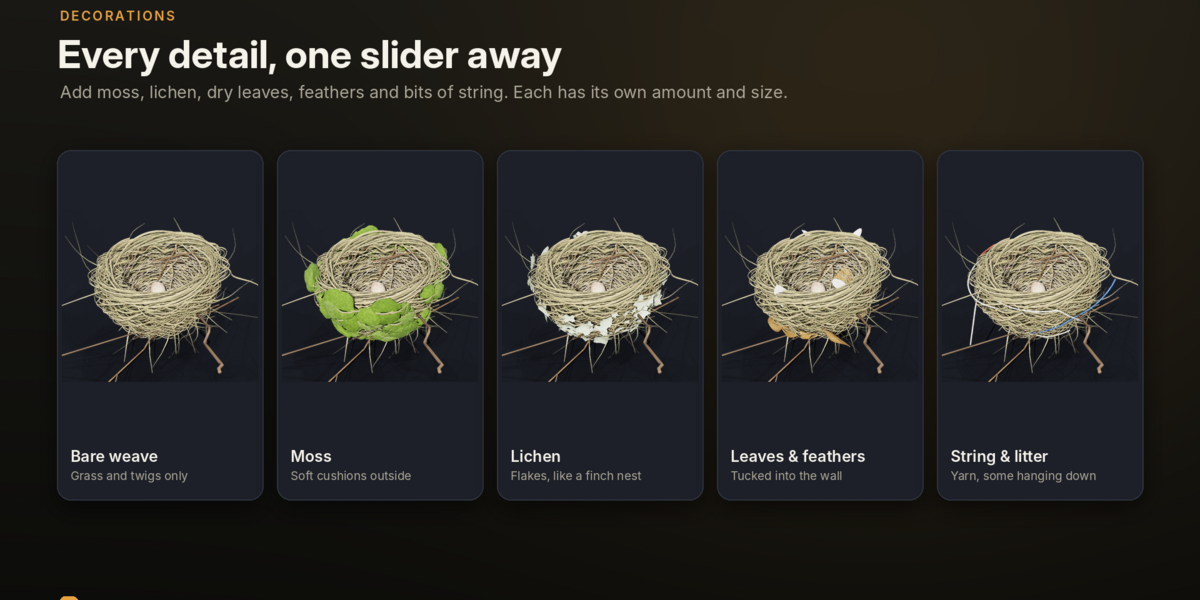
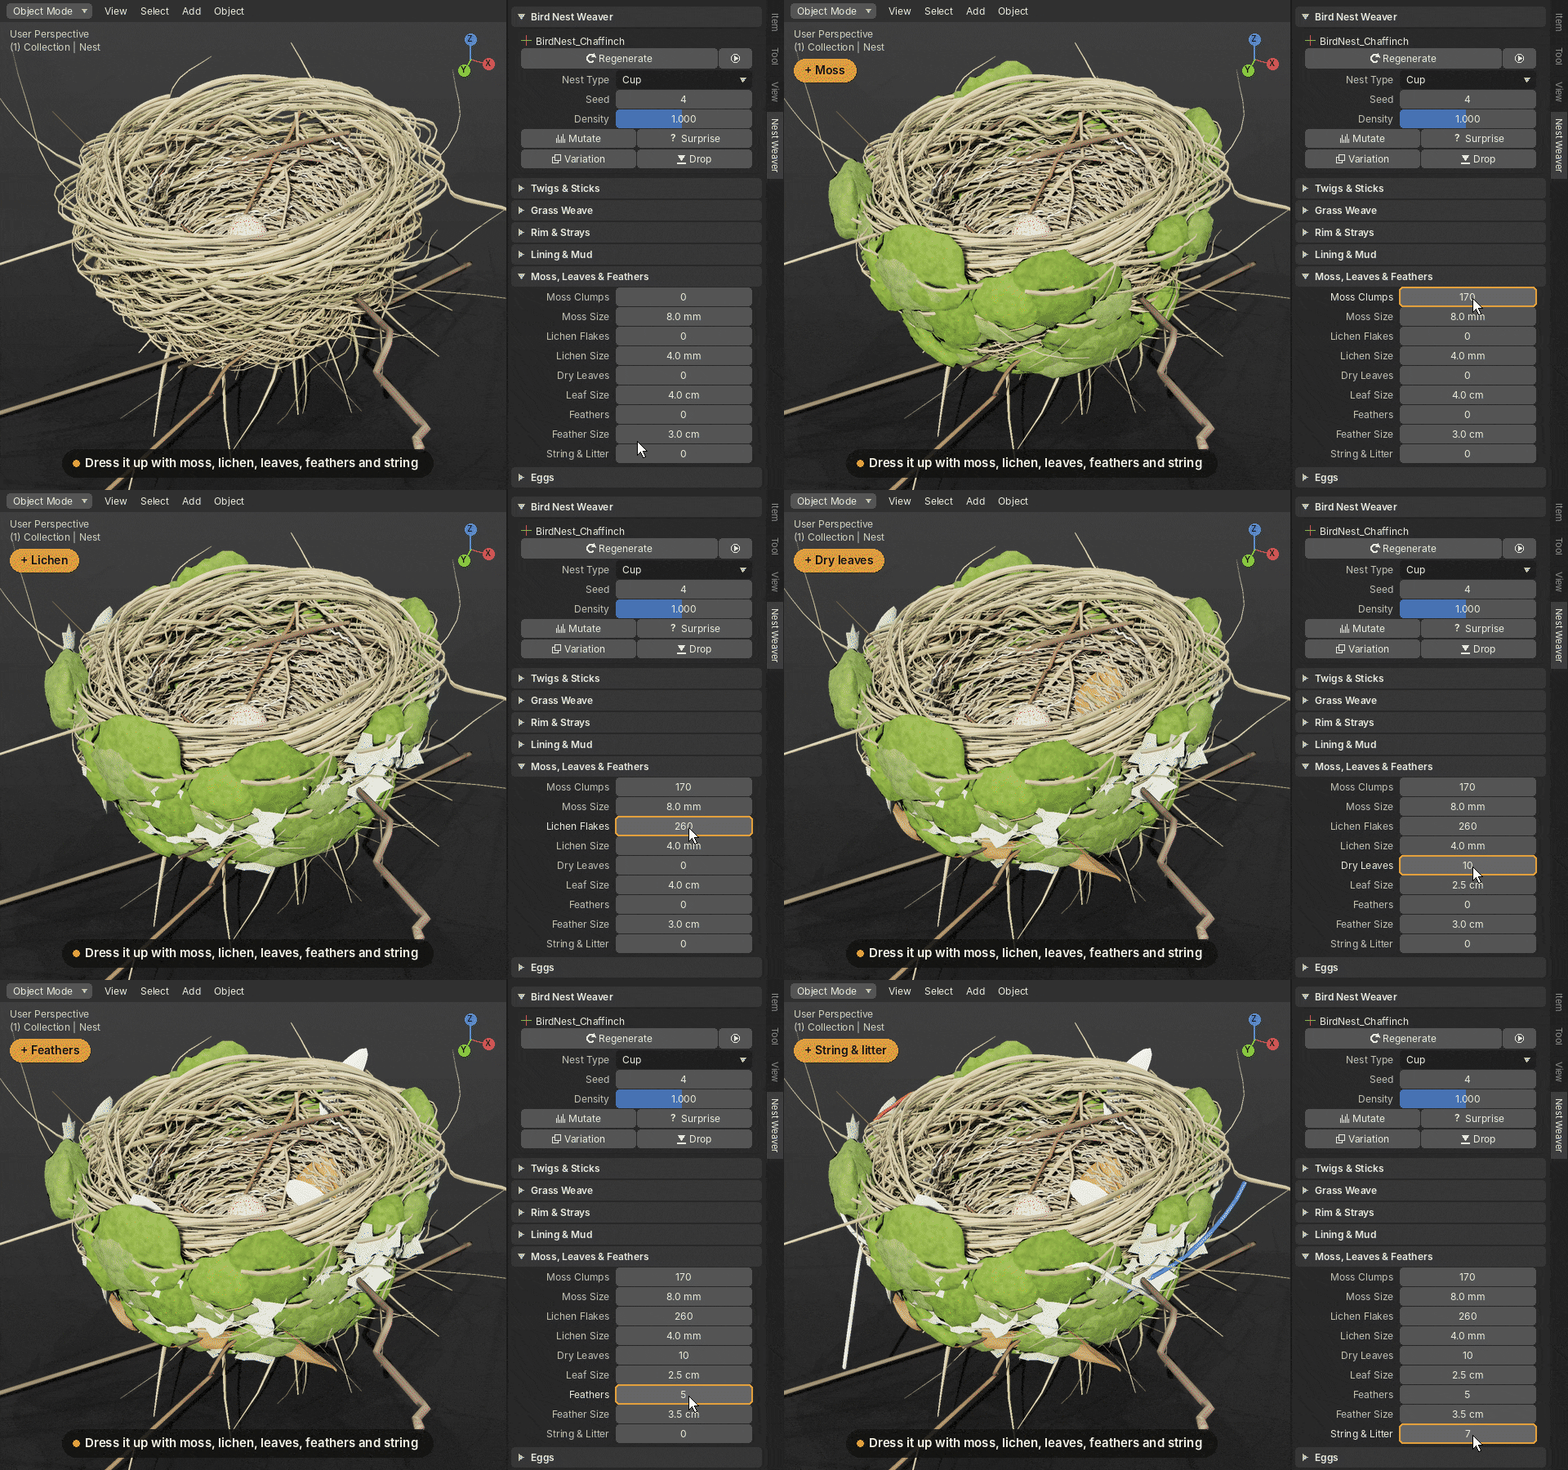
Moss, Leaves & Feathers. Each decoration has an amount and a size: Moss Clumps, Lichen Flakes, Dry Leaves and Feathers (with Stick Out), plus String & Litter.
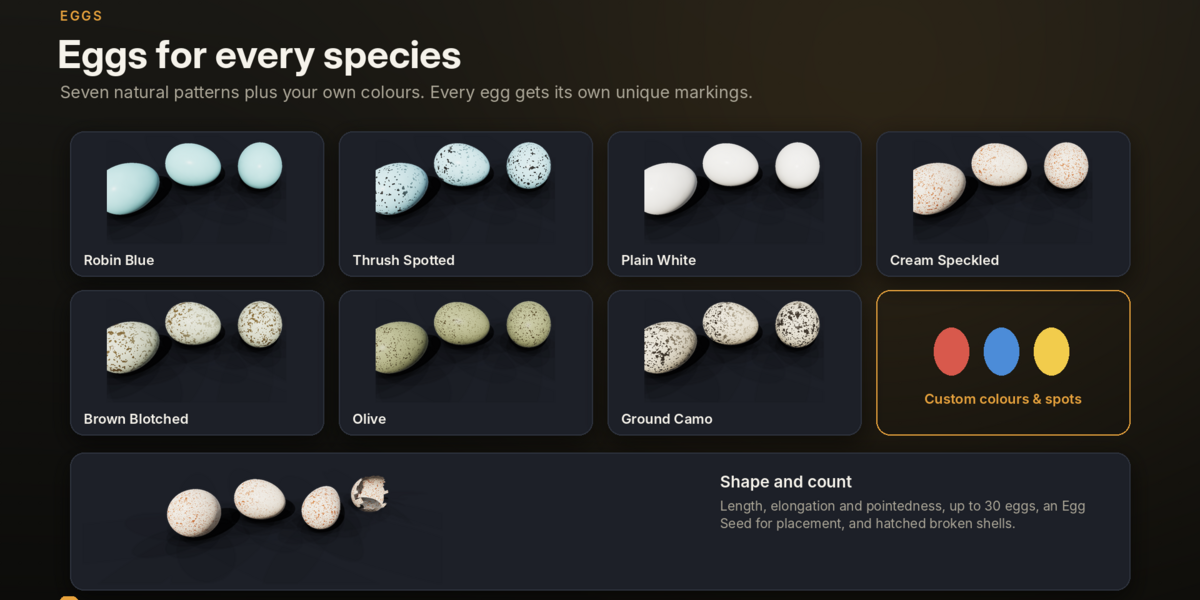
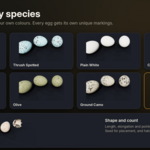
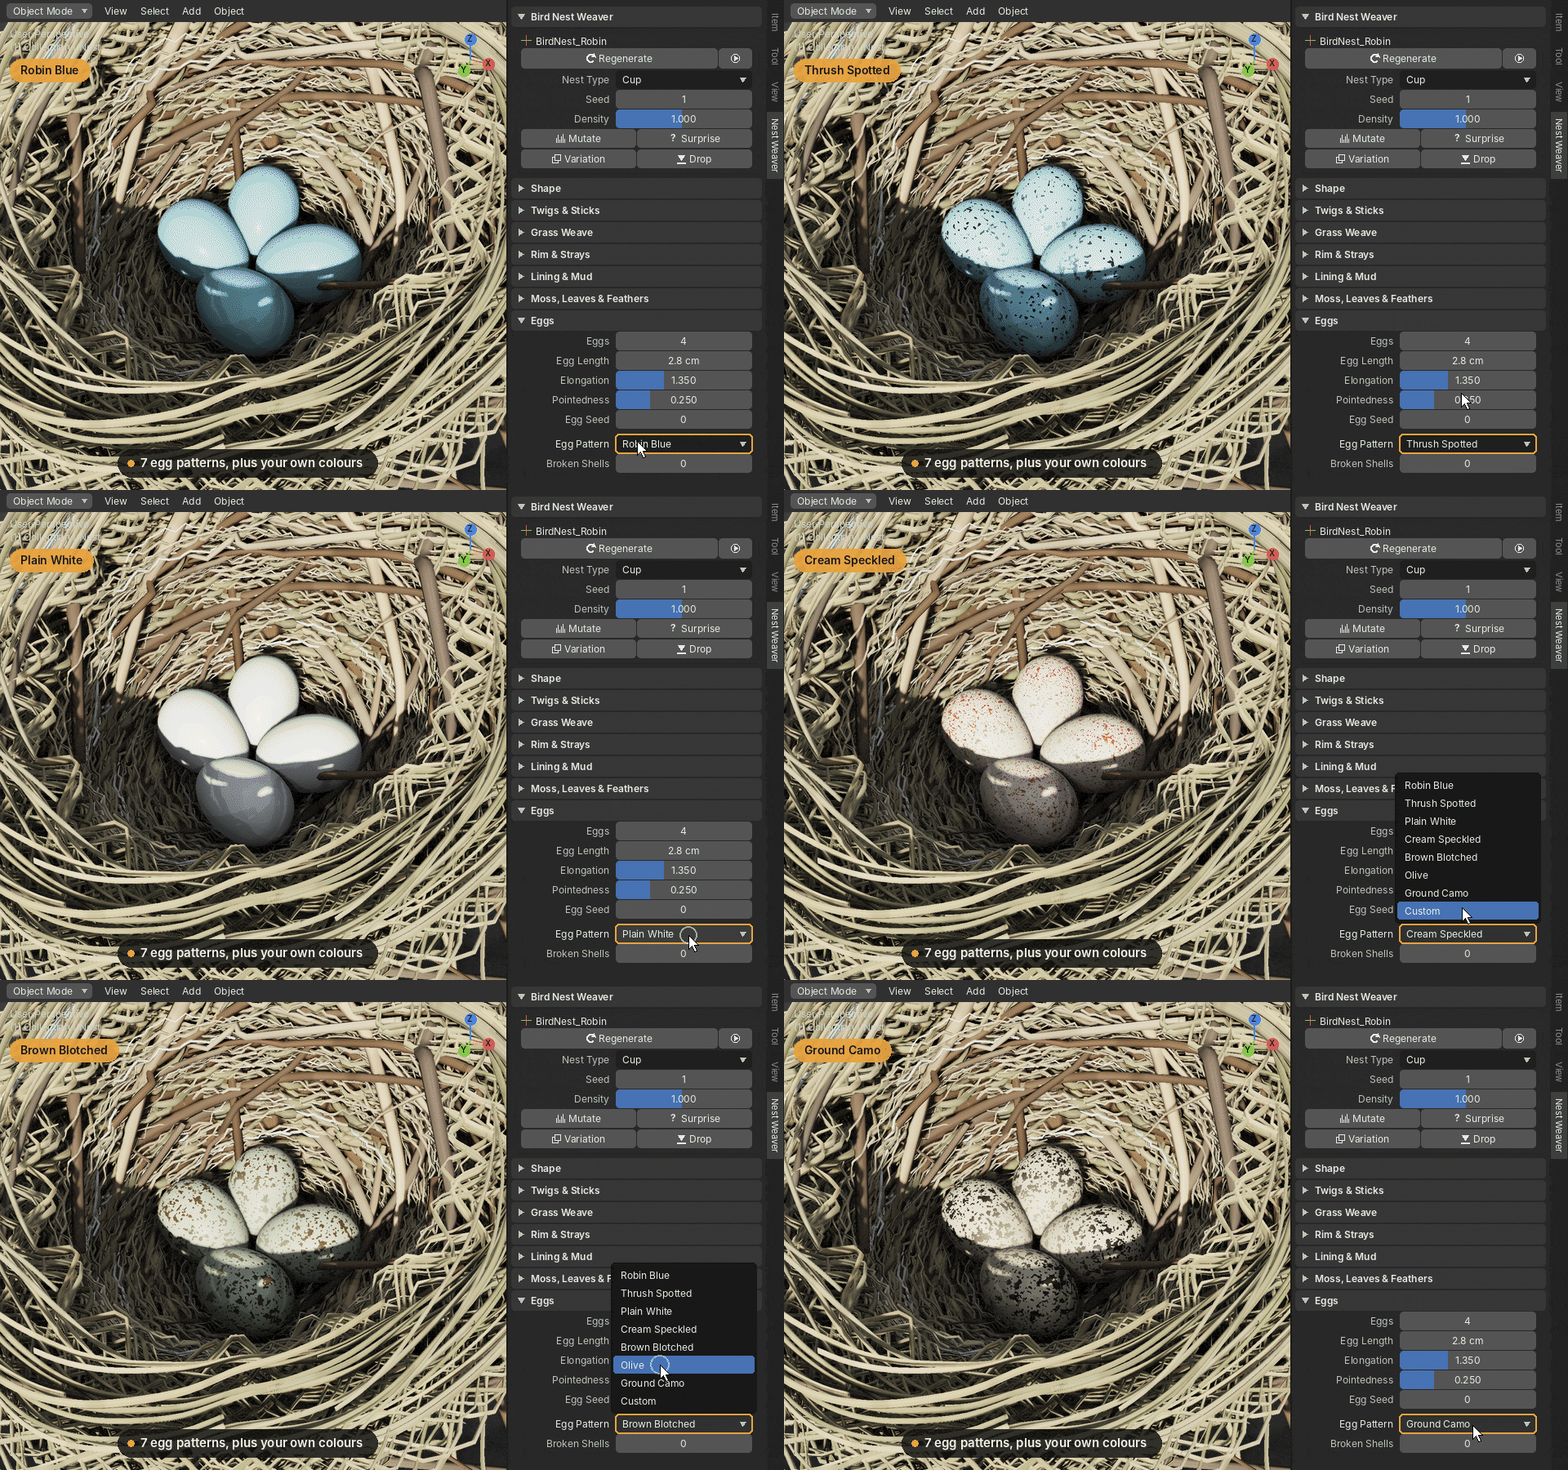
Eggs. Set the number of Eggs, their Egg Length, Elongation and Pointedness, and the Egg Pattern: Robin Blue, Thrush Spotted, Plain White, Cream Speckled, Brown Blotched, Olive, Ground Camo or Custom. Egg Seed rearranges the eggs, and Broken Shells adds hatched shells.
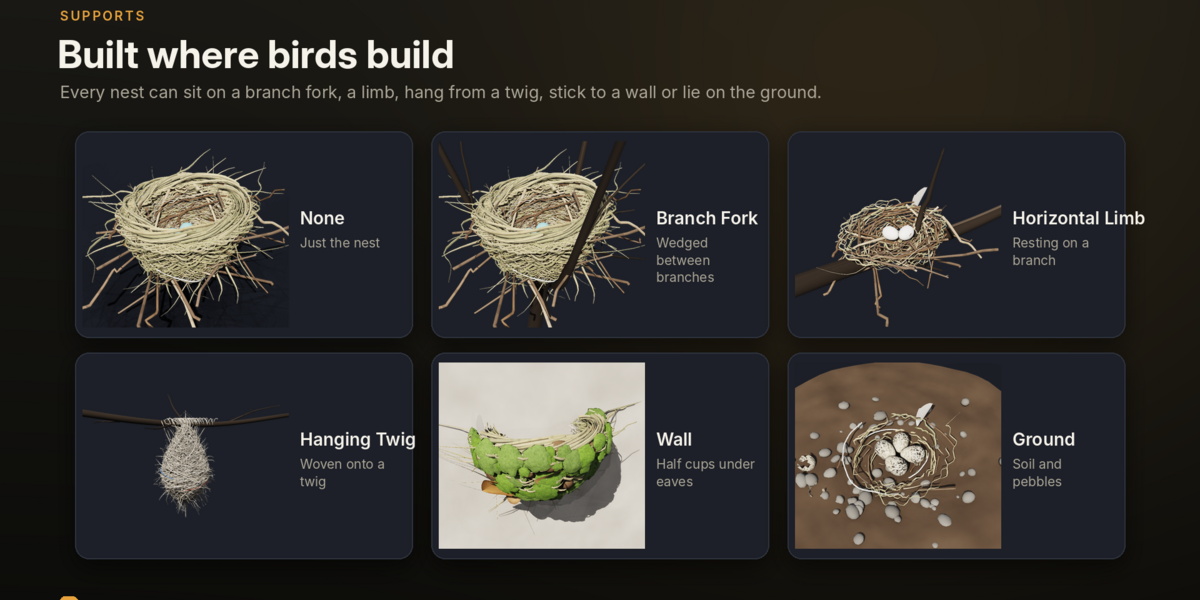
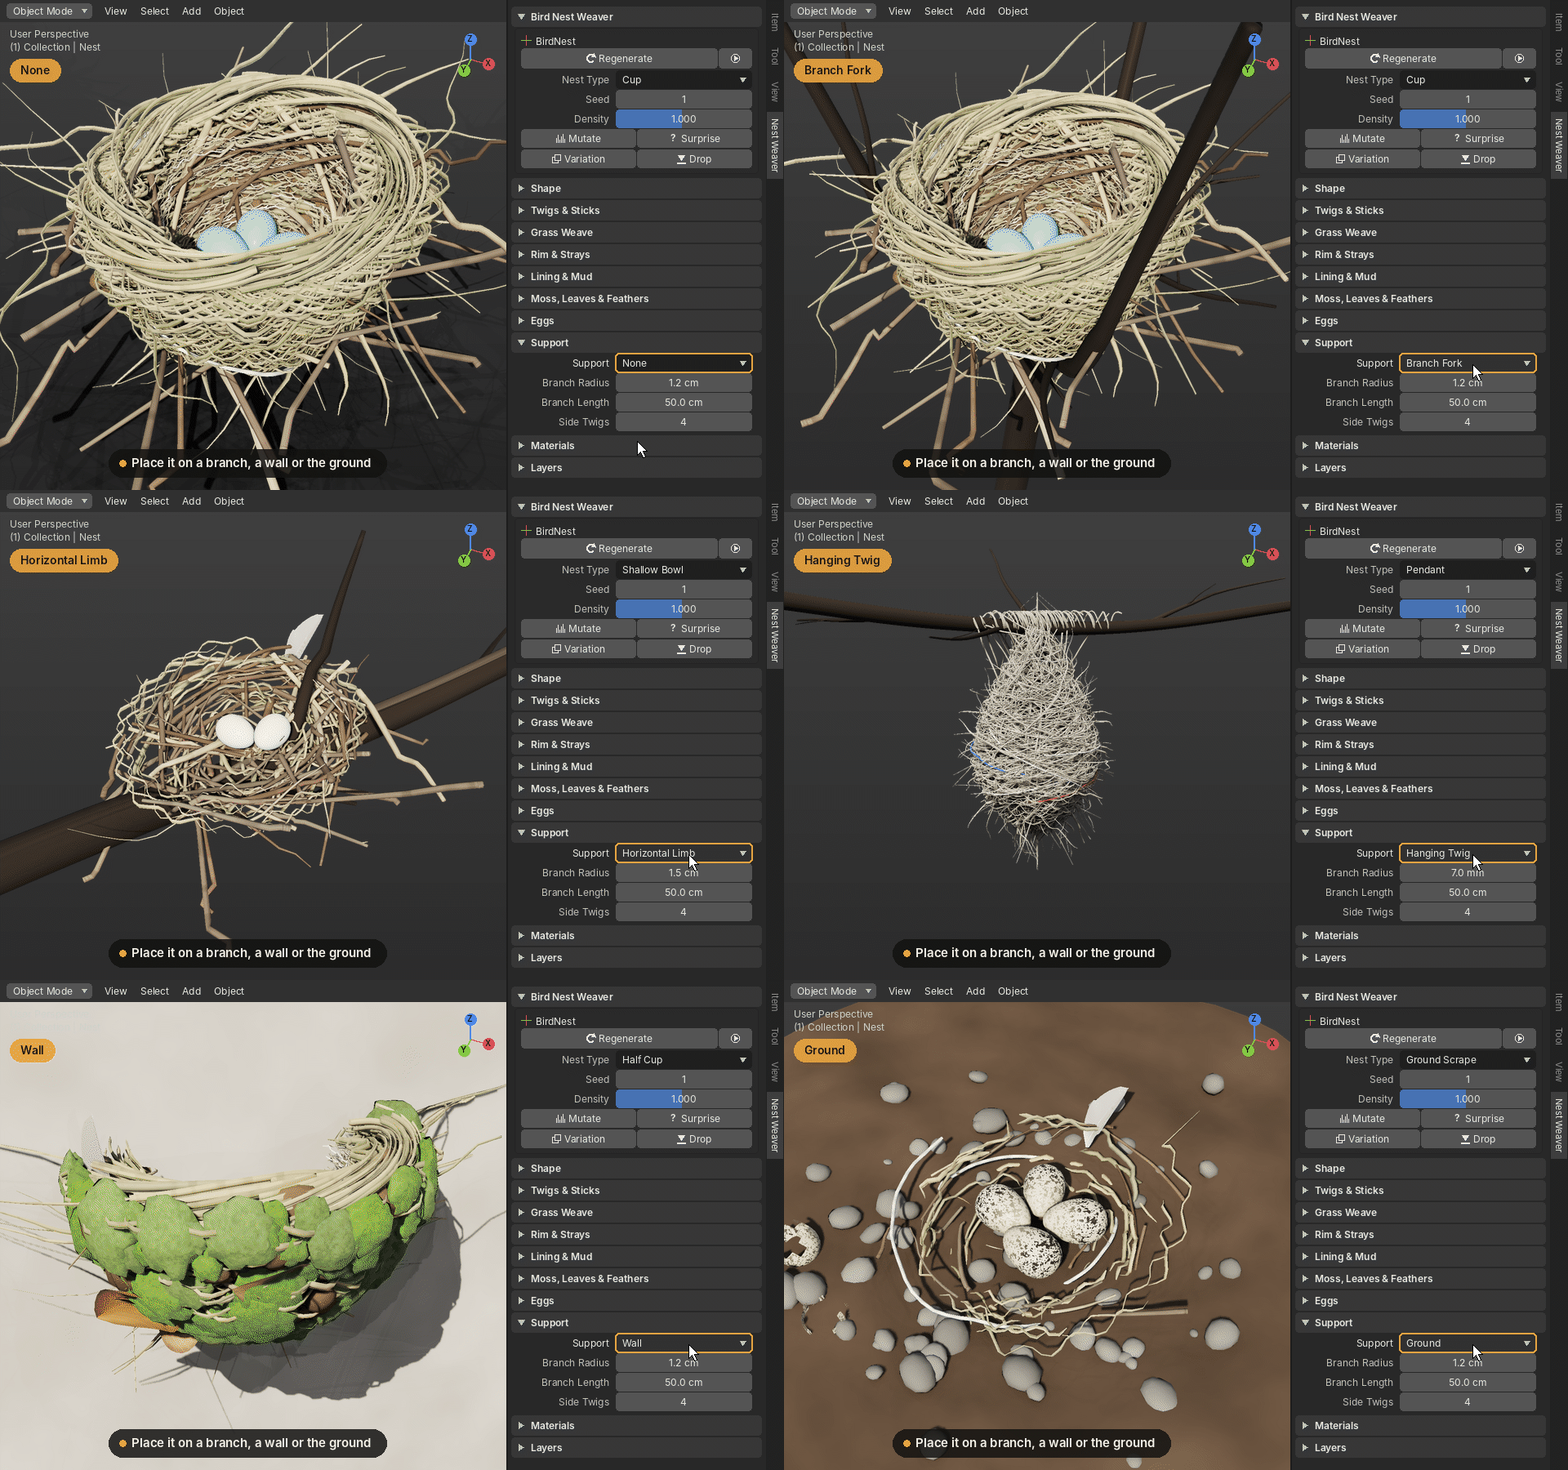
Support. Choose None, Branch Fork, Horizontal Limb, Hanging Twig, Wall or Ground. Branch Radius, Branch Length and Side Twigs size it.
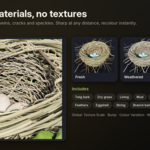
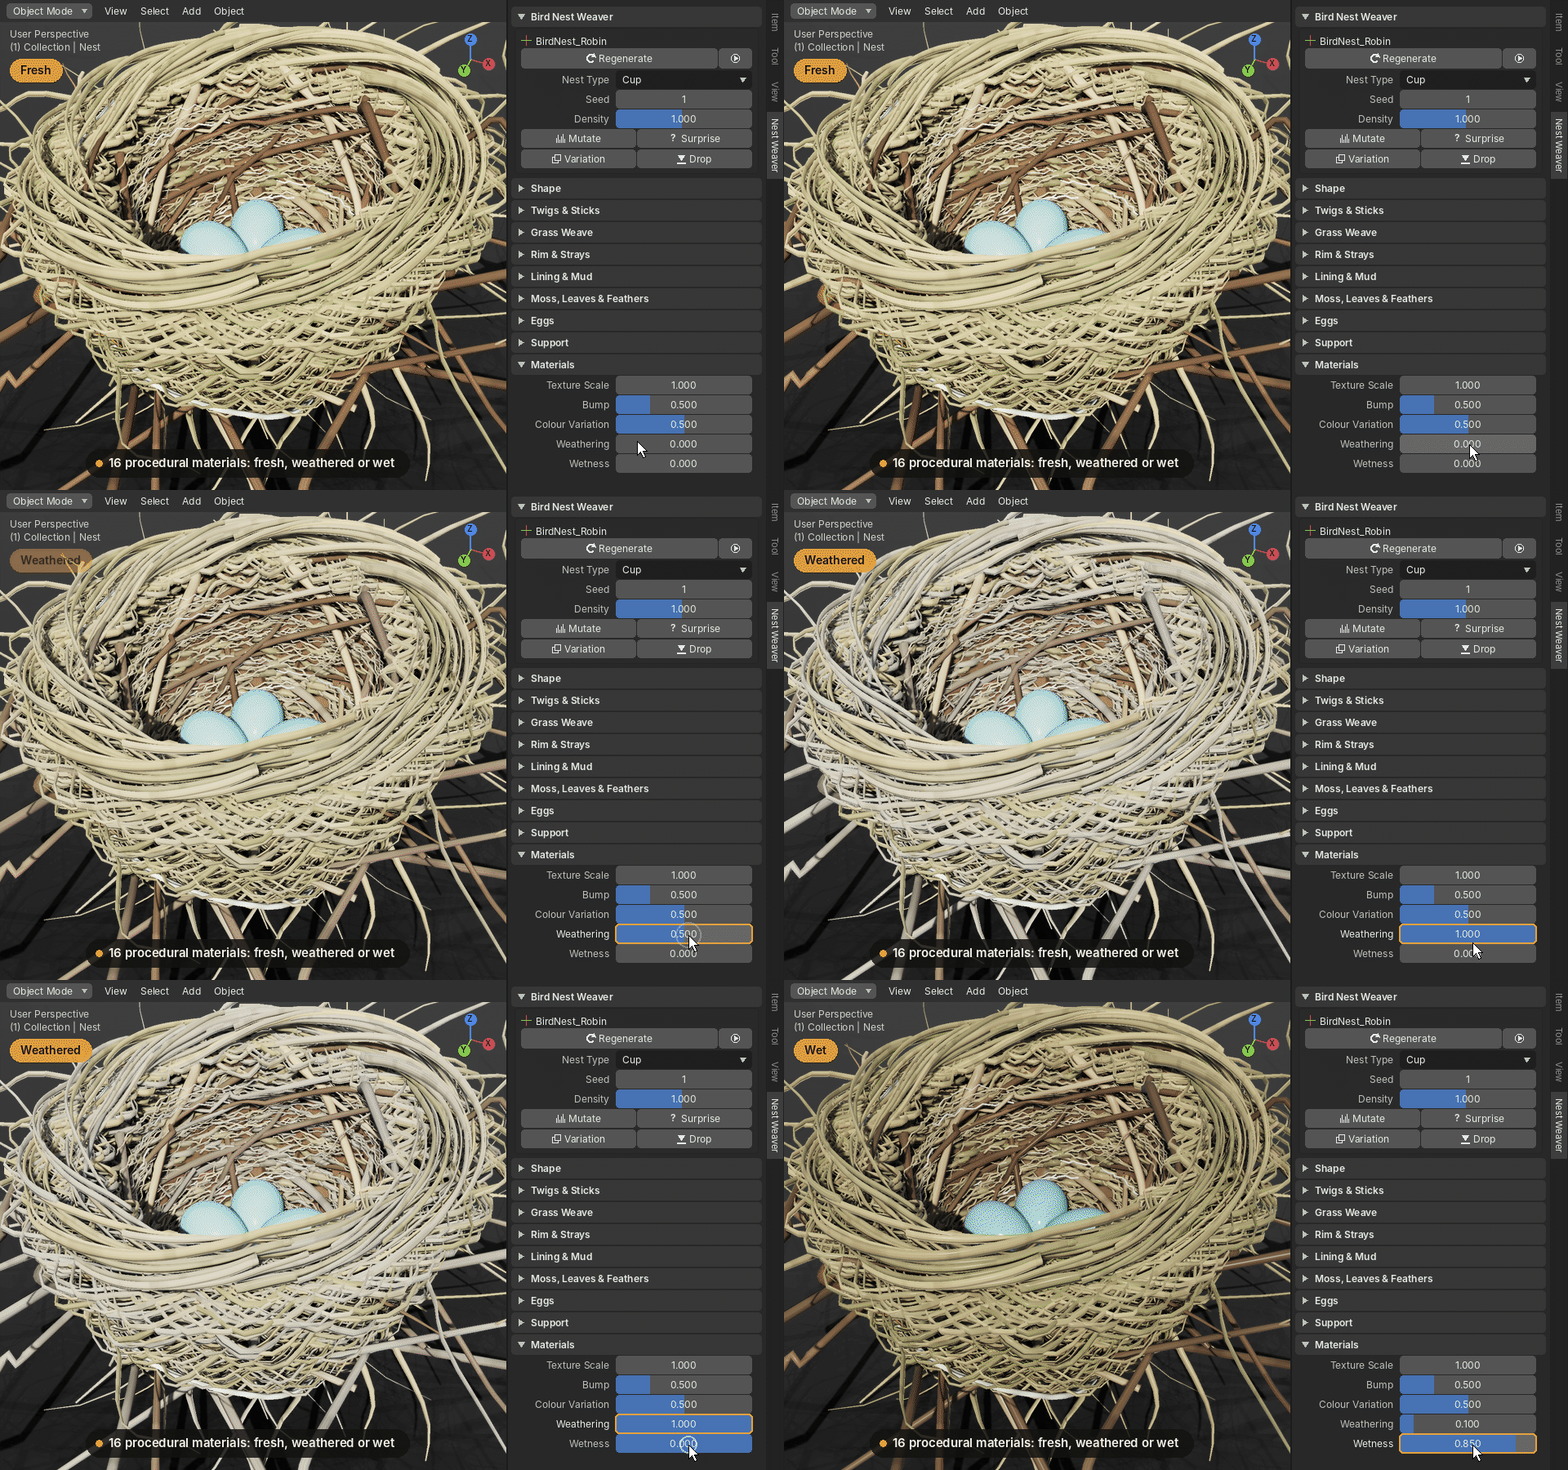
Materials. Pick a colour for each part (bark, two grass tones, lining, mud, moss, lichen, leaves, feathers, string) and a Feather Pattern. Texture Scale, Bump, Colour Variation, Weathering and Wetness apply to every material at once.
7. Buttons
- Add Nest / Add Random Nest: create the chosen nest, or a random one, at the 3D cursor.
- Apply: give the selected nest the chosen library settings.
- Regenerate: rebuild the nest by hand when Live Update is off. Rebuild Materials in the Materials panel also rebuilds the shaders.
- Seed dice: a new arrangement in the same style. The dice in the Eggs panel re-rolls only the eggs.
- Mutate: nudges every setting by about 20%. Surprise makes a completely new nest.
- Variation: places a slightly different copy next to the nest.
- Drop: sits the nest on the surface directly below it.
- Delete Nest: removes the nest with all its parts and materials.
With Live Update on, the nest rebuilds a moment after you change a setting. Materials rebuild only when a colour or material setting changes, which keeps shape edits fast. Every button is also available from F3 search.
8. Materials and scene structure
Materials. All 16 materials are procedural node trees, so they stay sharp at any distance and recolour instantly. They add bark fibres and peeling, grass streaks, mud cracks, moss tips, leaf veins, feather barbs and unique egg speckles. Each nest has its own copies (named BNW_…), so recolouring one never affects another. You can edit them in the Shader Editor, but changing a material setting rebuilds them.
Scene structure. Each nest is a controller empty (the sphere) with one child object per part: Twigs, Grass, Lining, Mud, Moss, Lichen, Leaves, Feathers, Debris, Shells and Support, plus one object per egg. Move the controller to move the whole nest. The Layers panel can hide any part in the viewport or render, and hidden parts stay hidden after a rebuild.
Don't edit the parts directly. They are rebuilt on every change, so manual edits are lost. To edit by hand, convert the nest to a plain mesh first (section 9).
For your own shaders, every strand carries a nest_rand attribute (0–1), readable with an Attribute node.
9. Tips and troubleshooting
Tips
- A songbird nest has roughly 60,000–190,000 vertices; the Eagle and Stork reach about 290,000. Work at low Density and turn Live Update off for big nests.
- Real nests are rarely round: add some Lumpiness, Oval and Lopsided.
- A frame of stiff twigs with a soft grass weave inside looks most natural.
- For many nests in a scene, add one and click Variation a few times, then Drop each onto its branch or terrain.
Exporting or hand-editing. Select the controller, press Shift+G → Children, then use Object → Convert → Mesh and Join (Ctrl+J). Clear the parent (Alt+P) and delete the controller. The result is a normal mesh, no longer linked to the add-on. Procedural materials don't export to game engines; bake them to textures in Cycles if needed.
Common problems
- No settings panels: select the nest's controller or any of its parts.
- Slow sliders: lower Density, or turn off Live Update and press Regenerate.
- Edits to a part disappeared: parts are rebuilt on every change; convert to a mesh first.
- Pink materials in the viewport: switch from Solid to Material Preview or Rendered, or click Rebuild Materials.
- Eggs float or sink: reduce Lining Fibres or raise Mud Position.
- An error after a Blender update: copy the message from the Info bar or System Console and report it.
Good to know. You can use your nests commercially. Everything works offline. The same seed and settings always give the same nest. To reuse a nest you like, keep it in a .blend file and append it, since version 1.1.0 has no preset saving.