 Mrs Eliza
Procedural Terrain Generator
1. Overview
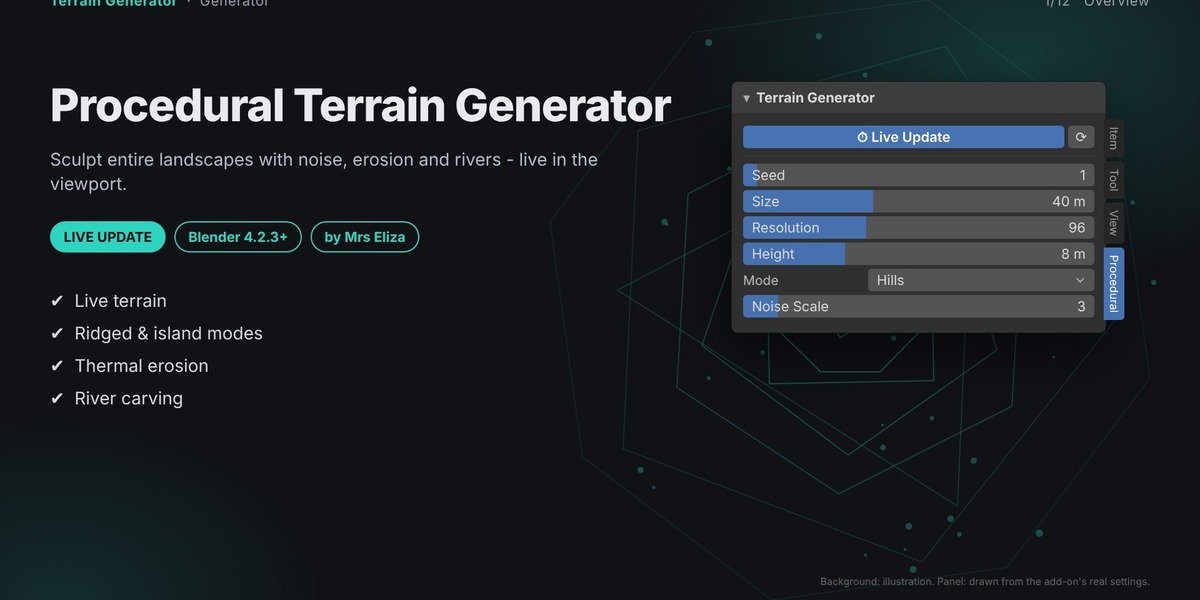
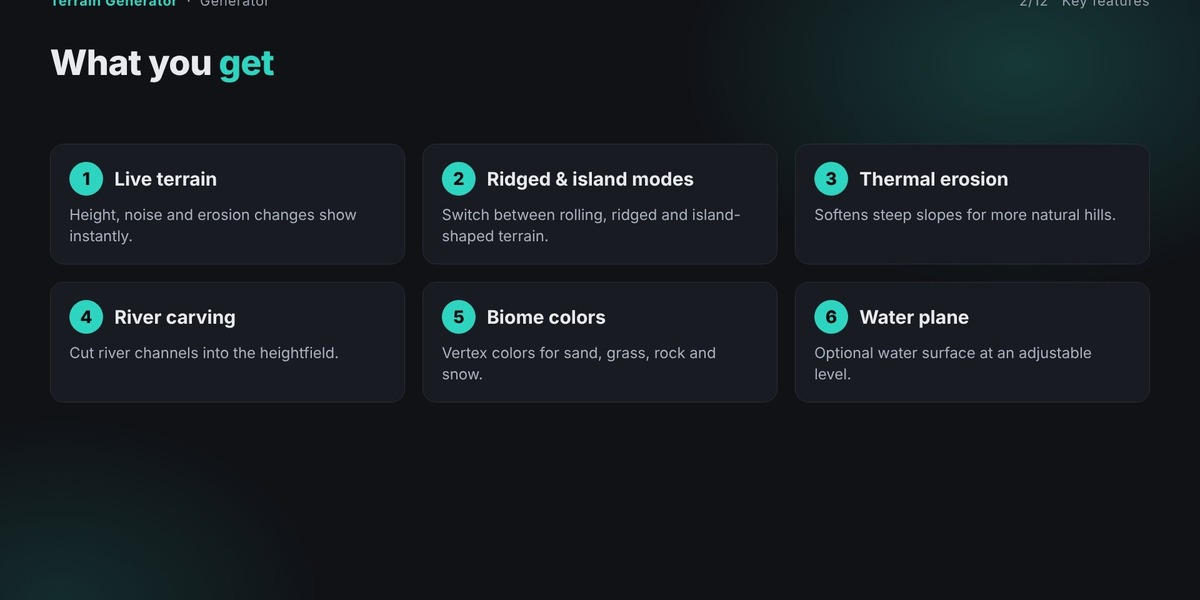
The Terrain Generator builds a landscape from layered noise. You can shape it as rolling hills, ridged mountains or an island, soften steep slopes with thermal erosion, carve river channels, tint the surface with biome colors and add a water plane.
All of this updates live. The add-on caches the height data while you adjust settings that do not change the shape, so colors, water and similar settings respond quickly.
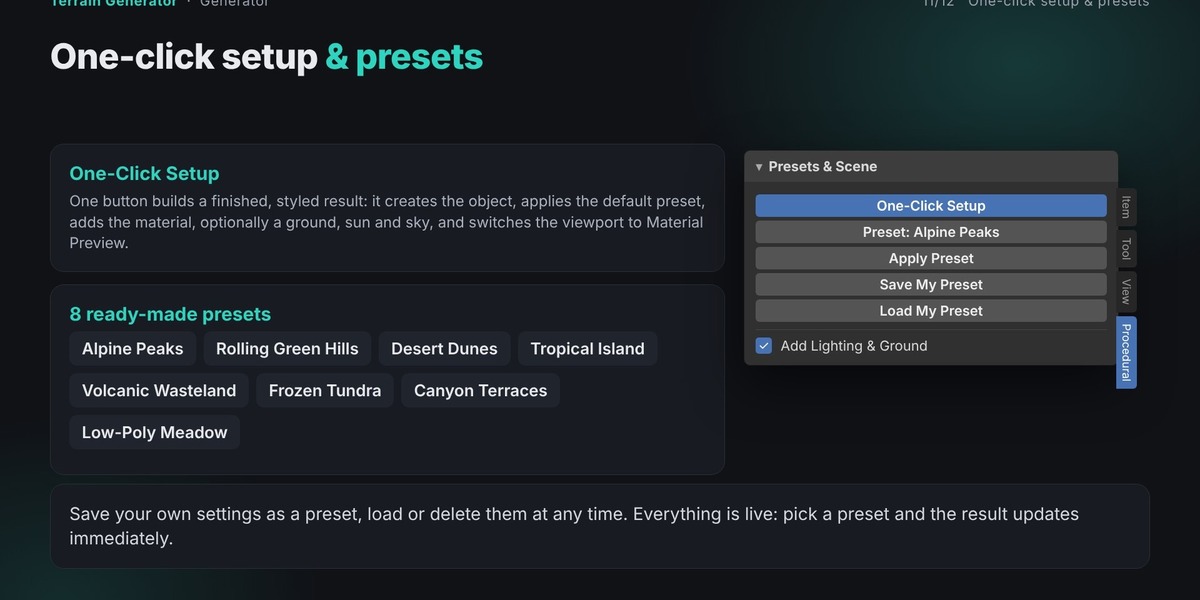
Sculpt entire landscapes with noise, erosion and rivers - live in the viewport.
2. Installation
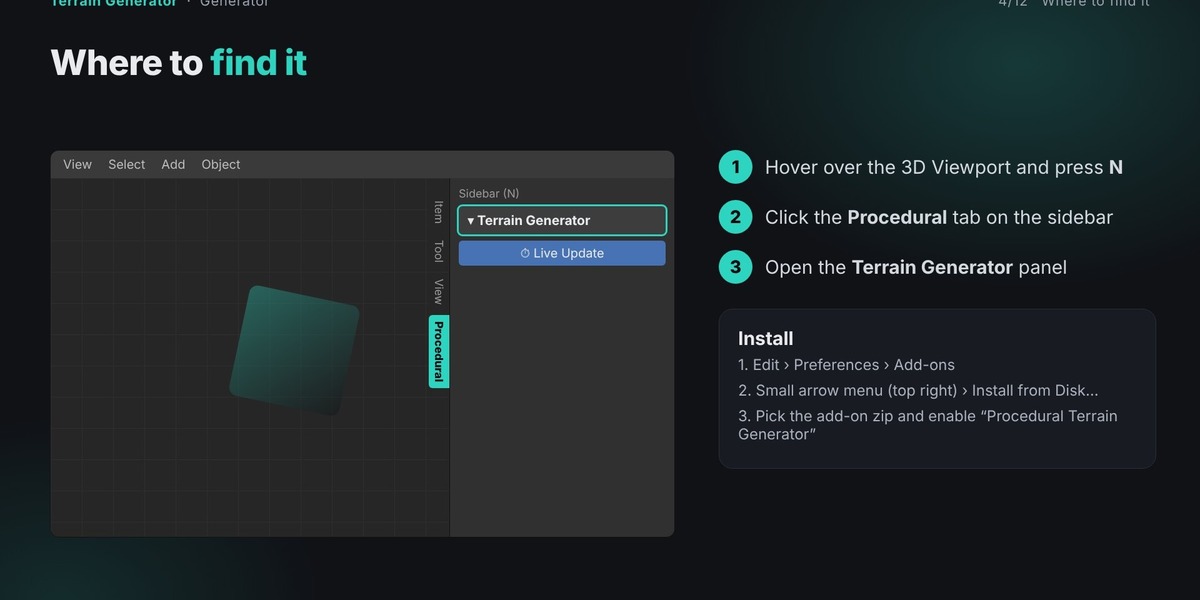
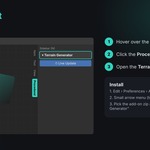
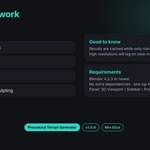
Download the add-on zip file. In Blender 4.2.3 or newer, open Edit › Preferences › Add-ons. Open the small arrow menu at the top right of the Add-ons list and choose Install from Disk…. Select the zip file and enable the add-on by ticking the box next to its name. Do not unzip the file first.
If Blender reports an error during installation, make sure you picked the individual add-on zip (the one containing a single folder), not a bundle of several add-ons.
3. Opening the panel
Hover over the 3D Viewport and press N to open the sidebar. Click the Procedural tab on the edge of the sidebar. All Mrs Eliza procedural add-ons share this tab, so if you have several installed you will see one panel for each of them. Click the panel title to expand or collapse it.
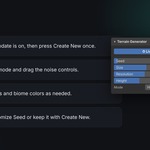
The panel is titled Terrain Generator.
4. How live updating works
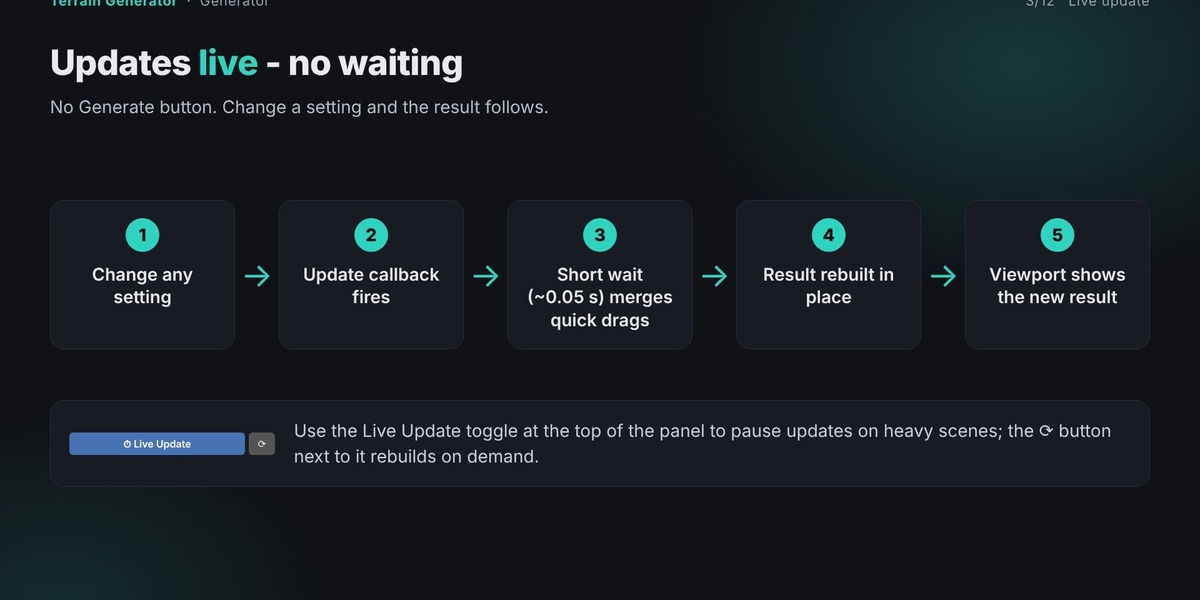
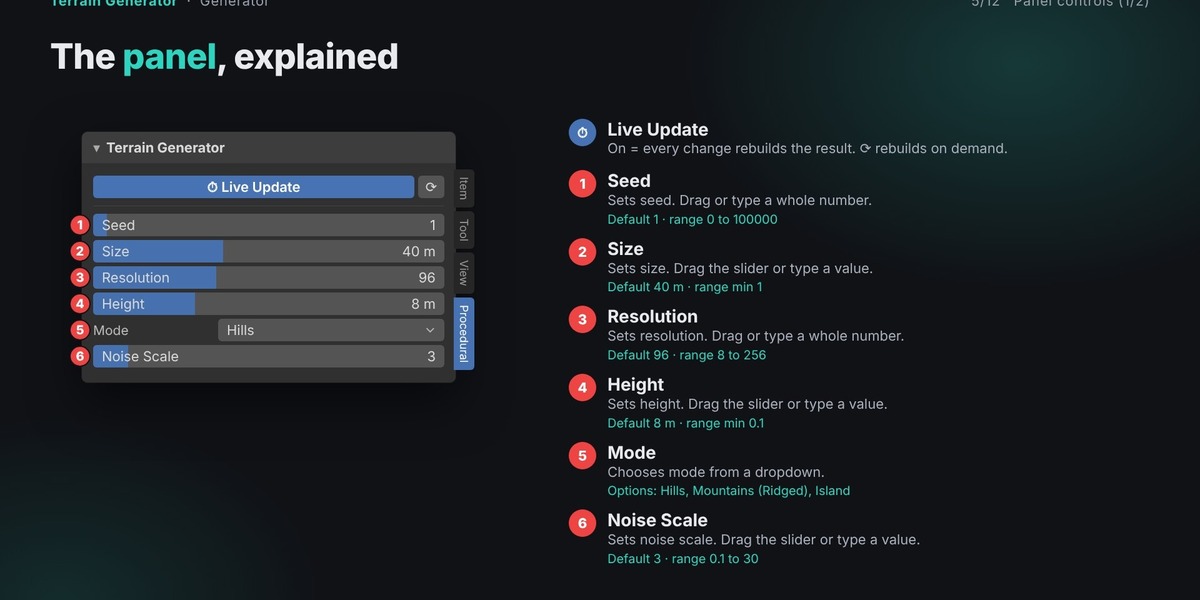
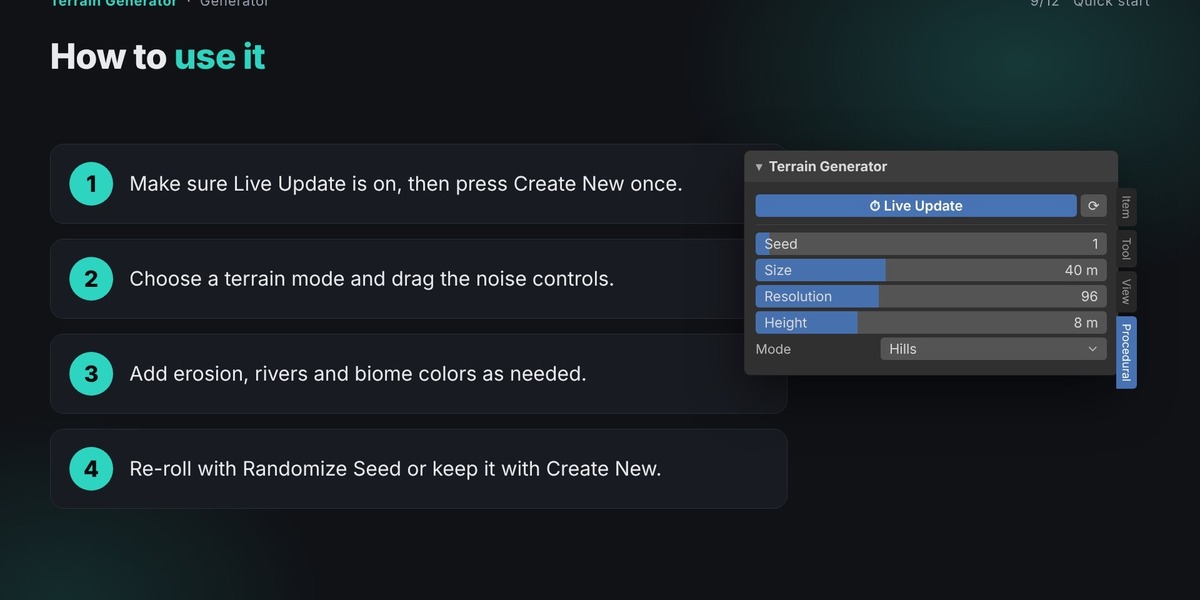
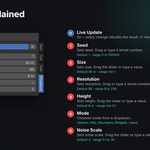
At the top of the panel is a Live Update switch, switched on by default. While it is on, changing any setting schedules a rebuild after a very short pause (about a twentieth of a second), so quick drags are merged into one update. The button with the circular arrow next to the switch rebuilds on demand, which is useful when Live Update is off.
The result is kept in one live object. When the add-on rebuilds, it swaps the new data into that same object, so the object's position, rotation, scale, parent and any modifiers you added are preserved.
Create New leaves the current result untouched and starts a fresh live object at the 3D cursor, which is how you keep a design while exploring another.
Randomize Seed picks a new random seed and the result updates immediately. The same seed always gives the same result, so you can come back to a design by typing its seed.
5. Your first result, step by step
Switch Live Update on and press Create New. A terrain appears at the 3D cursor. Choose the terrain mode first, because it changes the basic shape. Then adjust the noise settings to control the size and roughness of the features. Once the shape is right, turn on erosion to soften slopes and add rivers if you want them. Last, enable biome colors and the water plane. If you want a different landscape with the same character, press Randomize Seed.
In short, the workflow is:
(1) Make sure Live Update is on, then press Create New once. (2) Choose a terrain mode and drag the noise controls. (3) Add erosion, rivers and biome colors as needed. (4) Re-roll with Randomize Seed or keep it with Create New.
6. One-click setup and presets
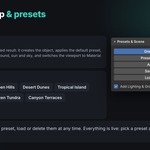
The panel Presets & Scene, found under the add-on's main panel, is the fastest way to a finished result. Press One-Click Setup and the add-on builds a ready-to-look-at example in one step: it applies the default preset (Alpine Peaks), creates the material, optionally adds a ground, a sun and a sky color (the Add Lighting & Ground switch), and switches the 3D view to Material Preview so you can see the colors straight away.
There are 8 ready-made presets: Alpine Peaks, Rolling Green Hills, Desert Dunes, Tropical Island, Volcanic Wasteland, Frozen Tundra, Canyon Terraces and Low-Poly Meadow. Choose one from the Preset list and press Apply Preset; because everything is live, the result updates immediately and you can keep adjusting any setting afterwards.
To keep your own settings, type a name and press Save My Preset. Load My Preset brings it back and Delete My Preset removes it. Saved presets live in your Blender configuration folder, so they are available in every .blend file.
7. Colors, materials and textures
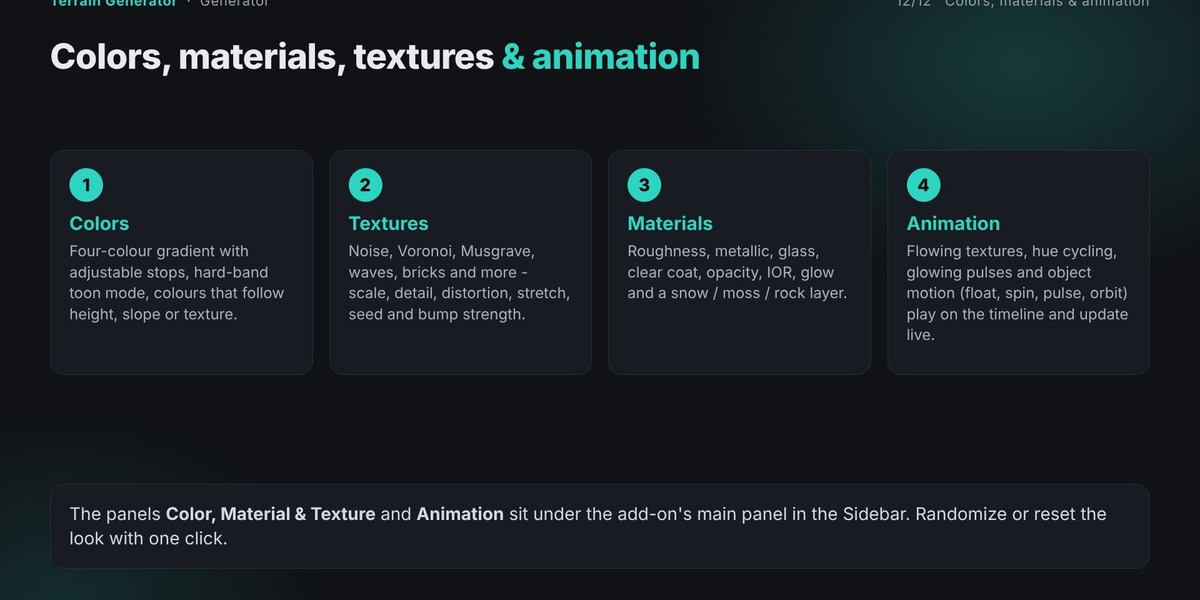
The panel Color, Material & Texture styles the result with procedural shader nodes, so no image files and no UV unwrapping are needed. When the result has several parts (for example walls, glass and roof), choose the part at the top of the panel and style each one separately. Auto Style keeps the material applied live; Apply Now forces it once.
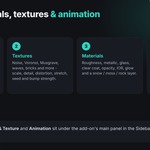
Colors: four colors form a gradient whose stops you can move; Hard Bands turns the blend into stepped, toon-style bands. The gradient can follow the texture, the height or the slope of the surface. Texture: choose a texture type (noise, Voronoi, wave, brick and more), then set its scale, detail, distortion, stretch and seed, and how strongly it bumps the surface. Layer: add a second color such as snow on top faces, moss on steep faces or dust underneath, with a threshold and a breakup control. Surface: roughness, roughness variation, metallic, glass, clear coat, opacity and IOR. Glow and adjust: glow color and strength, hue variation per object, saturation and brightness. Random Look tries a new combination; Reset Look returns to the preset.
8. Animation
The panel Animation plays on the timeline and updates live. Material animation: Flowing Texture slides the texture along a direction, Color Cycle rotates the hue and Glow Pulse makes the glow breathe (set a Glow Strength above zero first). Object motion: choose float, spin, pulse or orbit with a speed and an amount. Stop All Animation removes everything again.
9. Settings guide
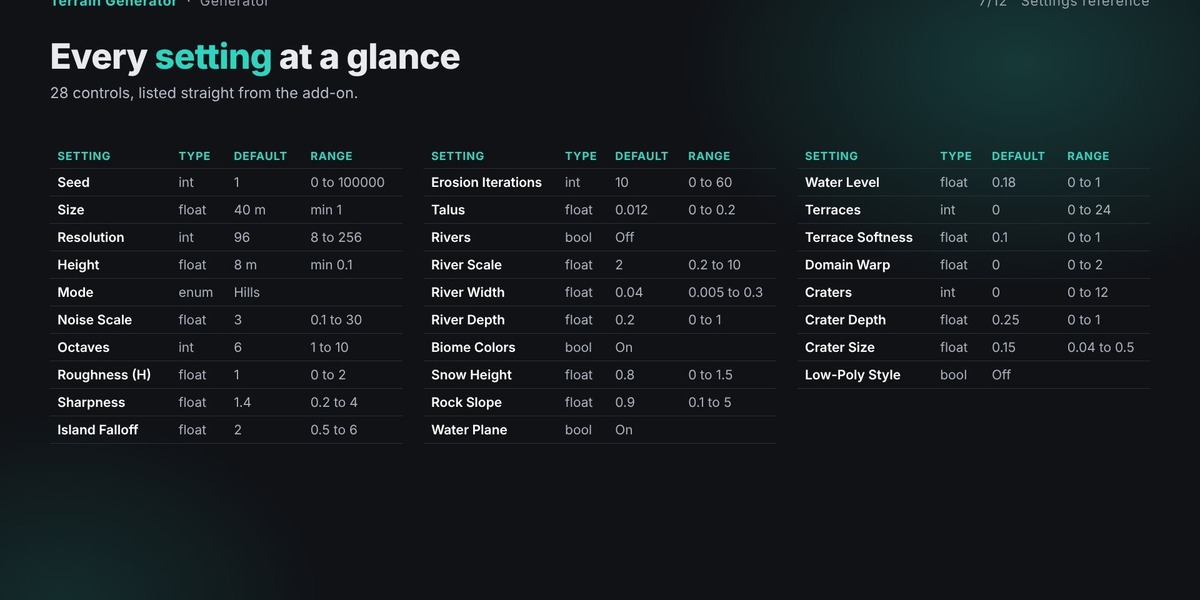
This section goes through the controls in the order they appear in the add-on's property list. Where a setting only appears for a particular mode, the panel hides it until that mode is chosen.
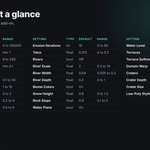
Seed is a whole number control. It starts at 1. It can be set from 0 to 100000.
Size is a number control. It starts at 40 metres. It cannot go below 1.
Resolution is a whole number control. It starts at 96. It can be set from 8 to 256.
Height is a number control. It starts at 8 metres. It cannot go below 0.1.
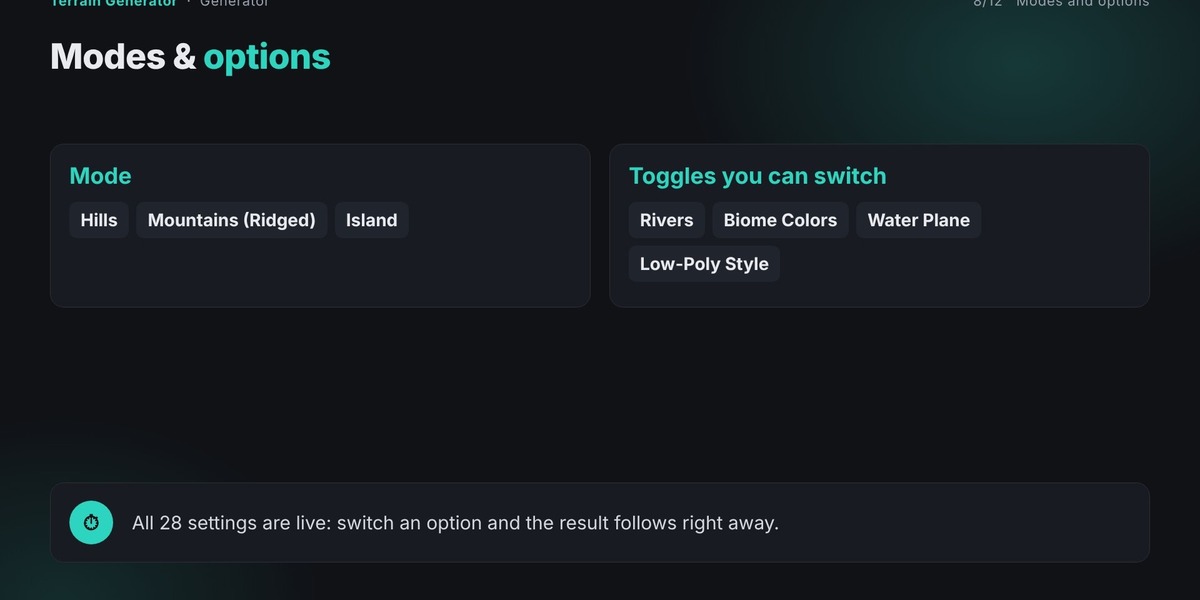
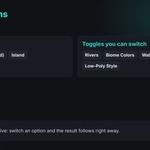
Mode is a dropdown. Its options are Hills, Mountains (Ridged) and Island. The default is Hills.
Noise Scale is a number control. It starts at 3. It can be set from 0.1 to 30.
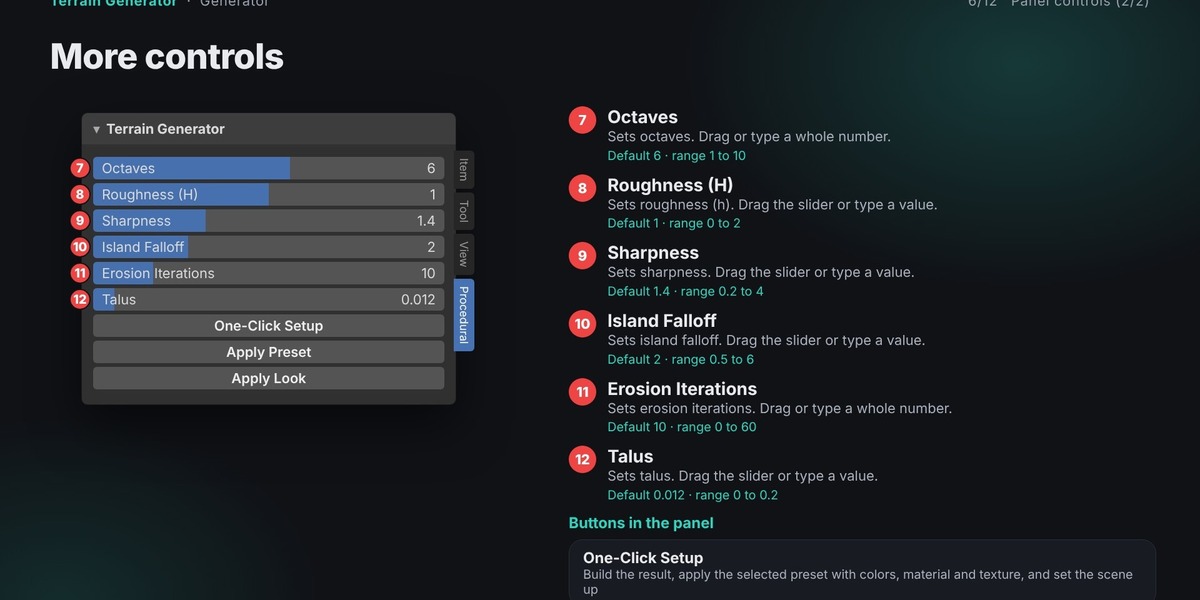
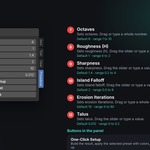
Octaves is a whole number control. It starts at 6. It can be set from 1 to 10.
Roughness (H) is a number control. It starts at 1. It can be set from 0 to 2.
Sharpness is a number control. It starts at 1.4. It can be set from 0.2 to 4.
Island Falloff is a number control. It starts at 2. It can be set from 0.5 to 6.
Erosion Iterations is a whole number control. It starts at 10. It can be set from 0 to 60.
Talus is a number control. It starts at 0.012. It can be set from 0 to 0.2.
Rivers is a checkbox. It is off by default.
River Scale is a number control. It starts at 2. It can be set from 0.2 to 10.
River Width is a number control. It starts at 0.04. It can be set from 0.005 to 0.3.
River Depth is a number control. It starts at 0.2. It can be set from 0 to 1.
Biome Colors is a checkbox. It is on by default.
Snow Height is a number control. It starts at 0.8. It can be set from 0 to 1.5.
Rock Slope is a number control. It starts at 0.9. It can be set from 0.1 to 5.
Water Plane is a checkbox. It is on by default.
Water Level is a number control. It starts at 0.18. It can be set from 0 to 1.
Terraces is a whole number control. Number of flat steps (0 = off). It starts at 0. It can be set from 0 to 24.
Terrace Softness is a number control. It starts at 0.1. It can be set from 0 to 1.
Domain Warp is a number control. Twists the noise for organic, flowing shapes. It starts at 0. It can be set from 0 to 2.
Craters is a whole number control. It starts at 0. It can be set from 0 to 12.
Crater Depth is a number control. It starts at 0.25. It can be set from 0 to 1.
Crater Size is a number control. It starts at 0.15. It can be set from 0.04 to 0.5.
Low-Poly Style is a checkbox. It is off by default.
10. Buttons in the panel
The panel offers these actions.
One-Click Setup: Build the result, apply the selected preset with colors, material and texture, and set the scene up.
Apply Preset: Apply the chosen built-in preset (settings, colors, material and animation).
Apply Look: Apply the procedural material to the result (tools: to the selected objects).
Random Look: Invent a new harmonious palette and texture for the part being edited.
Reset Look: Return every color, texture and animation setting to this addon's defaults.
Stop All Animation: Turn off texture flow, color cycle, glow pulse and object motion.
Add Lighting & Ground: Add a ground plane, a sun light and a sky color to the scene.
Save My Preset: Save every current setting as your own preset file (kept between sessions).
Load My Preset: Runs this action on the current selection or settings.
Delete My Preset: Runs this action on the current selection or settings.
11. Tips for good results
These suggestions come from how the add-on behaves and are worth reading before you start a larger project.
Work from large features to small ones: noise scale and height first, erosion and rivers afterwards.
Keep the resolution moderate while you design. Raise it only when you are happy with the shape.
Use the water level together with biome colors; sand-colored areas near the water read as beaches.
Add a Subdivision or Displace modifier on top of the result if you want even finer detail; the add-on keeps your modifiers.
12. What the add-on is good for
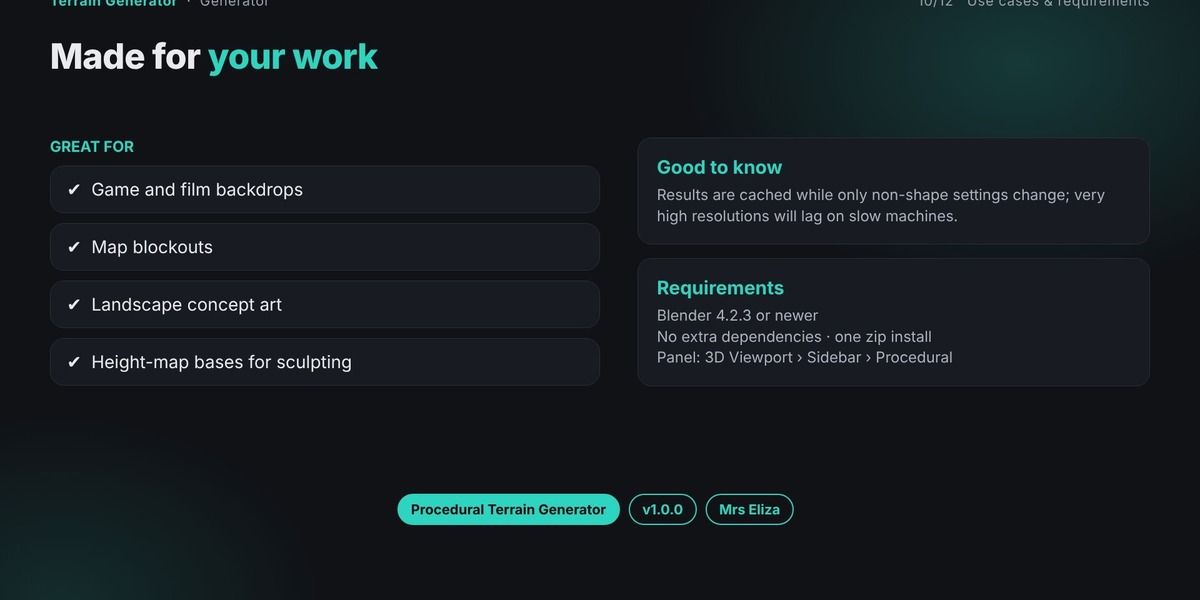
It suits game and film backdrops, map blockouts, landscape concept art and height-map bases for sculpting.