 OJzone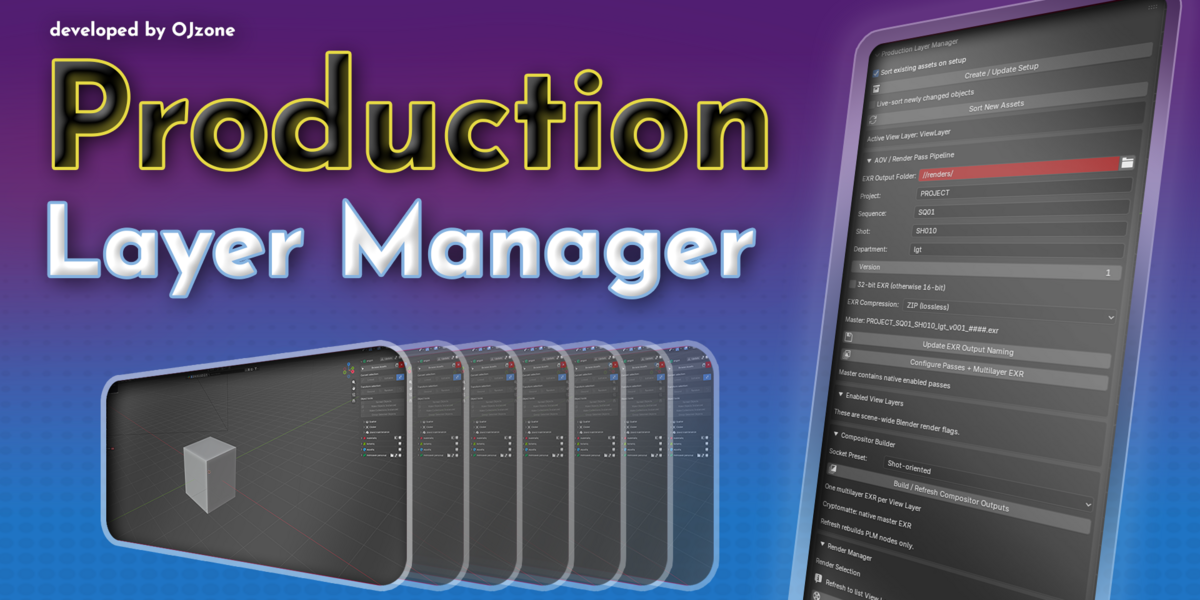
1. Installation
- Download production_layer_manager_v06_EXTENSION_install.zip. Do not extract it.
- In Blender 5.2 or later, open Edit > Preferences > Get Extensions.
- Open the top-right menu and select Install from Disk; select the Extension ZIP.
- Enable Production Layer Manager, if Blender has not already enabled it.
- In the 3D Viewport, press N to open the sidebar. Select the Production tab.
Updating from the older legacy .py add-on: Disable or uninstall the old Production Layer Manager first. Avoid enabling the legacy add-on and Extension simultaneously because they register the same Blender operators and scene properties. Save your .blend file before updating.
2. Quick start
- Open a copy of your
.blendproject and set its intended render engine. - In Production, keep Sort existing assets on setup enabled if you want recognised objects classified immediately.
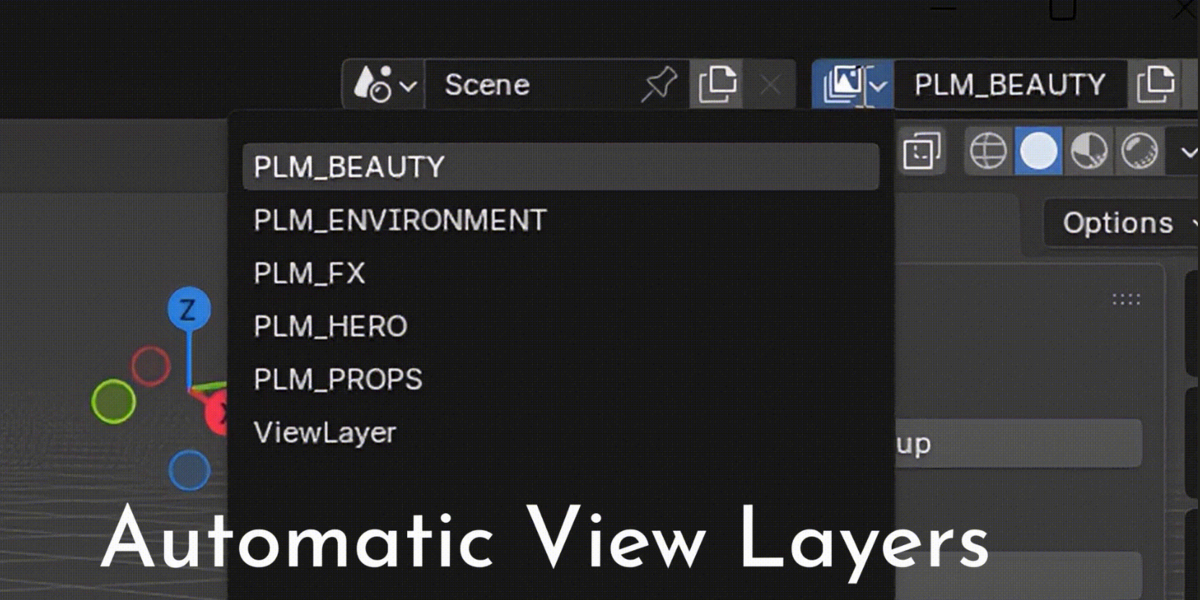
- Click Create / Update Setup. This creates the managed collections and five PLM View Layers.
- Inspect the resulting collection assignments in the Outliner; manually check objects whose names could be ambiguous.
- Set the EXR Output Folder, project, sequence, shot, department, version, bit depth and compression under AOV / Render Pass Pipeline.
- Click Configure Passes + Multilayer EXR.
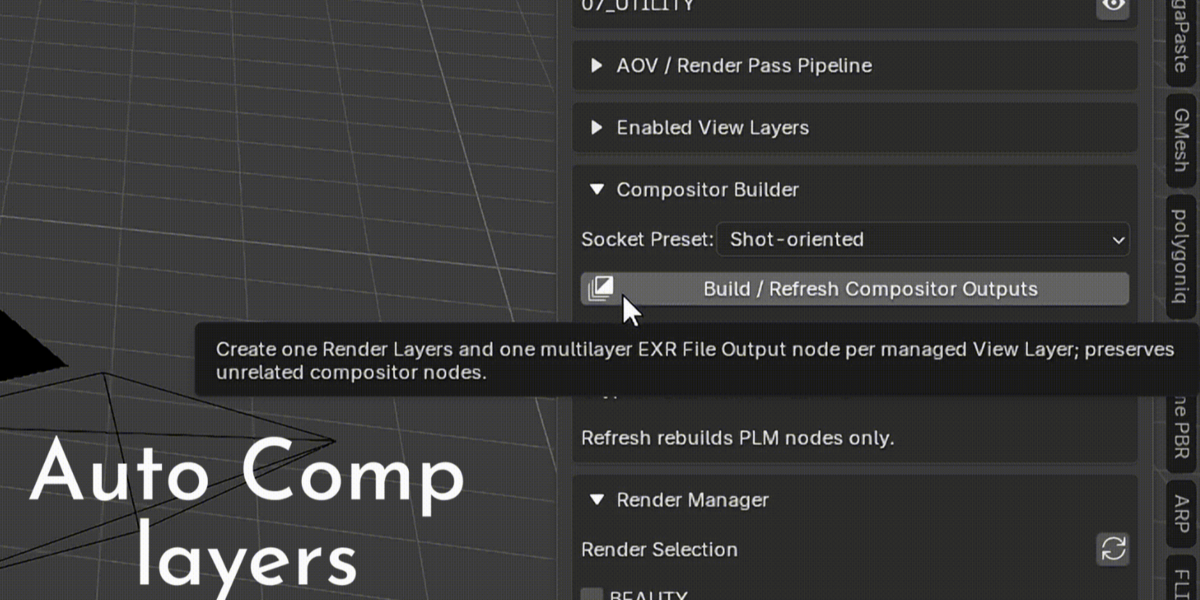
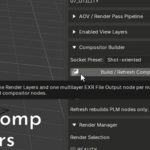
- Under Compositor Builder, choose a socket preset and click Build / Refresh Compositor Outputs if you want additional per-layer EXRs.
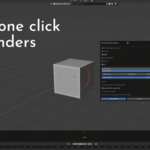
- Under Render Manager, choose the View Layers to render and click Render Selected.... Confirm the frame settings in the popup, then start rendering.
Tip: Save your .blend file before using the default relative output directory //renders/; // is relative to the saved Blender project.
3. Collections and automatic asset sorting
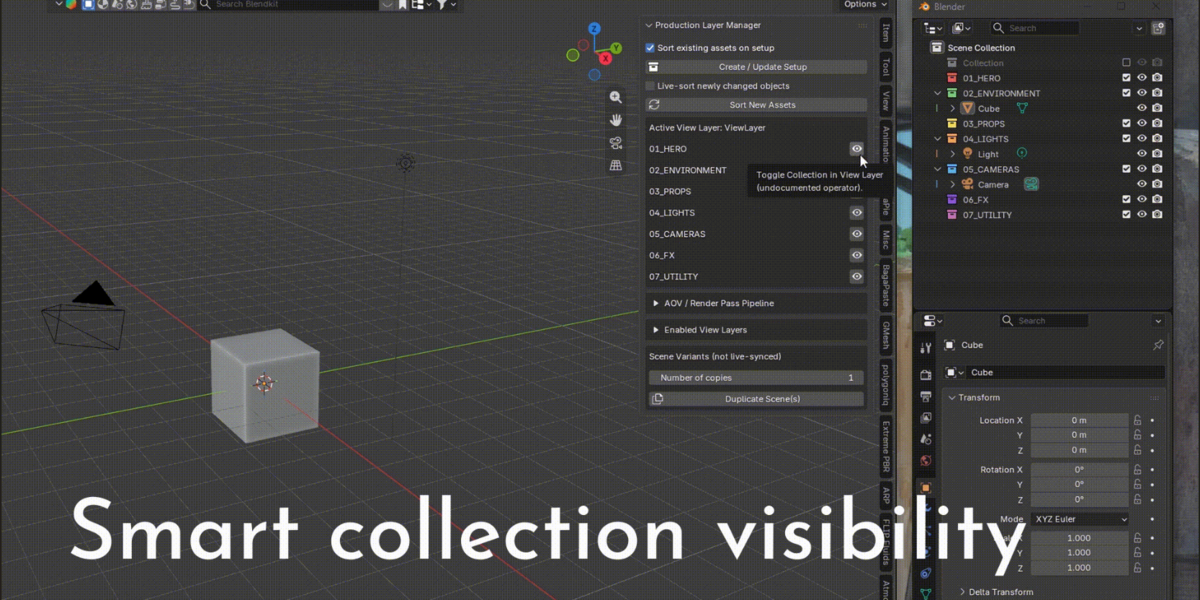
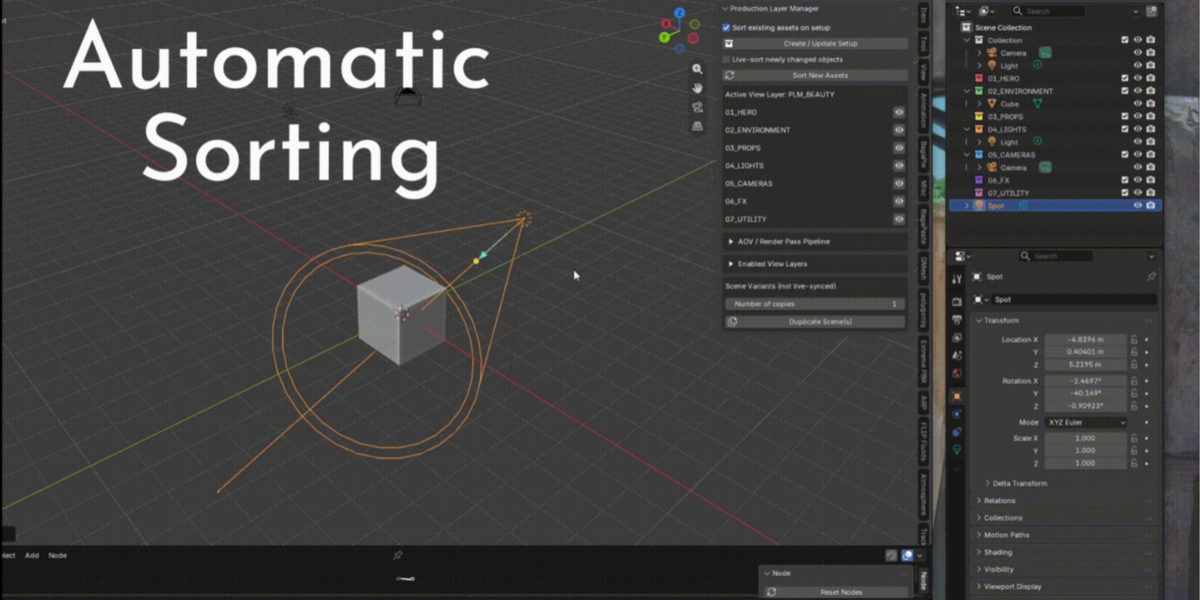
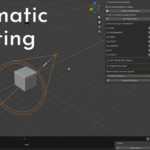
Create / Update Setup creates these colour-coded collections:
| Collection | Typical contents |
|---|---|
01_HERO |
Armatures, rigged meshes, objects named like characters |
02_ENVIRONMENT |
Terrain, foliage, buildings, ground and named environment objects |
03_PROPS |
Recognisable prop, vehicle, jeep or idol objects |
04_LIGHTS |
Blender light objects |
05_CAMERAS |
Blender camera objects |
06_FX |
Recognisable smoke, fire, particle and other named FX objects |
07_UTILITY |
Collection reserved for utility elements; automatic recognition is limited |
How sorting works: The add-on links an existing object into its target collection; it does not duplicate the object. It may unlink that object from the scene's root collection or another PLM-managed collection, but deliberately leaves other, unmanaged collection memberships intact. Lights and cameras are classified by Blender object type; rigged meshes and child objects of armatures are classified as Hero. Other recognised categories depend partly on object names. Unrecognised objects are left alone. Linked-library or non-editable objects are skipped.
- Sort New Assets manually checks the current scene again.
- Live-sort newly changed objects runs sorting after relevant object dependency-graph updates. It is off by default. Review placements after enabling it; this is a classification aid, not an asset-aware rig or dependency publisher.
- The eye-style controls beside the collection names change collection exclusion for the currently active View Layer; they do not change the other View Layers.
Are the lights and cameras shared?
Yes—within the same scene, different View Layers see the same light/camera objects if their collections are included. Adding a new light while on Beauty does not inherently require a separate copy for Hero or Environment: put it in the 04_LIGHTS collection (use Live Sort or Sort New Assets) and leave that collection included in the relevant View Layers. Changing its energy or position changes that same light everywhere it is visible.
Scene variants are different: Duplicated scenes do not automatically acquire objects created later in the original scene; additions and collection changes must be managed separately.
4. Managed View Layers
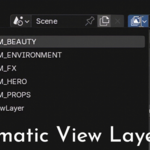
The setup creates these Blender View Layers:
| View Layer | Initially included managed collections |
|---|---|
PLM_BEAUTY |
All managed categories |
PLM_HERO |
Hero, Lights, Cameras, Utility |
PLM_ENVIRONMENT |
Environment, Lights, Cameras, Utility |
PLM_PROPS |
Props, Lights, Cameras, Utility |
PLM_FX |
FX, Lights, Cameras, Utility |
The Enabled View Layers dropdown shows Blender's scene-wide use flags for the managed layers. Uncheck a View Layer if it should not be included in an ordinary scene render. The collection toggles higher in the panel affect only the View Layer you are currently viewing.
Important: Isolated layers exclude other managed categories; the add-on does not automatically construct shadow-catcher, indirect-only or holdout setups for cross-layer lighting interactions. Configure those manually when the shot needs them. The setup button resets managed collection exclusions to its default presets; avoid pressing it after extensively customising the visibility unless you intend to reset those presets.
5. AOV / Render Pass Pipeline
Use this collapsible section to configure render output and built-in Blender passes.
Output naming fields: Project, Sequence, Shot, Department, Version, EXR Output Folder. For example:
//renders/WAIARA_SQ02_SH010_lgt_v003_0001.exrBlender appends frame numbers to animation output. You can choose 16-bit half-float or 32-bit float EXR and ZIP, PIZ or no compression.
Update EXR Output Naming applies the output naming and native multilayer EXR format without resetting your View Layer collection selections. Configure Passes + Multilayer EXR additionally enables relevant built-in passes across the managed View Layers and configures the same native output.
The enabled built-in passes include Depth/Z, Normal, Vector, Mist, object/material/asset Cryptomatte, and—when the render engine is Cycles—available diffuse, glossy, transmission, emission, environment, shadow and ambient-occlusion passes. These are Blender built-in render passes; this button does not create custom shader AOVs.
Master EXR: Blender's native multilayer EXR stores the enabled View Layers, their active passes and Cryptomatte metadata in the frame's main EXR file. Keep this master file when your compositor requires Cryptomatte.
6. Compositor Builder
Expand Compositor Builder and choose a Socket Preset:
- Shot-oriented connects a practical selection such as Image, depth, mist, normal, diffuse and denoising-related outputs, where enabled and exposed by the render engine.
- All Available connects enabled supported image/value/vector pass sockets. Raw Cryptomatte sockets are deliberately omitted from these extra outputs because their metadata is preserved in the native master EXR.
Click Build / Refresh Compositor Outputs to create an organised Render Layers → multilayer EXR File Output node pair per managed View Layer. The per-layer files are configured under subdirectories such as:
//renders/layers/HERO/WAIARA_SQ02_SH010_lgt_v003_HERO_0001.exrThe builder tags its nodes and, when refreshed, removes and recreates its own generated nodes. It is designed to preserve unrelated artist compositor nodes, but links connected to or from generated nodes will be replaced with them. Save a backup before rebuilding a heavily customised node graph.
Two output paths: The native master EXR is managed through Blender's render-output settings. The extra per-layer EXRs are written by the generated compositor File Output nodes when compositor execution is enabled; these outputs are not a substitute for the native master EXR and may contain a different subset of channels.
7. Render Manager and pre-render popup
The Render Manager has a separate selection of View Layers. Its checkboxes determine what the add-on's Render Selected... operation renders. Use Refresh Render Layer List after adding, removing or renaming View Layers.
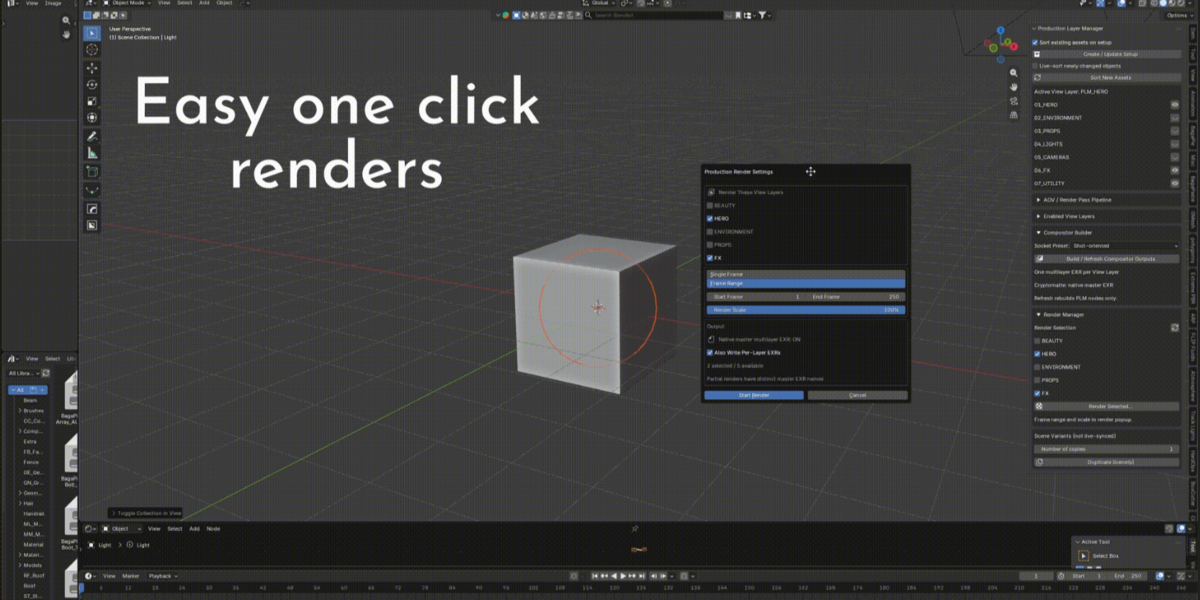
Click Render Selected... to open Production Render Settings. Review:
| Control | Purpose |
|---|---|
| Render These View Layers | Tick the layers included in this job |
| Single Frame / Frame Range | Render one specified frame or a start–end range |
| Render Scale | Use 1–100% of the scene's configured render resolution |
| Also Write Per-Layer EXRs | Optionally enable the compositor outputs built in section 6 |
The native master multilayer EXR is always on for this render operation. If you choose only some View Layers, the add-on adds a PARTIAL_... identifier to the master EXR filename, reducing the chance of overwriting a full-layer render. The render operation attempts to restore previous scene render settings and layer-enable flags after completion or cancellation.
Before launching: Assign an active scene camera. If Also Write Per-Layer EXRs is checked, build the compositor nodes first; otherwise the add-on will reject the render and ask you to build them. The code currently does not provide a mechanism to replace just one View Layer inside an existing master EXR; partial renders are separate files.
8. Scene variants
Under Scene Variants, choose Number of copies (1–20) and click Duplicate Scene(s). The add-on duplicates the current scene into numbered variants, preserves its active camera reference, and attempts to give duplicated scenes their own compositor-node setup. Object/data sharing is determined by Blender's scene-copy behaviour. Future additions are not automatically synchronised between scenes. For most shot passes, prefer one scene with multiple View Layers; use scene variants for deliberately different shot versions.
9. Recommended workflow for compositing in Nuke
- Configure the shot and save the Blender file.
- Use managed collections to keep the contents of each View Layer predictable.
- Configure all required passes and a 16- or 32-bit master EXR.
- Optionally build extra per-layer outputs when your compositing workflow needs separate files.
- Render a short test frame or 2–3 frame range at reduced resolution.
- In Nuke, inspect the master EXR's View Layer channels, individual passes and Cryptomatte metadata before committing to a full render.
Recommended storage: Keep master EXRs and generated layers/ folders together under a shot-and-version directory, and increment Version before replacing approved outputs. Check the actual resulting paths after the first test render.
10. Troubleshooting
| Symptom | What to check |
|---|---|
| Extension does not appear | Confirm Blender 5.2+, install via Get Extensions > Install from Disk, enable it, then look in 3D Viewport > N > Production. Disable any old legacy copy first. |
| A new light is missing from Hero/Environment | Confirm the light is in 04_LIGHTS; use Sort New Assets or Live Sort. Check that the Lights collection is not excluded in that View Layer. |
| An object is not automatically sorted | Sorting recognises types/rig relationships and certain name keywords, not every asset. Move ambiguous objects manually. Library-linked/non-editable objects are skipped. |
| View Layer looks incorrect after setup | Create / Update Setup resets managed collection exclusions to its built-in presets. Inspect the active View Layer's collection settings. |
| Extra per-layer EXR is missing | Build the compositor, tick Also Write Per-Layer EXRs, and ensure compositing is enabled for the render. Confirm the output folder is writable. |
| Cryptomatte missing from extra per-layer EXR | Use the native master multilayer EXR; the extra outputs intentionally omit raw Cryptomatte sockets. |
| Render Selected refuses to start | Select at least one View Layer, assign an active camera, use a valid frame range, and build compositor outputs if per-layer EXRs are requested. |
| Output not where expected | Save the .blend file and inspect EXR Output Folder and your project/shot naming fields. // means relative to the current Blender project. |
| Settings unexpectedly change | The add-on temporarily changes render settings during rendering and attempts to restore them afterward. Test this behaviour in Blender before use with production-critical files. |
 Included
Includes 12 months of
- Support from OJzone
- Product updates
Extend this product’s Support Period +12 months: 25% of product price
Have questions before purchasing?
Login to message
| Published | about 14 hours ago |
| Blender Version | 5.2 |
| Extension Type | Add-on |
| Render Engine Used | Blender-Internal, Blender-Game-Engine, Cycles, Eevee, Freestyle |
| License | GPL |