 Tiemen's addons
Profile Rail Extruder
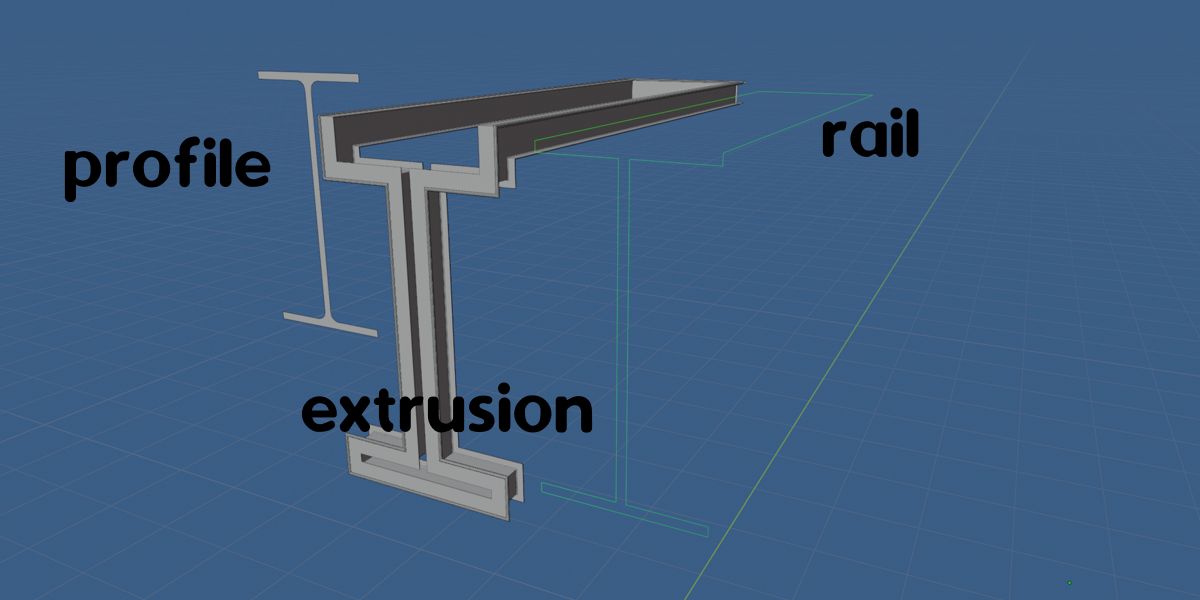
This addon is meant to extrude a flat face drawing into 3d space.
The extrusion is guided by a rail. This rail can go in any direction.
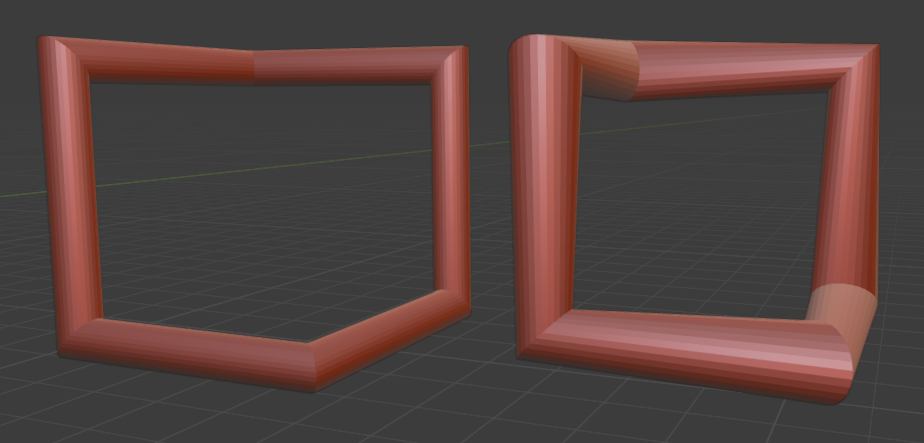
The extruded shape is not changed by the direction unlike bevel from a curve, the normal blender way to make an extrusion.
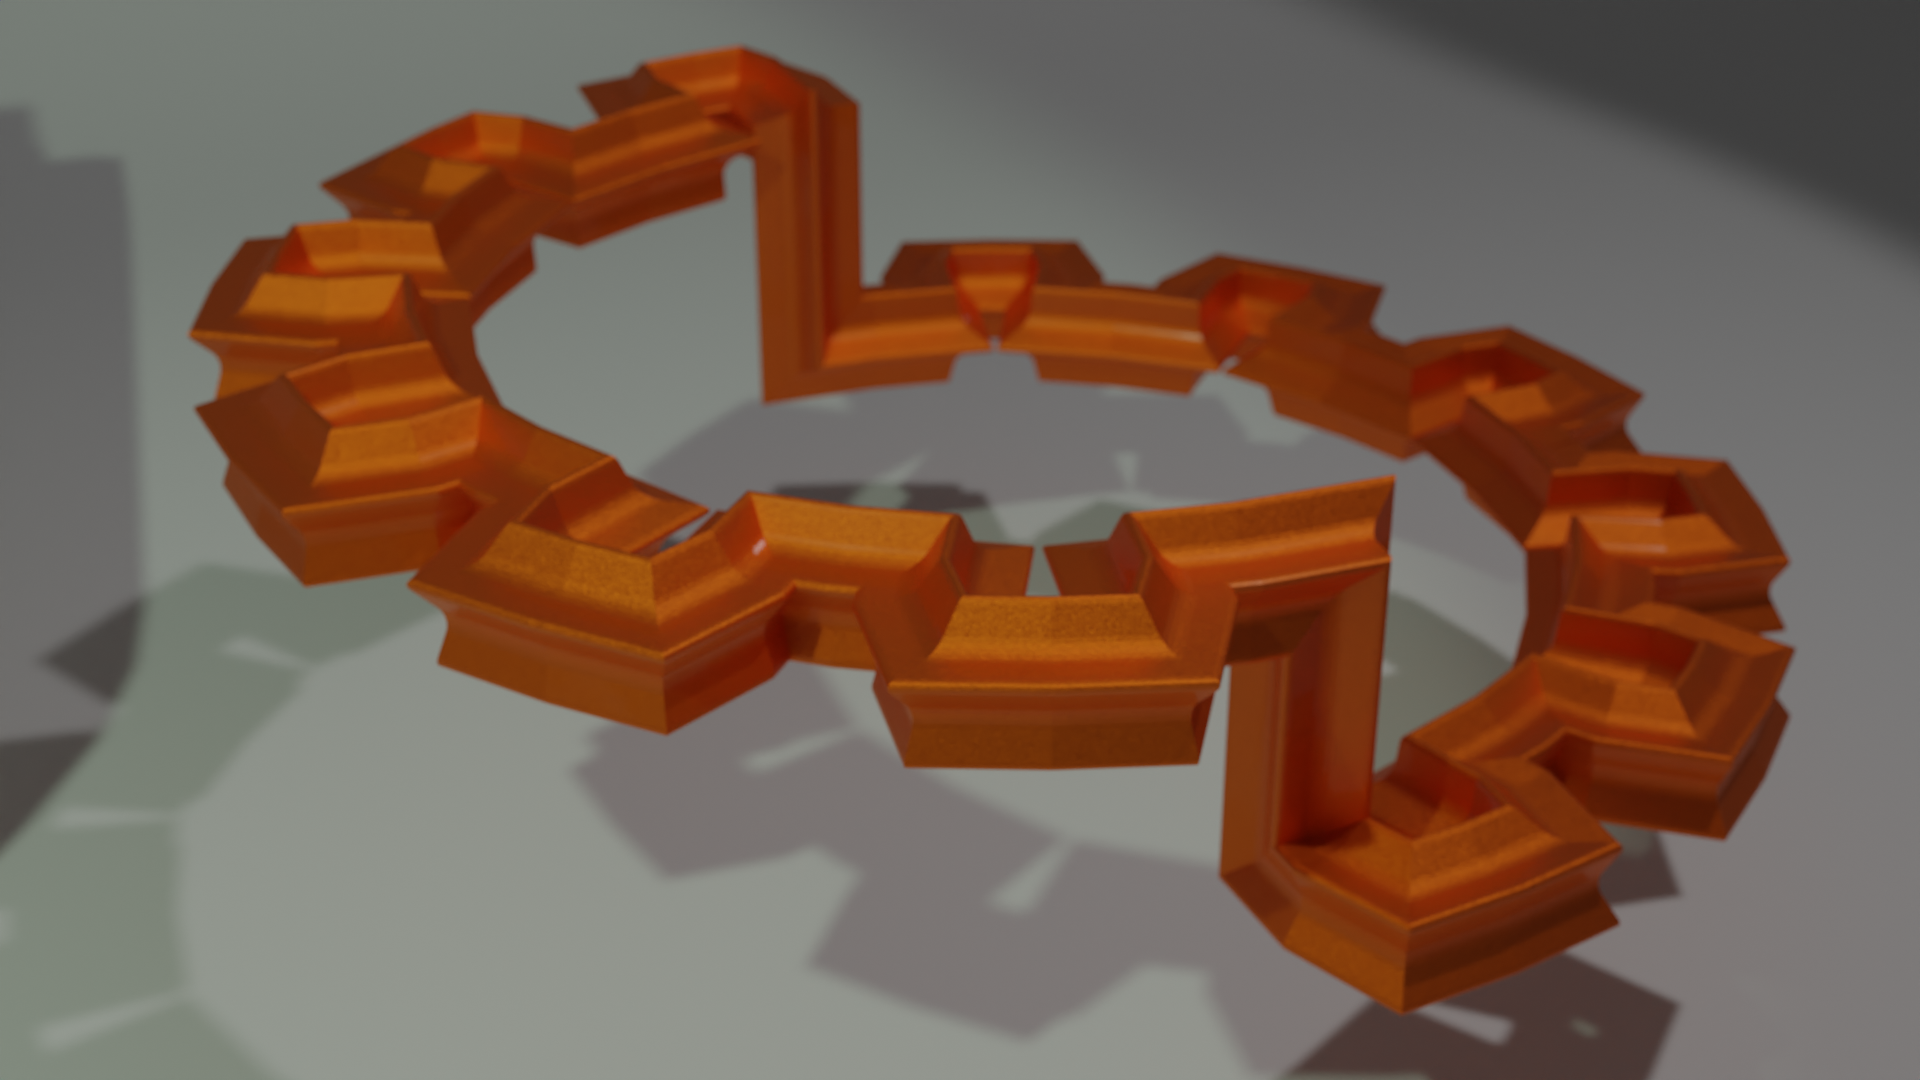
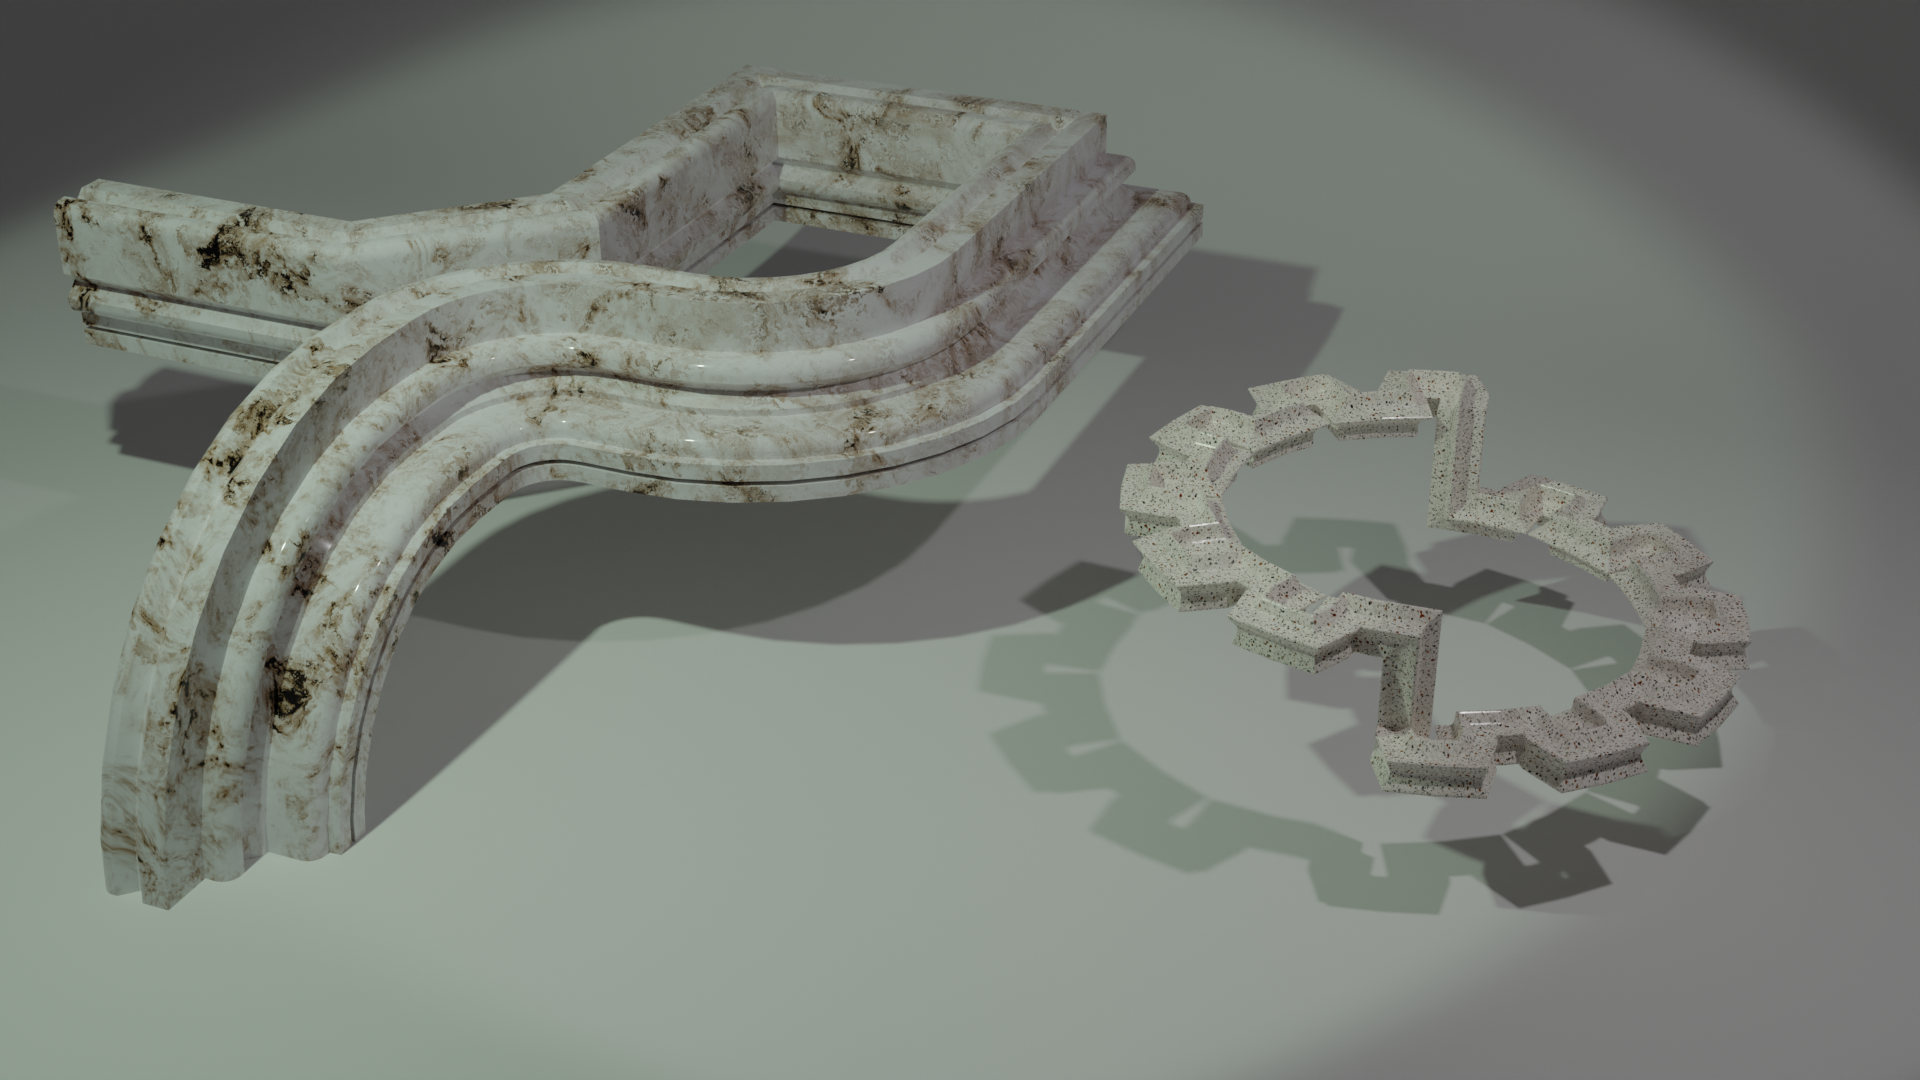
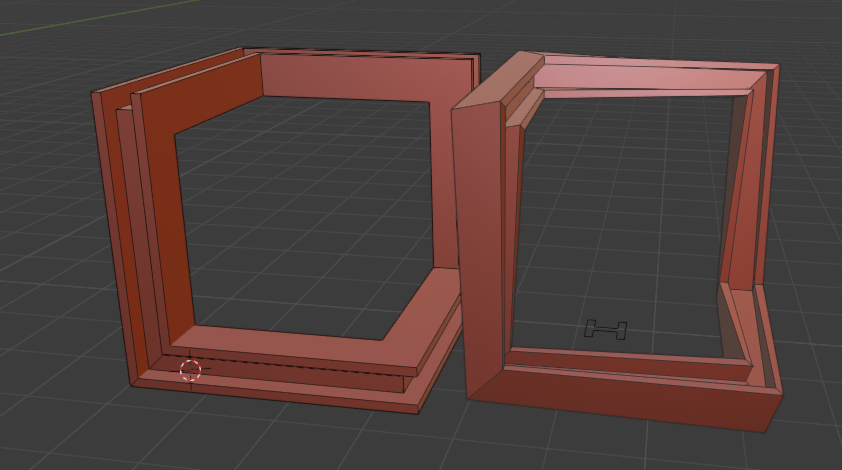
Left is an extrusion with ‘Profile Rail Extruder’, right is with the usual Blender way to extrude along a curve. The right extrusion is ‘tapered’.
Profile Rail Extrude Blender curve Bevel
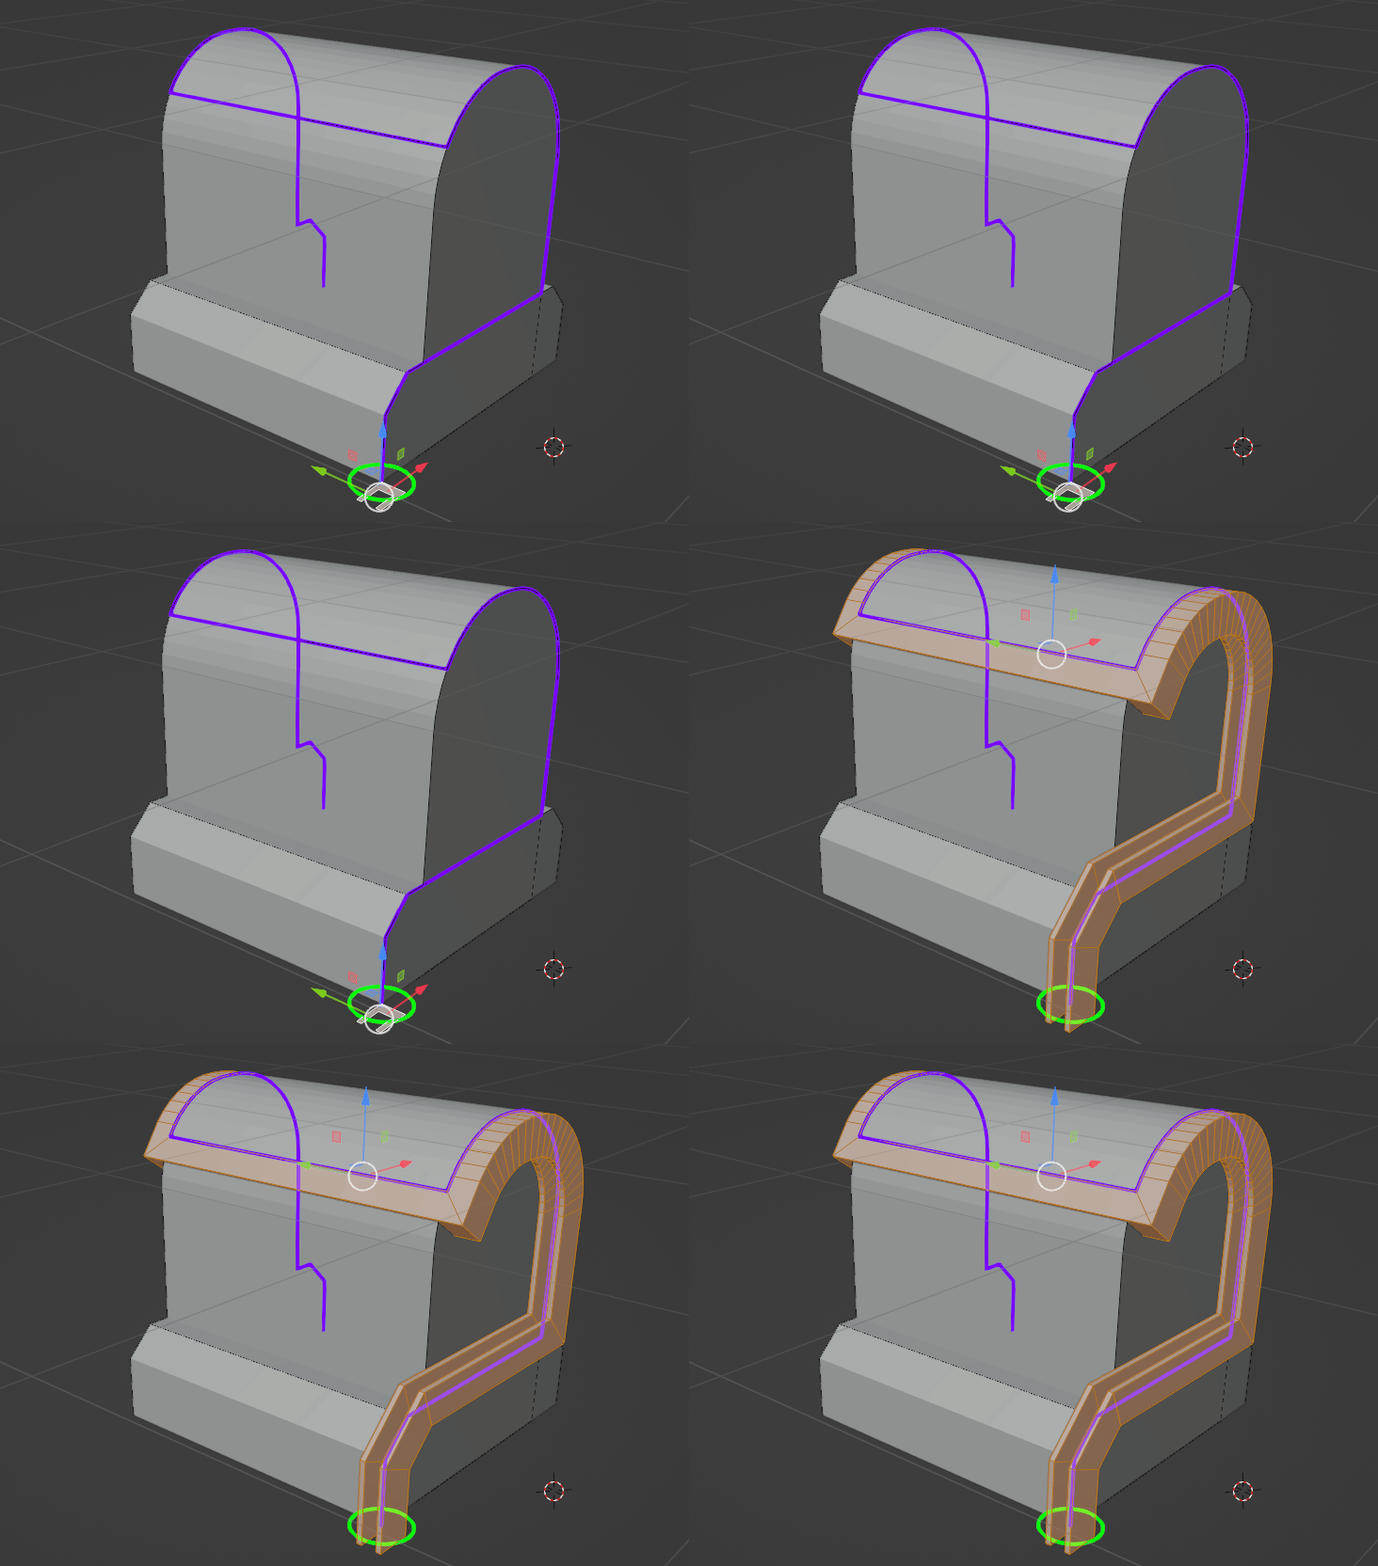
In version 0.0.4 the rail is now visible in color. The start of the rail is marked by a green circle. The start can be changed in the popup menu.
Installation:
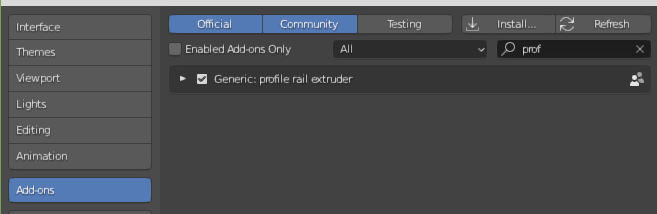
Download the addon and in the preference menu select install.
Go to the folder where the file is downloaded and pick the file.
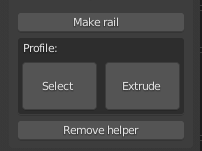
When the addon is installed you can find it in the side panel in the edit menu.
Make rail: Make a new Rail
select : select a face in edit mode to extrude. A copy will be placed at the beginning of the rail.
Extrude: extrude the profile
Remove helper: remove the colored rail. The information of the rail is not removed.
How to create a rail:
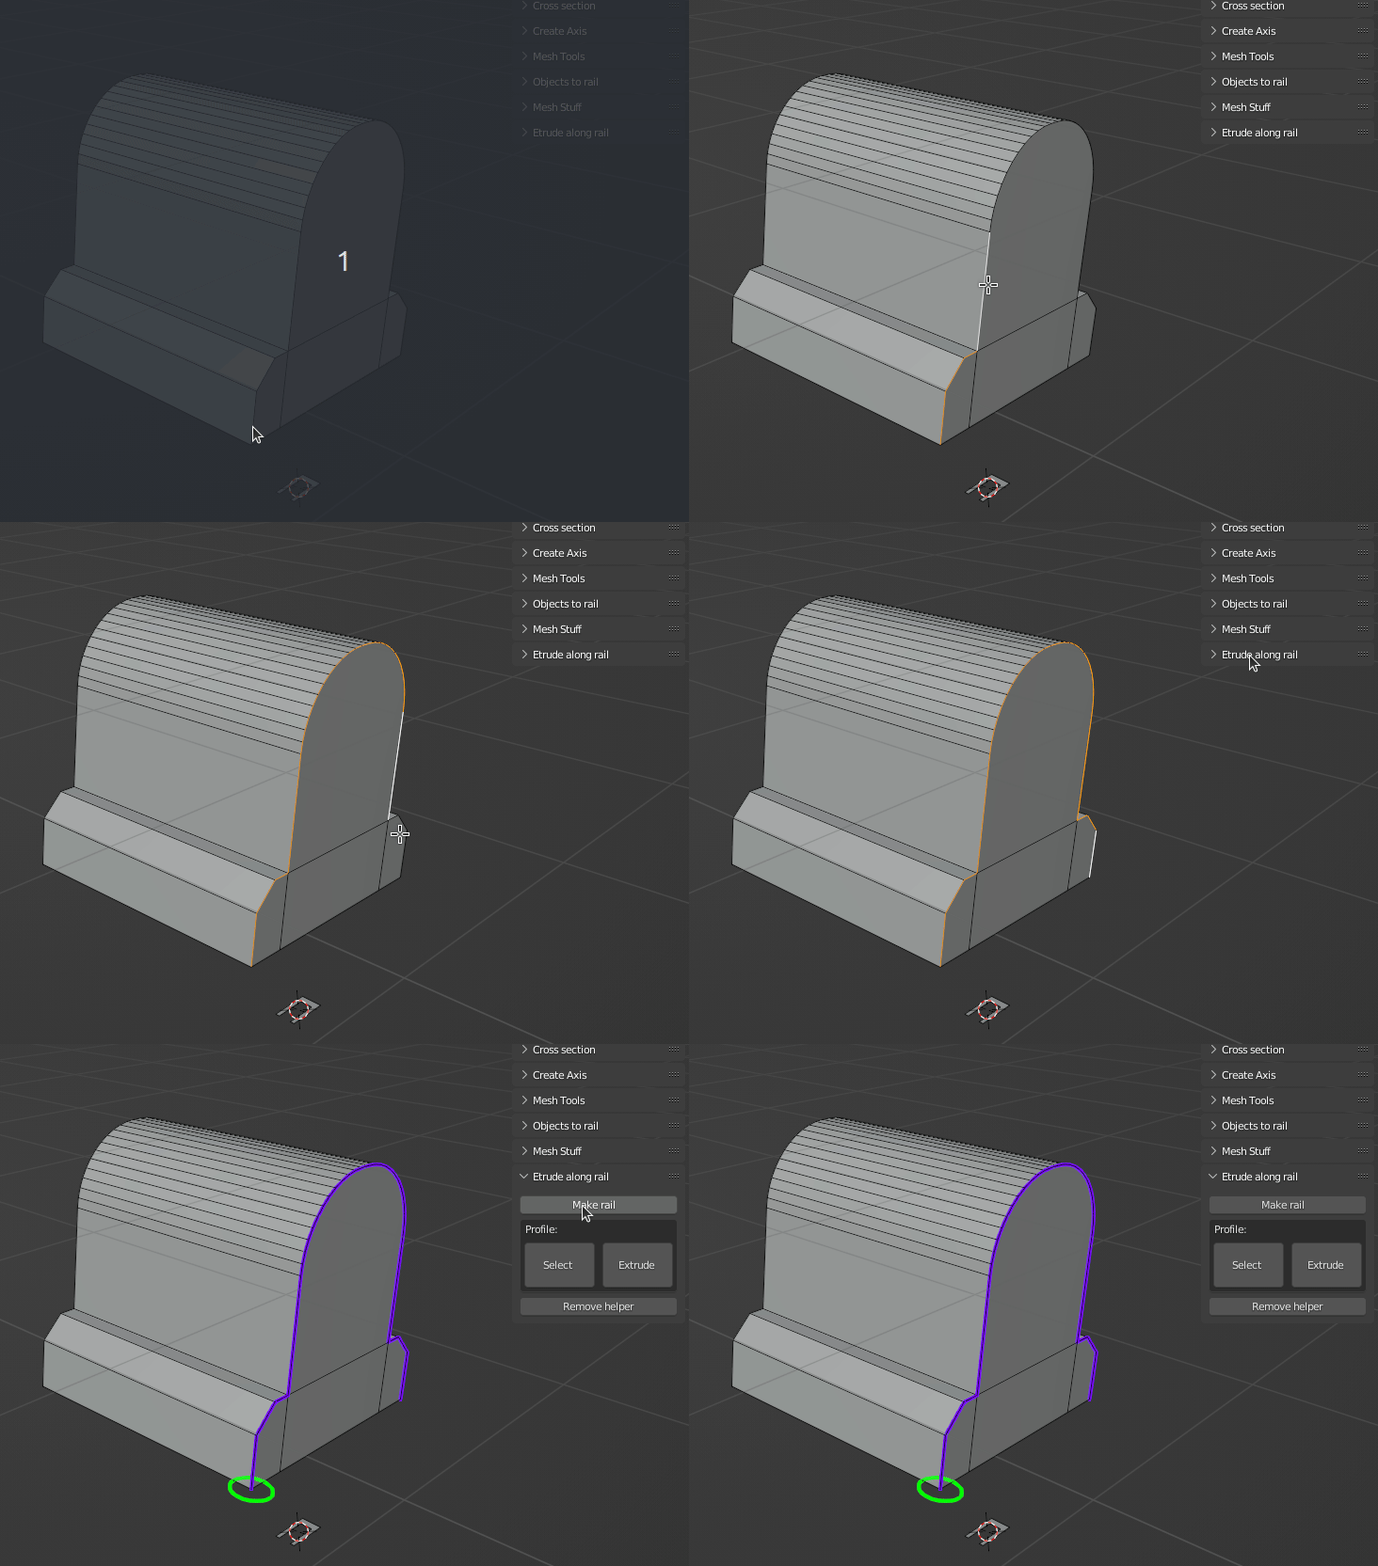
Select edges in edit mode, then press ‘Make Rail’.
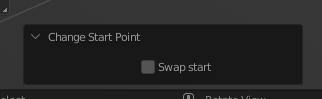
The green circle indicates start of the rail. The starting point can be changed in the pop up menu.
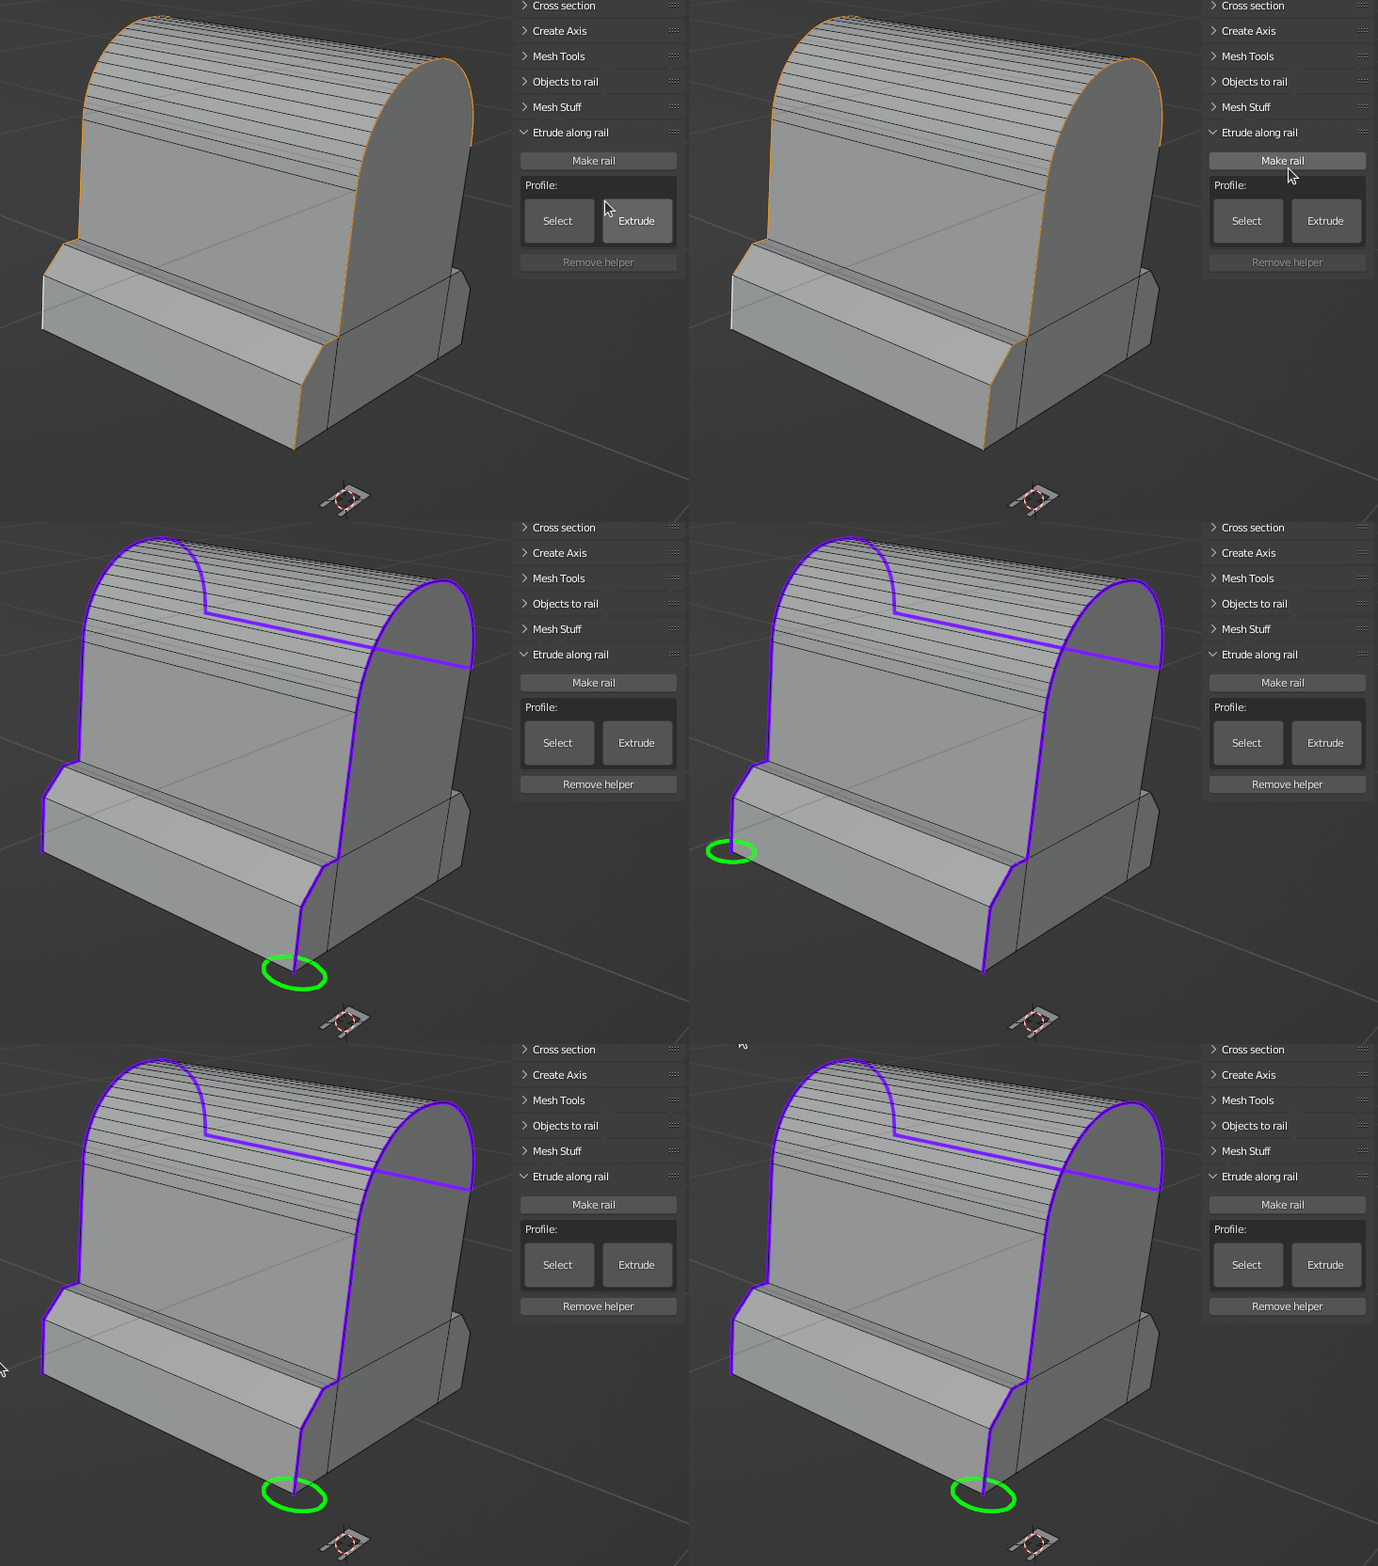
The extrusion:

After the rail is made, select a plane and press select, a copy of the selection is placed at the beginning of the rail. Then press Extrude
The Outliner :

In the outliner are 2 collections created.
Extrusions : the new extrusion objects are placed in the collection.
Rail objects: the two helper objects are the colored lines.
The rail objects are stored here. If you want to use a rail again, you can select it here, go to edit mode, and press ‘Make rail’ again.
Note:
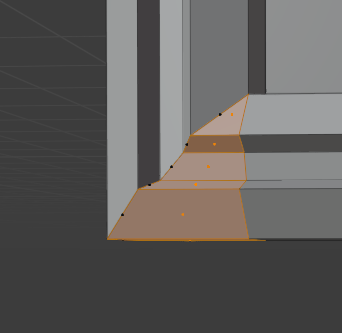
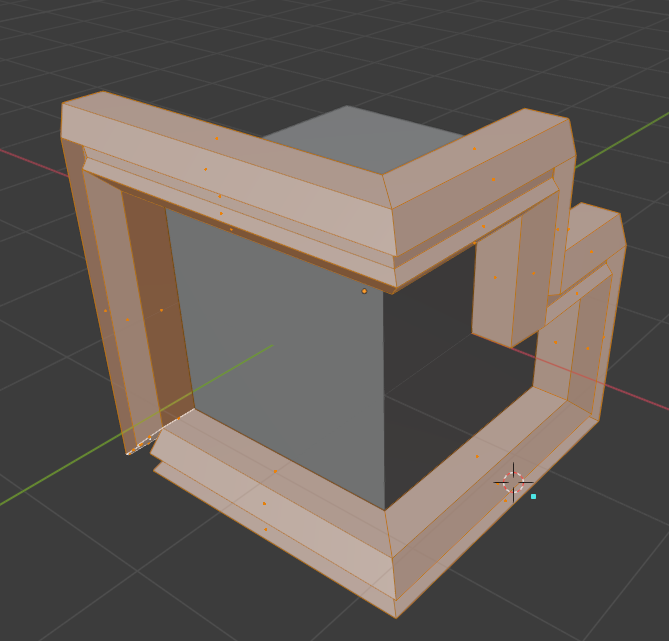
The profile is extruded. If you want to connect begin and end, select the begin face and the and face and bridge edges ( Alt Y)
11-2-2022 Update
Now the start of the rails is marked with a cross and the start and end can be swapped.
15-9-2022 Update
-The rail is visible in color
-Solved issues with multiple scenes.
-the rails object get the name from the object it is created from
5-7-2025 Update
works and tested with blender version 4.4
15-7-2025 New addon bassed on geometry nodes
New addon rail extrude bassed on geometry nodes
Install the file named: railfollower_geo.zip

After installing the add-on, you’ll find the Rail Extruder in the Edit section of the N-panel.
First, a rail must be selected — this should be a mesh object. The rail must be a continuous chain of edges and not cyclic (i.e., not a closed loop).
When you click “Make Object Rail”, the rail is extruded using a circle as a default profile. In the modifier panel, a menu will appear allowing you to choose a different shape for extrusion.
The “Add Shapes” button imports several example profiles that can be used for the extrusion.

rails loc/other obj: changes the rail that is followed. If the checkbox is ticked, the rail of the selected object is used. Otherwise, a rail chosen in the ‘rails’ field is used.
show profile: toggles the extrusion on or off.
projection plane: determines the size of the projection planes. When extruding very large shapes, the projection planes need to be larger.
By enabling the ‘projection planes’ checkbox, the projection planes become visible.
The projection planes are used by the Geometry Nodes modifier to determine the next part of the extrusion.
shift planes: helps prevent errors when the curves of the extrusion are too tight, by allowing a clean result to be generated anyway.
reverse curve: uses the opposite end of the rail as the starting point.
amount of points: determines how many points are used for the extrusion.
