Quick UV Projector
 nattawat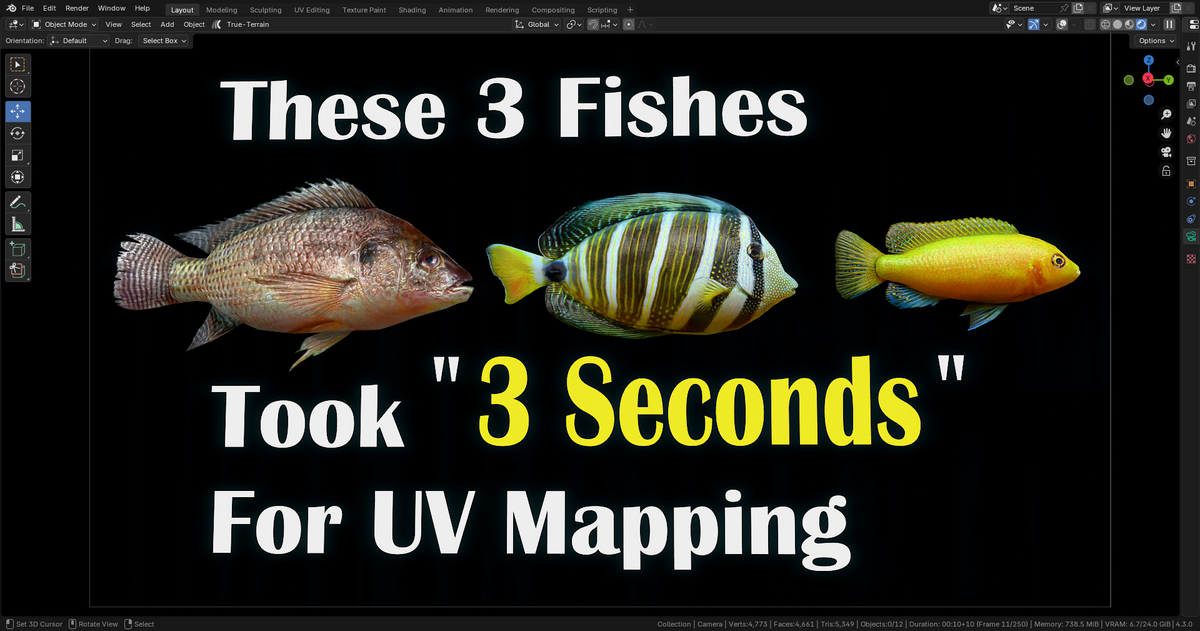
How To Install
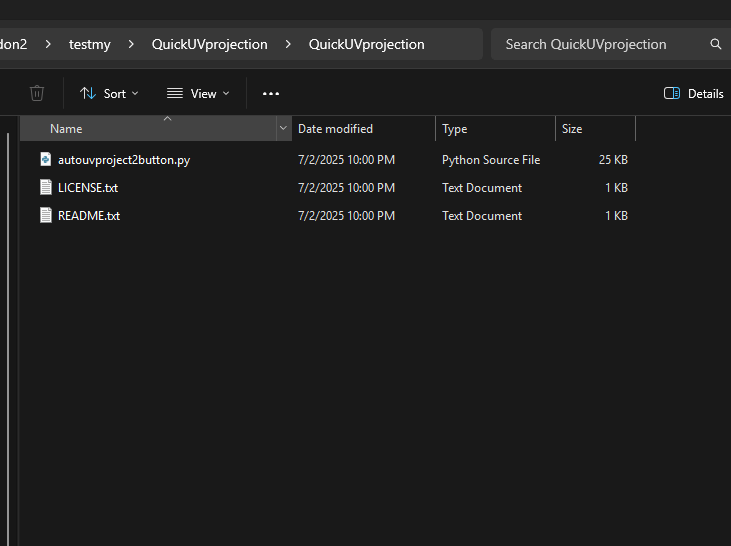
1. download the addon zip file then extract you'll see these files
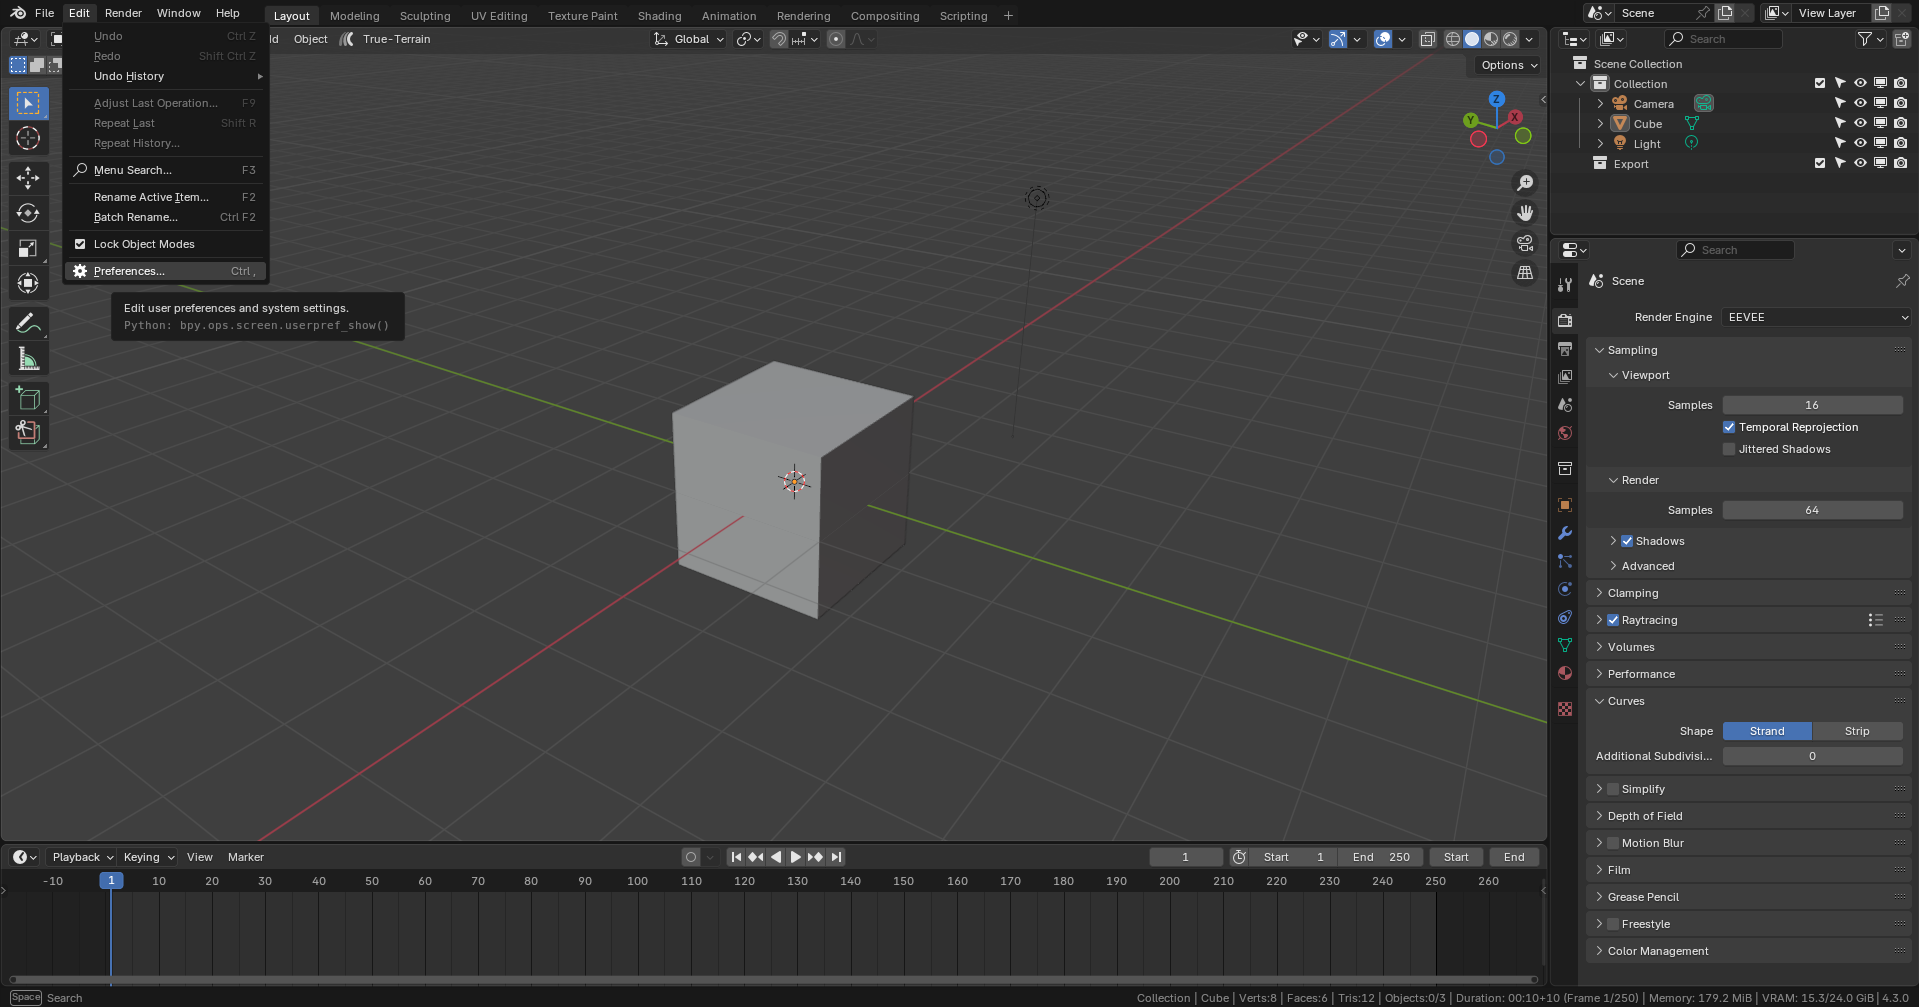
3. Go to preferences
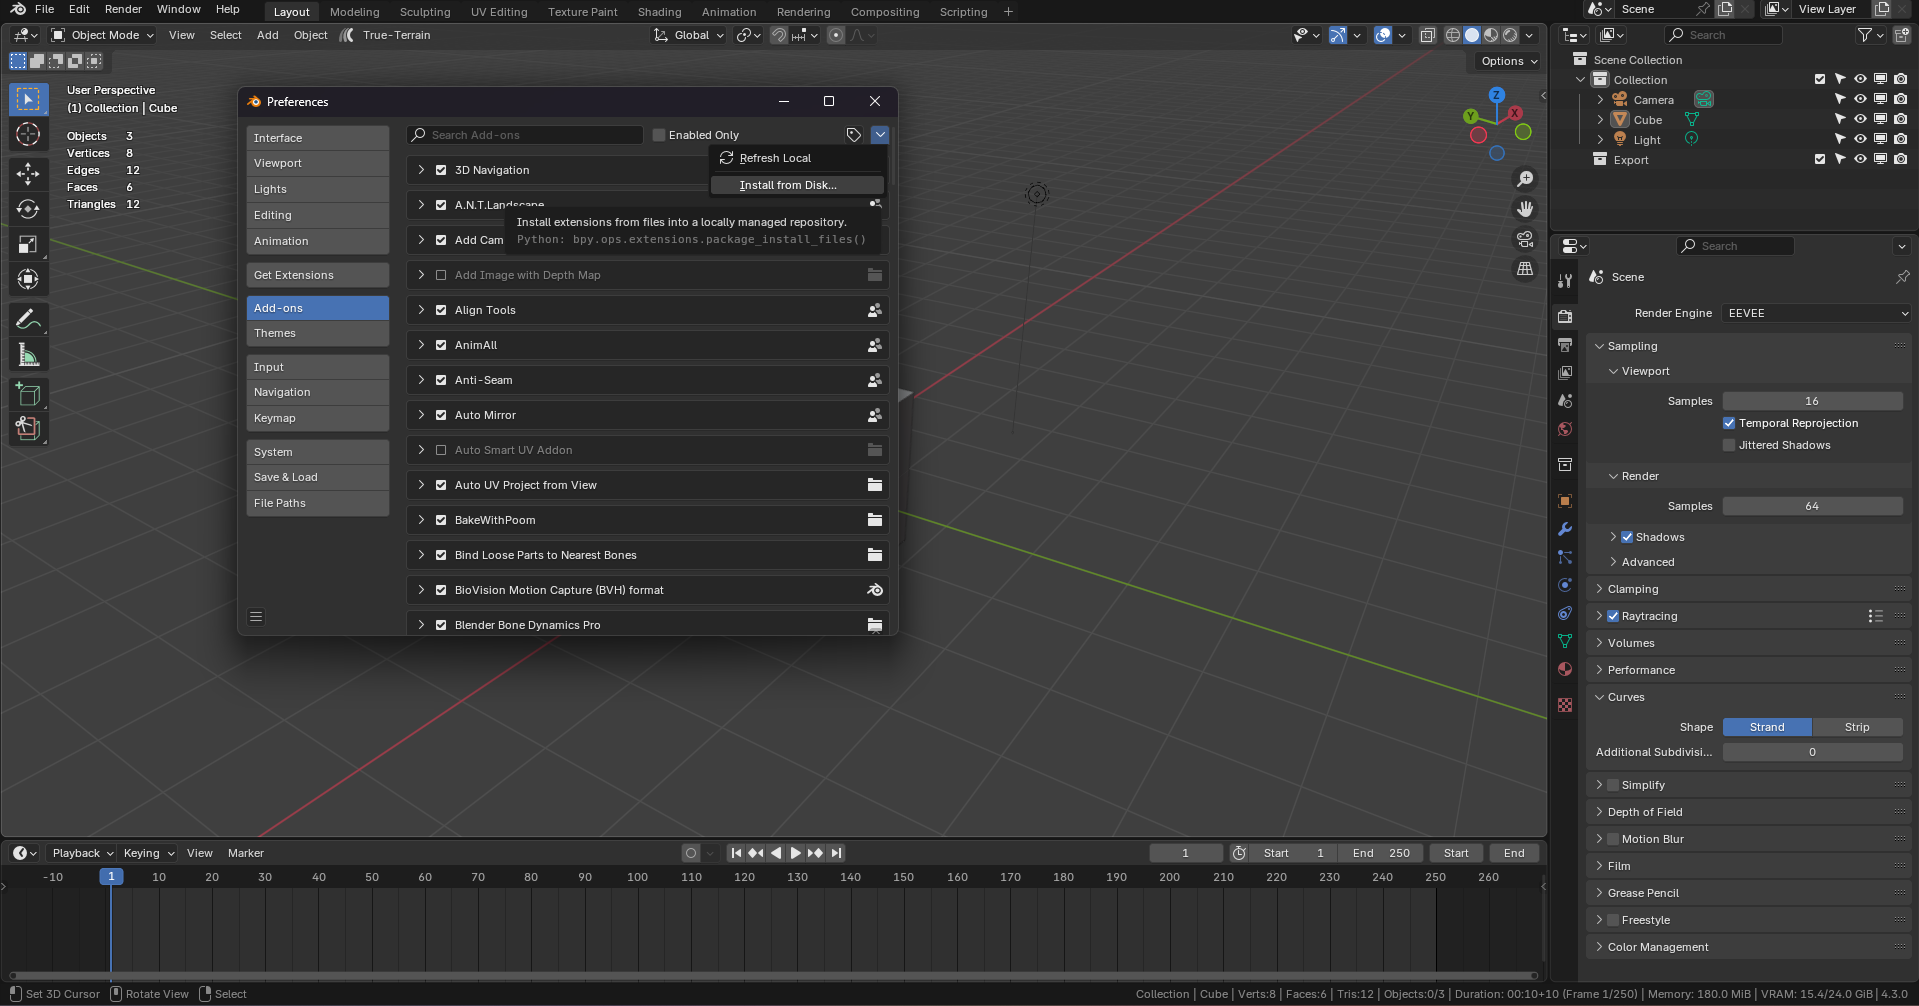
4. Go to -Add ons -click top right drop down icon -click install from disk
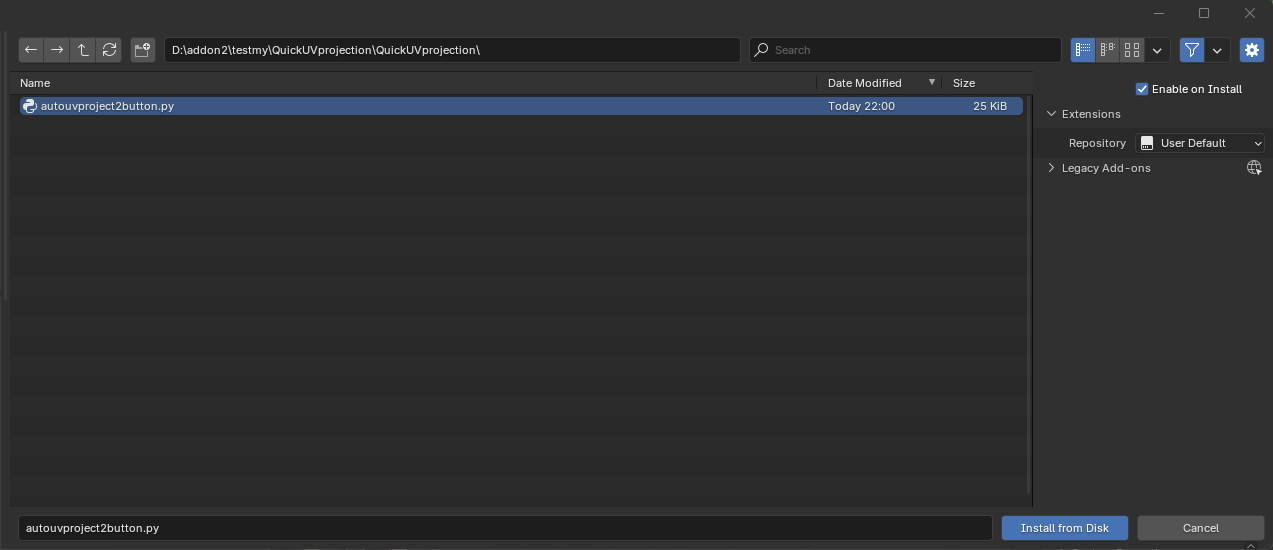
5. select the addon py then click install from disk
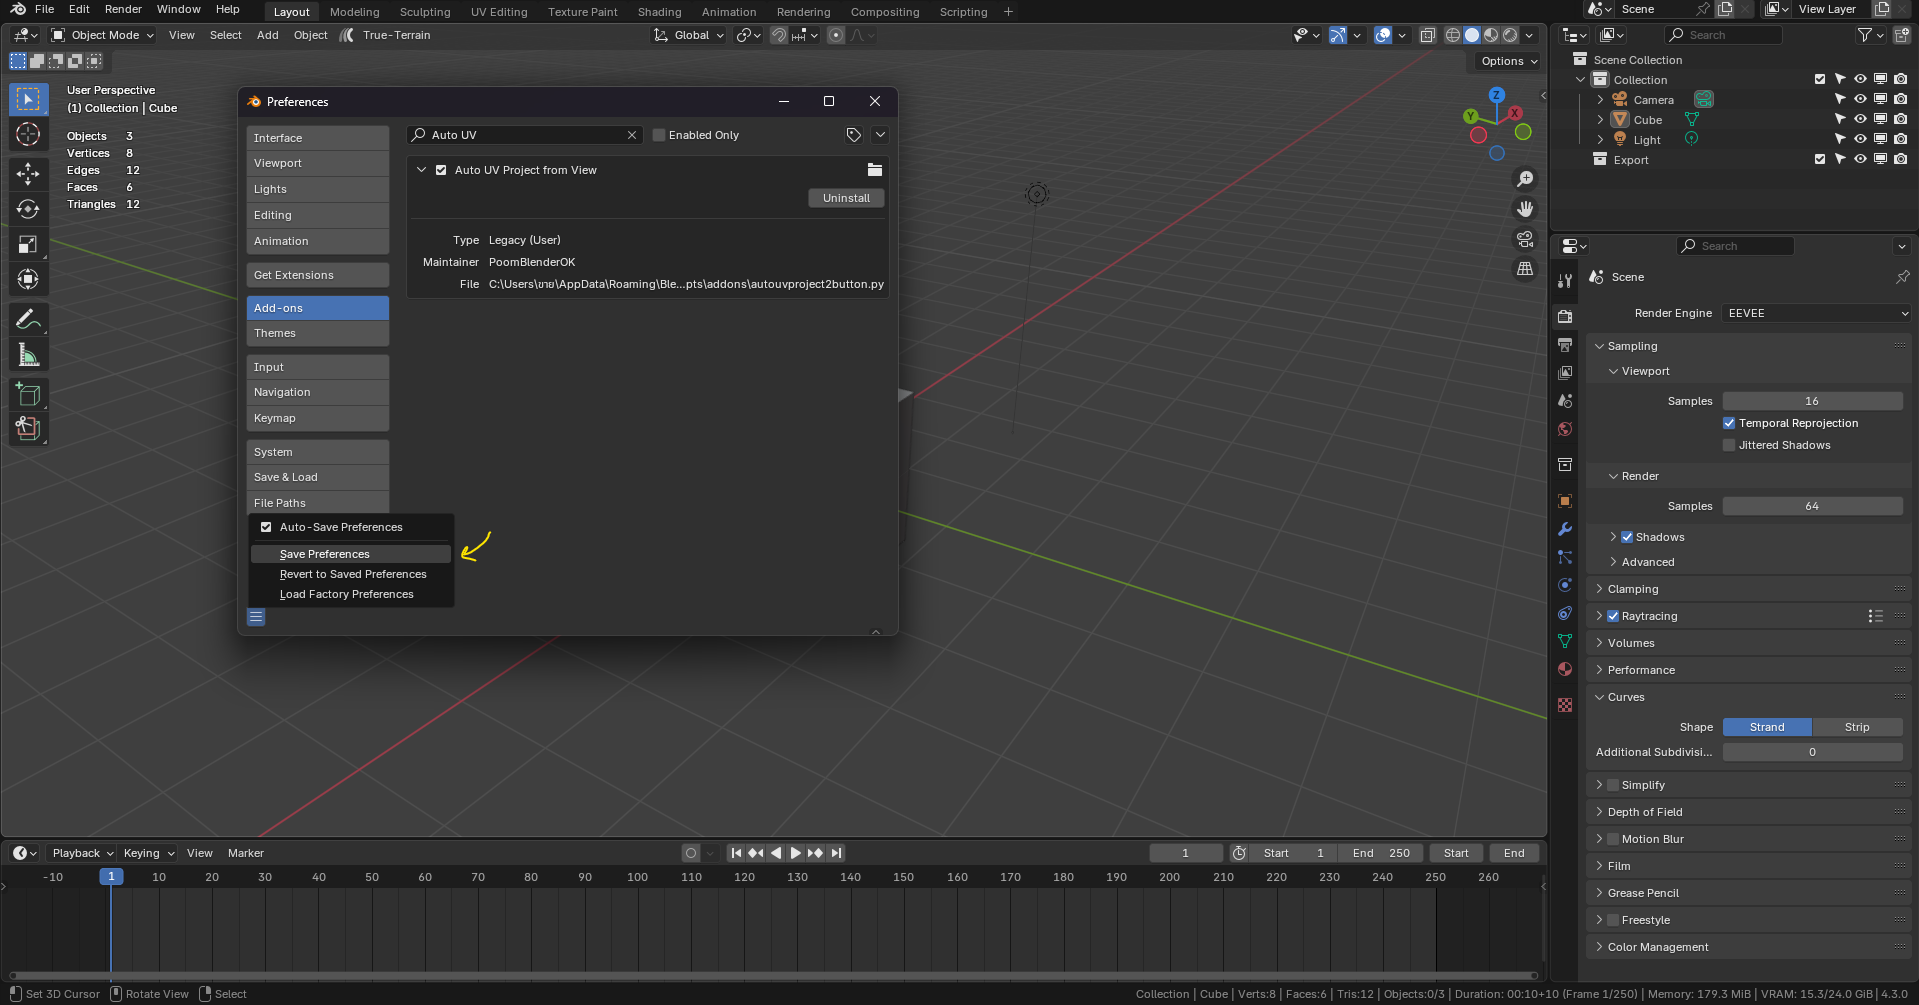
6. The addon will appear enable it ,then save Preferences
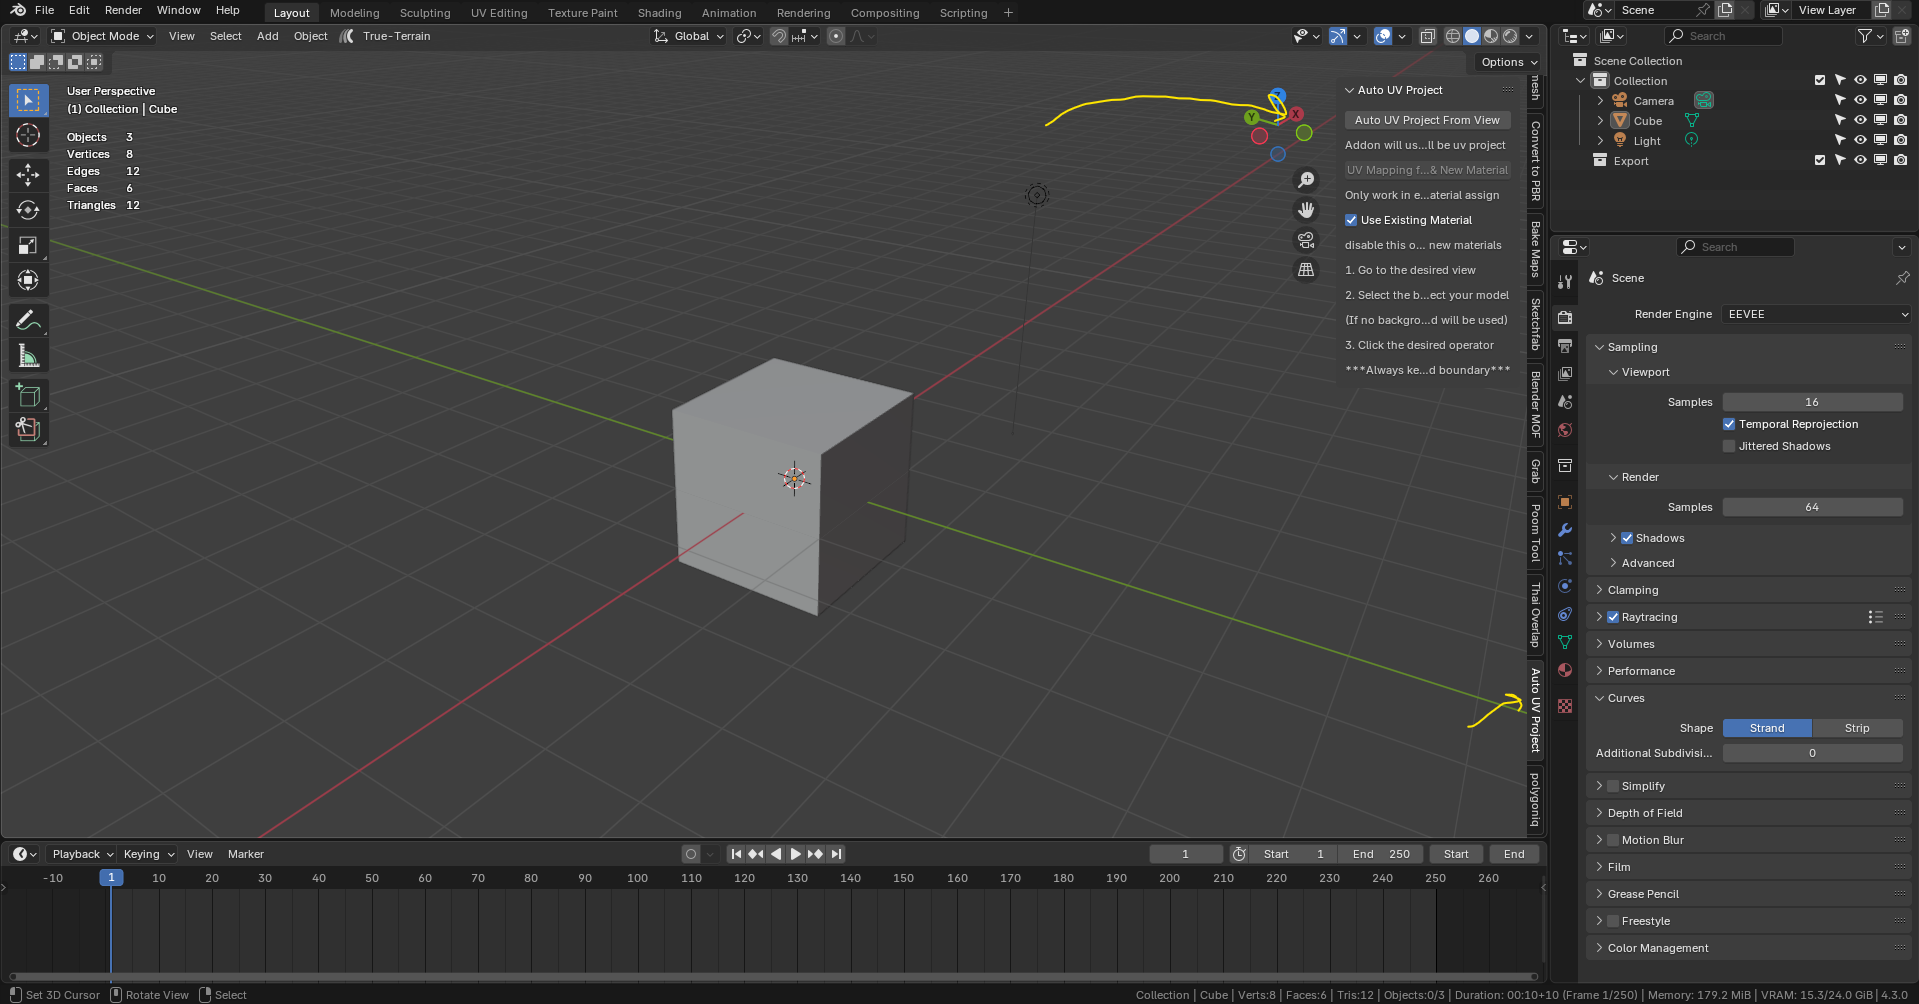
7. Addon will appear on sidetab (N) ready to work!
How To Use
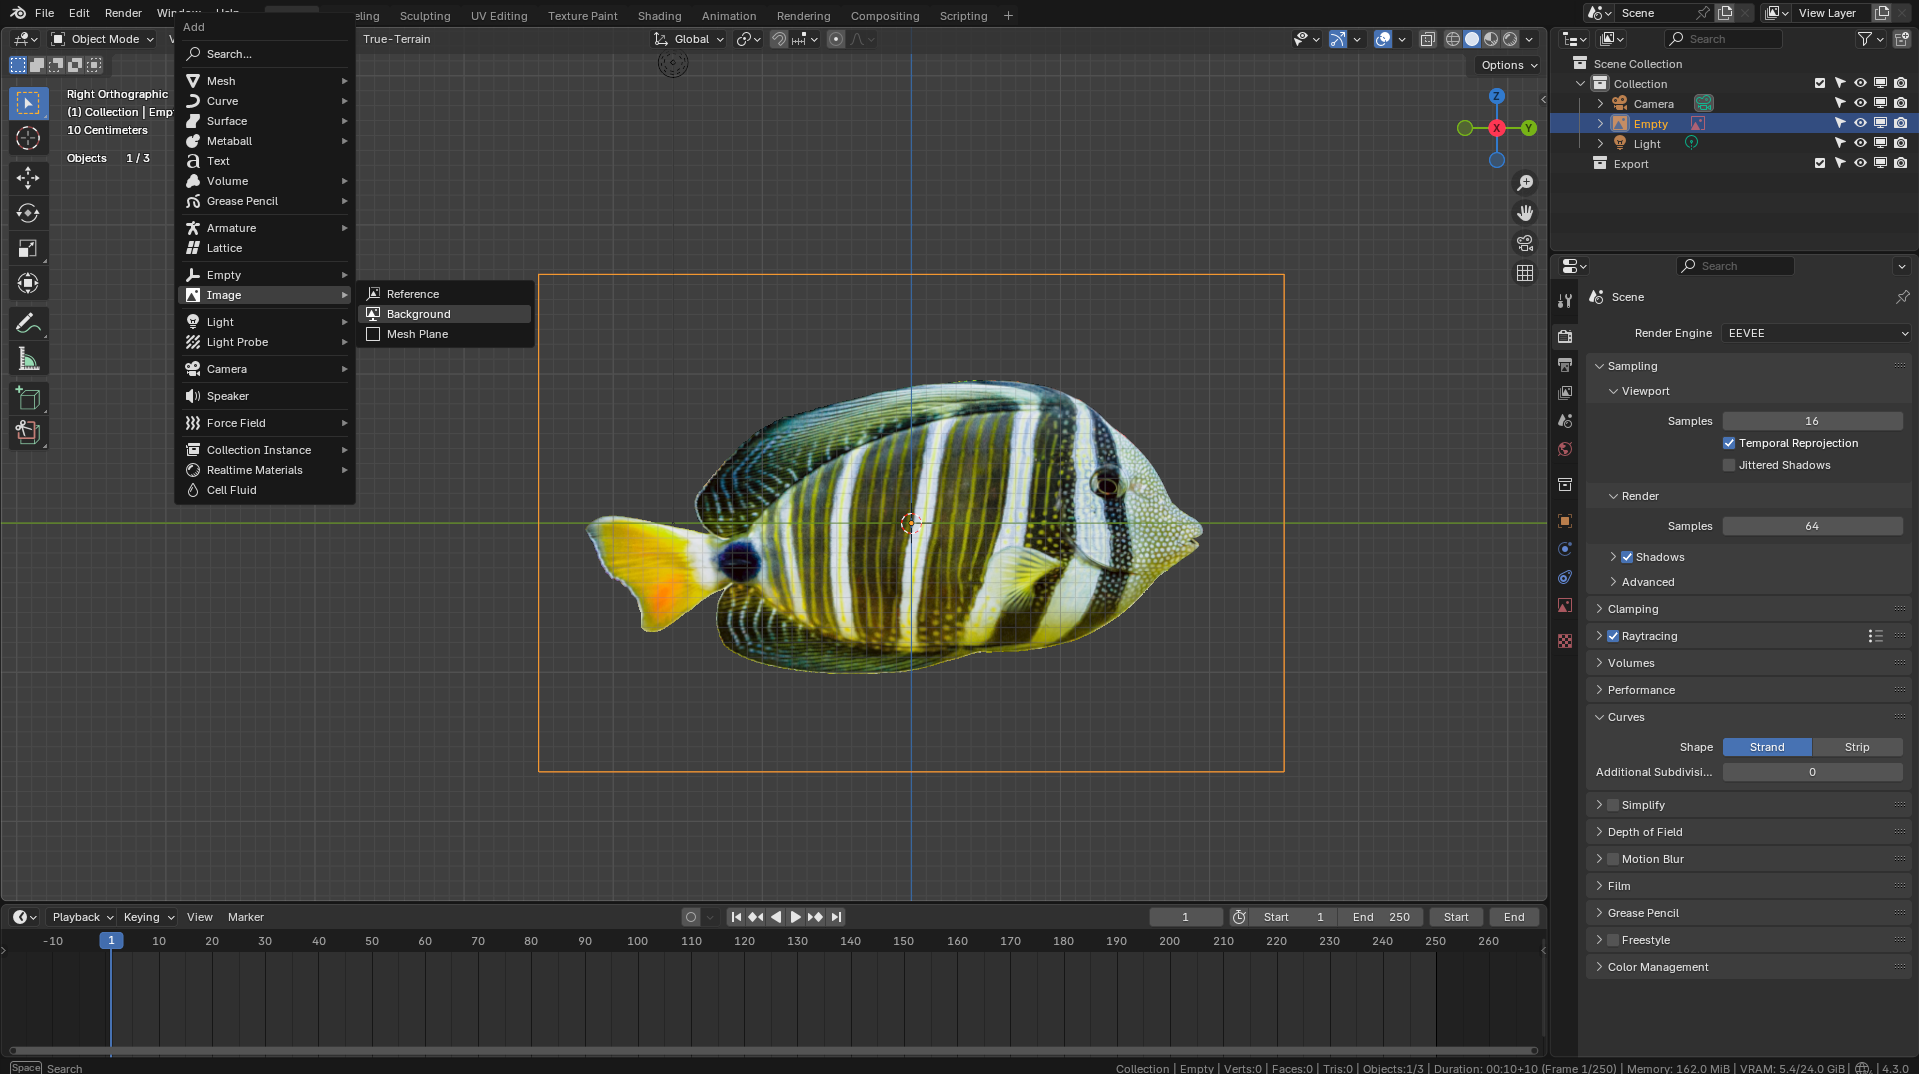
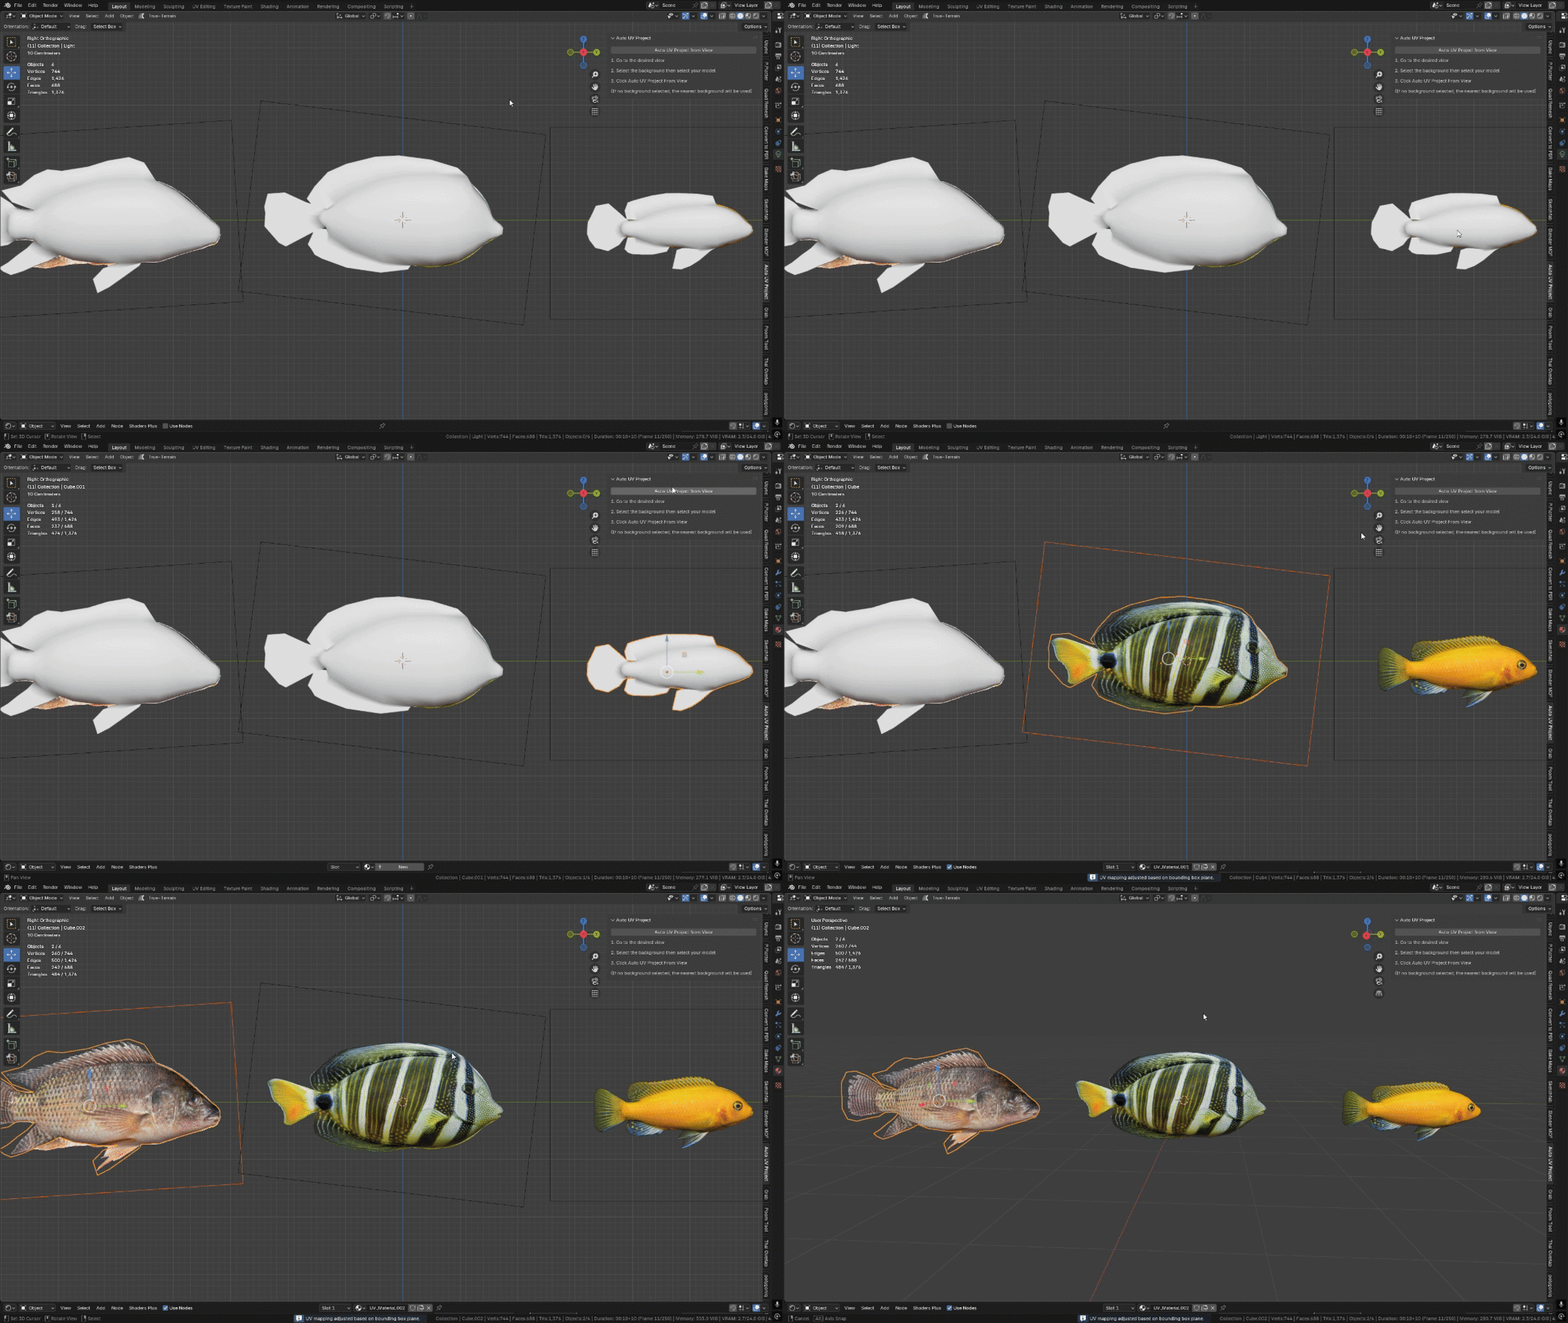
1. Add image background
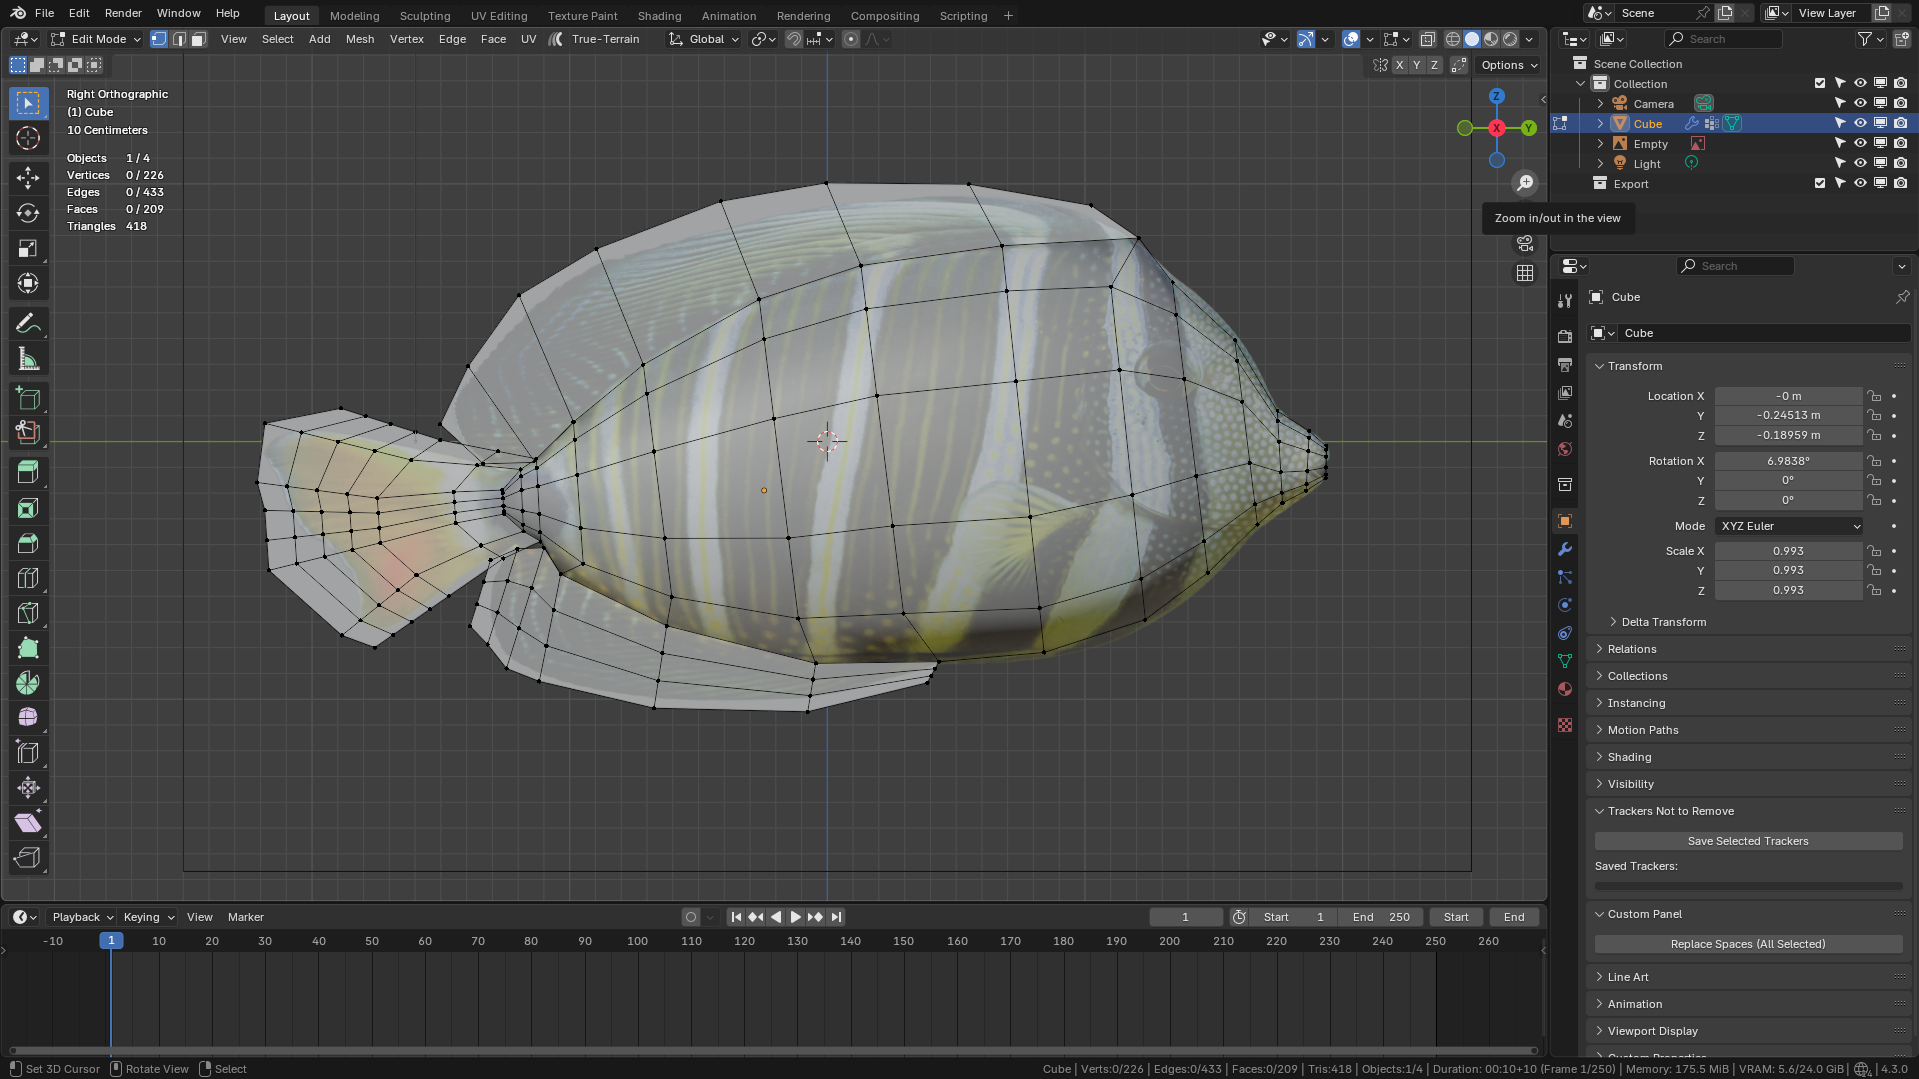
2. modelling the 3d shape over the background
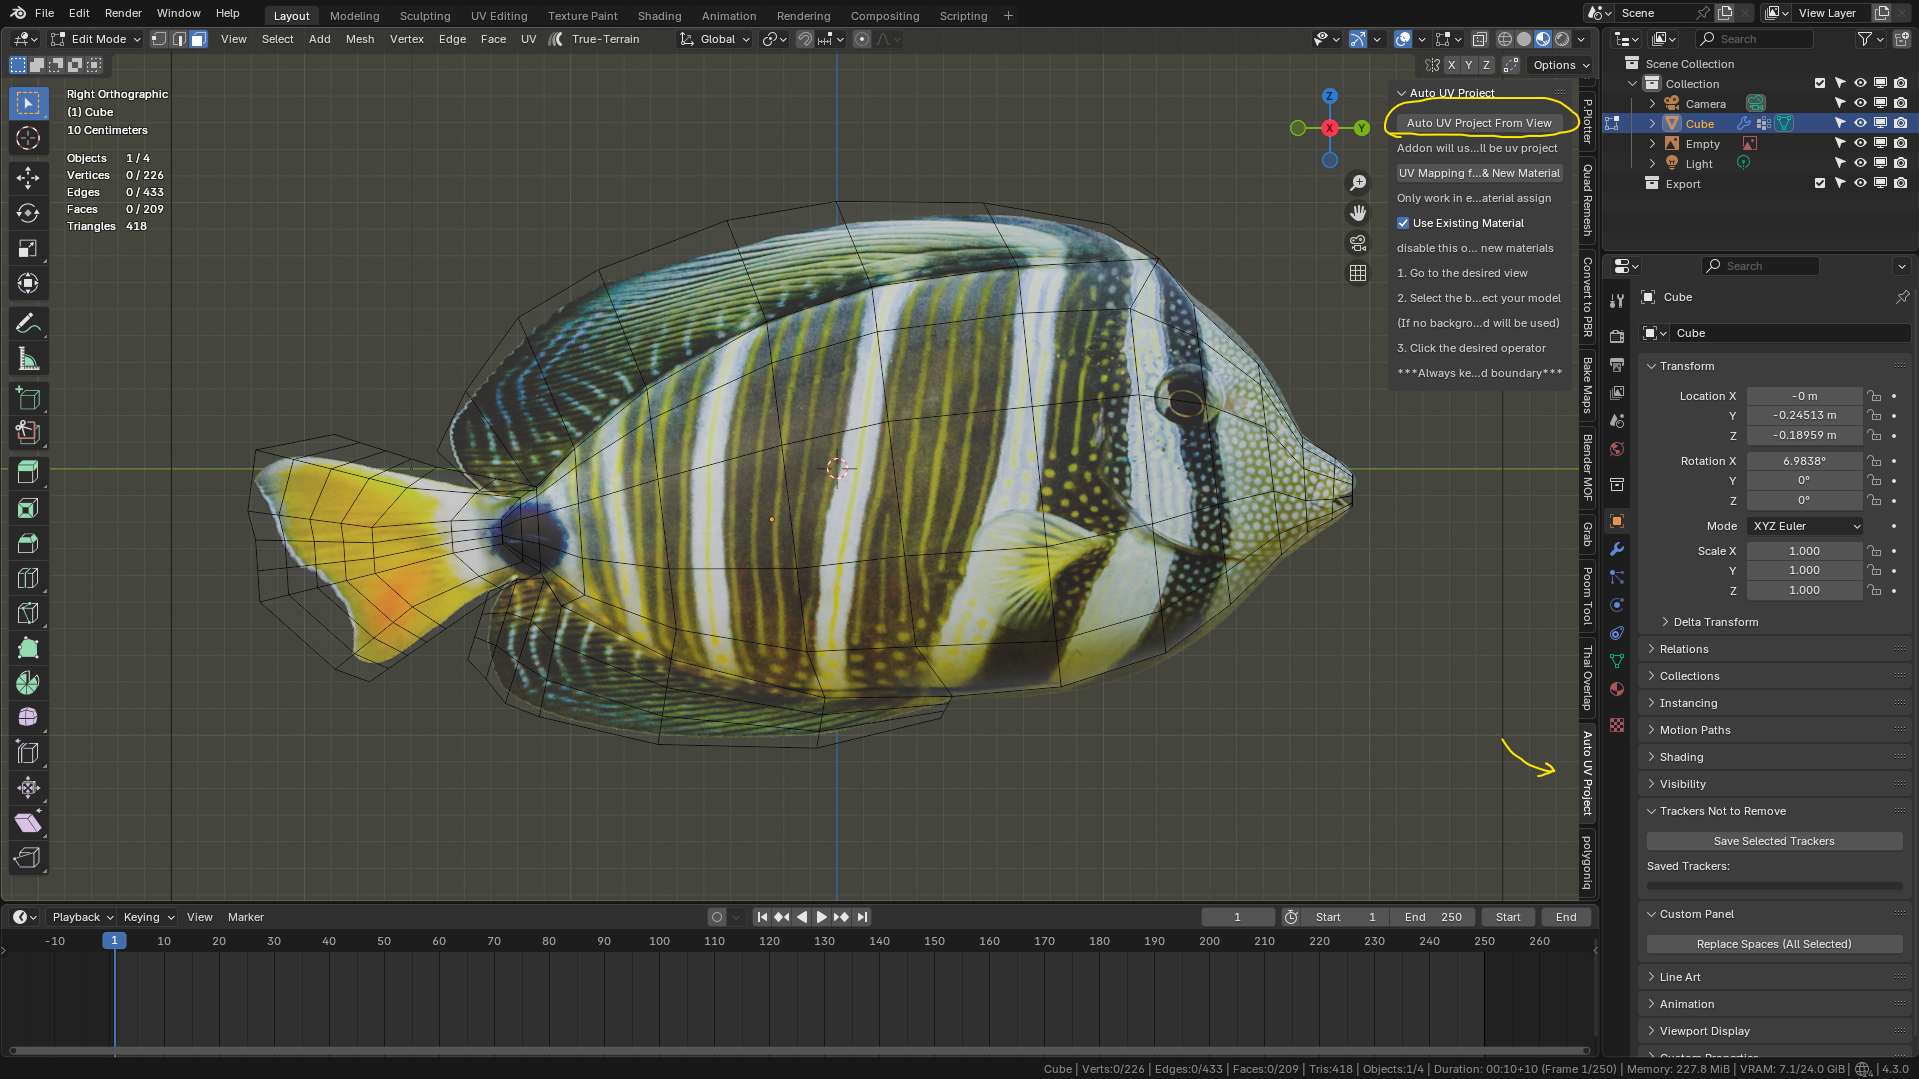
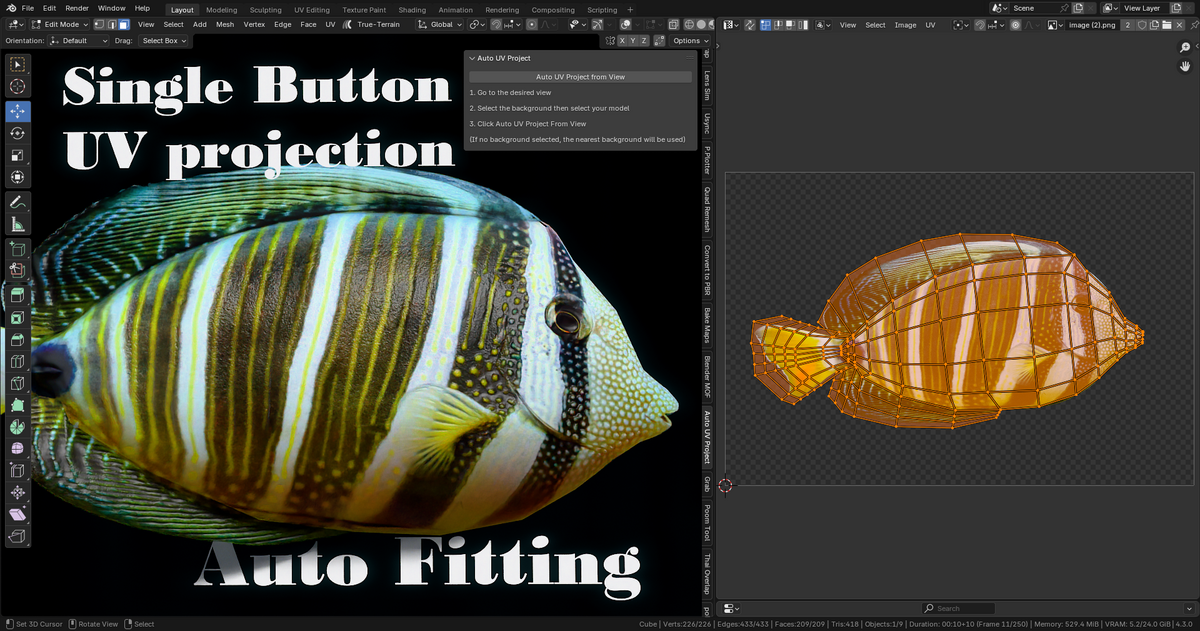
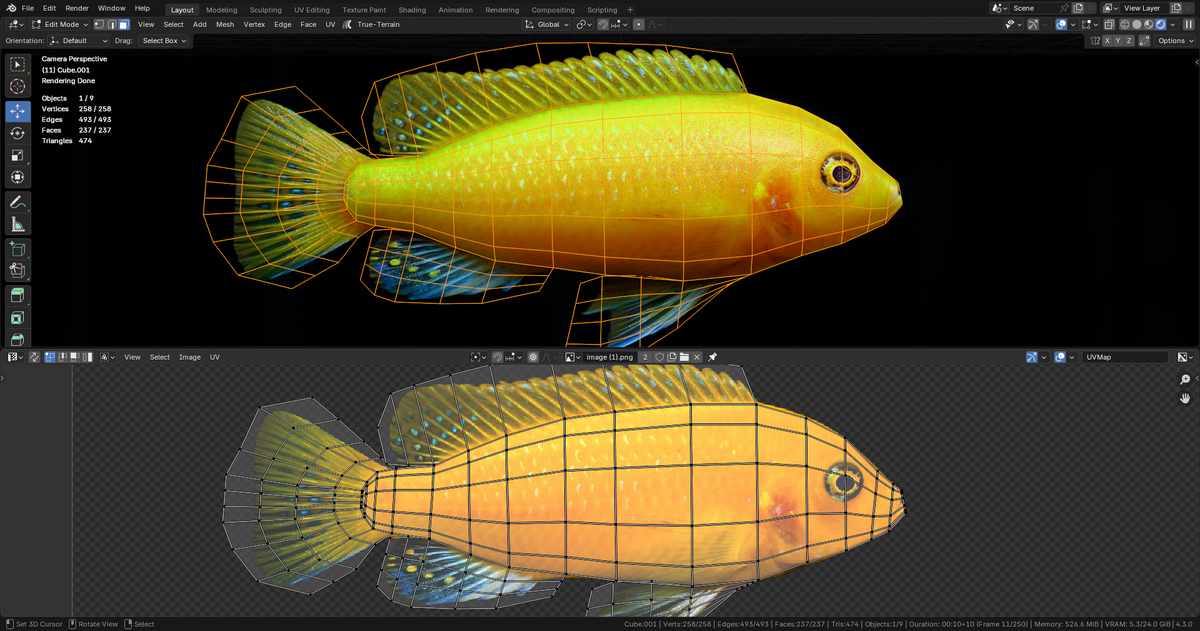
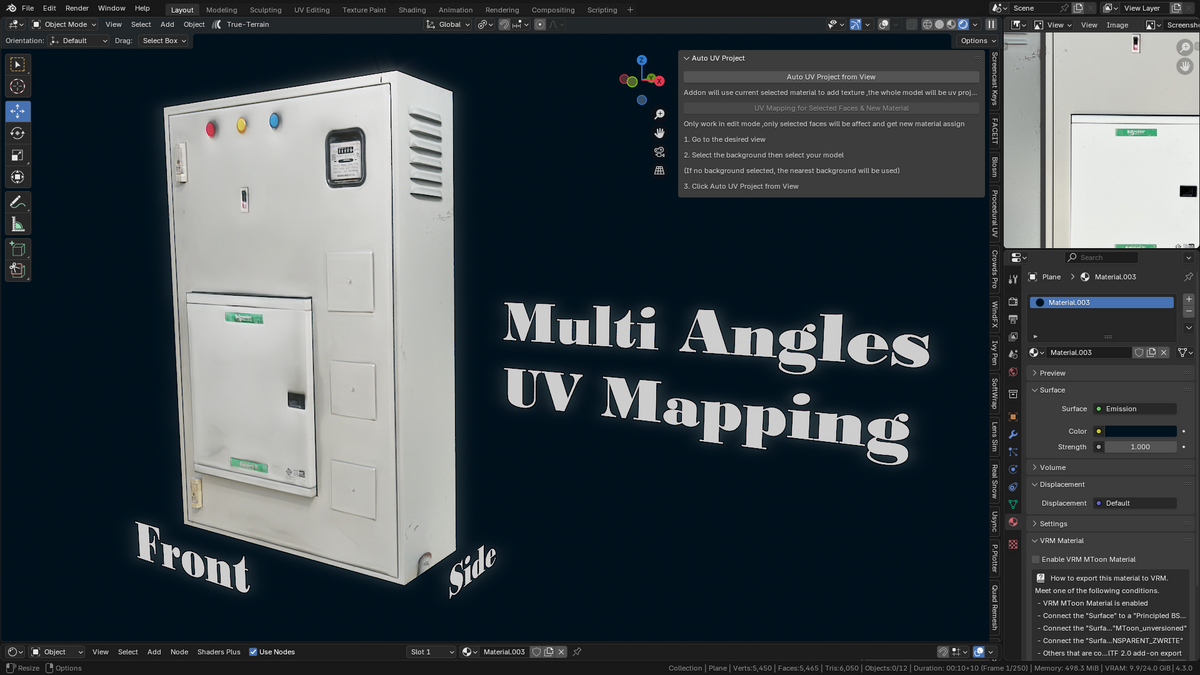
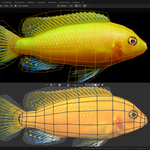
3. Click Auto UV project for quick single texture mapping for whole model
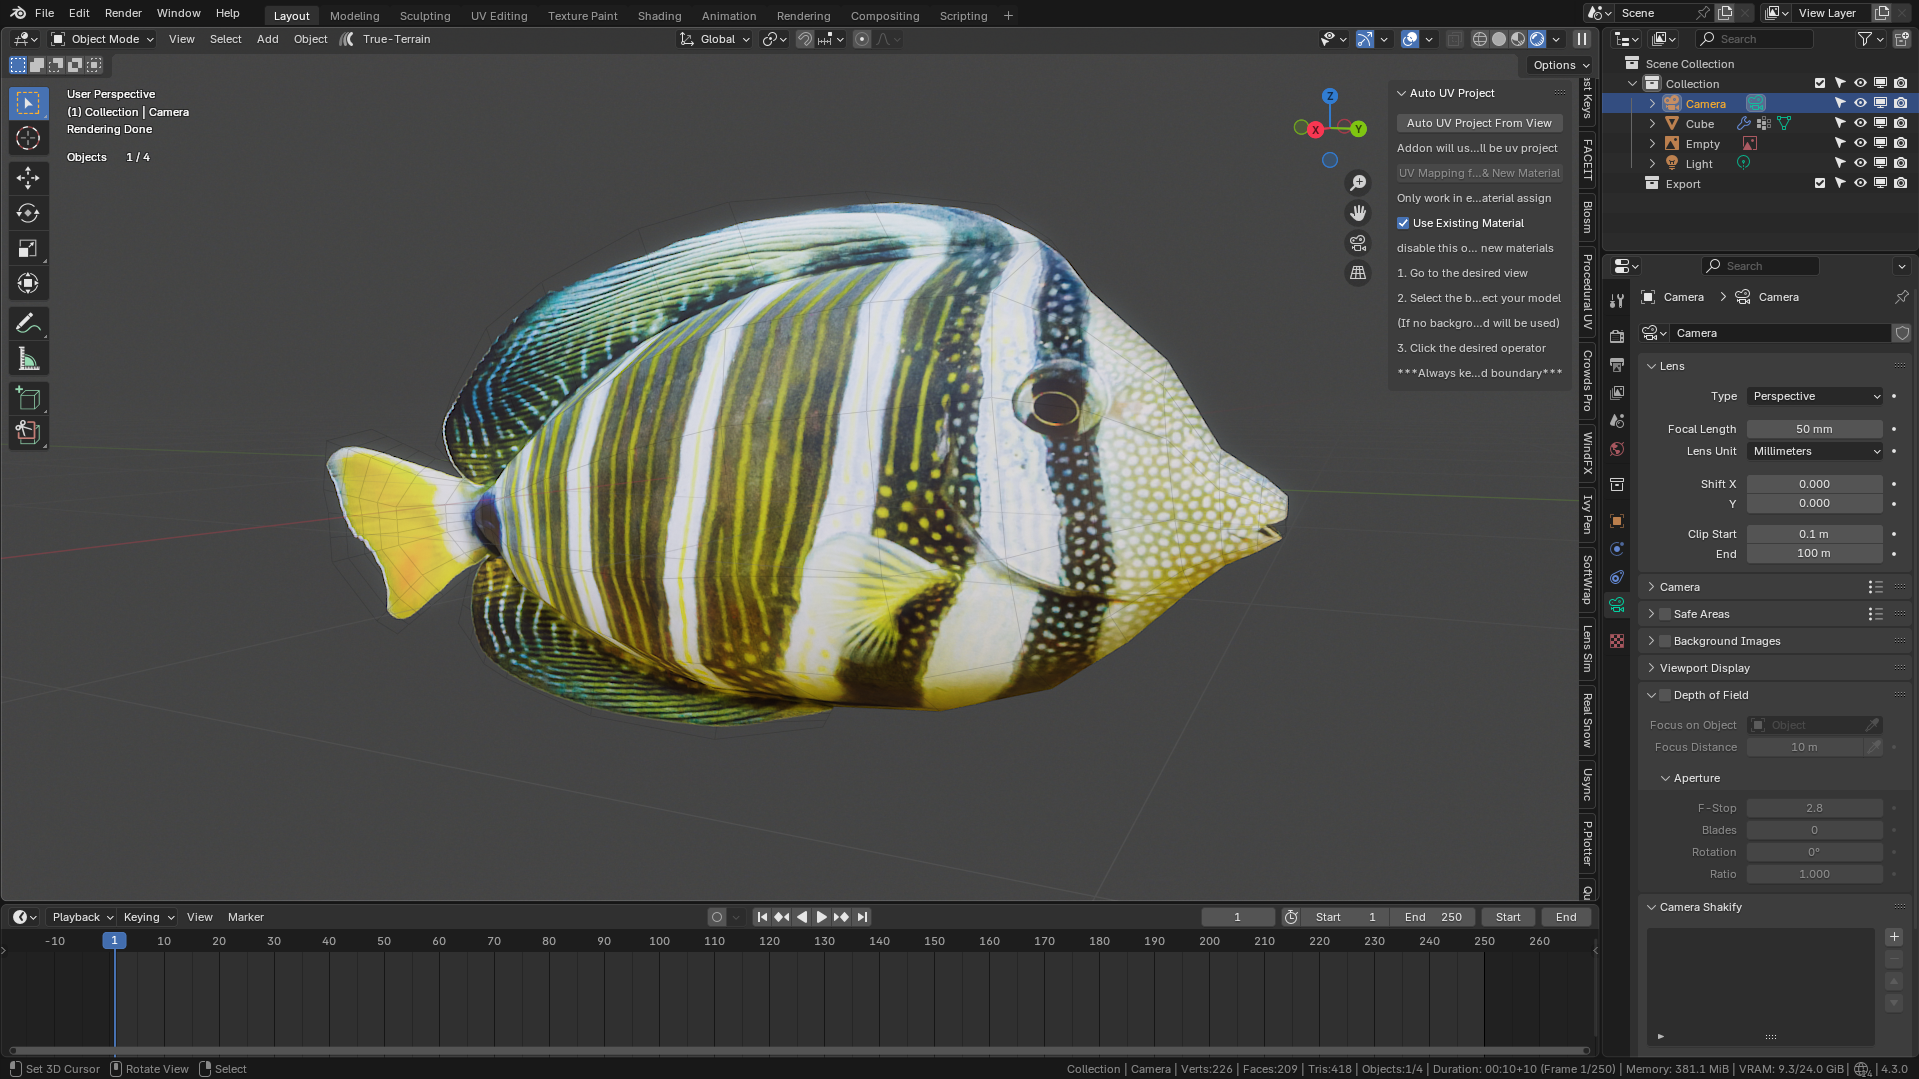
you got the textured model!
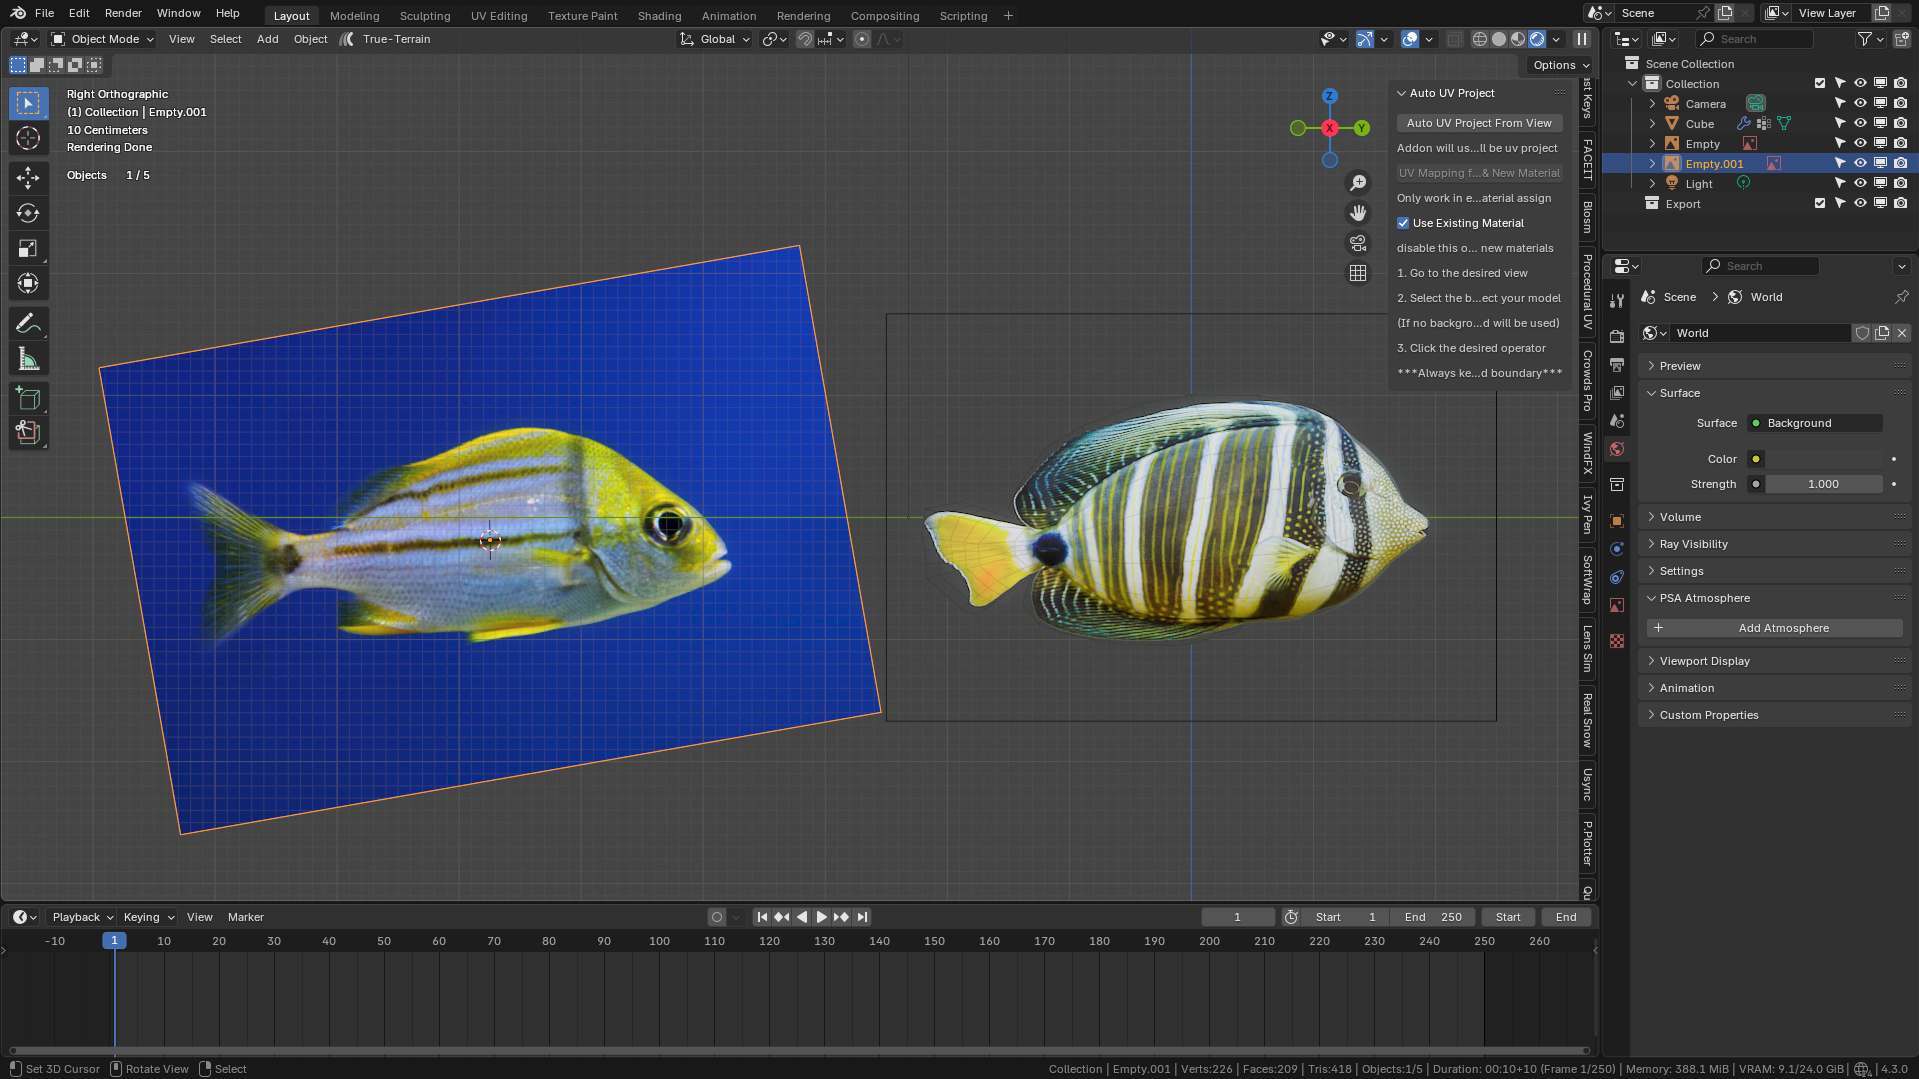
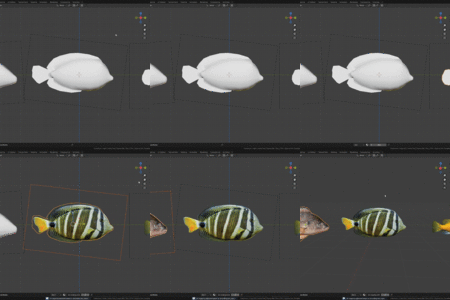
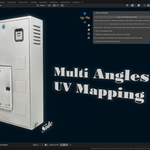
1. now we will move on to next feature for selected parts of model mapping only
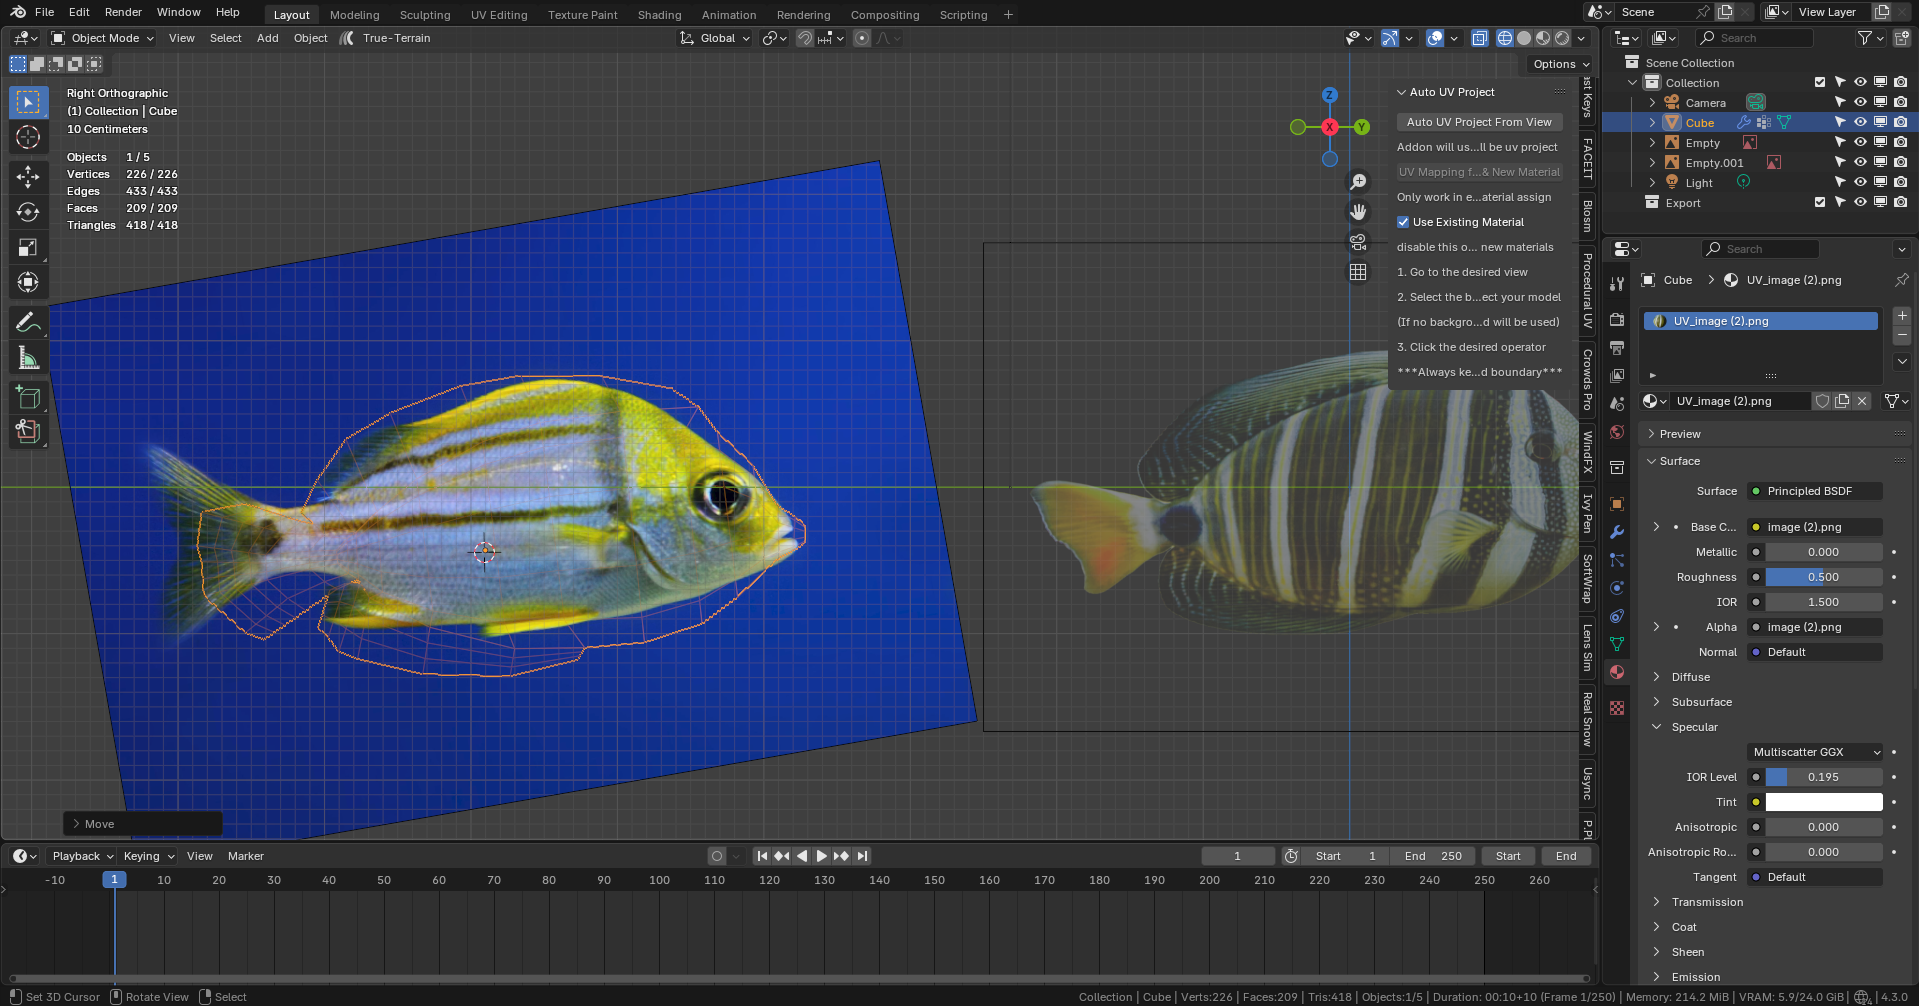
2.move your model over the next background
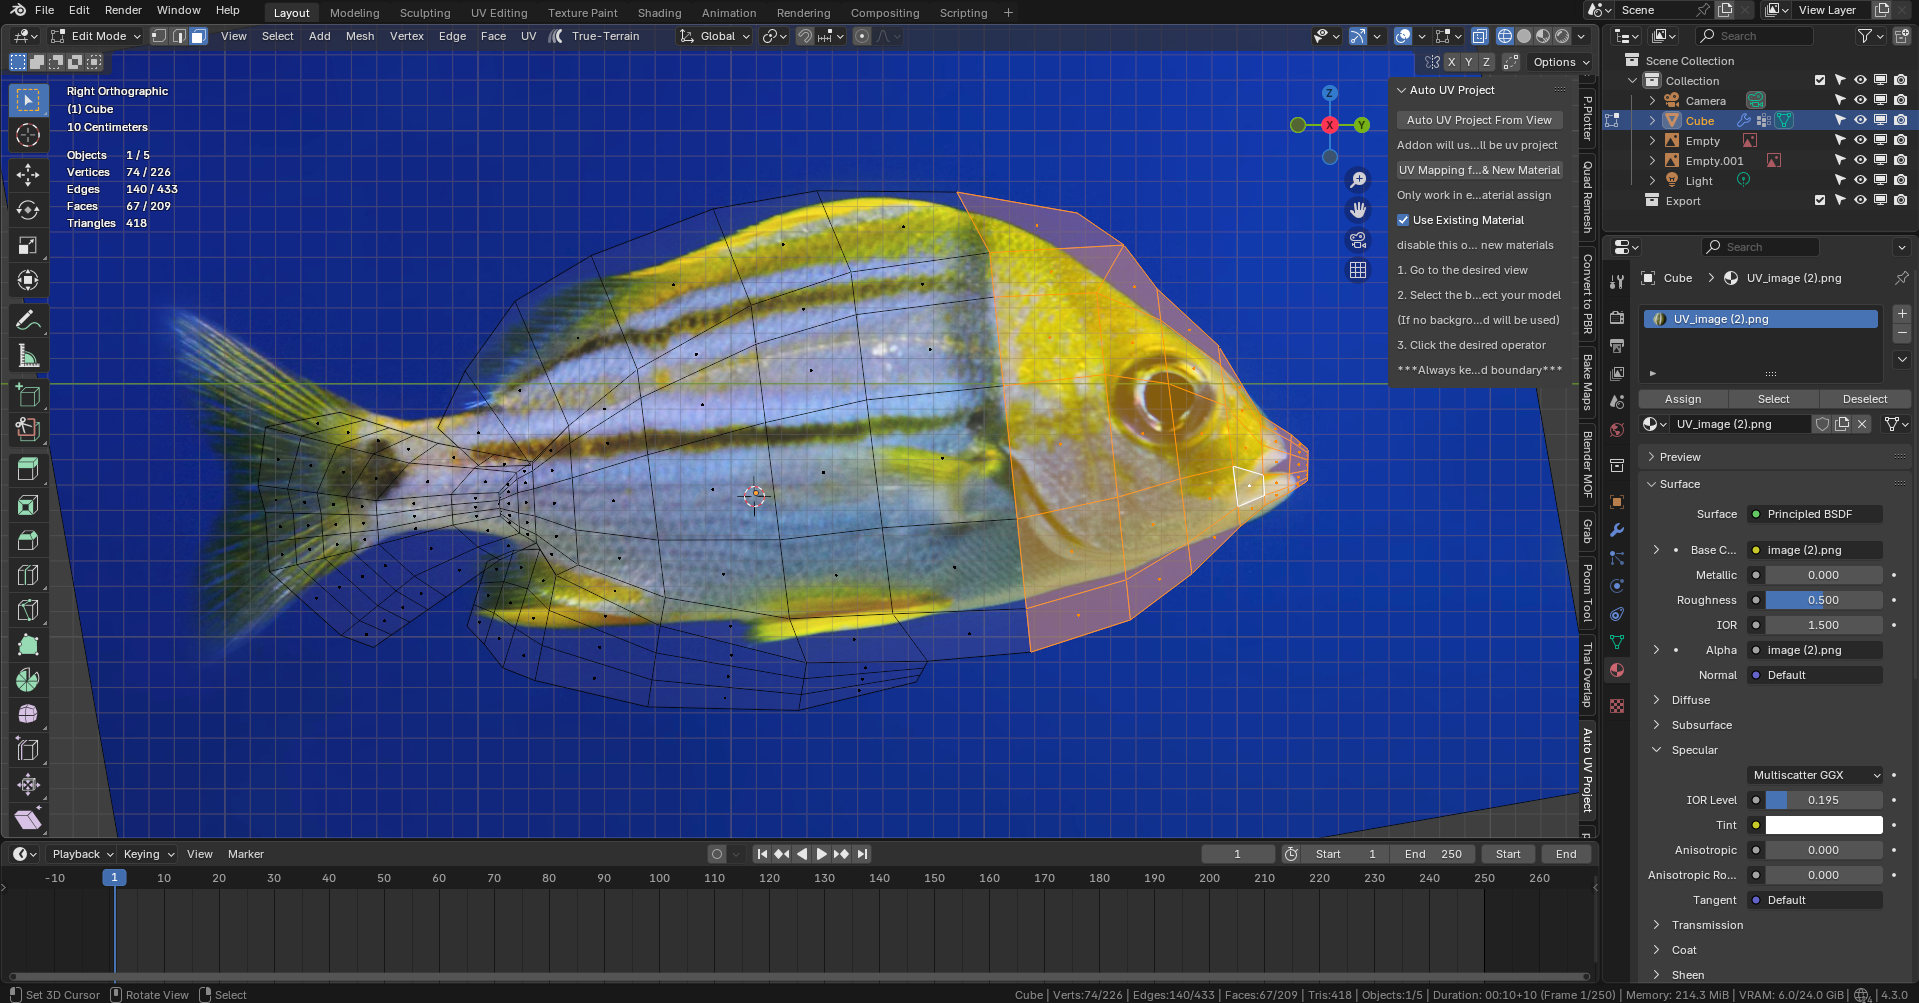
3.go to edit mode and select prefer faces
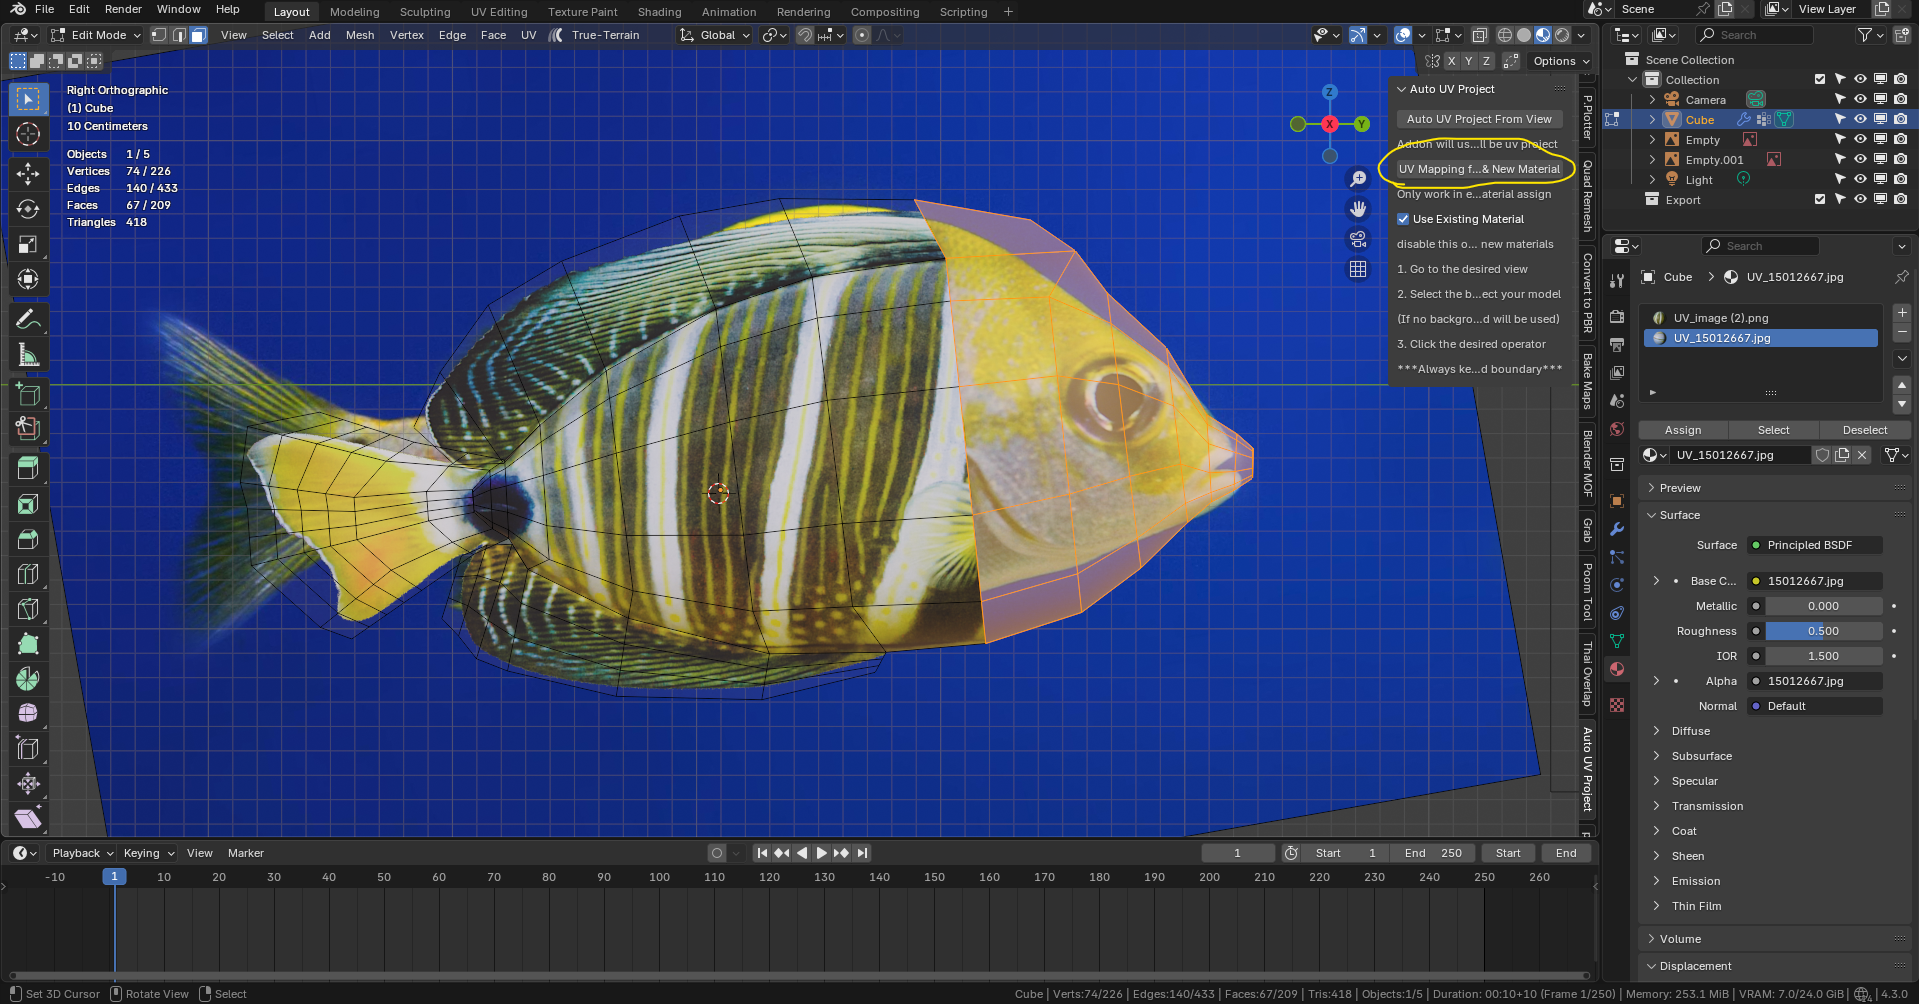
4. click the "UV Mapping for selected faces" button in the addon
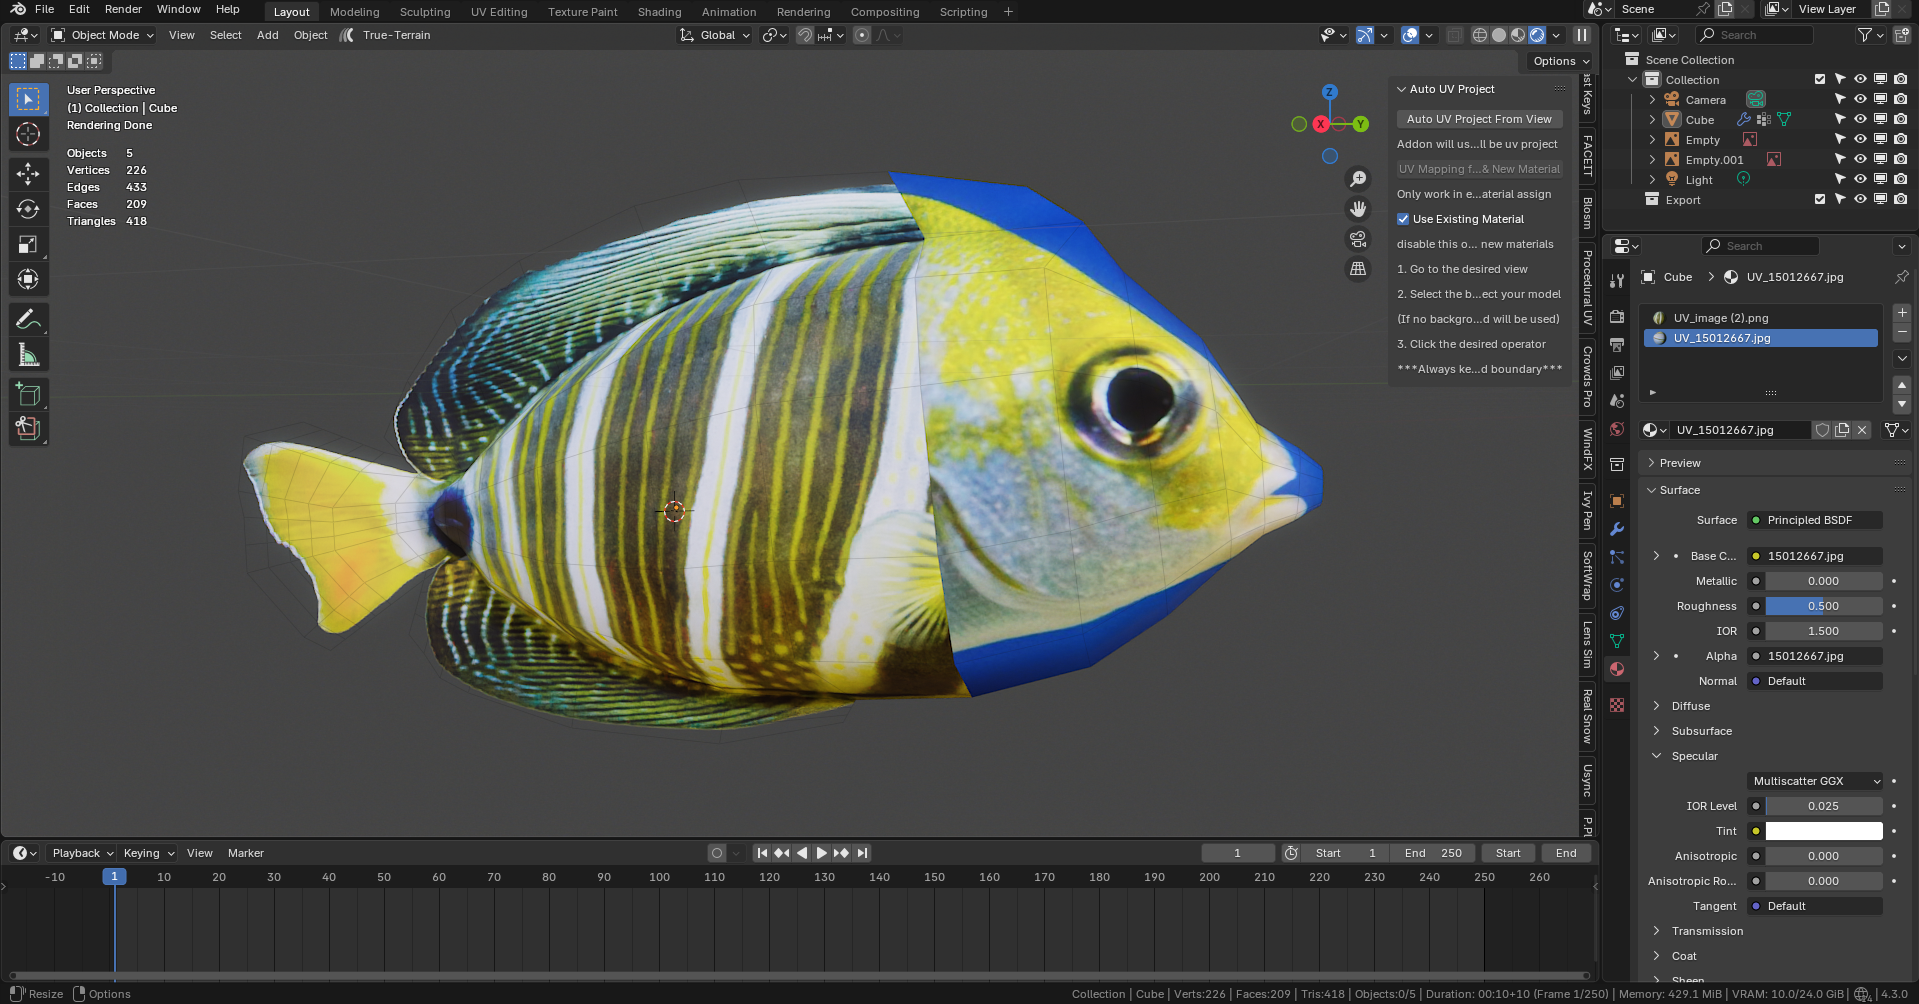
Addon will assign the new texture and uv mapping only the selected faces
I hope this addon can speedup your workflow
you can use the models that use this addon uv projection for anything
just don't resell or publish the addon itself
to Contact me for support
FB: https://www.facebook.com/nattawat.peungbang.3/
IG : https://www.instagram.com/poomdovfx/
i'm mostly active on FB
$8
Have questions about this product?
Login to message
| Sales | 10+ |
| Published | over 1 year ago |
| Blender Version | 4.3, 4.2, 4.1, 4.0, 3.6, 3.5, 3.4, 3.3, 3.2, 3.1, 3.0, 2.93, 2.92, 2.91, 2.9, 2.83, 2.82, 2.81, 2.8 |
| Extension Type | N/A |
| License | Editorial |

Discover more products like this
Auto UV Mapping UV-projection Texture Mapping quick uv align uv 3duv automatic texture Smart UV Project adaptive texture mapping uv fitting uv mapping 3d texturing