Rampart: Brick & Stone Wall Generator for Castle Walls and Ruins
 KLZ Studio
Install
- Download
rampart-x.y.z.zip. Do not unzip it. - Drag the zip into Blender, or open Edit → Preferences → Get Extensions, click the menu in the top right corner, choose Install from Disk… and pick the zip.
- Open the 3D Viewport's sidebar (N) and find the Rampart tab.
Rampart needs Blender 5.0 or later (tested on 5.0, 5.1 and 5.2 LTS). It works offline and needs no other add-ons or Python packages.
Your first wall in one minute
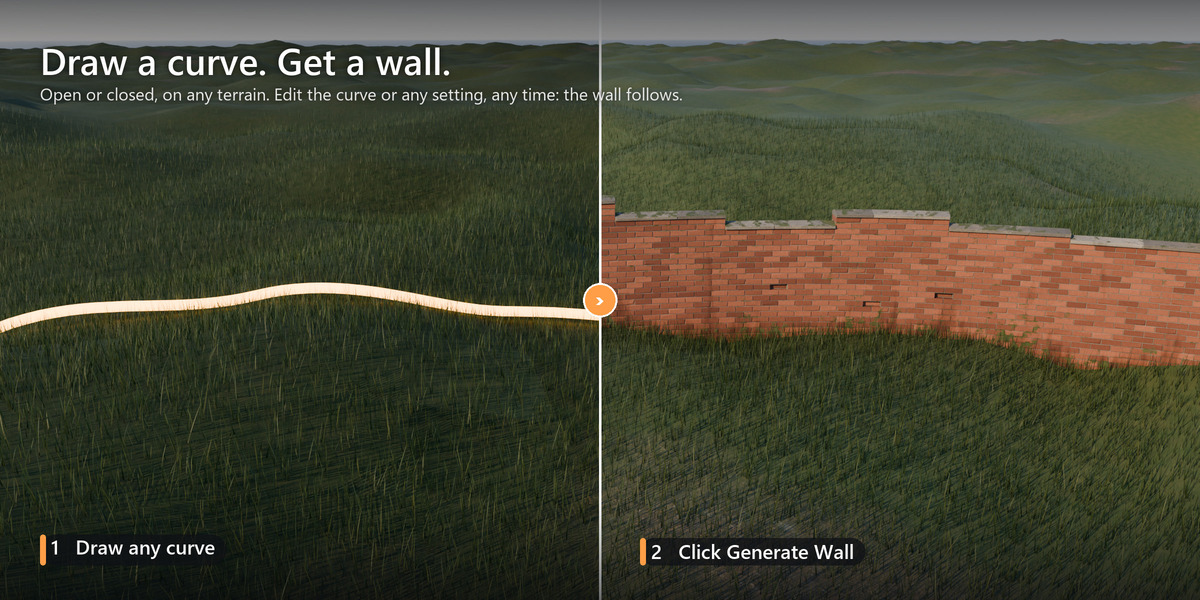
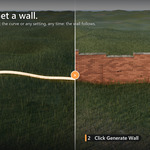
- Add a curve (Add → Curve), or draw one on your terrain (turn on snapping to faces so it follows the ground).
- With the curve selected, click a preset in Rampart → Presets, or click Generate Wall in the Generate panel.
- Change anything in the panels: every setting has a tooltip. Edit the curve and the wall follows.
- Optional: pick your terrain as Ground in the Generate panel.
- For a game engine: open Bake and Export, choose the output and the engine, and click Export.
The panels
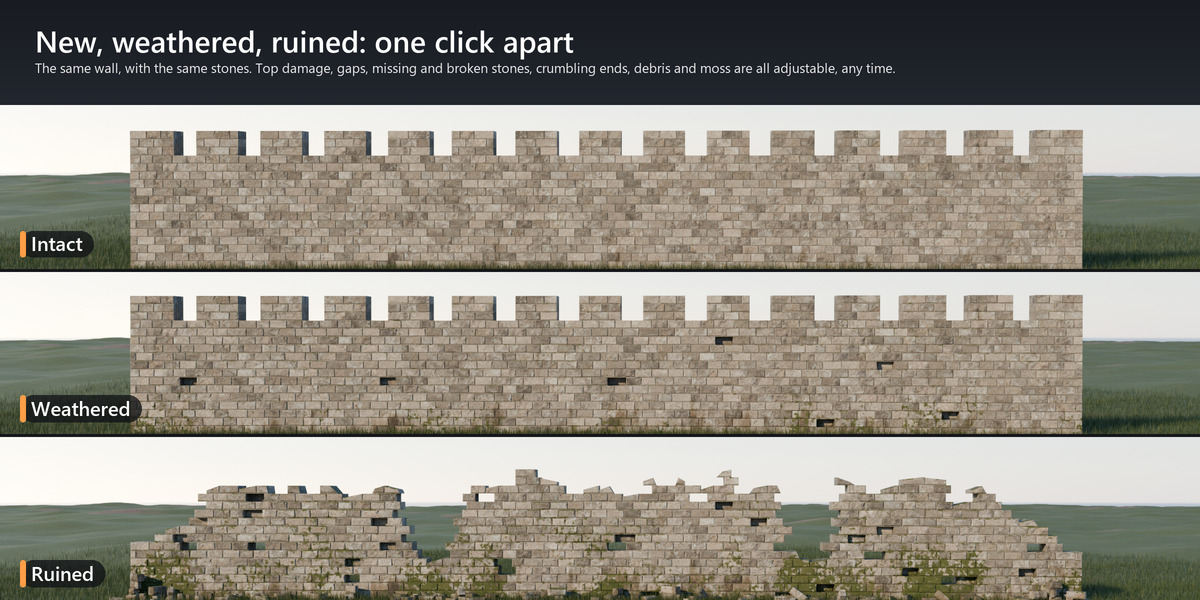
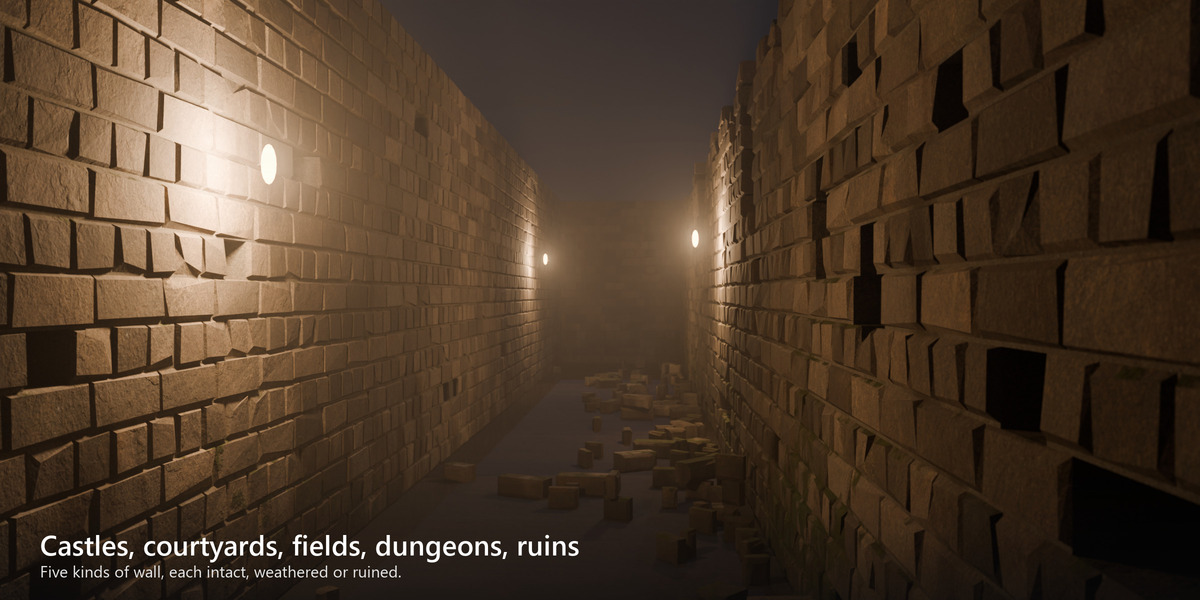
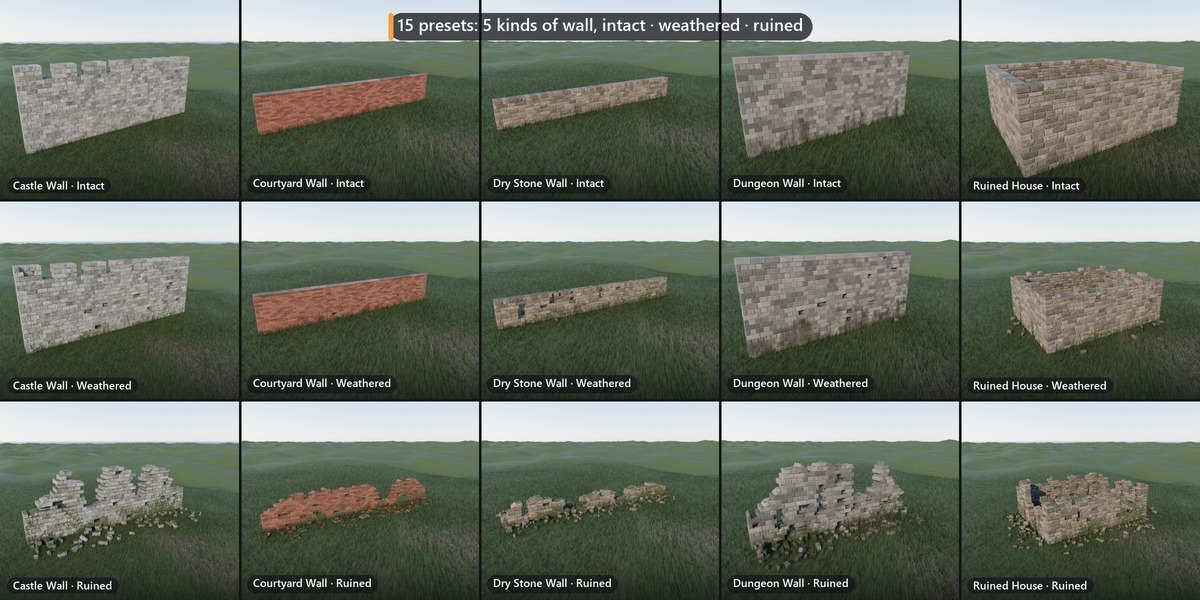
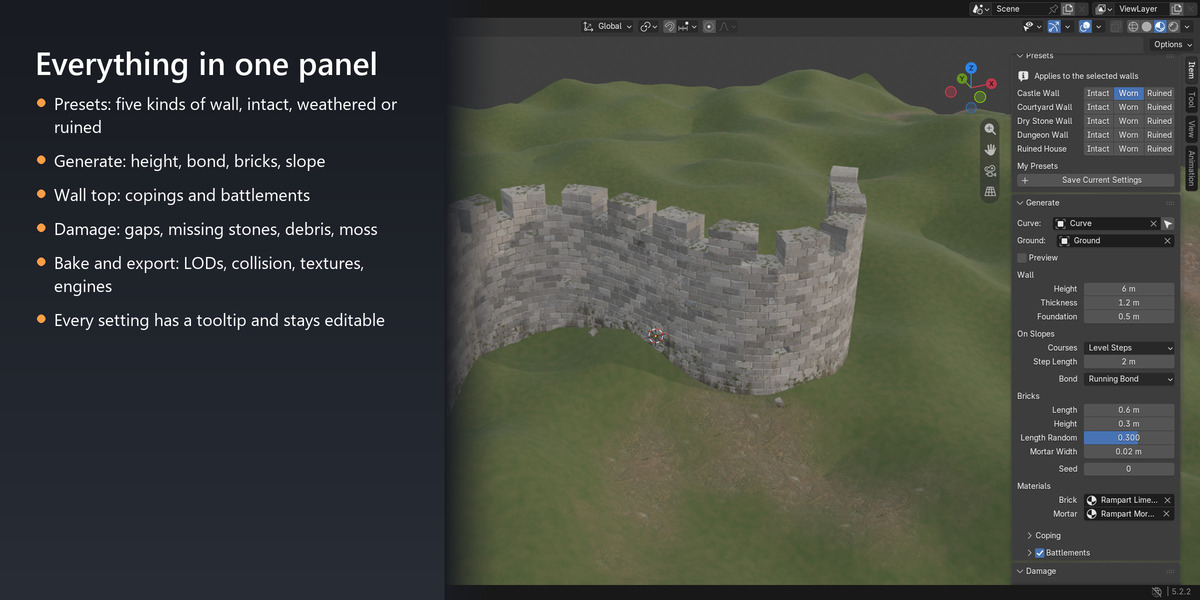
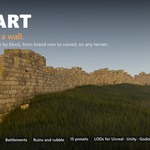
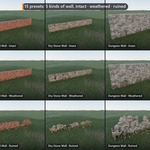
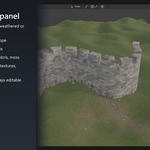
- Presets: five kinds of wall × intact / weathered / ruined. The button that matches the selected wall is highlighted. Save Current Settings stores your own presets.
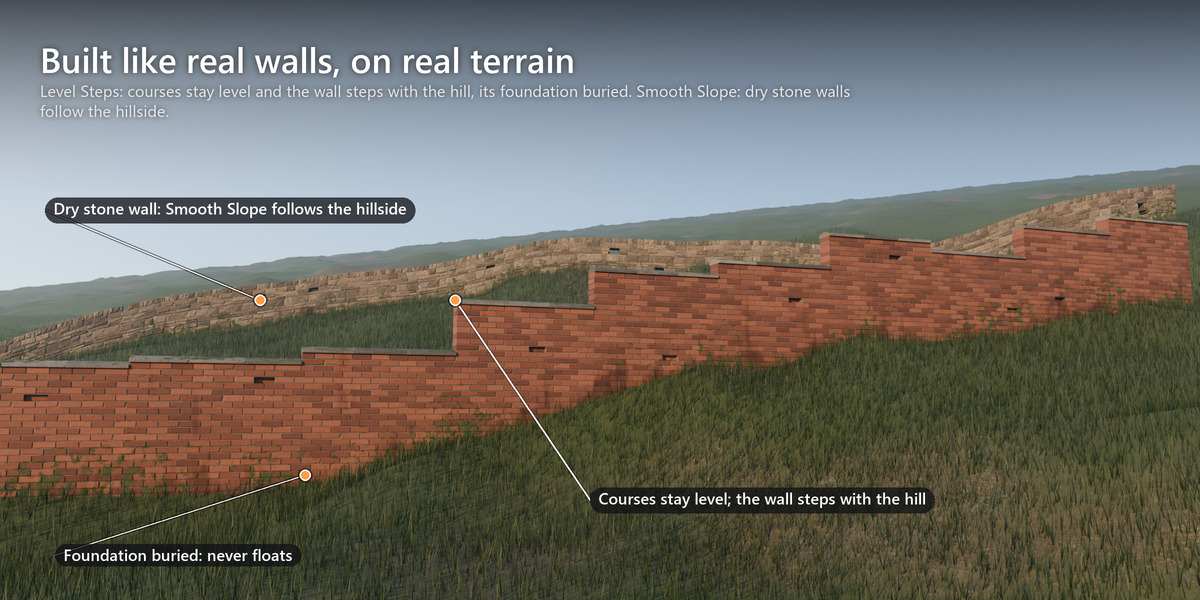
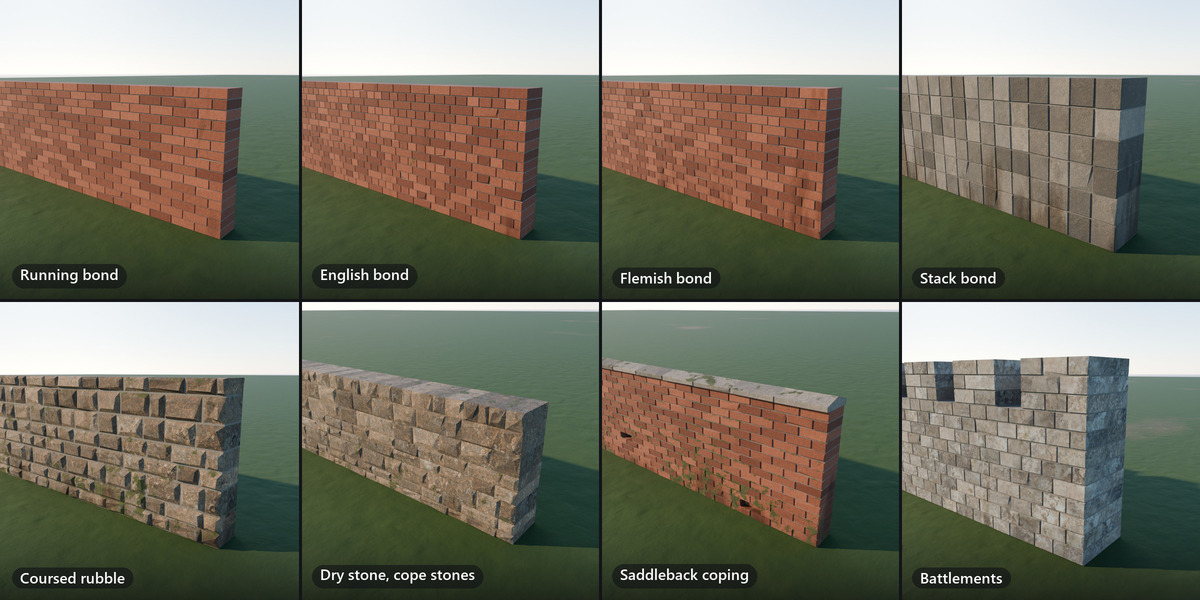
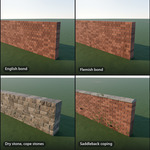
- Generate: curve, ground, preview; wall height, thickness and foundation; On Slopes (Level Steps, Smooth Slope, Follow Curve) and Step Length; bond; brick or stone size and randomness; mortar; seed; materials. Sub-panels: Coping and Battlements.
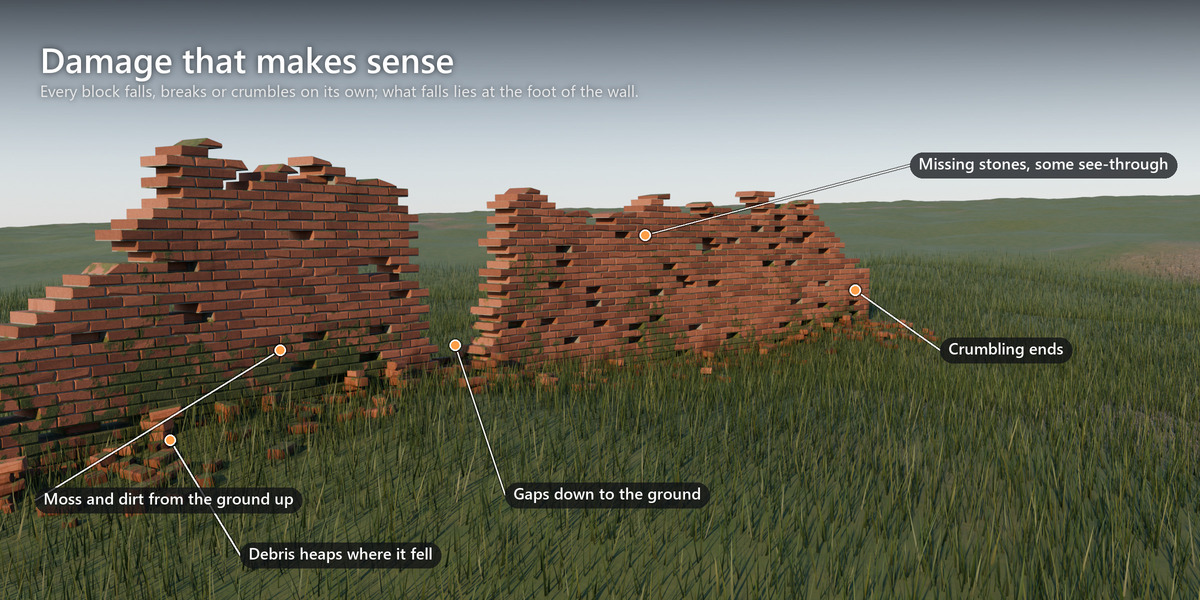
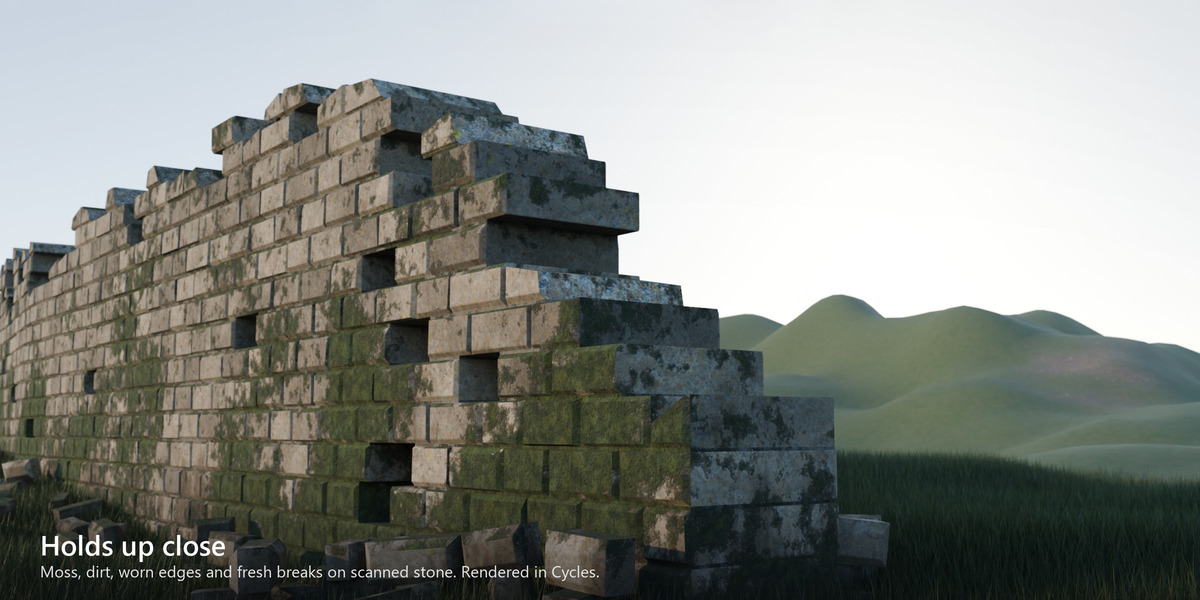
- Damage: top damage, crumbling ends, gaps (count, width, depth), missing stones and through holes, weathering, breakage, debris amount and spread. Sub-panel Moss and Dirt: coverage, height, shaded side.
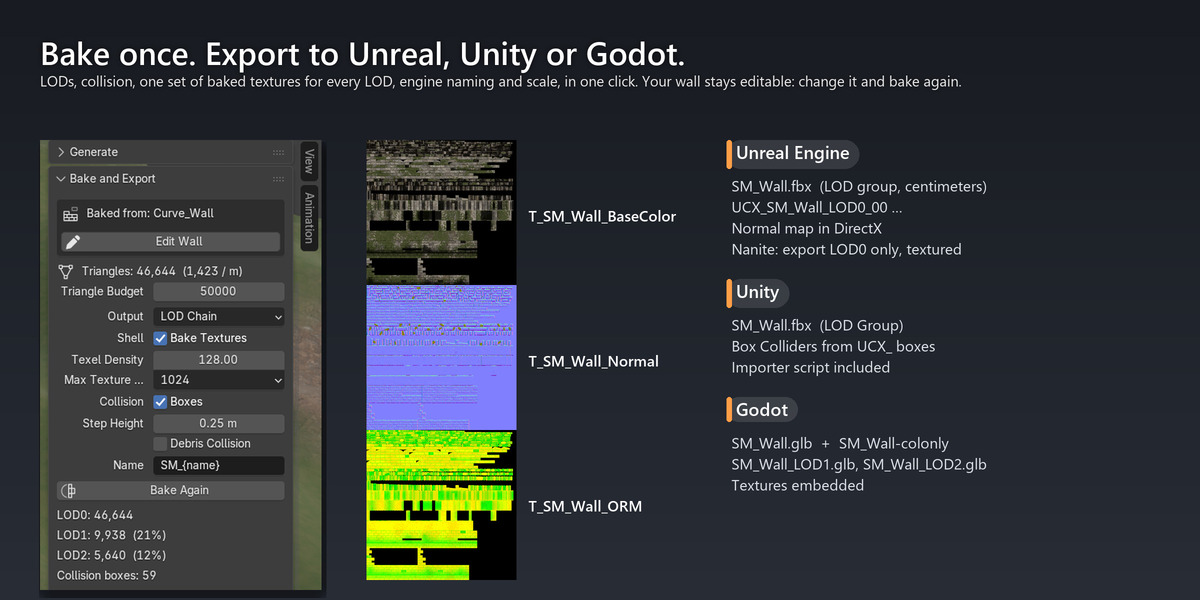
- Bake and Export: output (LOD chain, Nanite, low-poly shell), collision, baked textures (texel density and largest size), name template, triangle budget. Sub-panels: UV and Export (engine, folder, modular kit, Unreal plugin).
Everything is stored on the wall's Geometry Nodes modifier, so it is saved with the .blend file and stays editable.
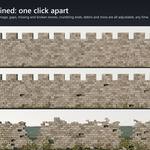
How to make a castle wall with battlements
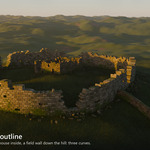
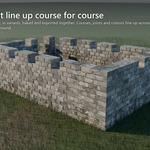
- Draw the outline as one curve: closed for a keep or a courtyard, open for a stretch of city wall. Use sharp corners where the wall turns.
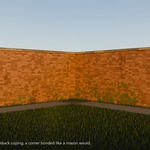
- Click Castle Wall → Intact in Presets (or turn on Battlements in the Generate panel).
- Set Merlon Width, Crenel Width and Crenel Depth. Rampart fits whole merlons and crenels between the corners and the ends, and gives every corner (a turn of 40° or more) its own merlon, the same at all corners. Gentler bends keep the pattern running evenly round them.
- For a ruin, click Castle Wall → Ruined, or raise Top Damage: battlements and coping fall with the wall.
How to make ruins
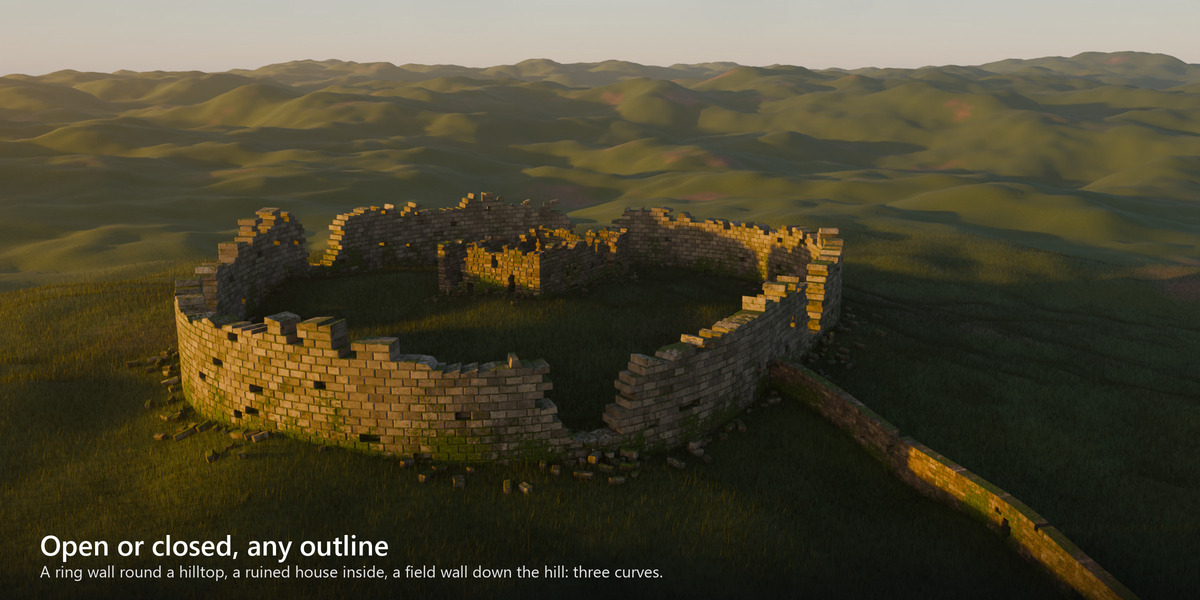
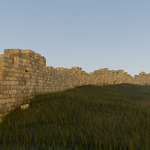
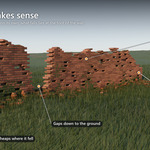
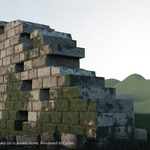
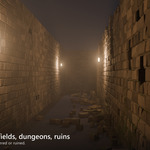
Start from a Ruined preset, or raise Top Damage (ragged top), add Gaps (collapsed sections), End Damage (crumbling ends of open walls), Missing Stones with Through Holes, Weathering, Breakage and Debris. Change the Seed for another ruin with the same character. For a ruined house, use a closed curve.
Walls on hills and terrain
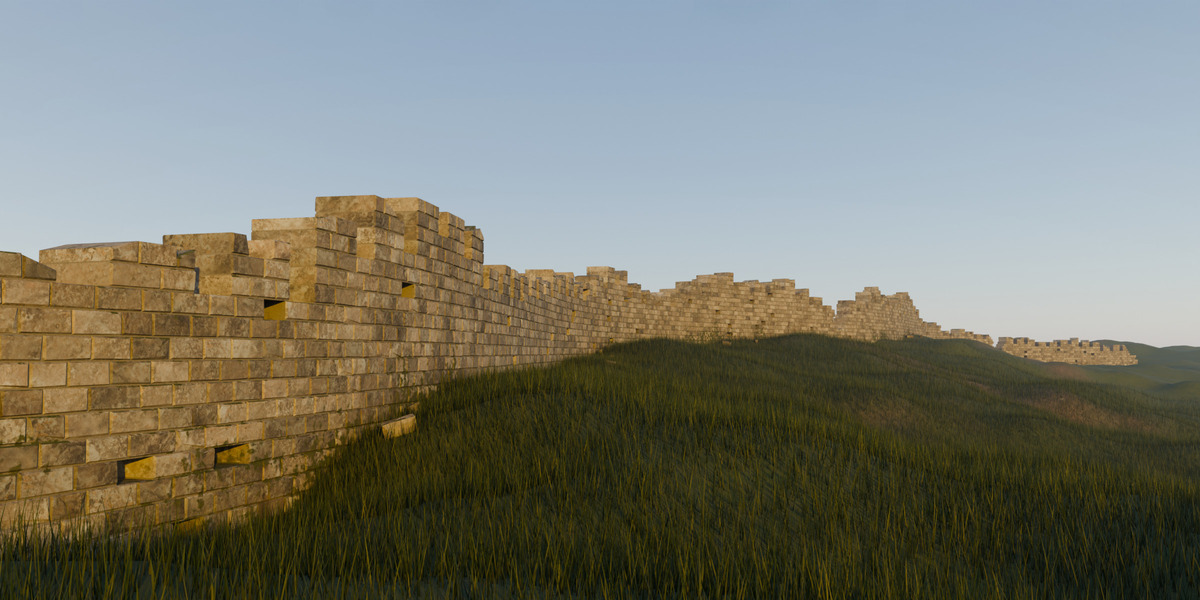
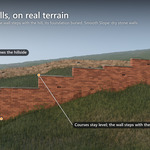
Draw the curve on the terrain. Level Steps keeps the courses level and steps the wall in stretches of about Step Length (with battlements, merlon by merlon); the foundation reaches below the lowest ground of every stretch. Smooth Slope lets the courses follow the hill, with bumps smoothed out over Step Length. Courses never wave up and down with small bumps in the ground.
How to export walls to Unreal Engine, Unity and Godot
- Select the wall, open Bake and Export and choose the Output:
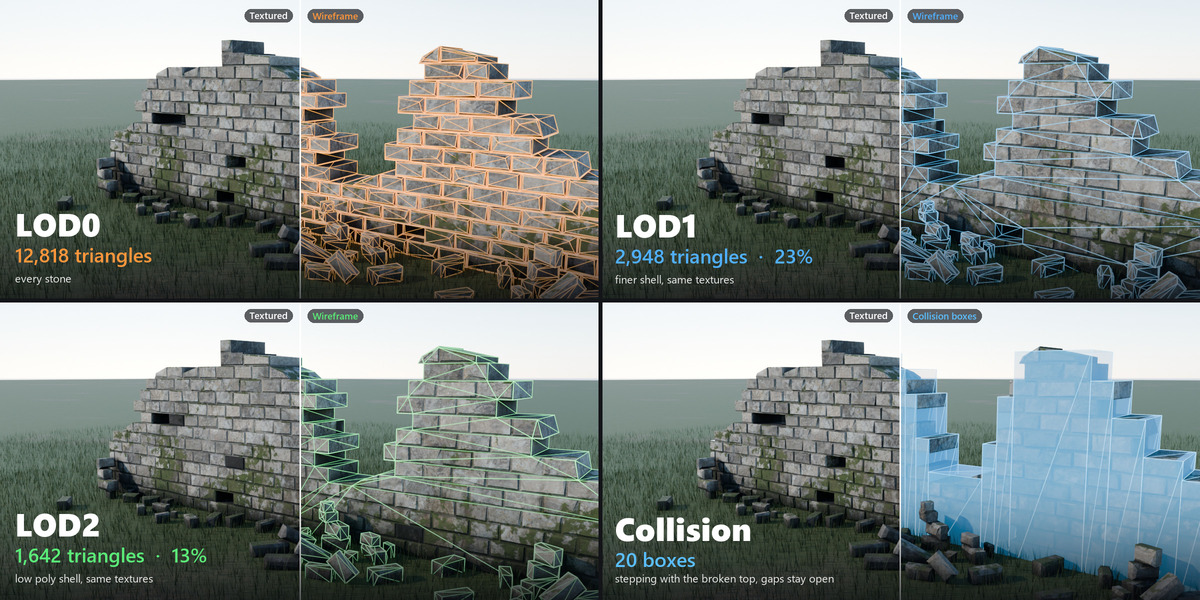
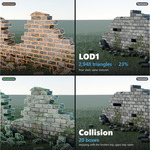
- LOD Chain: LOD0, LOD1 and LOD2 (most games),
- High Detail (Nanite): LOD0 only (Unreal Engine 5 Nanite, rendering),
- Low Poly Shell: LOD2 only (mobile, background walls).
- Leave Bake Textures on: LOD1 and LOD2 share one baked texture set made from the wall's own materials. Set the Texel Density (default 256 px/m) and the largest Texture Size.
- Click Bake Wall. A progress bar shows each step; Esc stops cleanly. The baked objects stand in for the wall (in a collection of their own); the wall is kept, hidden. Edit Wall brings it back to change it, then bake again. (Export bakes for you if the wall has changed.)
- In Export, choose the engine and the folder and click Export.
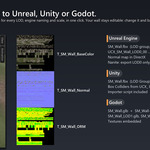
| Engine | What you get | How to import |
|---|---|---|
| Unreal Engine 4.27 to 5.8 |
SM_Name.fbx (LOD group, UCX_ collision, centimetres) and its textures |
Once per project, click Install Unreal Plugin in the Export panel and pick your .uproject. Then drag the export folder into the Content Browser. The plugin imports the LODs, rebuilds LOD0's materials from the same scanned textures, moss and dirt as in Blender, and sets the LOD distances (Unreal 5.0 and later, dithered transitions). |
| Unity |
SM_Name.fbx, textures, Editor/RampartCollisionImporter.cs
|
Drag the folder into Assets. Unity builds the LOD Group; the script turns the UCX_ boxes into Box Colliders (convex Mesh Colliders where a box is bent) and sets up the materials (Built-in and URP; HDRP gets the mask map). |
| Godot |
SM_Name.glb, _LOD1.glb, _LOD2.glb, shared textures |
Drag them into the project. Each collision box becomes a convex static body. Switch LODs with visibility ranges. |
In Unity and Godot, LOD0 uses the baked textures with tiling detail textures of its stone for close-ups.
Modular wall kits
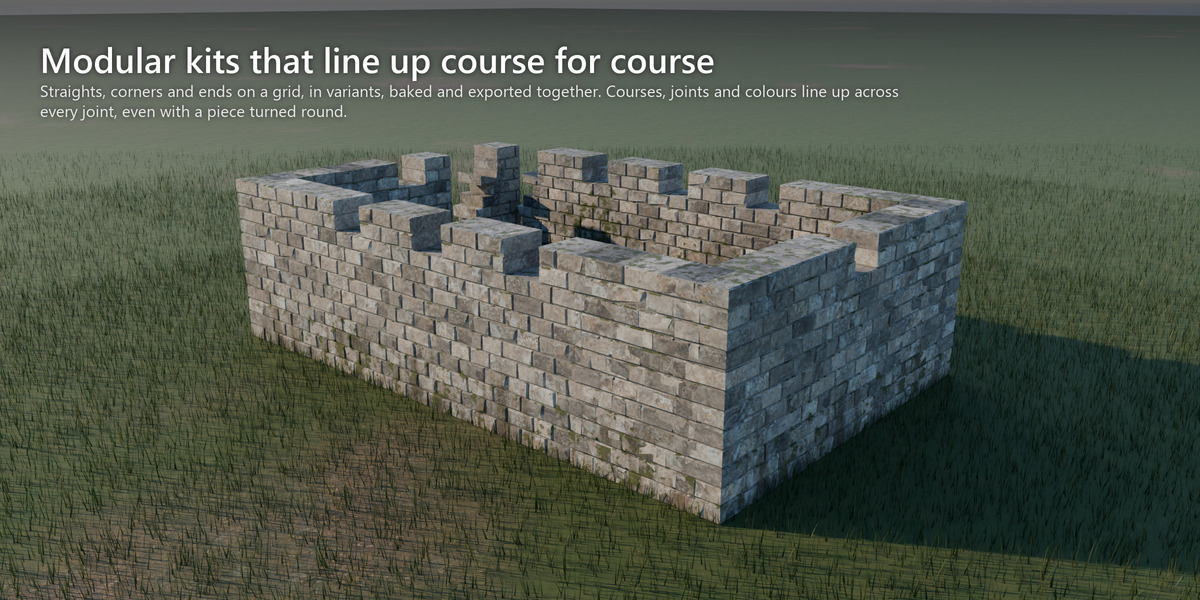
In Export → Modular Kit, set the module (default 2 m) and the number of variants, and click Export Kit. Rampart makes 1- and 2-module straights, a corner and a ruined end from your wall, bakes and exports each, with pivots on the grid. The pieces fit together in any order and either way round.
Tips
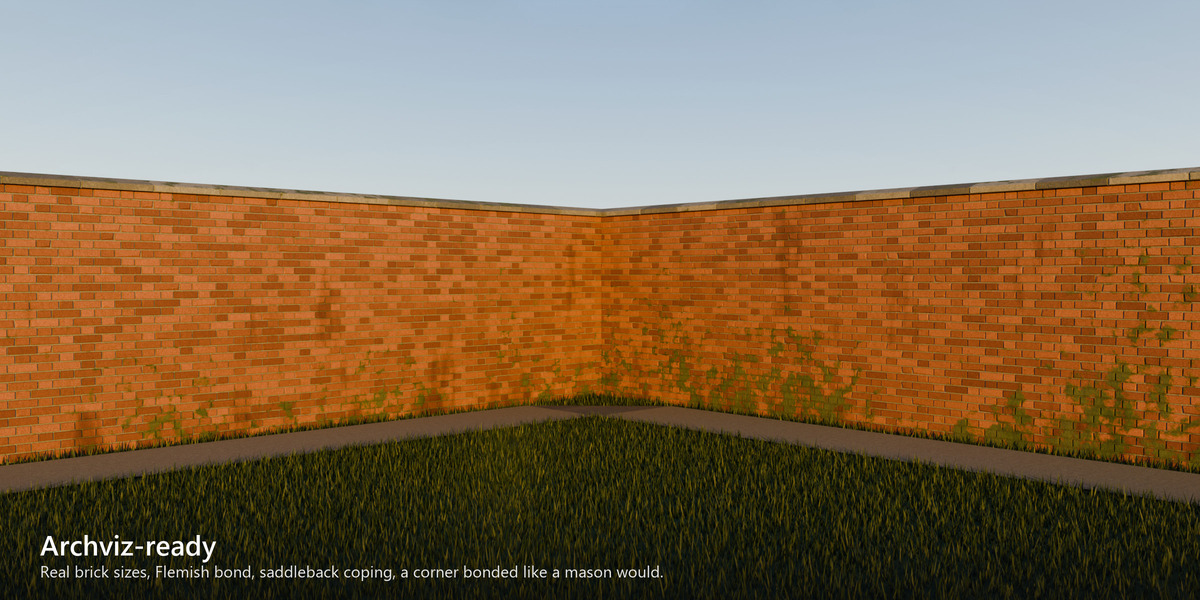
- Real brick sizes for archviz: the courtyard preset uses slightly larger bricks (32 × 10.5 cm) to stay within 3,000 triangles per metre; set Brick Length 0.225 and Brick Height 0.075 for real ones.
- Two walls meeting: draw one curve with a corner rather than two curves touching, so the corner is bonded.
- Intact top with a collapsed part: use Gaps instead of Top Damage (top damage takes the coping and battlements with it).
- Sharper baked textures: raise Texel Density or the largest Texture Size; long walls are fitted into the largest size you allow.
- Slow viewport: turn on Preview. Renders, bakes and exports always use the full wall.
- Faster baking: pick your graphics card under Preferences > System > Cycles Render Devices. Baking then runs on it, about twice as fast as on the CPU, with the same result.
- Rounded worn edges render in Cycles (EEVEE shows them sharp).
- Sending the file on: the wall renders without Rampart installed. Pack the textures first (File → External Data → Pack Resources), as they live in the extension's folder.
Known limitations
- Curves with Extrude or Bevel set cannot be followed: set both to 0.
- Debris keeps clear of the walls of its own object only.
- Rampart generates the walls only; doors, windows and arches are planned for a future update.
Have questions about this product?
Login to message
| Blender Extension Compatible | Yes |
| Published | about 3 hours ago |
| Blender Version | 5.0 - 5.2 |
| Extension Type | Add-on |
| Render Engine Used | Cycles, Eevee |
| License | GPL |
Discover more products like this
stone wall medieval geometry nodes ruins brick wall castle wall dry stone wall Castle procedural-wall wall generator battlements fortress