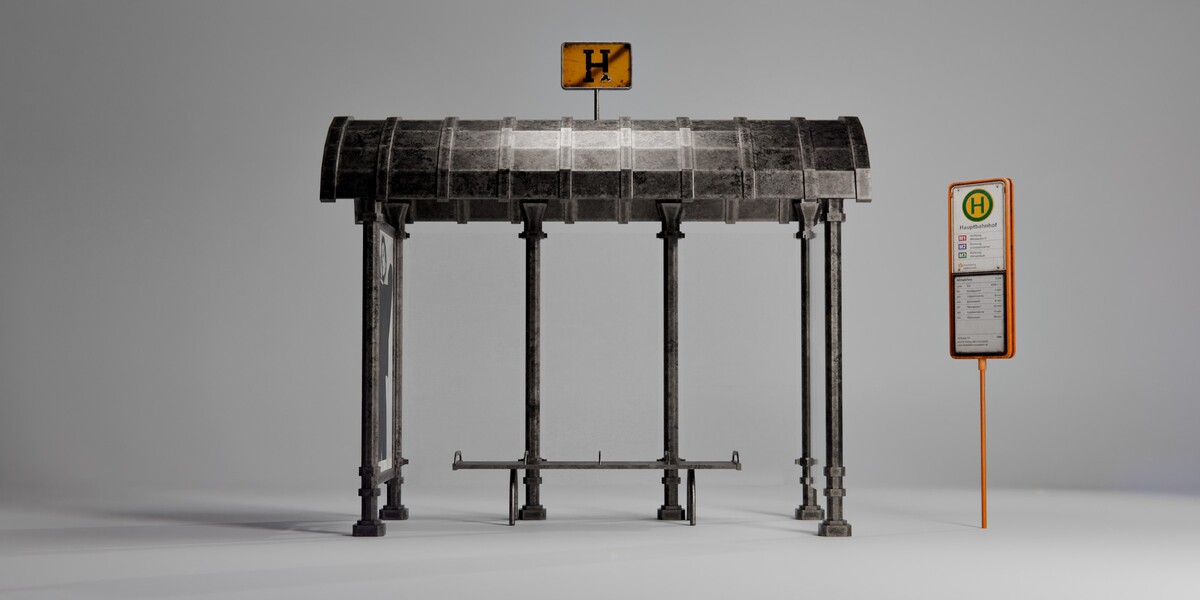
Realistic Bus Stop Shelter – Modular Baked Pbr Pack
 Media Brennt GmbH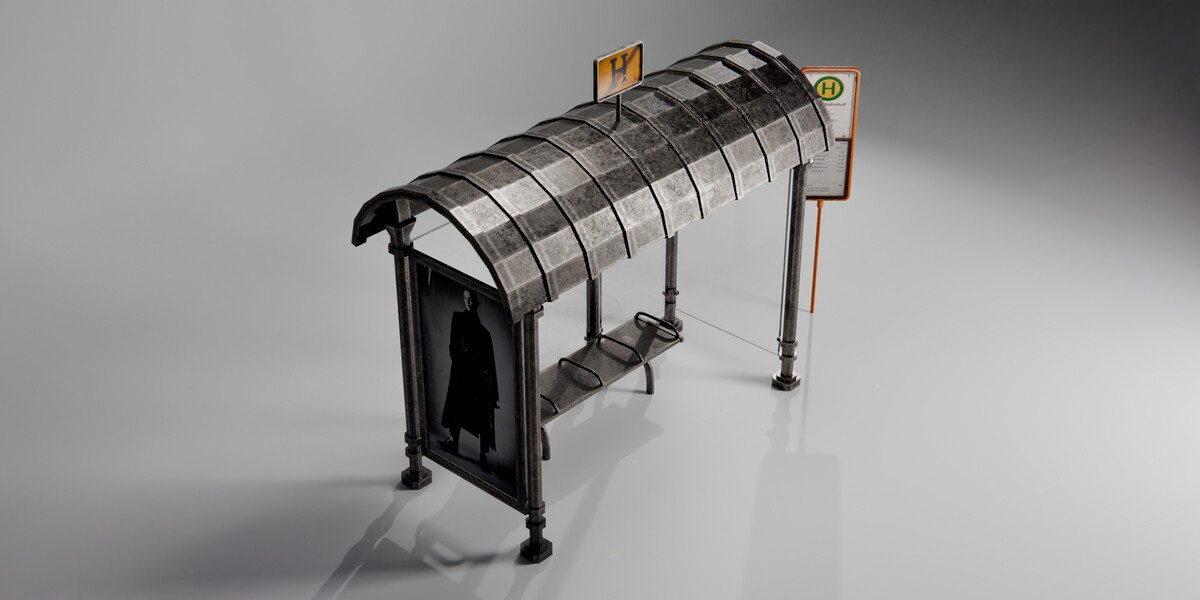
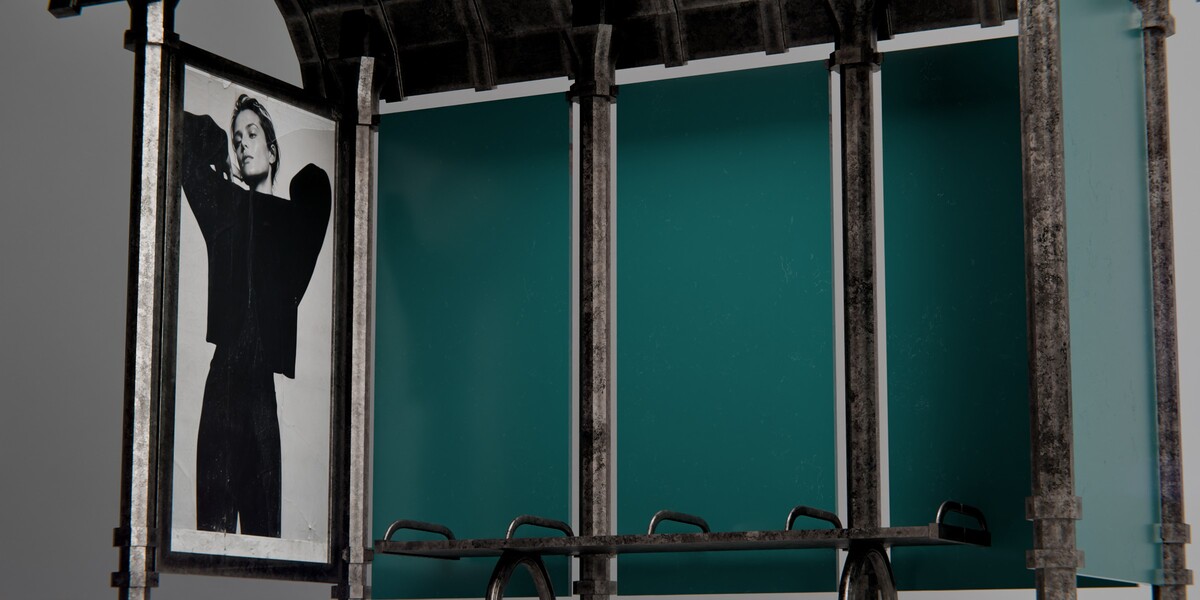
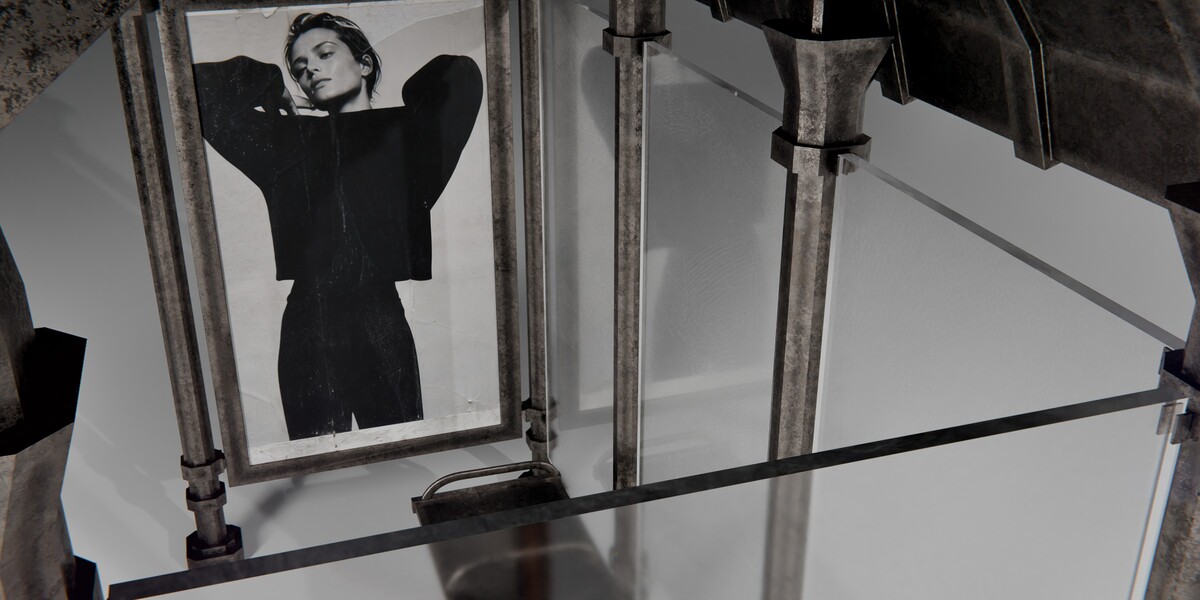
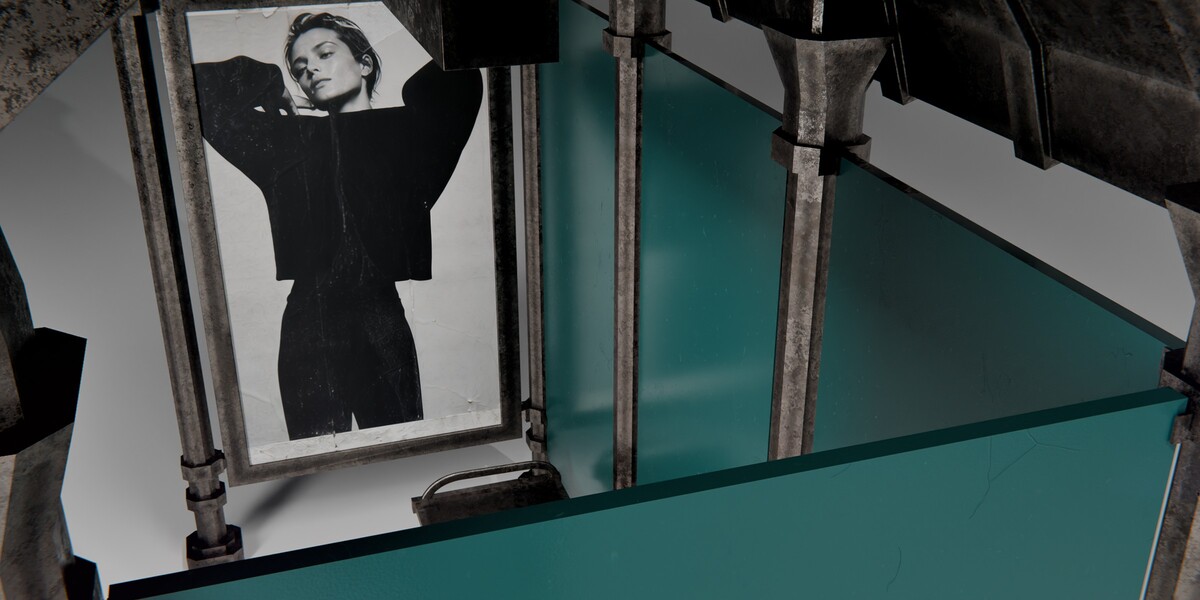
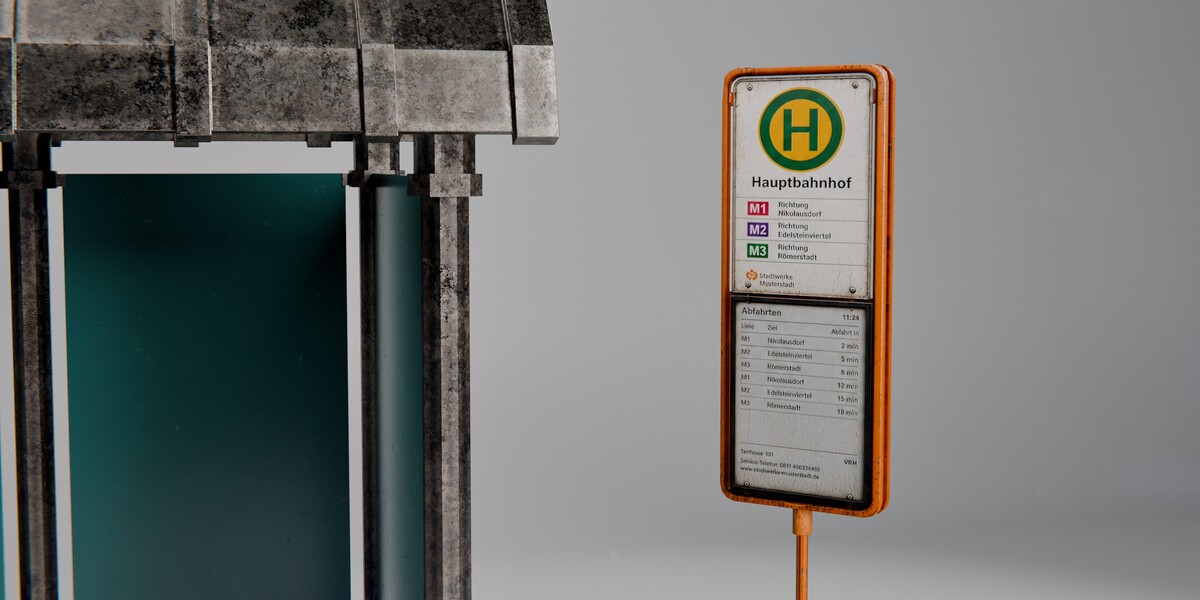
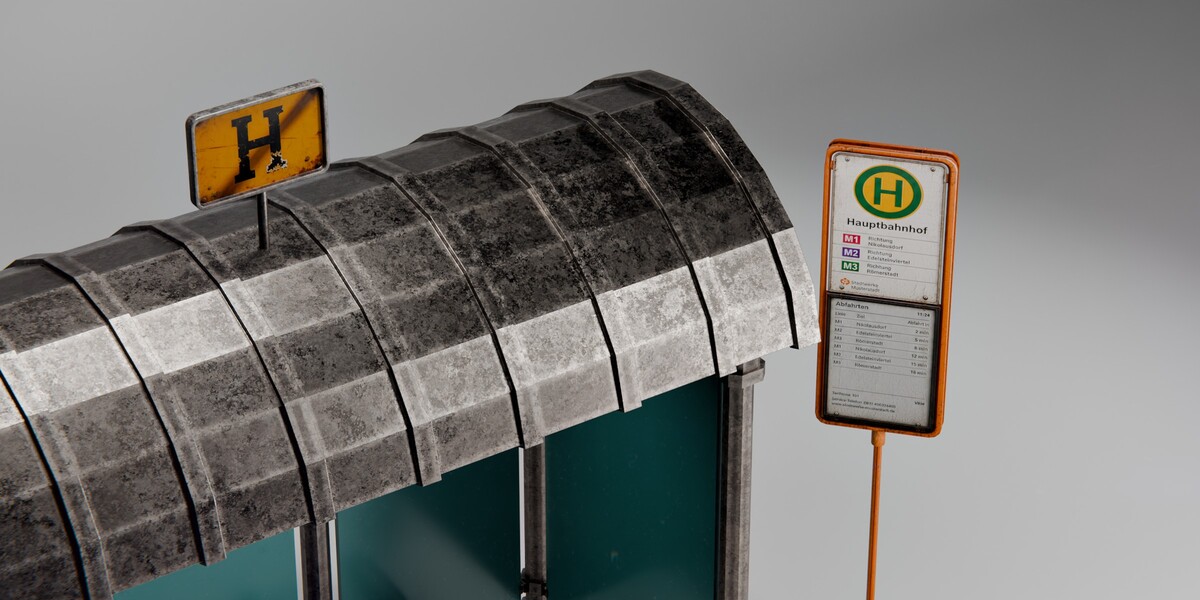
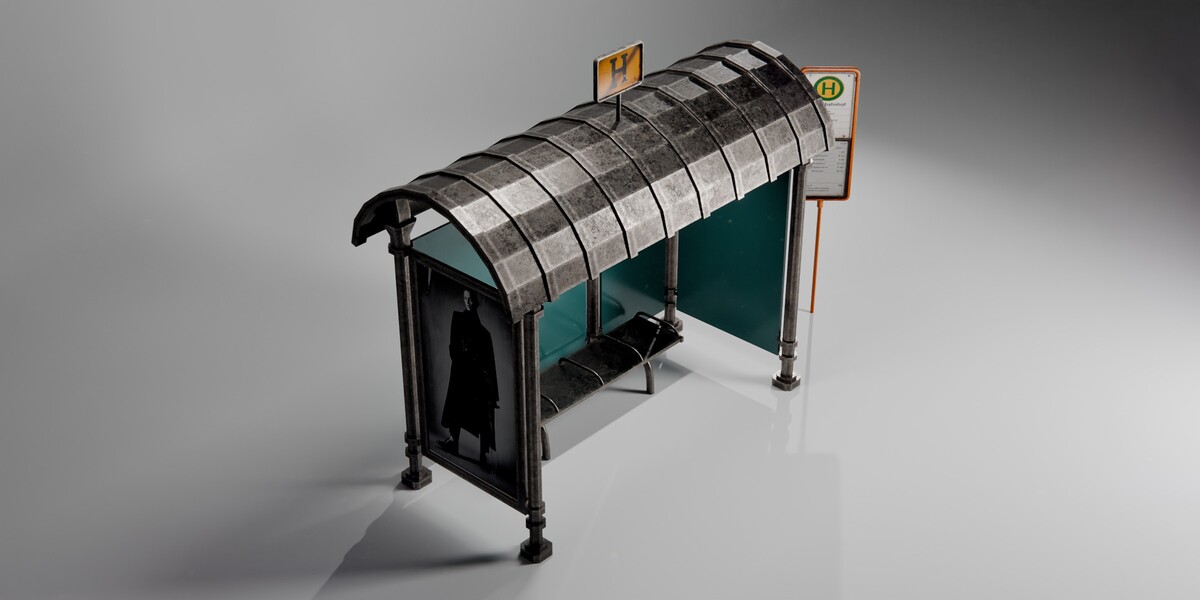
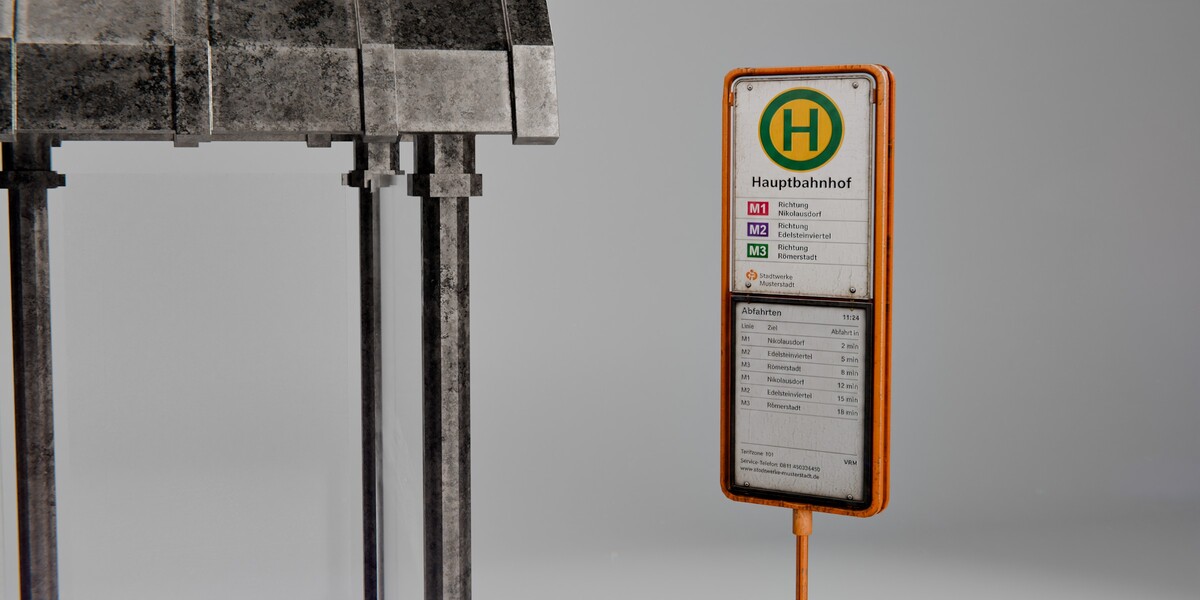
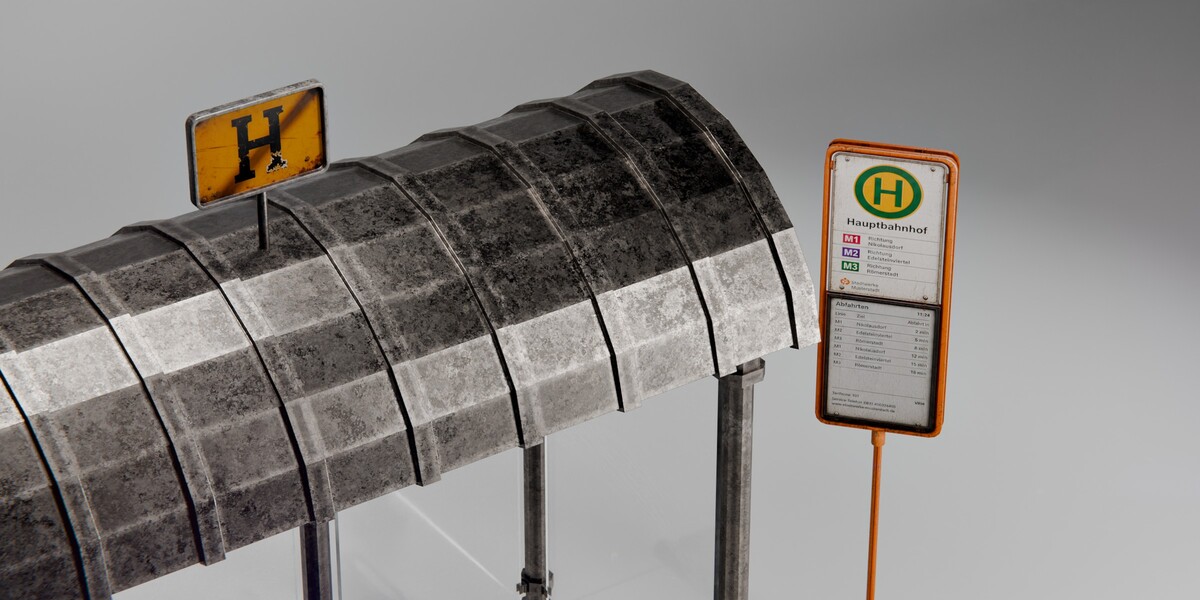
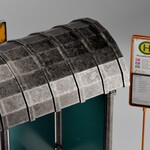
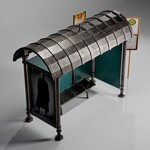
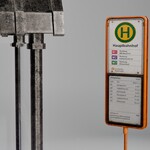
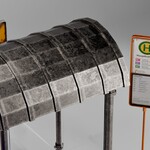
Documentation
Realistic Bus Stop Shelter – User Guide
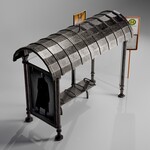
This guide explains the Blender collection structure, the glass and solid-panel configurations, the separated and joined bake stages, custom signage, external FBX textures and recommended performance workflows.
Quick Start
- Open 20260714-MB_BusStop-FINAL.blend.
- Hide CINEMATICS when the preview cameras and lights are not required.
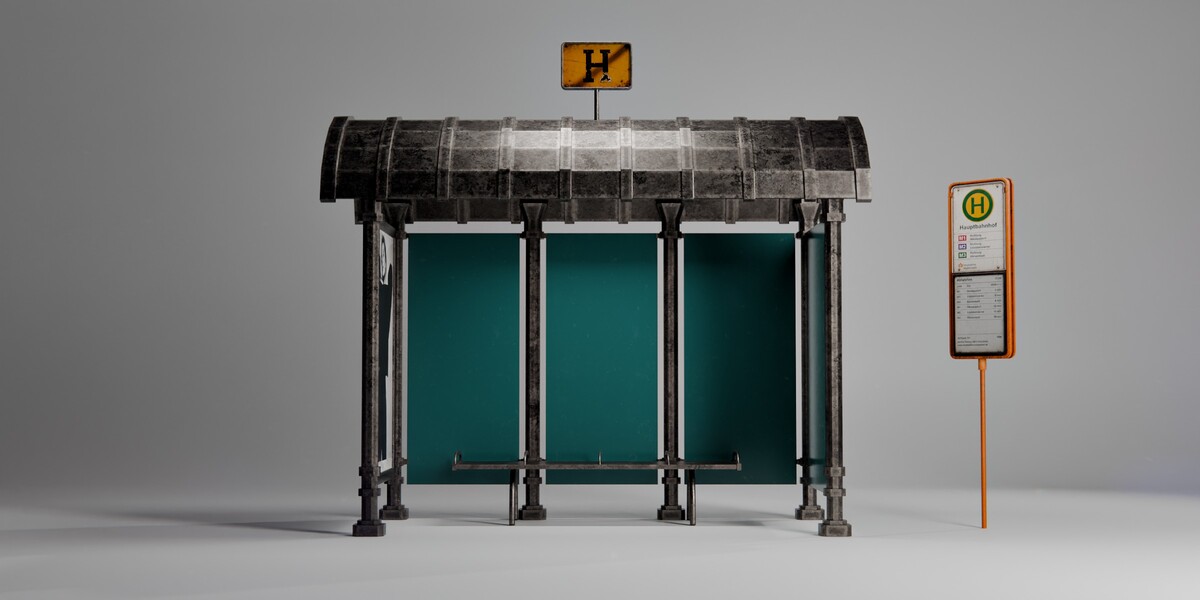
- Choose the Glass, Solid-Panel Stage 01 or Joined Stage 02 configuration.
- Disable the other bus stop collections in viewport and render visibility.
- Use Cycles for the supplied material result.
- Append only the required collection into your production file.
1. File Overview
| Main File | 20260714-MB_BusStop-FINAL.blend |
| Blender Version | 5.2.0 LTS |
| Render Engine | Cycles |
| Unit System | Metric |
| Mesh Objects | 26 |
| Cameras | 7 |
| Lights | 3 |
| Additional Format | FBX |
| External Textures | 4K and 2K |
2. Main Collection Structure
| CINEMATICS | Prepared cameras, lights and studio background. Not required when appending only the production assets. |
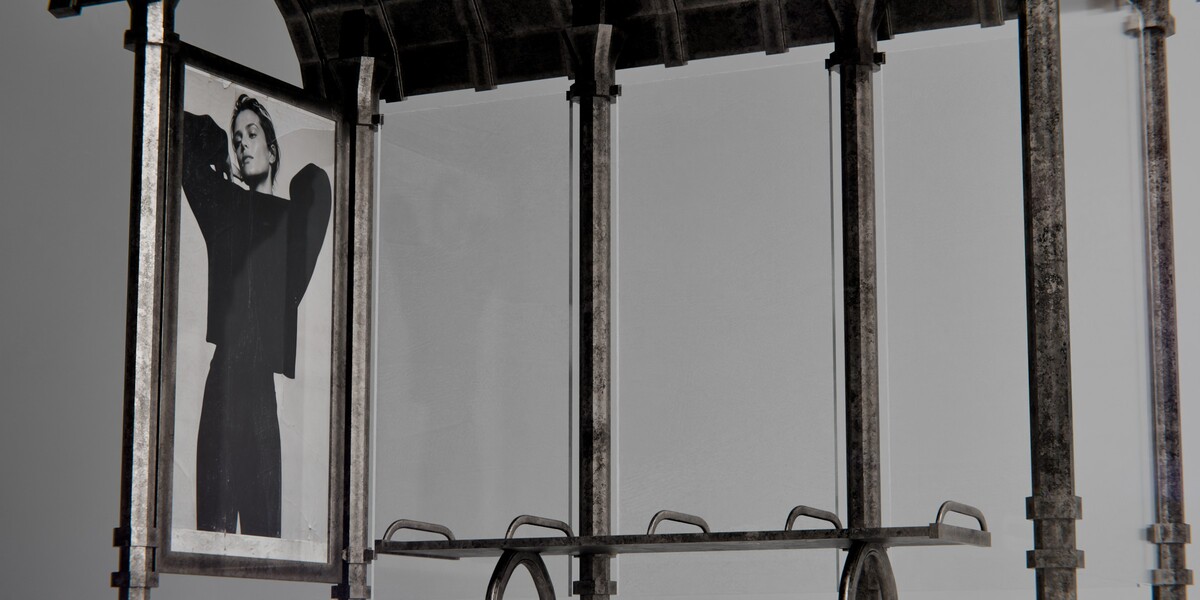
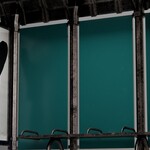
| MB-BUS_STOP-GLASS | Modular Blender configuration with transparent back and side panels. |
| MB-BUS_STOP-NOGlass-Bake-Stage01 | Separated solid-panel bake configuration for component-level editing. |
| MB-BUS_STOP-NOGlass-Bake-Stage02 | Joined quick-placement configuration with three primary objects. |
3. Choosing the Correct Workflow
Glass
Best for hero renders, visible transparency, cinematic shots and architectural visualization.
Stage 01
Best for individual editing, separate exports, visibility control and custom material changes.
Stage 02
Best for quick placement, simpler Outliner management and larger urban environments.
4. Modular Glass Configuration
The glass setup is stored in:
MB-BUS_STOP-GLASS
Main components include:
- MB_BusStop-Poles — structural poles and supports
- MB_BusStop-ROOF — curved shelter roof
- MB_BusStop-Glass_Window-Back — back glass panels
- MB_BusStop-Glass_Window_side — side glass panel
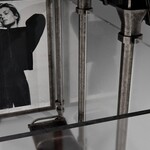
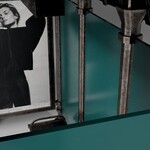
- MB_BusStop-ADVERSIGN — advertising display
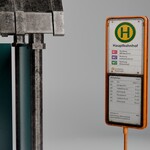
- MB_BusStop-STOPSIGN — bus stop sign
- BANK — bench collection
- SIGN — timetable sign collection
Glass Rendering Notes
- Use Cycles for the supplied result.
- Transparent shelter panels naturally create additional reflections and transmission paths.
- For distant shots, consider switching to the solid-panel version.
- Reduce glass samples or transmission complexity only after confirming the required visual quality.
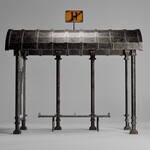
5. Separated Solid-Panel Bake Stage
The separated baked setup is stored in:
MB-BUS_STOP-NOGlass-Bake-Stage01
This version keeps the main components separated. It is recommended when you need to:
- hide individual panels,
- move the bench independently,
- replace only one sign,
- change materials per component,
- export selected parts separately,
- remove unwanted components from a scene.
Main objects include:
- MB_BusStop-FRAME-BAKE
- MB_BusStop-Glass_Window_side-SOLID
- MB_BusStop-Glass_Window-Back-SOLID
- MB_BusStop-ADVERSIGN-BAKE
- MB_BusStop-STOPSIGN-BAKE
- MB_BussStop_Light-BAKE
- BANK — baked bench collection
- SIGN — baked timetable sign collection
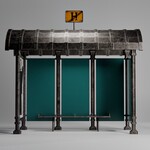
6. Joined Baked Stage
The consolidated setup is stored in:
MB-BUS_STOP-NOGlass-Bake-Stage02
It contains three primary production objects:
- 1 MB_BusStop-JOINED-BAKE — main shelter
- 2 MB_BusStop-BANK-JOINED-BAKE — bench
- 3 MB_BusStop-Bus_plan_Sign-JOINED-BAKE — timetable sign
| Object | Vertices | Base Triangles |
|---|---|---|
| Main Shelter | 29,088 | 58,044 |
| Bench | 14,956 | 29,680 |
| Timetable Sign | 1,536 | 3,064 |
Use Stage 02 when individual shelter construction elements no longer need to be edited separately.
7. Changing the Advertising Image
- Select MB_BusStop-ADVERSIGN or the corresponding baked advertising object.
- Open the Shader Editor.
- Select the advertising material.
- Locate the Diffuse image texture.
- Replace the demonstration image with your custom artwork.
- Preserve the existing image aspect ratio and UV layout.
- Use File > External Data > Pack Resources when the updated image should be stored inside the Blender file.
8. Changing the Timetable Graphic
- Select the timetable or route-information sign.
- Open the Shader Editor.
- Locate the Diffuse texture node.
- Replace the fictional demonstration graphic.
- Keep the original UV layout.
- Save the custom image inside the project texture folder.
9. Appending the Asset
- Open your target Blender file.
- Choose File > Append.
- Select 20260714-MB_BusStop-FINAL.blend.
- Open the Collection folder.
- Select the required bus stop configuration.
- Click Append.
- Confirm that the unused configurations were not appended.
Append CINEMATICS only when the preview cameras, lights or studio background are needed.
10. Using the FBX Export
The FBX version is intended for workflows that require conventional exported geometry and external image textures.
- Import the supplied FBX into the target application.
- Choose the 4K or 2K texture folder.
- Reconnect the PBR maps where automatic material import is incomplete.
- Use the correct color-space configuration.
- Rebuild glass or transmission materials according to the target renderer.
FBX Recommendation
The joined baked configuration is the simplest starting point for FBX workflows. Use the separated configuration when individual signs, panels or the bench need to remain independently editable.
11. Texture Color Spaces
| Diffuse | sRGB |
| Emission Color | sRGB |
| Normal | Non-Color through a Normal Map node |
| Metalness | Non-Color |
| Specular | Non-Color |
| Roughness | Non-Color |
| Clearcoat Data | Non-Color |
| Transmission | Non-Color |
12. Performance Tips
- Use the joined Stage 02 configuration for larger city scenes.
- Use the solid-panel setup when transparent glass is not visible to the camera.
- Use linked duplicates for repeated identical bus stops.
- Use 2K textures for background and wide urban scenes.
- Use 4K textures for close-ups and hero shots.
- Hide unused configurations in both viewport and render.
- Remove or hide the CINEMATICS collection in production files.
- Use Solid View while arranging larger environments.
- Reduce the Blender viewport texture limit when working with many high-resolution assets.
13. Troubleshooting
| Several bus stop versions overlap | Disable all unused Glass, Stage 01 and Stage 02 collections in viewport and render visibility. |
| The scene renders slowly | Use the joined Stage 02 configuration, switch to solid panels and reduce texture resolution where appropriate. |
| Glass appears noisy | Increase render samples or denoising, simplify hidden glass panels or use the solid-panel configuration for distant shots. |
| Textures appear pink | Use File > External Data > Find Missing Files and select the correct texture folder. |
| Normal maps look incorrect | Set Normal textures to Non-Color and route them through a Normal Map node. |
| Metal appears too glossy | Confirm that Roughness, Metalness and Specular textures use Non-Color data. |
| FBX materials look different | Rebuild the material using the supplied PBR textures. Renderer-specific Blender settings are not always transferred through FBX. |
| The advertising image is stretched | Use an image with the same aspect ratio as the supplied placeholder and preserve the current UV mapping. |
| The file does not open correctly | Use Blender 5.2 LTS or a newer compatible Blender version. |
14. Support
If you need help selecting a collection, replacing signage, connecting PBR maps or importing the FBX version, please contact us through Superhive.
When requesting support, include your Blender version, the selected collection or object name and a screenshot of the issue.
Have questions about this product?
Login to message
| Published | about 2 months ago |
| Blender Version | 5.0 - 5.2 |
| Render Engine Used | Cycles |
| Misc Data | Uvs-Unwrapped, Manifold-Mesh, Normal-Mapped, Textured |
| License | Royalty Free |
Discover more products like this
Public Space city street bus station street furniture worn metal bus stop road prop ArchViz poster display exterior