Ref Match the Ultimate 3D Printing Tool
 Creative Collections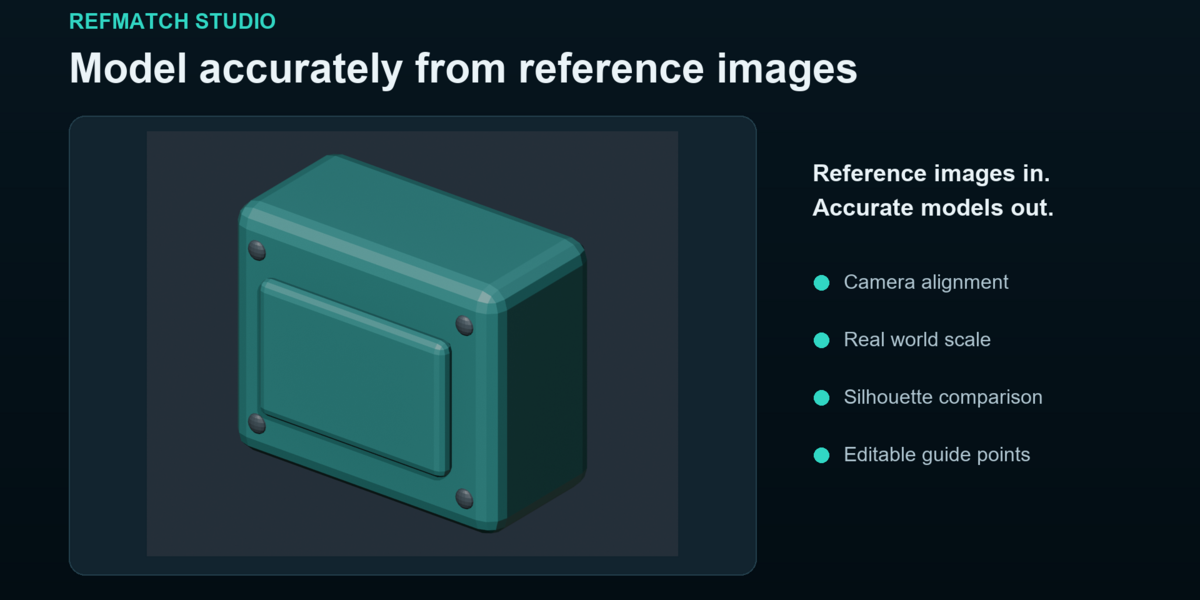
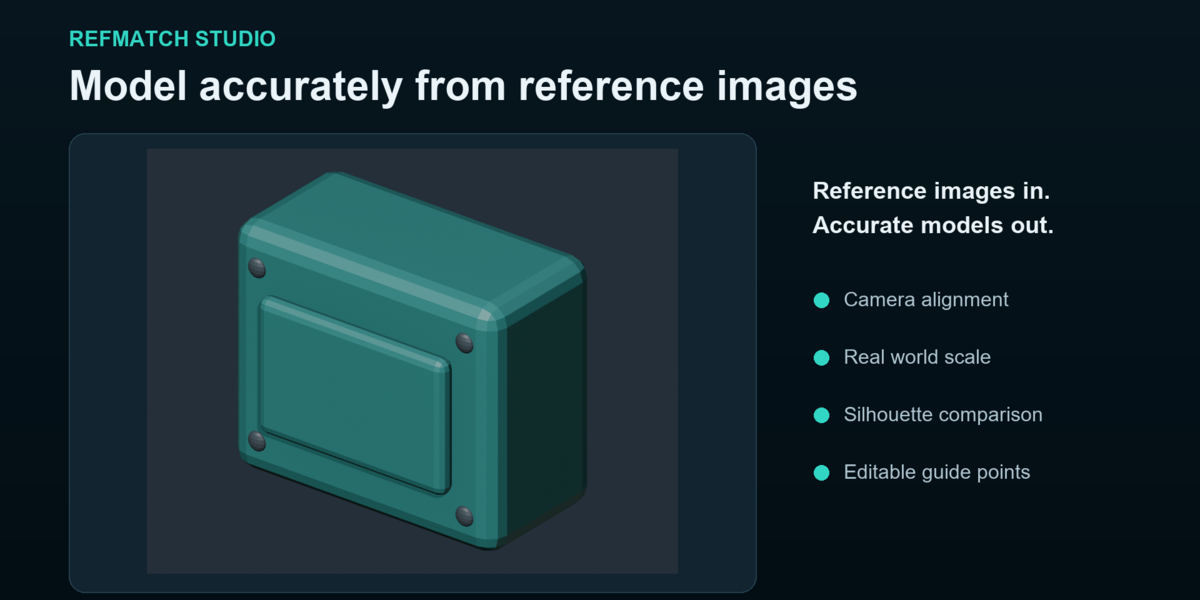
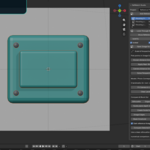
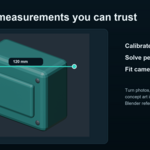
Reference setup camera matching scale calibration and visual comparison in Blender
This guide explains how to install RefMatch Studio and use its reference cameras calibration tools guide points landmark fitting and model comparison features. RefMatch Studio keeps the complete reference workspace inside the Blender project so artists can return to an aligned setup at any time.
Designed for Blender 4.2 and newer
RefMatch Studio User Guide 2
Contents Section What you will learn
Getting started
Install the add on open the sidebar and understand the workspace Reference images Add organize display and activate image based cameras
Scale calibration
Set orthographic references to real world measurements Perspective camera Solve a camera from two pairs of parallel world directions
Landmark fitting
Fit an existing camera to known model points Comparison tools Inspect silhouettes edges and image differences
Project management
Save packed data preserve originals and reopen work Troubleshooting Resolve common setup solve and display problems
What RefMatch Studio does
RefMatch Studio creates a structured reference workspace for modeling from photographs blueprints concept art and product images. It provides calibrated orthographic views perspective camera solving landmark based camera fitting and visual tools for comparing a model with its source image.
What RefMatch Studio does not do
RefMatch Studio does not generate a mesh from an image. It does not automatically detect lines correct lens distortion or preserve alignment after an external crop. The artist remains in control of the model camera guides and selected correspondences.
Requirements
•
Blender 4.2 or newer
•
Windows macOS or Linux supported by Blender
•
No account cloud service or additional Python packages
RefMatch Studio User Guide 3
Getting started
Install the add on
1 Open preferences In Blender open Edit then Preferences.
2 Choose the installer Open Add ons use the menu at the upper right and choose Install from Disk.
3 Select the ZIP Choose RefMatch Studio 1.0.0.zip without unpacking it.
4 Enable RefMatch Studio Turn on the RefMatch Studio entry if Blender does not enable it automatically.
5 Open the sidebar Return to the 3D View press N and select the RefMatch tab.
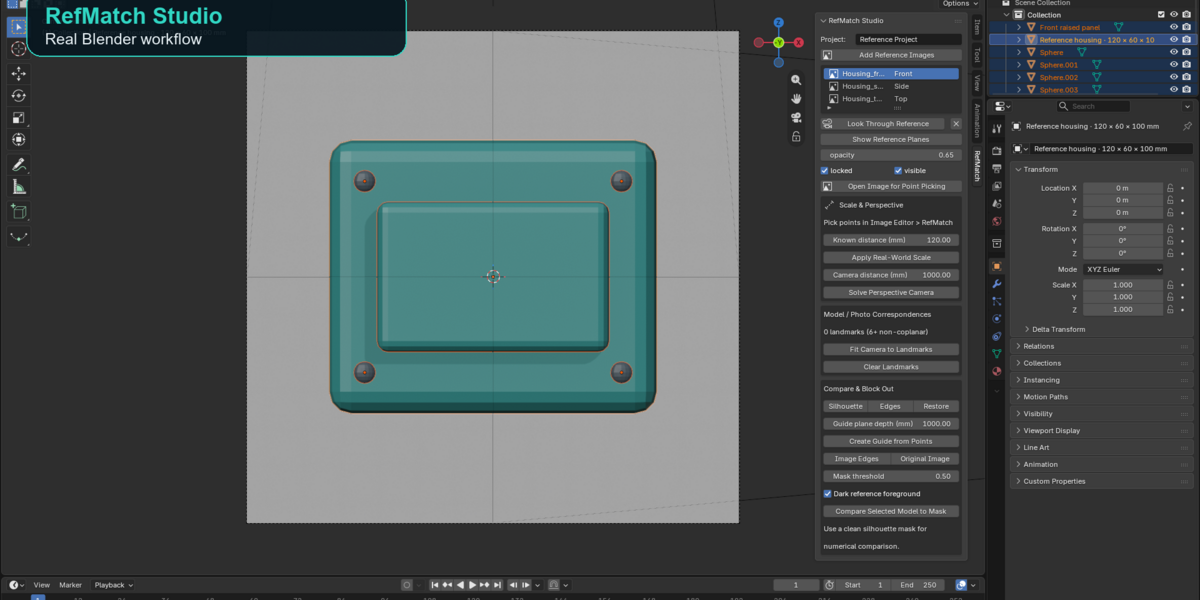
The RefMatch sidebar in a real Blender workspace
Workspace overview Area Purpose
Project
Names the reference workspace saved in the Blender scene Reference list Shows each imported image and its assigned view role
Scale and Perspective
Controls point capture scale calibration and camera solving Model and Photo Correspondences Stores model landmarks and fits a camera to them
Compare and Block Out
Provides silhouette edge guide and mask comparison tools
RefMatch Studio User Guide 4
Add and organize reference images
1 Start the import Click Add Reference Images and select one or more supported images.
2 Assign a role Choose Front Right side Rear Top or Perspective for each reference.
3 Activate a view Select an entry and click Look Through Reference. RefMatch activates its camera and matches the render aspect ratio to the image.
4 Restore the workspace Click Show Reference Planes when you want to see the reference planes together around the model.
Reference controls Control Result
Opacity
Changes how strongly the reference appears in the viewport Visible Shows or hides the selected reference
Locked
Prevents accidental reference selection and movement Open Image for Point Picking Displays the active reference in an Image Editor
Remove Reference
Removes the reference entry and its managed camera or plane
Point picking workflow
Click Open Image for Point Picking. RefMatch uses an existing Image Editor or converts the timeline into one. Hover over the Image Editor and press Ctrl Space to maximize it when greater precision is needed. Press Home to fit the image. Open the RefMatch tab in that editor and choose the required capture type.
•
Scale uses two points at the endpoints of a known distance
•
Perspective uses eight points that define four guide lines
•
Landmark uses one image point for each model point
Right click or Escape cancels point capture without replacing the previous points.
RefMatch Studio User Guide 5
Calibrate real world scale
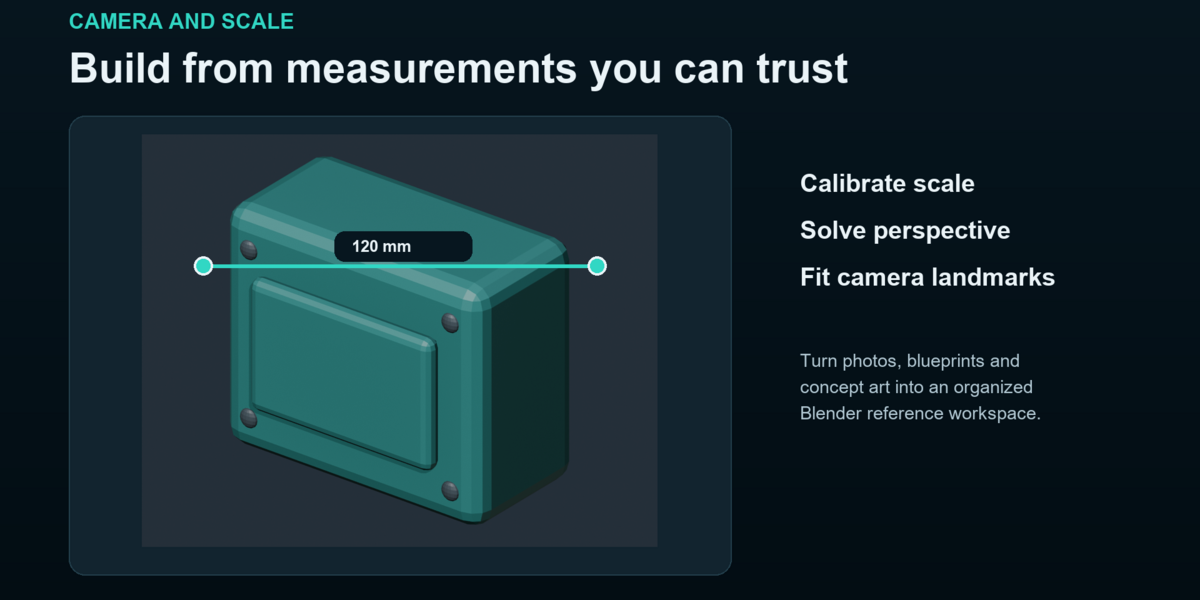
Scale calibration is intended for an orthographic reference such as a blueprint product elevation or technical front view. Choose two image points whose real distance is known.
Two points define a known real world distance for an orthographic reference
1 Choose the reference Select an orthographic reference in the RefMatch list.
2 Open point picking Open the image in the Image Editor and choose Scale 2 points.
3 Capture endpoints Click Pick Points in Image and click the two endpoints of the known measurement.
4 Enter the distance Return to the 3D View and enter the known distance in millimeters.
5 Apply the scale Click Apply Real World Scale. RefMatch updates the reference plane and its camera together while respecting scene unit scale.
Good measurement choices
•
Use a long clearly visible dimension to reduce clicking error
•
Choose points on the same flat view and the same depth plane
•
Avoid photographs with strong perspective for orthographic scale calibration
The included demonstration housing is 120 millimeters wide. Its front reference already contains the two width endpoints and known distance.
RefMatch Studio User Guide 6
Solve a perspective camera
The perspective solver uses two vanishing points. Each vanishing point comes from two image lines that are parallel in the real object. The first line pair represents the model X direction and the second pair represents the model Y direction. Those two world directions must be perpendicular.
1 Prepare the image Use an uncropped photograph with little lens distortion square pixels and a principal point near the image center.
2 Capture the X lines Choose Perspective 8 points and click both endpoints of one X direction line followed by both endpoints of another parallel X direction line.
3 Capture the Y lines Click both endpoints of one Y direction line followed by both endpoints of another parallel Y direction line.
4 Choose the origin Place the 3D cursor at the intended world origin for the reference.
5 Set distance Enter Camera distance in millimeters. This anchors the camera because a single photograph does not contain absolute distance.
6 Solve Click Solve Perspective Camera and inspect the result through the reference camera.
Choosing reliable guide lines
•
Use long straight edges that are easy to place precisely
•
Choose line pairs that visibly converge rather than appearing almost parallel
•
Keep both pairs associated with perpendicular directions on the object
•
Avoid lines from curved beveled or distorted surfaces
Direction signs can be ambiguous. If the solved view faces the correct geometry from the wrong axis direction rotate the model or revise the intended axes. RefMatch rejects parallel or inconsistent guide sets and reports why the solve cannot continue.
RefMatch Studio User Guide 7
Fit a camera with landmarks
Landmark fitting aligns an existing camera by pairing recognizable points on the model with their matching locations in the image. Use this method when a rough camera already exists and the model has enough known geometry for reliable correspondences.
1 Prepare the camera Roughly position and aim the reference camera so every chosen model point is in front of it. Remove camera parents constraints and lens shift.
2 Choose a model point Place the 3D cursor on a recognizable point of the model.
3 Choose its image point In the Image Editor select Landmark 1 point and click the same feature in the reference image.
4 Repeat Create at least six correspondences spread across width height and depth.
5 Fit the camera Click Fit Camera to Landmarks and inspect the reported root mean square pixel error.
Improve fit quality
•
Distribute points across three dimensions rather than one flat surface
•
Use corners fastener centers and other features that can be located consistently
•
Avoid several landmarks clustered in one small region
•
Improve the rough camera position before fitting when points project behind it
A lower root mean square pixel error indicates a closer numerical fit. Always inspect the visual alignment because the number only measures the chosen correspondences.
Clear and rebuild landmarks
Use Clear Landmarks when correspondences were added in the wrong order or attached to uncertain model points. Rebuild them with a smaller set of strong points before adding more.
RefMatch Studio User Guide 8
Compare and block out
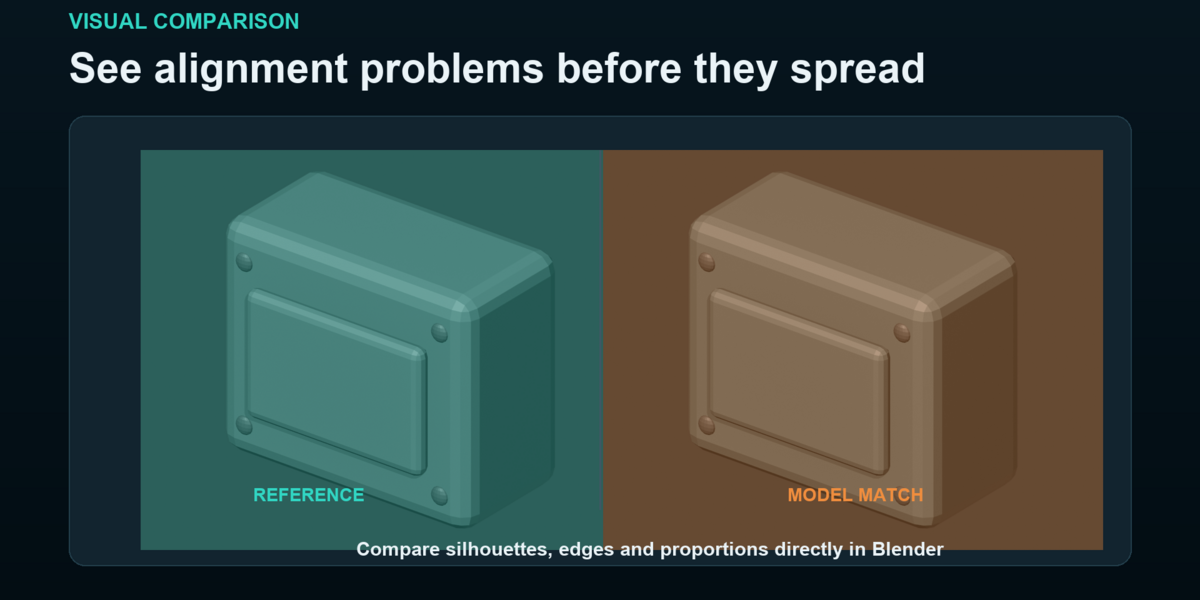
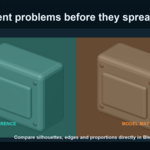
RefMatch supports direct visual checks of silhouette edges and proportions
Viewport display modes Mode Use
Silhouette
Shows a solid model shape for evaluating the outer contour Edges Shows model edges over the active reference for proportion checks
Restore
Returns the viewport to the display settings used before comparison
Reference image edges
Click Image Edges to create a cyan edge overlay derived from the selected reference. Click Original Image to restore the unmodified reference display.
Create guide geometry
Capture points in the image then set Guide plane depth and click Create Guide from Points. RefMatch projects those points onto a camera facing plane at the chosen depth and creates editable guide edges in the scene.
Compare a model to a mask
Select the mesh objects to evaluate and use a clean silhouette image as the active reference. Set whether the reference foreground is dark or light then click Compare Selected Model to Mask. Green indicates overlap orange indicates excess model and blue indicates missing model. The reported percentage is intersection over union and is not an overall assessment of model quality.
Mask comparison is limited to four megapixels. Reference edge processing is limited to sixteen megapixels. The generated difference image is packed into the Blender project and shown in an available Image Editor.
RefMatch Studio User Guide 9
Save and manage projects
Reference entries images cameras guide points and landmarks are stored with the Blender scene. Imported images are packed into the project so the reference workspace can travel with the blend file.
Recommended project practice
•
Save a clean reference setup before beginning major modeling work
•
Keep the original imported references and create edited copies outside Blender when needed
•
Name references by view and source so the list remains clear
•
Preserve a camera without parents constraints or lens shift for landmark fitting
•
Save a new project version before large camera or guide revisions
Troubleshooting Problem Action
The RefMatch tab is missing
Hover over the 3D View press N and choose RefMatch. Confirm the add on is enabled in Preferences. The image is tiny in the Image Editor Hover over the Image Editor and press Home to fit the image.
Scale calibration is rejected
Use an orthographic reference and capture exactly two points. Perspective solving is rejected Choose two clearly converging line pairs that represent perpendicular world directions.
Camera fitting fails
Correct the image and model correspondences spread them across depth and improve the initial camera position. Camera fit error is high Use more precise landmarks and replace points that are difficult to identify.
Reference planes disappeared
Click Show Reference Planes. Saved reference data cannot be edited Enable RefMatch Studio before editing the managed project data.
RefMatch Studio User Guide 10
Release scope
RefMatch Studio 1.0 includes reference projects manual point capture orthographic scale calibration two vanishing point camera solving numerical landmark fitting ghost overlays image edges silhouette difference images and guide geometry.
Not included in version 1.0
•
Automatic line detection
•
Lens distortion correction
•
Alignment preserving crop editing
•
Automatic image to mesh reconstruction
Quick reference Goal Workflow
Set a real size
Select an orthographic image capture two scale points enter millimeters and apply scale Match perspective Capture four image lines set the world origin and camera distance then solve
Fit to a model
Create at least six image and model landmark pairs then fit the camera Inspect proportions Use silhouette edges or a reference mask comparison
Create modeling guides
Capture image points set guide depth and create guide geometry
Support information to include with a report
When reporting a problem include the Blender version operating system RefMatch Studio version the steps that produced the issue and a small blend file or reference image when it can be shared.
RefMatch Studio runs locally and does not require an account cloud connection or separate service.
Have questions about this product?
Login to message
| Blender Extension Compatible | Yes |
| Published | 8 days ago |
| Blender Version | 5.1 |
| Extension Type | Add-on |
| Render Engine Used | Cycles, Eevee, Octane, Vray |
| License | GPL |

Discover more products like this
3D Measurement Tools 3d modeling reference real world application 3D-sculpting-reference 3d-model-for-printing better measure tool Scene 3D reference