Render Selected Cameras
 alexdepario
in Animation



How do I prevent rendered images from overwriting each other during a multi-camera batch?
Set your output directory in Blender's Output Properties tab to a target folder (ending with a / or \) rather than a fixed single filename, and save your .blend file before starting. Each camera's render is saved automatically using its respective camera name so every angle outputs cleanly.
Is Render Selected Cameras compatible with Blender 4.2 and newer versions?
Yes. The package includes a blender_manifest.toml extension manifest, making it natively compatible with Blender 4.2+ extension workflows.
Do I need to extract Render_Selected_Cameras.zip before installing it?
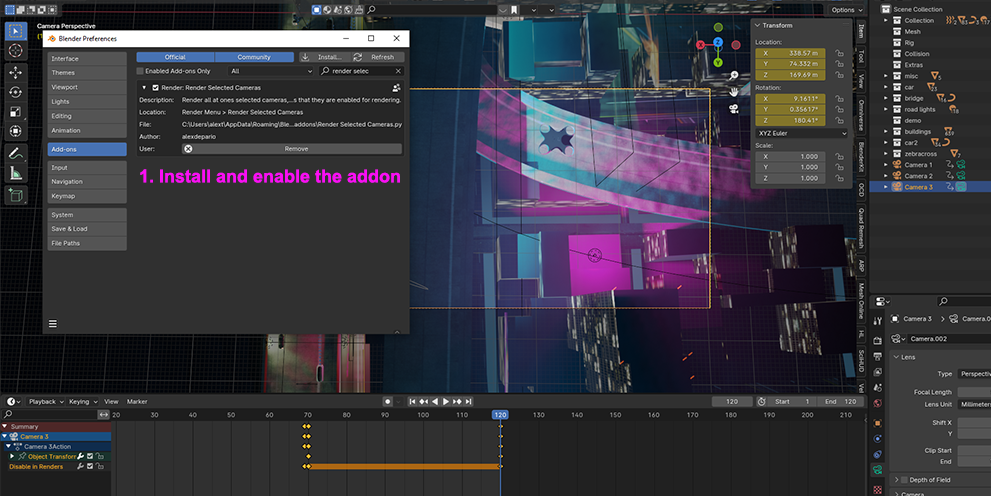
No. Keep the .zip archive compressed—which contains the Render_Selected_Cameras/ folder along with __init__.py, Render_Selected_Cameras.py, and blender_manifest.toml—and install it directly inside Blender via Edit > Preferences > Add-ons (or Get Extensions) using Install from Disk, or drag and drop the .zip file straight into the Blender window.
How does Render Selected Cameras work with multi-camera scenes?
Select all the cameras you want to output in the 3D Viewport or Outliner and run Render Selected Cameras (from the top Render menu or the 3D Viewport Sidebar N panel). The add-on automatically cycles through each selected camera, sets it as the active camera, and renders every viewpoint sequentially in a single batch.
Have questions about this product?
Login to message
| Sales | 10+ |
| Published | almost 3 years ago |
| Blender Version | 4.3, 4.2, 4.1, 4.0, 3.6, 3.5, 3.4, 3.3, 3.2, 3.1, 3.0 |
| License | GPL |

alexdepario