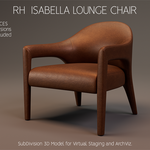
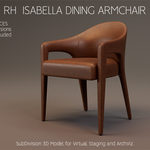
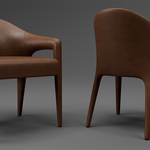
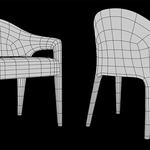
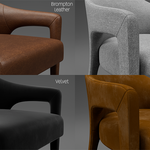
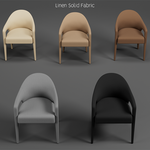
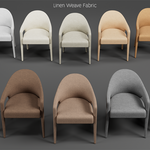
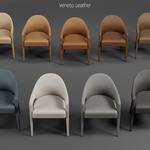
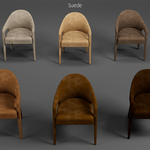
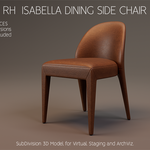
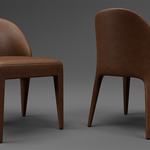
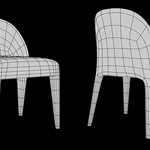
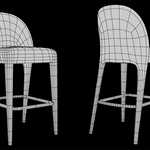
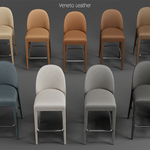
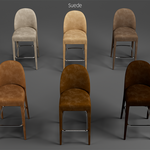
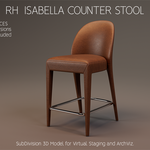
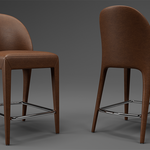
Rh Isabella Lounge Chair Subdivision 3D Model
 Master Stager


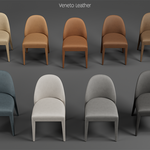
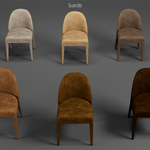
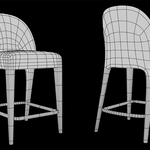
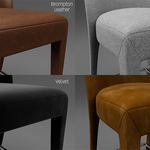
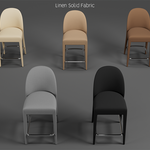
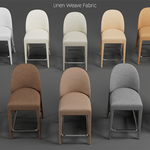
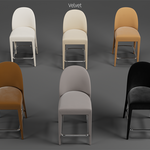
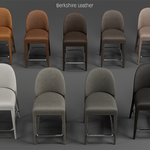
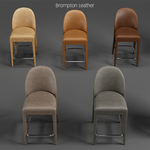
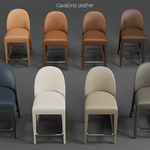
Hardware Considerations
Since Master Stager models are designed for professionals, it is presumed that this product will be used with hardware systems sporting sufficiently robust resources (RAM/SSD/CPU/GPU) to handle the demands of professional staging and archviz.
About the .blend Files
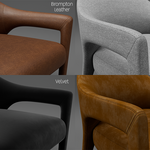
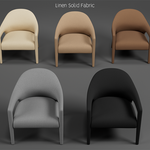
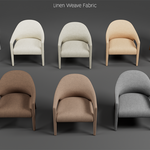
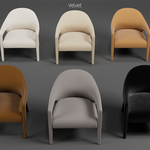
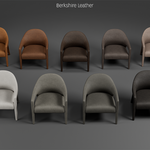
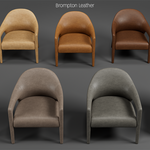
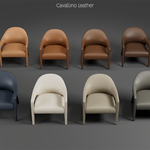
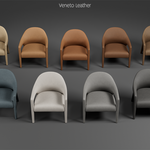
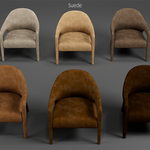
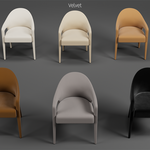
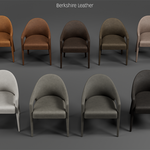
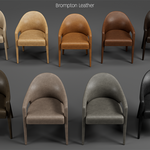
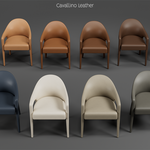
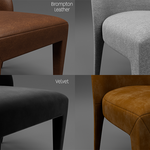
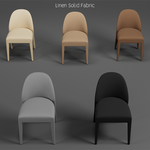
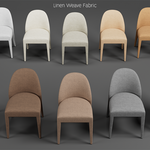
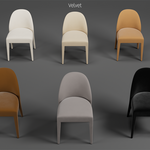
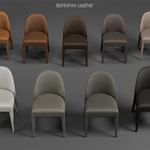
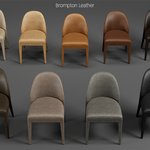
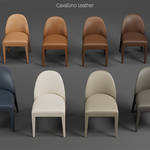
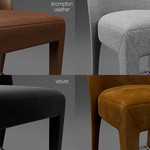
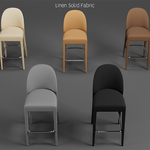
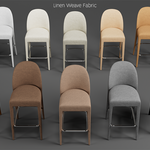
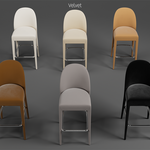
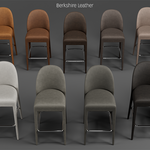
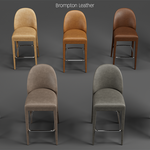
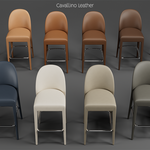
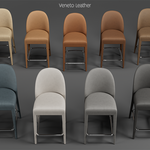
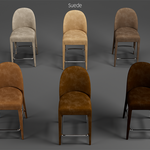
The Master Stager .blend files are organized by finish and contain copies of the model in every color available for that finish. Colors are identified by name in the Outliner. Depending on your system’s resources, it may take a few moments for all the textures to load.
Default vs. ACES Versions
Master Stager includes two versions of each finish’s .blend file. One for users of Blender’s default color management and another for ACES color management users.
If you use Blender’s default color management you can discard the ACES .blend files or move them to another directory.
If you use ACES color management, you must use the provided ACES versions of the Master Stager .blend files. The ACES versions are identical to the standard versions except for the Material’s texture map settings, which have already been setup with the appropriate color spaces. You can discard the default .blend files or move them to another directory.
Re-Targeting Texture Files
Master Stager .blend files are ready to use as long as the directory structure is maintained. However, if you prefer to keep the .blend files and/or texture maps in different locations you’ll need to re-target the directory paths within the .blend files.
After re-locating the .blend and/or texture map files, perform the following steps:
1. Double-click on the Master Stager .blend file, or Open it from the File menu in Blender.
2. From the File menu, select External Data -> Find Missing Files...
3. Navigate to and select the folder where the texture files can be found.
4. Save and repeat for each .blend file.
Your Master Stager files are now ready to use.
Adding Objects to Your Staging
1. Open your staging scene file in Blender.
3. Double-click on the Master Stager .blend file for your finish of choice, or Open it from the File menu in another instance of Blender.
4. Select the item(s) you want to add to your staging from the Master Stager scene and Copy (Ctrl-C).
5. Paste (Ctrl-V) the Copied item(s) into your staging scene.
You can now position and rotate your model within your staging as desired. You can adjust the Viewport and Render levels in the model’s Subdivision modifier to suit your workflow and output needs.
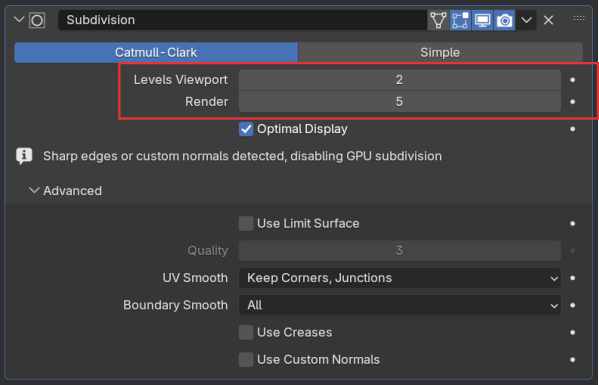
NOTE: Leave the Advanced settings in the Subdivision modifier as they are. Changing them will break the textures.
Fine Tuning
The Material node graph for each Master Stager model contains a Hue/Saturation/Value node for the Base Color input. These settings can be adjusted to better suit your staging.
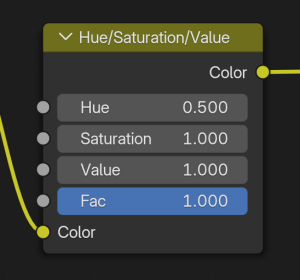
CAUTION: These settings affect the entire Material and can have unintended affects on other surfaces in the PBR setup.
Collision Proxy
If you want to use your Master Stager model as a collider for simulation, perform the following steps:
1. Select, Copy (Ctrl-C) and Paste (Ctrl-V) your model to create a copy to act as your collision proxy.
2. Hide the original model in the viewport and rename the proxy appropriately.
3. In the proxy's Subdivision modifier set the desired (viewport) level of subdivision.
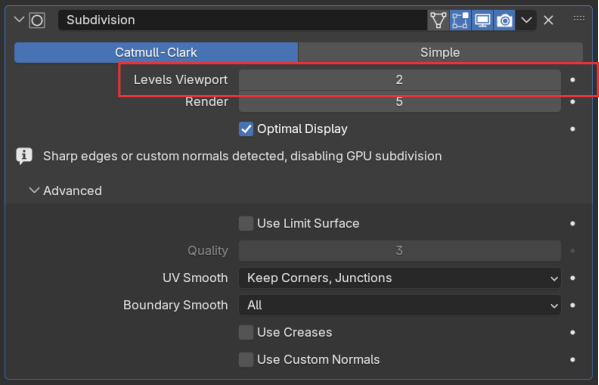
4. Apply the Subdivision modifier.
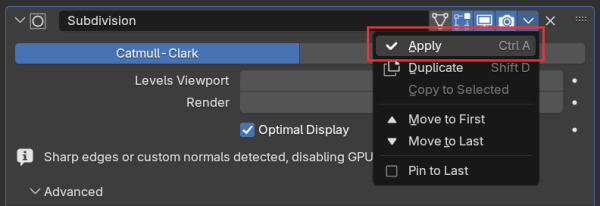
5. Add a Triangulate modifier to the proxy.
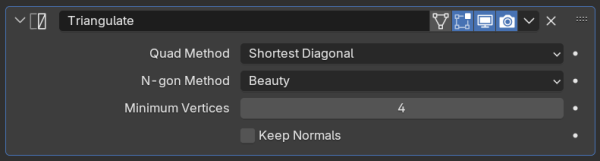
6. Apply the Triangulate modifier.
You can now add a Collision modifier to your proxy to be used with Blender's physics system, or you can export it for use in an external application.
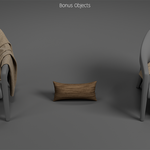
BONUS OBJECTS
Parenting Pre-Simulated Objects
Pre-simulated objects should be parented to their intended Master Stager model.
1. In your staging, select the bonus object first, and then the intended Master Stager model.
2. From the Parenting Menu (Ctrl-P), select Set Parent to Object (Without Inverse).
Your bonus object should now fit the intended Master Stager model perfectly and will follow along wherever the model is positioned and rotated within your staging.
If you want to place the bonus object on the opposite side of the model perform the following steps.
1. Select the bonus object.
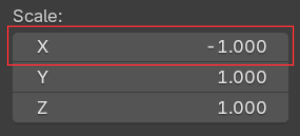
2. Change the Scale X value from 1 to -1.
3. Apply the change (CTRL-A/Scale).
-
$5
RH Isabella Lounge Chair model (w/ bonus objects) only.
-
$15
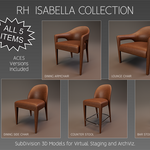
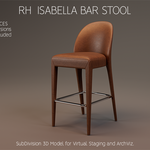
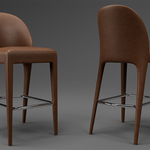
All 5 RH Isabella items including the Lounge Chair (w/ bonus objects), Dining Armchair, Dining Side Chair, Bar Stool and Counter Stool. All items come in the same 74 finishes.
Have questions about this product?
Login to message
| Published | over 1 year ago |
| Blender Version | 4.3 - 4.4 |
| Render Engine Used | Cycles |
| Misc Data | Uvs-Unwrapped, Manifold-Mesh, Normal-Mapped, Textured |
| License | Creative Commons |