Rigging Toolz - Rigging Toolkit
 BlenderAddon


Pataz Rigging Toolz User Manual
Non-Destructive Rigify Workflow & Automation
01 Introduction
Welcome to the manual for Pataz Rigging Toolz! This guide will walk you through every feature of the addon, designed to solve the most common frustrations in the character creation pipeline so you can focus on creativity, not repetitive technical tasks.
All tools are conveniently located in the Rigging Tab in the 3D Viewport's sidebar (press the N key to toggle visibility). The panels are context-aware and will only appear when a relevant object is selected.
What is a "Character"?
For the panels to appear, your selected object must be associated with an armature rig in one of these ways:
- It is an Armature object itself.
- It is directly parented to an Armature.
- It has an Armature Modifier linking it to a rig.
02 The Non-Destructive Workflow
This is the core of the addon—a workflow that lets you rig without fear. Standard Rigify is destructive; any custom constraints or drivers made to a generated rig are lost if you need to regenerate. Pataz Rigging Toolz fixes this.
- Generate: Create your rig from the metarig as usual.
- Customize: Perfect your setup directly on the generated rig. Add constraints, create drivers, tweak bone shapes, and assign bone collections.
- Edit: Make any necessary changes to your metarig positions.
-
Regenerate: Use the
Generate Rigbutton with "Preserve" options. The addon intelligently saves your custom work and reapplies it.
03 Main Rigify Controls
Central control over the generation process.
- Generate Rig: This supercharged operator functions like the standard Rigify generator but integrates the powerful "Preserve" options.
- Rig ⇄ Metarig: Instantly swap between your metarig and its generated rig. The addon handles hiding, showing, and selecting the correct armature for a seamless context switch.
04 Regeneration Options
Enable the toggles for any properties you have customized on the generated rig to ensure they are preserved.
4.1 Generate Options
- Keep Pose: Retains the character's current pose upon regeneration.
- Keep Animation: Re-links the existing Action (animation data) to the new rig.
- Hide Metarig: Automatically hides the metarig after generation.
- Show Deform Bones: Displays deform collections immediately for skinning review.
4.2 The "Preserve" Toggles
Save and restore properties modified on the generated rig's bones.
The powerhouse. Preserves the entire constraint stack (drivers included) on each bone.
Keeps locked channels safe.
Saves custom shapes and their transforms.
Restores added properties and their drivers.
Keeps custom collection assignments.
Preserves B-Bone segments and settings.
05 Rigging Utilities
Once your rig is generated, this panel becomes your daily driver.
- Clear Pose: Instantly snaps the character to rest pose. Use checkboxes to protect specific layers (DEF, MCH, ORG).
- Toggle Modifiers: A massive performance booster! Instantly toggle visibility of heavy modifiers (Subsurf, Cloth) across all meshes.
- Show Deform / Solo: Quickly isolate the skinning skeleton for review.
- Set BBones Scale: Tame B-Bones with a single slider for display thickness.
-
Reset Constraint Distances: Fixes stretched limbs by resetting
rest_lengthon 'Stretch To' constraints.
Edit Custom Shapes
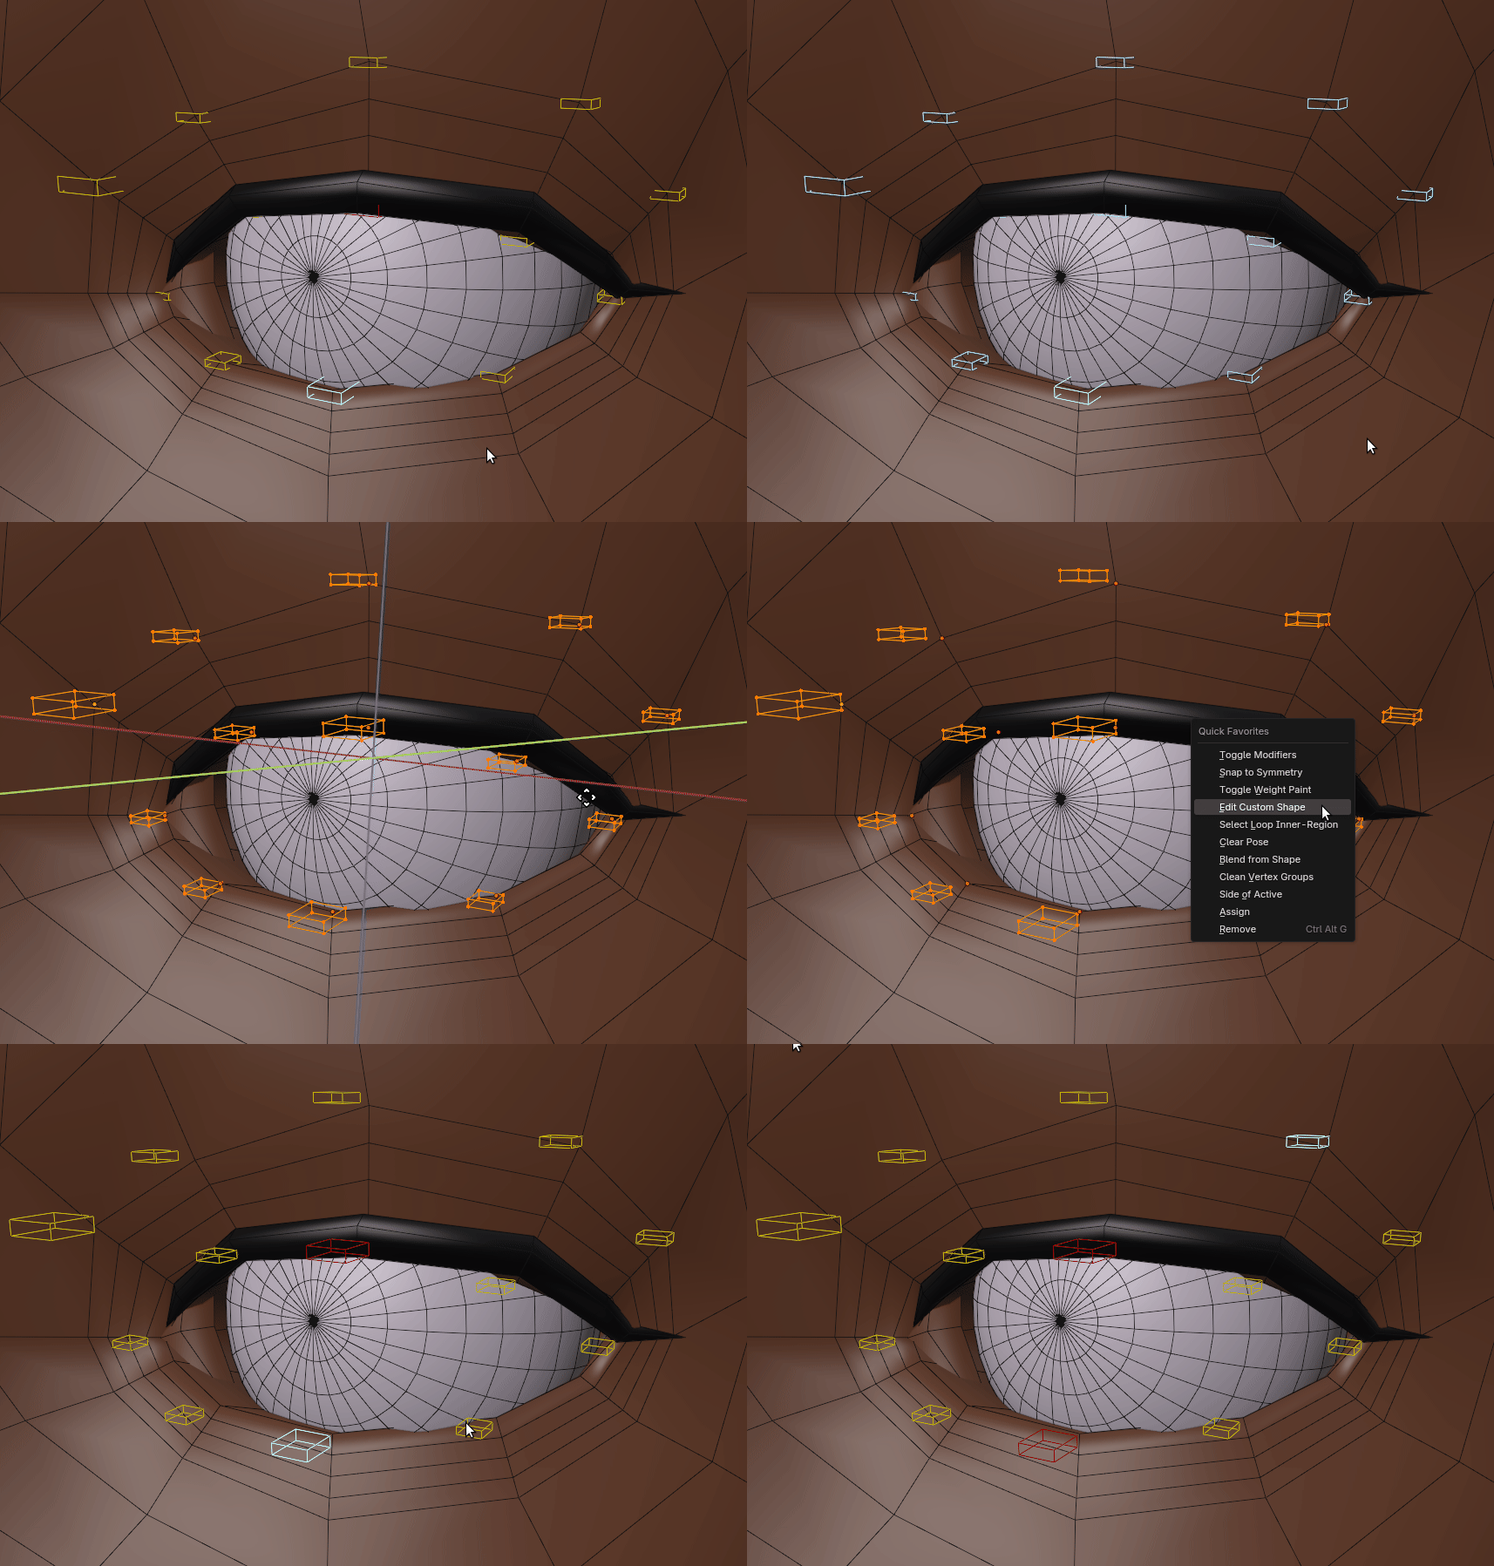
A huge workflow accelerator. In Pose Mode, select a bone and click this button to instantly enter Edit Mode for its custom shape. Click again to return to posing.
06 Weighting Tools
A focused toolset to make weight painting faster and more intuitive.
Toggle Weight Paint
One-button setup for the perfect skinning environment. Automatically enables:
Transfer Vertex Groups
Copy weights from active mesh to others (e.g. clothing). Transfer Modes:
- Auto: The smart choice. Attempts topology match, falls back to projection.
- Topology: For exact copies between identical meshes.
- Interpolated: For projecting weights between different meshes.
Weight Cleanup
- Merge Vertex Groups: Select bones to merge from, then select target bone last. Merges weights into active bone.
- Clean Vertex Groups: Includes Normalize, Remove Zero Weights, and Limit Total (crucial for game engines).
07 Cleanup Crew
One-click operators to safely remove bad or orphaned data from all selected objects.
Deletes all groups.
Removes keys or bakes current mix.
Deletes all UV layers.
Protects objects from accidental movement.
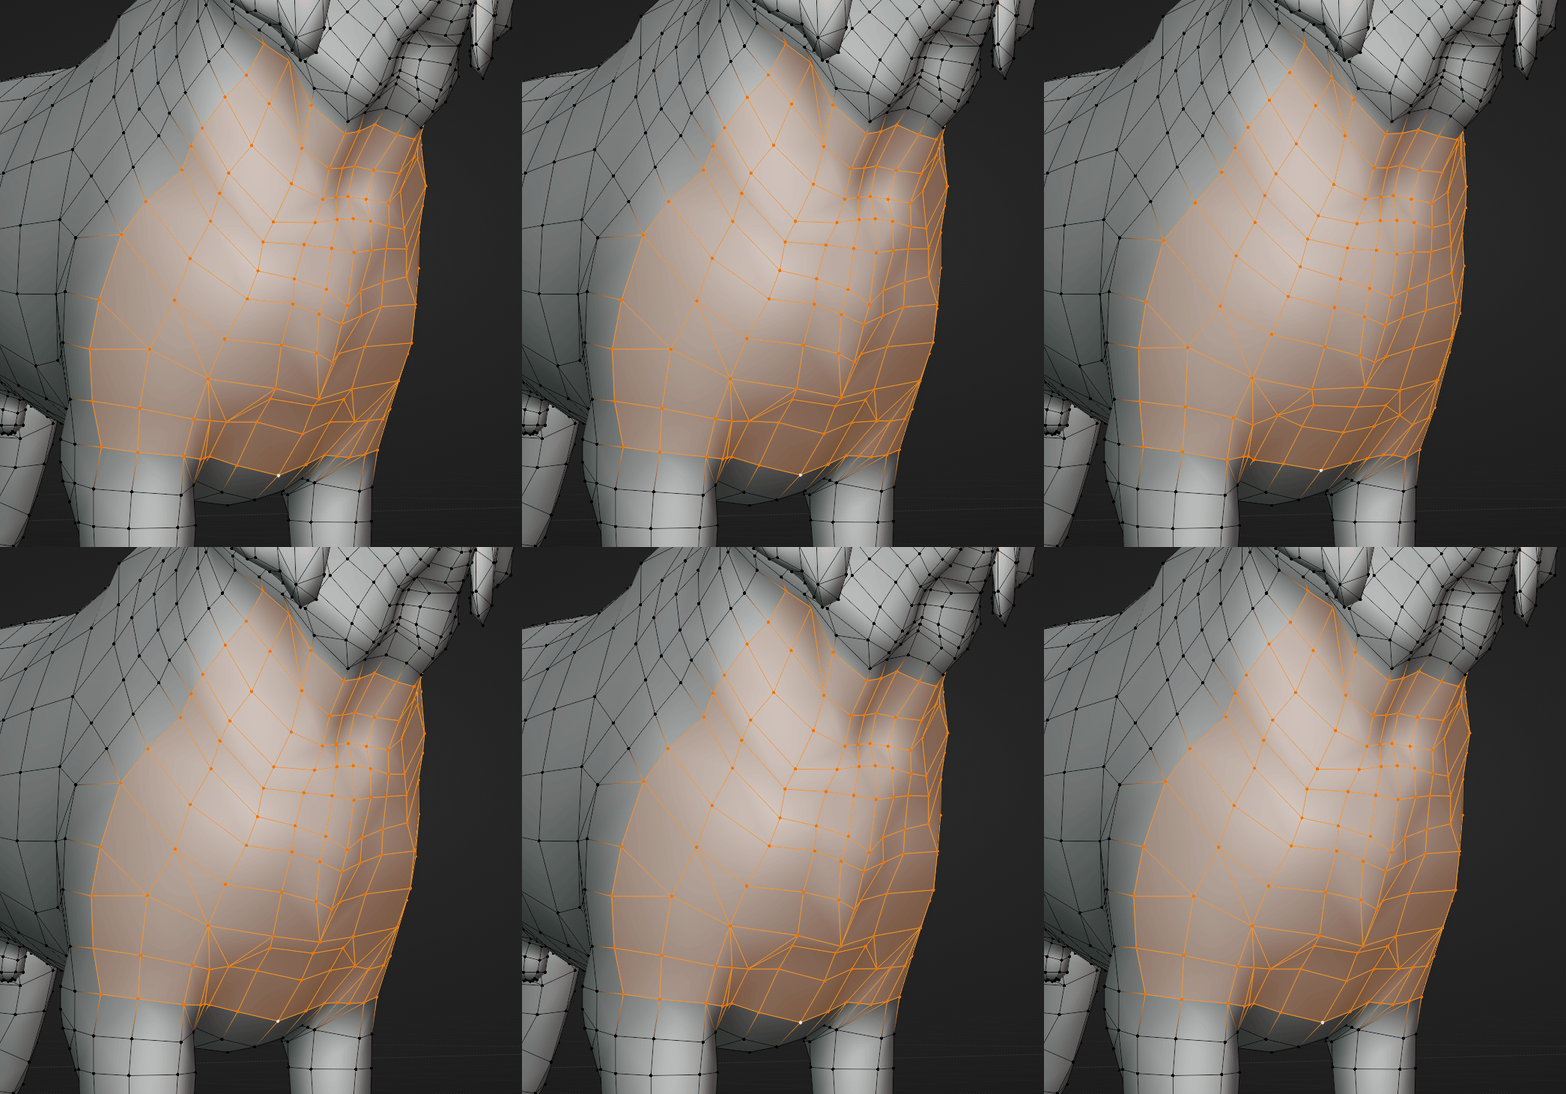
Smooth mesh topology efficiently while preserving overall volume (works on selected objects or selected vertices in edit mode).
© blenderaddon.com
-
$15
Freelancers, Hobbyists, Students
-
$45
Companies, Teams, Educational Institutions
Have questions about this product?
Login to message
Discover more products like this
skin weight paints rigify Character rigging rigging rigging addon