Rigify Smart Rigging Addon
 Blender house
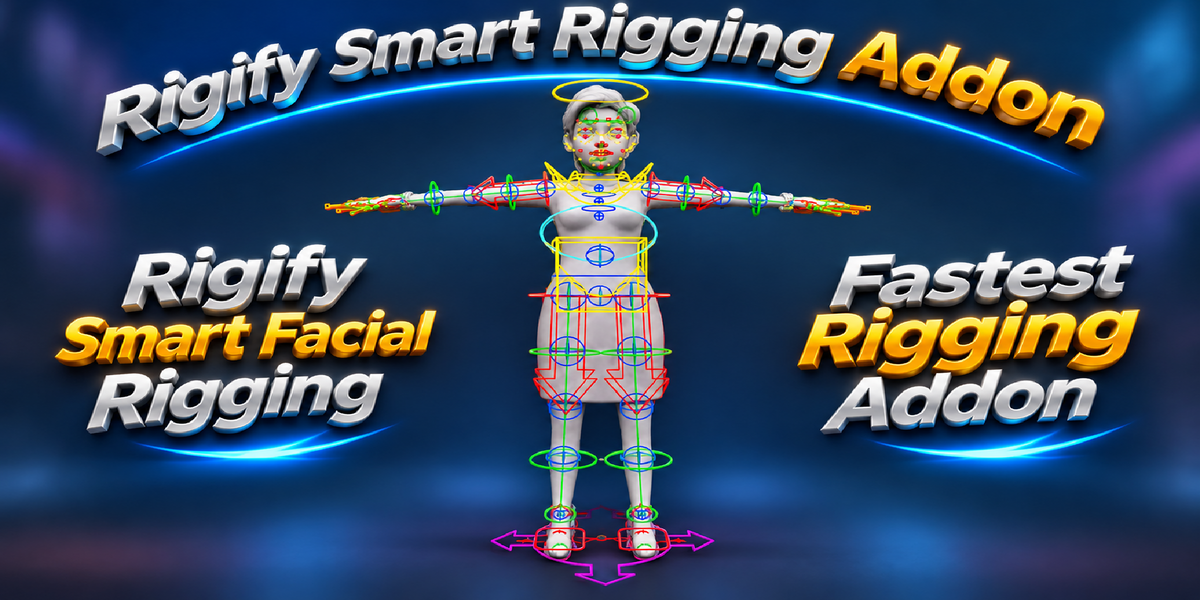
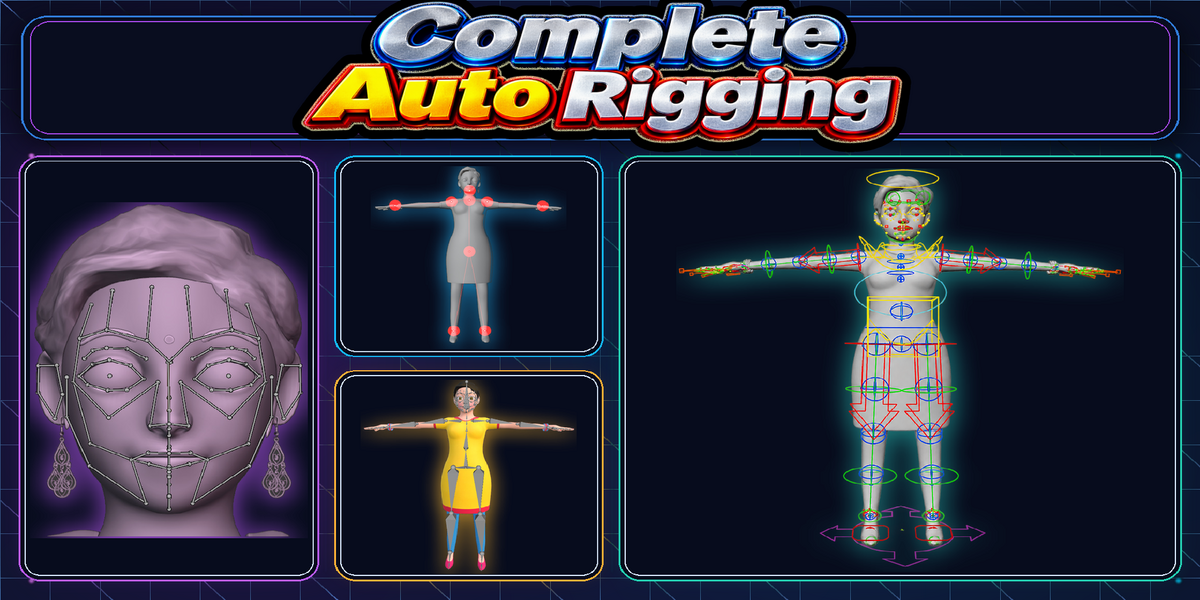
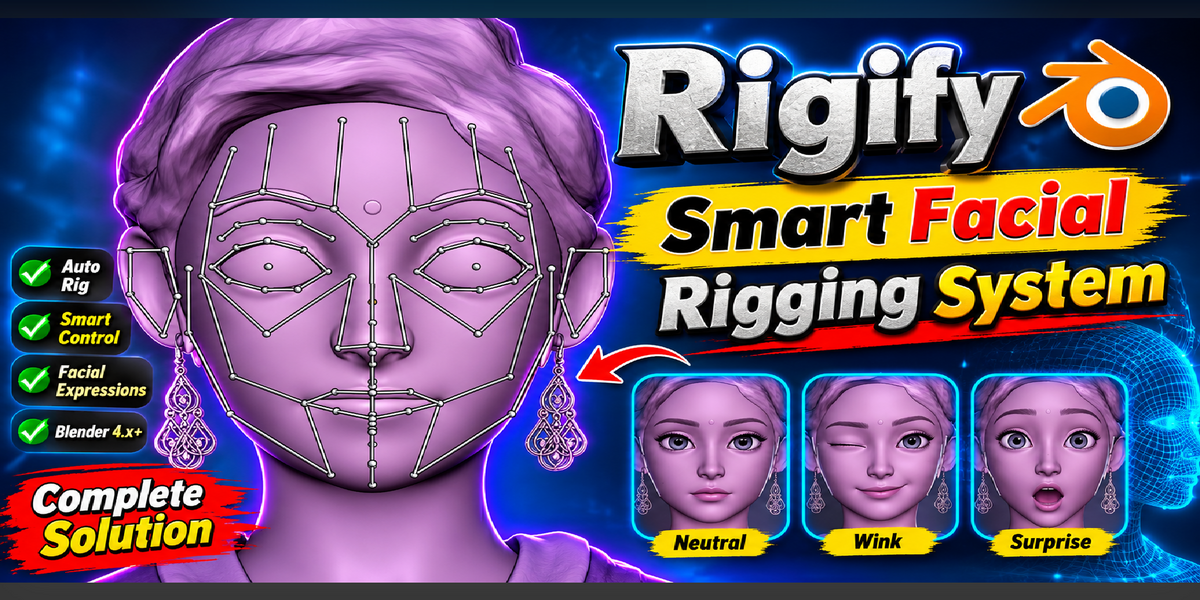
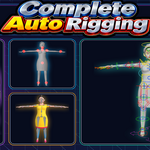
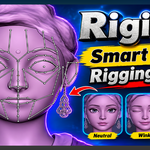
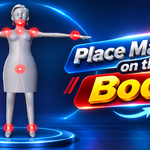
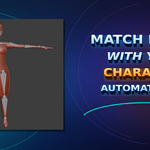
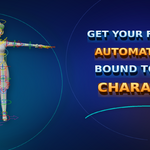
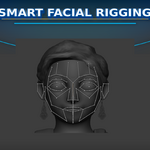
Rigify Smart Rigging Addon — User Documentation
1. Introduction
Rigify Smart Rigging is a character rigging workflow addon for Blender 5.2 LTS, designed to simplify and speed up the process of fitting a Rigify metarig to your character.
Traditional Rigify character setup often requires manually positioning bones, adjusting the metarig, and binding character meshes. This process can take considerable time and effort.
Rigify Smart Rigging streamlines this workflow using smart body detection, automatic Rigify matching, facial guides, and mesh binding.
The goal is to take your character from marker placement to a generated Rigify rig with fewer manual steps.
2. Main Features
Smart Body Detection
Use body markers to identify the character's proportions and important body positions. The detection workflow uses these markers to calculate the appropriate rig placement.
Automatic Rigify Matching
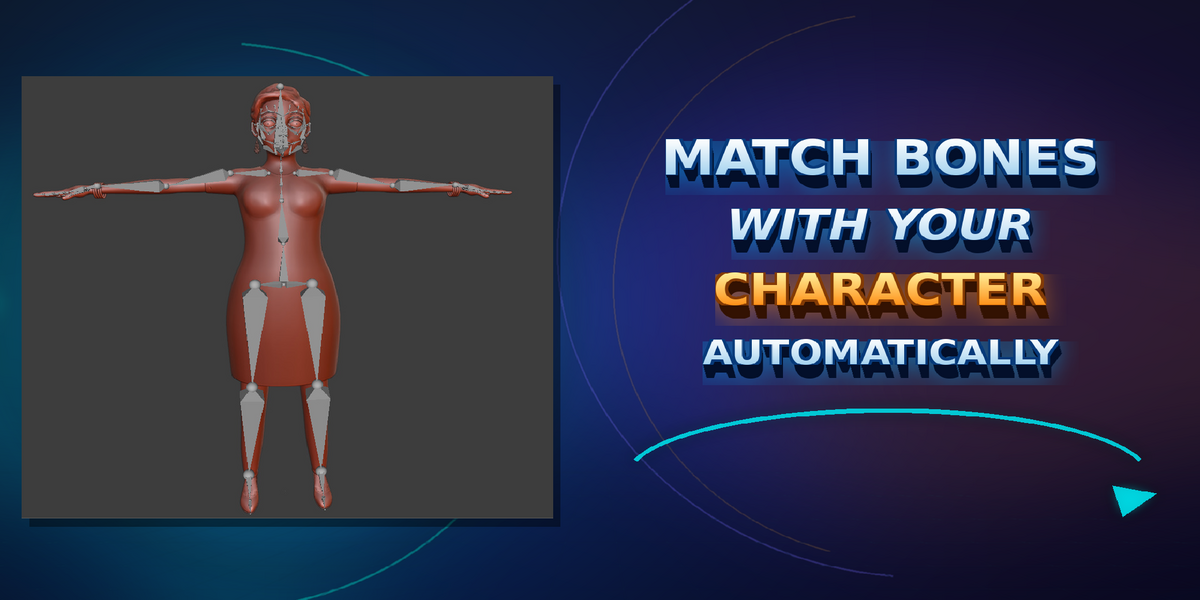
Match the detected body structure to the Rigify metarig without manually positioning every bone.
Facial Guide Workflow
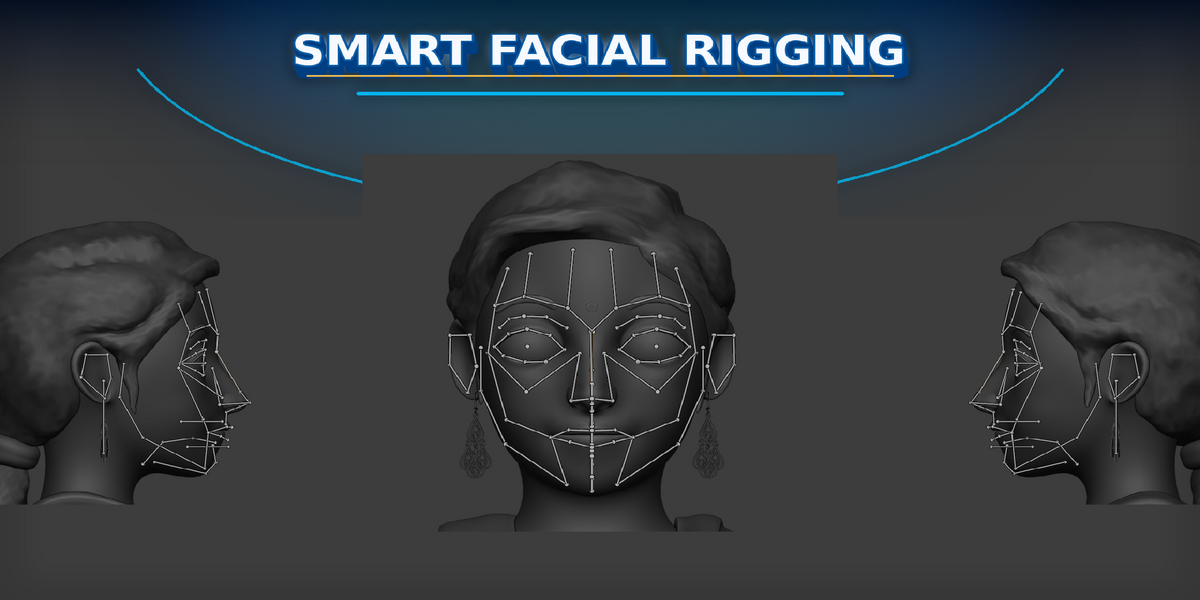
Add and fit facial guides to your character's face to assist with facial setup.
Automatic Rig Generation
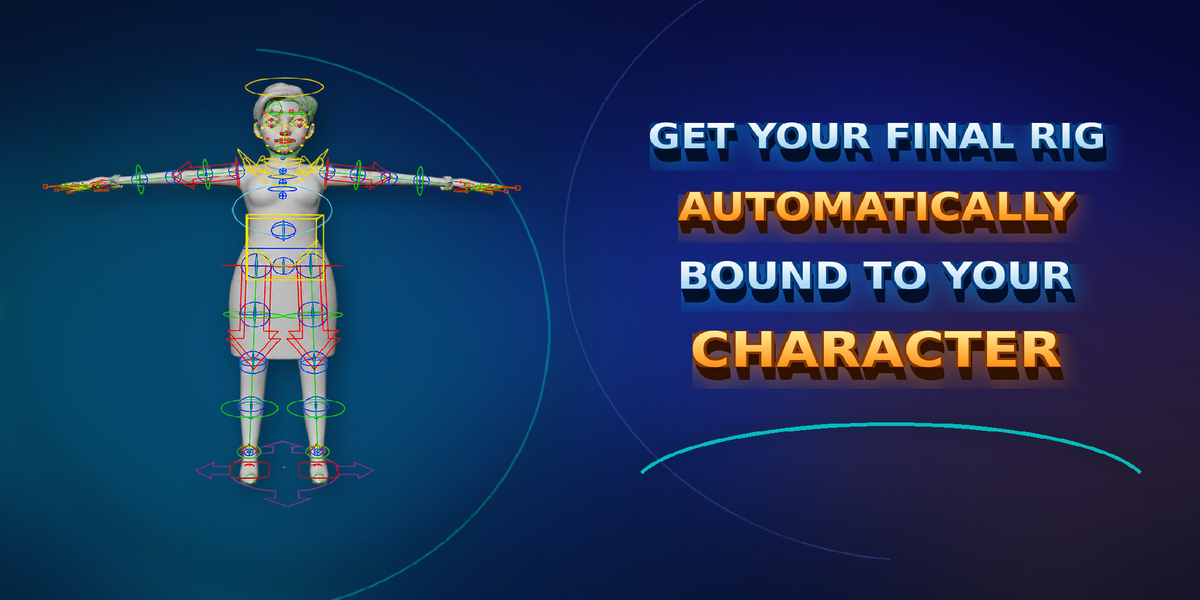
Generate the final Rigify character rig using the matched metarig.
Automatic Mesh Binding
Bind the character meshes to the generated rig through the integrated binding workflow.
Streamlined Workflow
Bring body detection, Rigify matching, facial guides, rig generation, and mesh binding together in one workflow.
3. System Requirements
Blender: 5.2 LTS
Rigify: Blender's Rigify system must be enabled.
A prepared 3D character model.
A suitable character pose for rig setup. A T-pose is recommended.
4. Installation
Download the Rigify Smart Rigging addon ZIP package.
Open Blender.
Navigate to Edit → Preferences.
Open the Extensions/Add-ons installation options.
Install the downloaded ZIP package.
Enable Rigify Smart Rigging.
Make sure Rigify is enabled in Blender.
After installation, open the 3D Viewport and locate the Rigify Smart panel in the N-panel.
5. Preparing Your Character
Before starting the rigging process:
Open your character model in Blender.
Make sure the character is positioned in a suitable neutral rigging pose.
Check that the character meshes are visible and properly organized.
Select the character mesh objects required for the rigging workflow.
Make sure the body is clearly visible so the markers can be positioned accurately.
Good character preparation helps improve detection and binding results.
6. Rigging Workflow
Step 1 — Start Smart Setup
Open the Rigify Smart panel and click Start Smart Setup.
The addon initializes the smart setup workflow and prepares the selected character meshes.
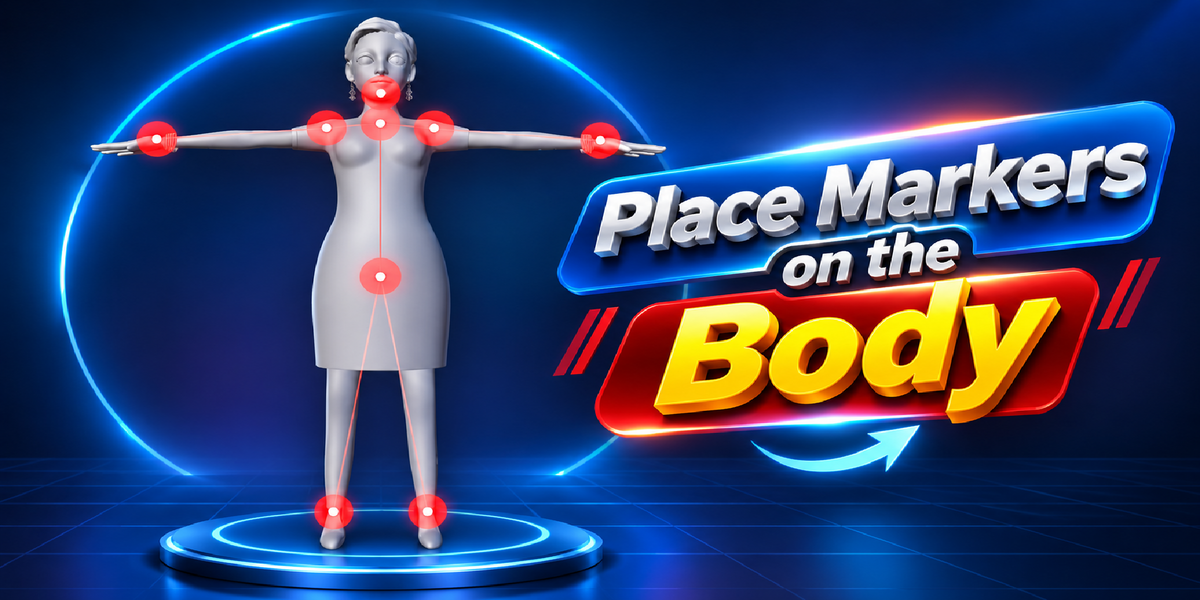
Step 2 — Place Body Markers
Place the six body markers in the order displayed by the addon.
Position each marker carefully according to its indicated location on your character.
Accurate marker placement is important for body detection and metarig matching.
Step 3 — Add Facial Guides
Use the facial guide option to create facial guides for your character.
Adjust the guides to fit the facial structure. Check their position from the front and side views.
Step 4 — Accept Facial Markers
Once the facial guides are correctly positioned, accept the facial markers.
The character mesh selection is restored so you can continue with body detection.
Step 5 — Detect Body
Continue to the body detection stage.
The smart detection system analyzes the marker placement and character proportions to calculate the body structure for the next stage.
Step 6 — Match Detected Body to Rigify
Click Match Detected Body to Rigify.
The addon uses the detected body placement to fit the Rigify metarig to your character.
Review the resulting metarig placement before generating the final rig.
Step 7 — Generate Rigify and Bind Meshes
Click Generate Rigify and Bind Meshes.
The addon generates the Rigify character rig and performs the mesh binding process.
When replacing an existing rig binding, use the replacement option where appropriate.
Step 8 — Final Result
Once generation and binding are complete, inspect your character in Pose Mode.
Test the main body controls, arms, legs, torso, and facial setup where applicable.
Your character is now ready for further rigging adjustments and animation work.
7. Important Tips
Use a clean and clearly visible character model.
A neutral T-pose is recommended.
Place body markers carefully and follow the displayed order.
Make sure facial guides follow the actual facial structure.
Avoid changing the character's geometry during an active setup.
Always inspect the generated rig before starting animation.
Save a backup of your project before generating or replacing an existing rig.
8. Troubleshooting
Body Detection Does Not Work Correctly
Check the placement of all six body markers. Make sure the character mesh is visible and the markers correspond to the correct body locations.
Facial Guides Do Not Fit Correctly
Adjust the facial guides using front and side views before accepting them.
Rigify Matching Looks Incorrect
Check the body marker placement and review the detected metarig before generating the final rig.
Mesh Binding Needs Inspection
After generation, test the character in Pose Mode. Check for unexpected deformation, mesh separation, or incorrect attachment.
If an issue persists, save the project and provide the Blender version, steps performed, and the relevant error message when requesting support.
9. Final Notes
Rigify Smart Rigging is designed to make the Rigify character setup process more convenient and efficient.
From smart body detection and automatic metarig matching to facial guides, final rig generation, and mesh binding, the addon brings important character rigging steps into one streamlined workflow.
Rigify Smart Rigging — Speed Up Your Character Rigging Workflow.
Addon Version: 1.0.0
Target Blender Version:4.0 to 5.3
Have questions about this product?
Login to message
| Blender Extension Compatible | Yes |
| Dev Fund Contributor | |
| Published | about 1 hour ago |
| Blender Version | 4.0 - 5.3 |
| Extension Type | Add-on |
| Render Engine Used | Cycles, Eevee |
| License | GPL |
Discover more products like this
Blender Rigging Bone Matching Character rigging character setup metarig Smart Rigging Rigify Addon rigify Facial Rigging Body Detection auto rigging Automatic Rigging