 Lynx 3D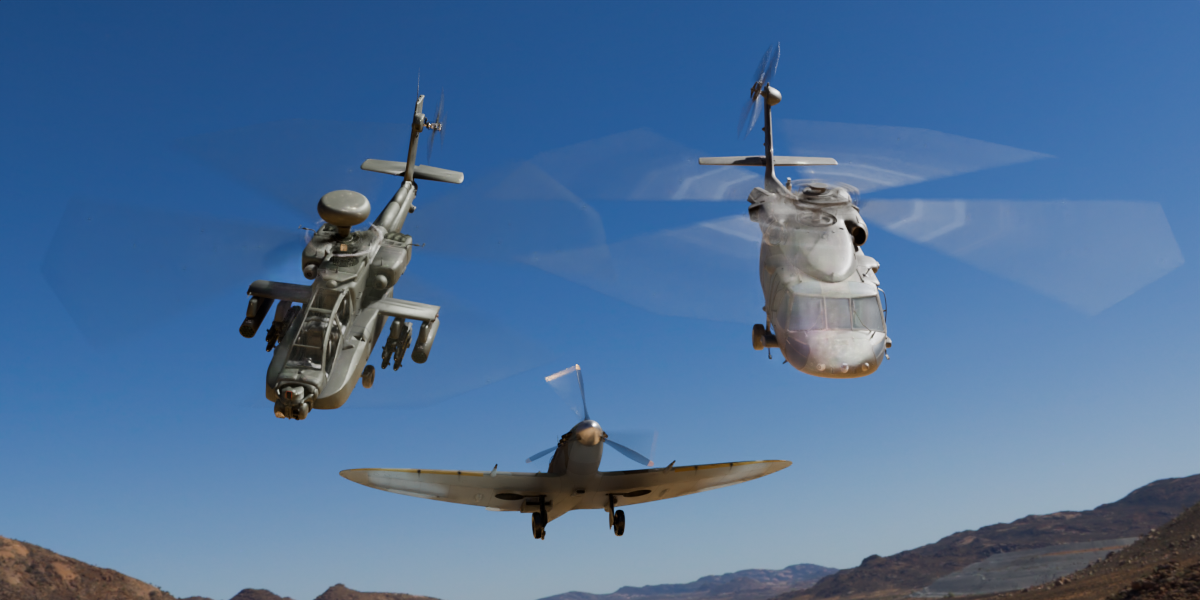
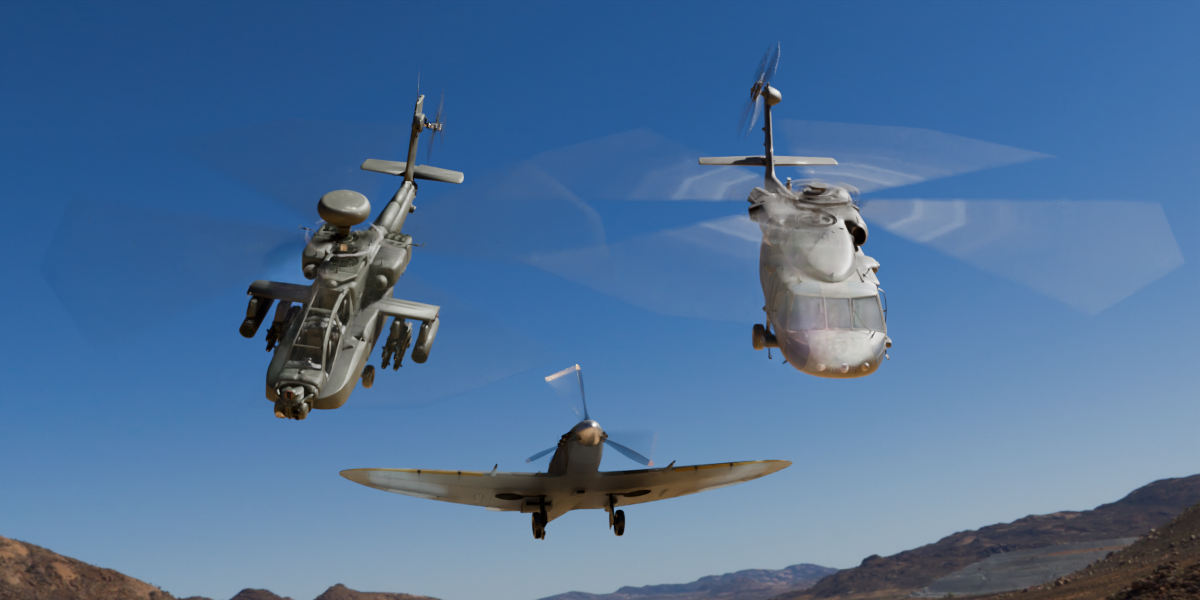

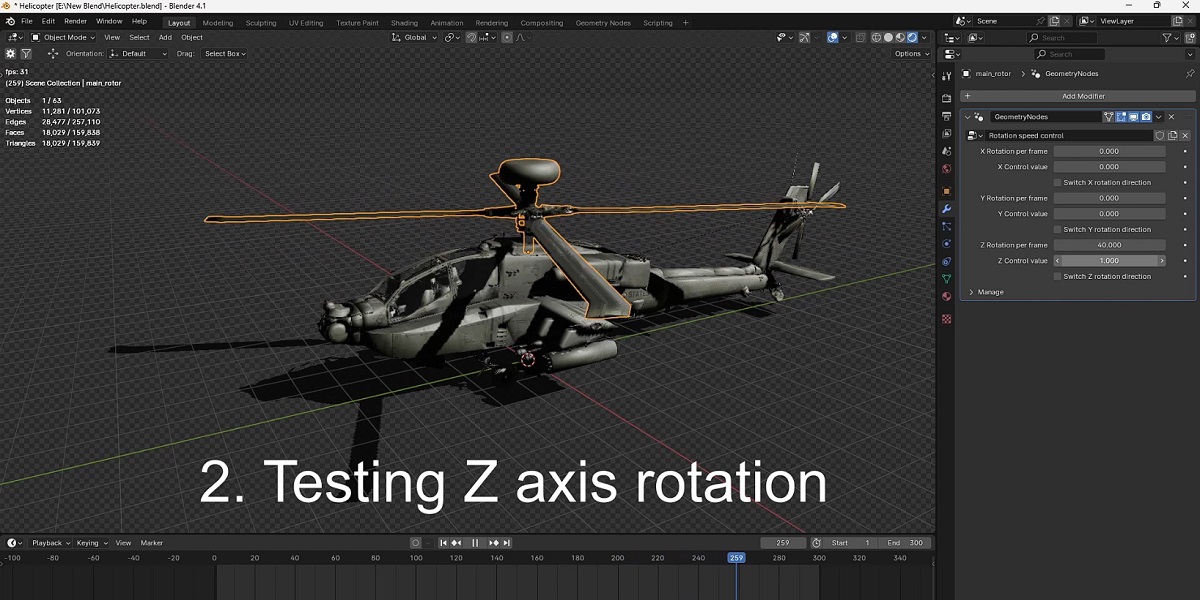
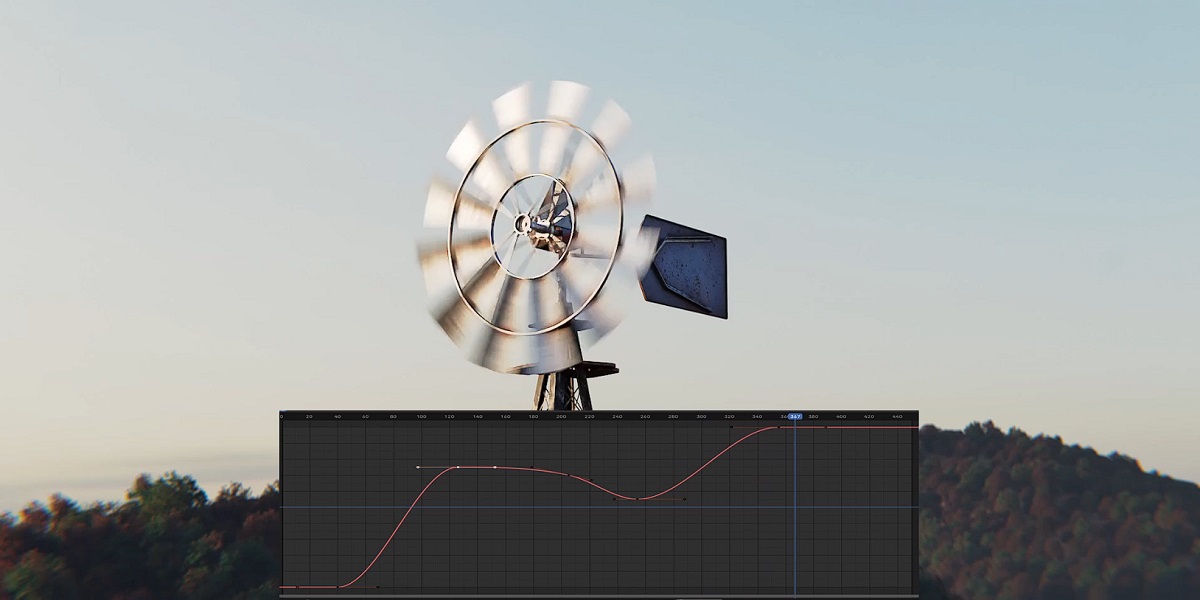
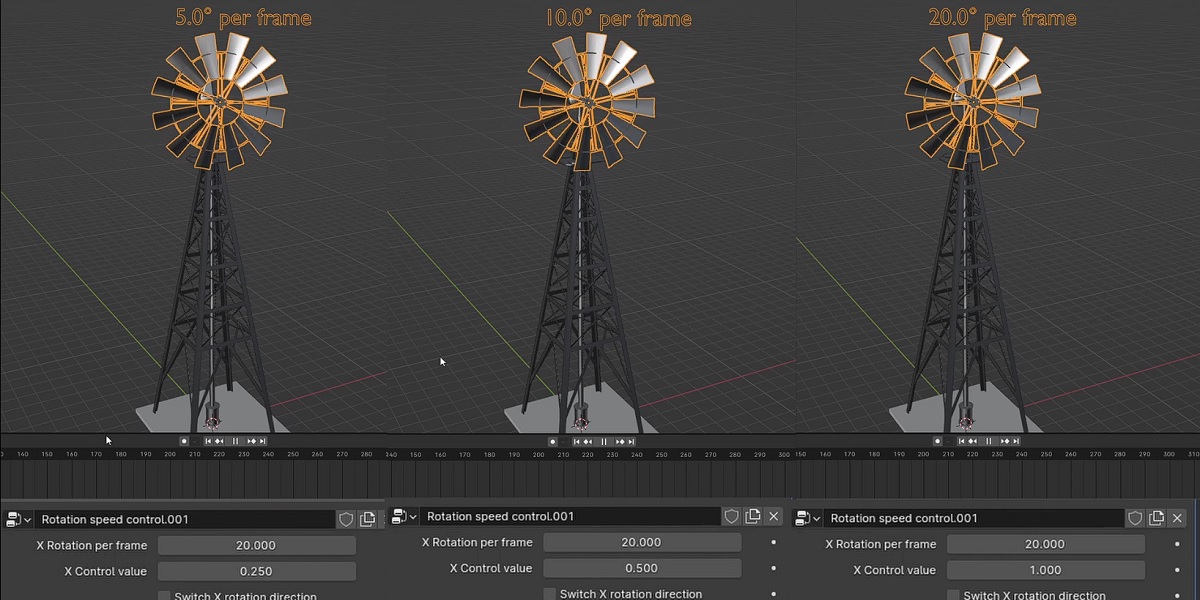


Does exactly what it says on the tin. This geometry nodes setup lets you control rotation speed of an object directly, instead of having to keyframe rotation angles and interpolating from them. Ideal for objects that rotate very fast, it was developed for a helicopter animation. The rotor of a helicopter rotates thousands of degrees in just a few seconds, so creating a good looking rotation acceleration only by keyframing the angles can be very tedious. This node tree can also be used with propellers, wheels, gears, and other mechanical parts.
Version 2 now available!
What's new in version 2?
- Custom axis
- Custom pivot point
- A simple debugger that shows you if something went wrong
- Now supports shape key animation
- Added a permanent workaround for the bug in Blender 4.0 where using the simulation zone removes materials from an object
So, is this basically just a driver?
No. It has the basic functionality of a driver, but it can also do much more. The reason why this node setup exists is that it's simply not possible to create a good looking accelerating or decelerating rotation with just drivers. It's also much easier to understand since it calculates with degrees while drivers calculate rotation in radians. When creating this setup, it was important for me to make it as easy to use as possible for artists who don't like or understand math.
How does it work?
Here's a quick video tutorial:
Here is a video showing how you can easily see the rotation speed directly:
1. Rotation per frame

This value determines how much the object rotates per each frame. Think of this value as your maximum rotation speed. It is recommended that this value remains constant for the entire duration of your animation, both to make this node tree simple to use for people who don't like math, and for ease of use with the RPM to rotation per frame converter node (more about that later).
2. Control value

This is the value you should animate to control the rotation speed in you animation. This value is a fraction of your maximum rotation speed.
It ranges from 0 to 1, where 0 means no rotation and 1 means rotation at full speed. When the control value goes up, the object rotation accelerates. When the control value goes down, the object rotation decelerates.
3. Rotation direction switch
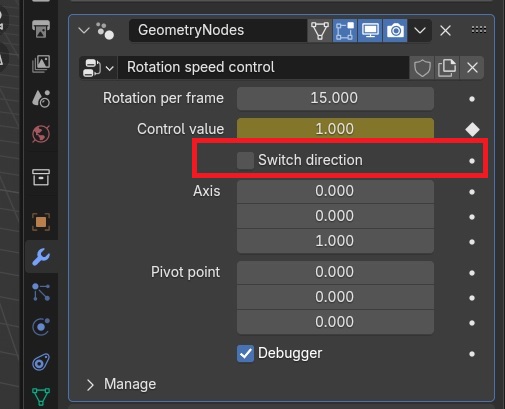
This allows you to easily switch between clockwise and counter-clockwise rotation.
4. Axis

Allows you to set a custom axis for your rotation. By default set to Z axis.
5. Pivot point
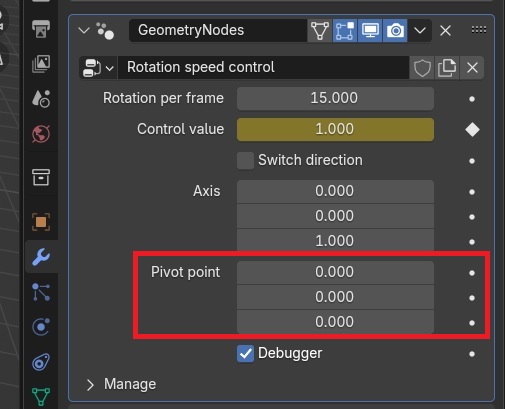
Allows you to set a custom pivot point. This is relative to object origin.
6. Debugger
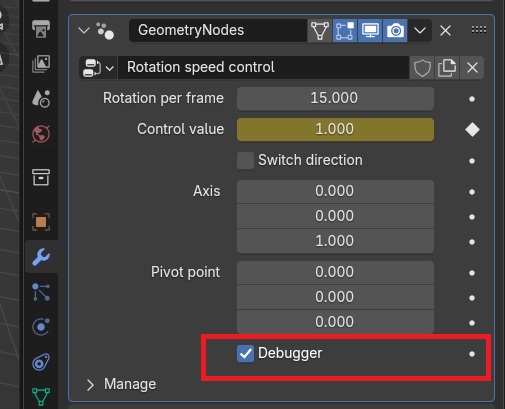
Lets you see the rotation and rotation speed directly for each individual frame. This can easily tell you if something in your animation has gone wrong.
7. RPM to rotation per frame converter node
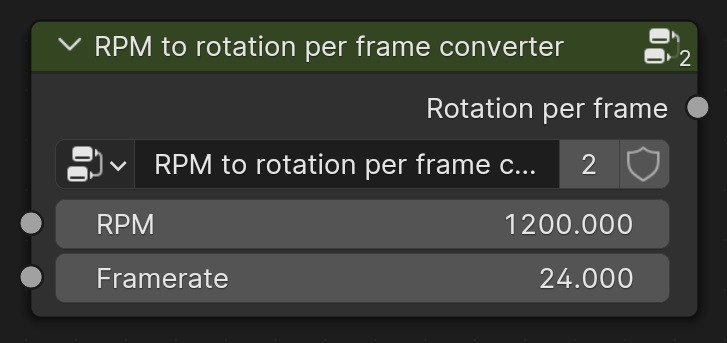
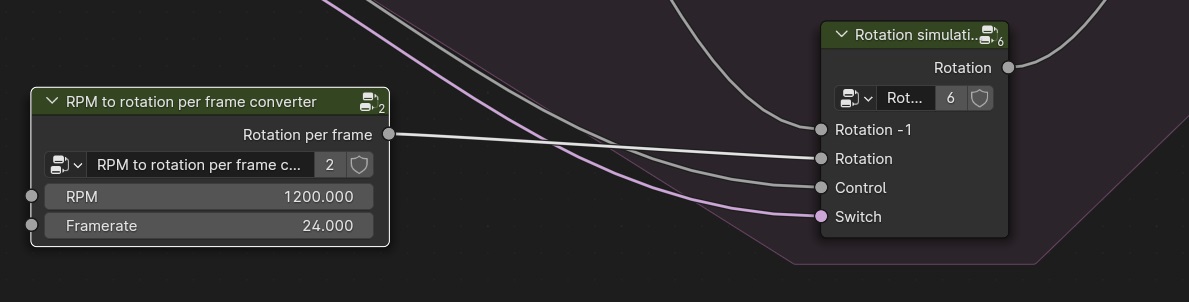
Use this node when you're animating an object with known RPM. To use this node, go into the node tree, input your RPM, input your framerate, then plug the node the way it's shown on the picture below.
5. Known issues
1. This node setup doesn't work in animation rendered by a render farm
Solution: Bake animation before exporting to render farm.
2. I've changed some settings mid-animation and now it doesn't work
This node setup is based on the simulation zone. Reset to the first frame of your animation and let it run again until the end.