How to Use the Add-on
Create a Redshift proxy object via the standard method with Redshift for Blender.
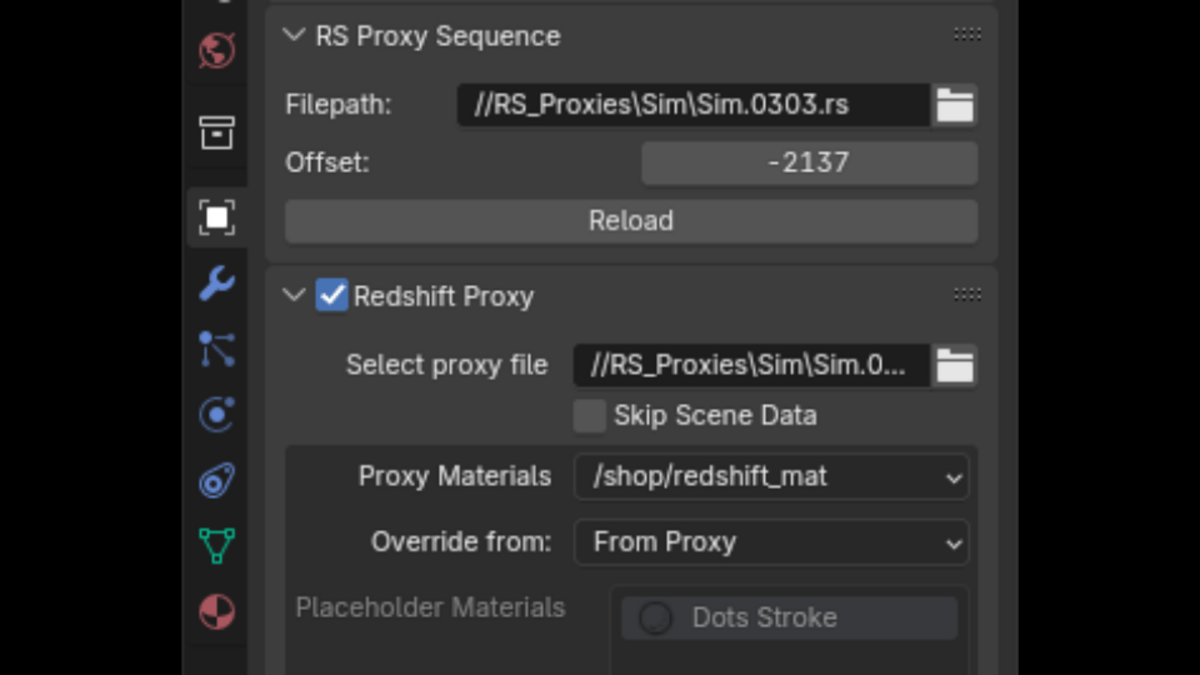
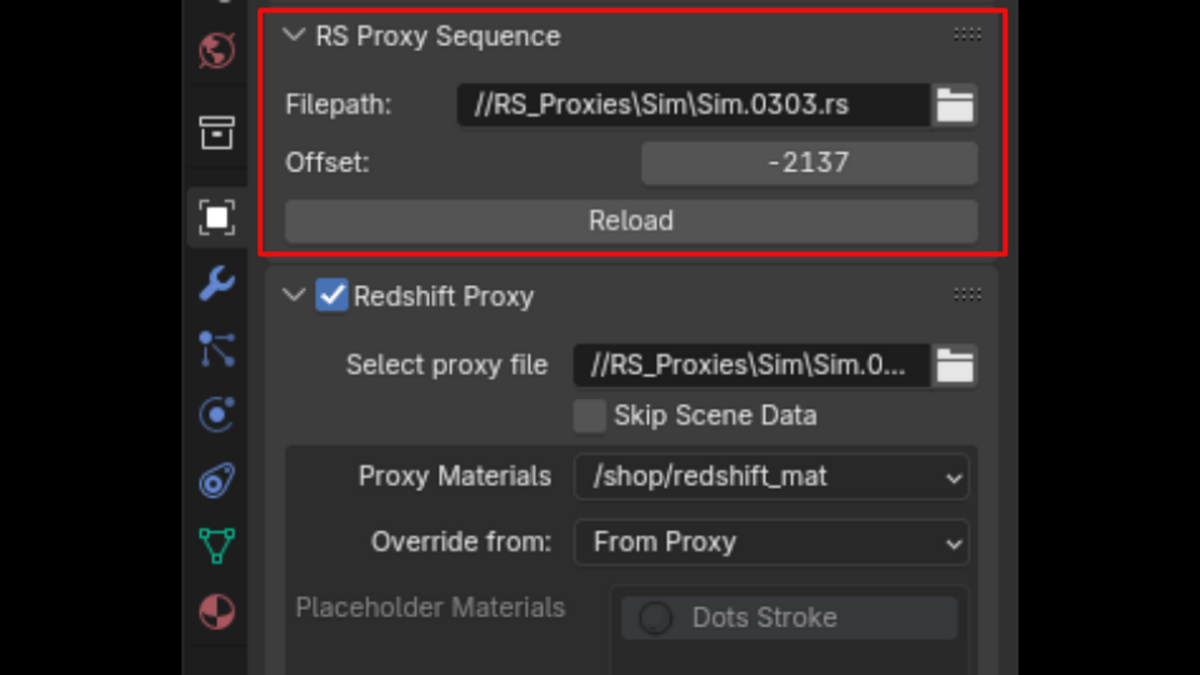
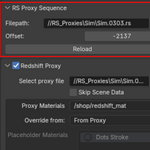
With the RS proxy object still selected, find the RS Proxy Sequence Loader panel under Object Properties > RS Proxy Sequence
From the RS Proxy Sequence panel use the Filepath setting to point the add-on at your RS proxy sequence on-disk.
You can then use the Offset setting to offset the sequence, so that it starts at the frame you require.
Options
Filepath - Use this setting to point the addon to the location of your Redshift Proxy files (.rs). Both relative and absolute paths are supported and sequences are automatically detected.
Offset - Use this setting to offset the frame number that your RS proxy sequence should start at. By default, the addon will detect and use the frame range of the RS Proxy files. So if your RS Proxy frame range is 250-500, but you want it start at frame 0. You would use an offset value of -250.
Reload - Use this button to manually force Redshift to reload the selected proxy sequence (if needed).
Rendering with GarageFarm
To use RS Proxy Sequence Loader for rendering with GarageFarm please use the following instructions:
- 1. Copy your RS proxy sequence(s) to a folder next to your blend file
- 2. Set the RS Proxy Sequence Loader Filepath setting for all RS proxy objects to relative paths
- 3. Upload your shot as paused via RenderBeamer
- 4. Connect to your GarageFarm account via FTP (see here for more info)
- 5. Locate your paused shot file in your FTP client and upload your RS proxy sequence(s) folder, ensuring the relative paths will match
- 6. Once your RS proxy sequence(s) have finished uploading, you can submit your shot for rendering
- Note: We recommend submitting jobs as test renders via the usual GarageFarm method, to ensure you have followed the above steps correctly.
 Ad Morris's Add-ons