 UitTree


Installation
-
Open Blender
-
Go to Edit > Preferences
-
In the Preferences window, open the Add-ons tab
-
Click the Add-ons settings icon in the top right corner, then select Install from Disk...
-
Navigate to the location where you saved the SaveMyMatte file
➤ Select the .zip file and click Install from Disk -
Make sure the checkbox is enabled:
✅ SaveMyMatte -
Close the Preferences window.
Accessing the Addon
-
Switch to the Compositing workspace in Blender
-
Enable Use Nodes if it’s not already active
-
Press N to open the N Panel (right sidebar)
-
You’ll see a new tab called SaveMyMatte
-
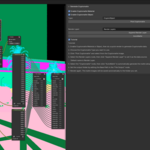
Enable Tutorial in the panel to view usage instructions.
Tutorial
-
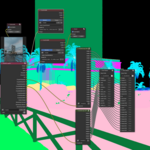
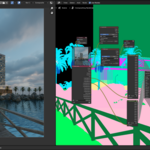
Enable Cryptomatte Material or Object, then do a quick render to generate Cryptomatte data.
-
Choose the Cryptomatte Type you want to use.
-
Click "Pick Cryptomatte" and select from the Cryptomatte image.
-
Select the Render Layers node, then click "Append Render Layer" to set it as the data source. Default name is Render Layer.
-
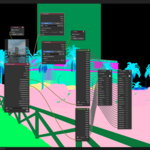
Select the "Cryptomatte" node, then click "AutoMatte" to automatically generate the matte setup.
-
Set the output folder by editing the Base Path in the "File Output" node.
-
Render again. The matte images will be saved automatically to the folder you set.
Have questions about this product?
Login to message
| Blender Extension Compatible | Yes |
| Sales | 40+ |
| Published | over 1 year ago |
| Blender Version | 4.2 - 5.0 |
| Extension Type | Add-on |
| Render Engine Used | Cycles, Eevee |
| License | GPL |
