Urban Graffiti Authentic Collection
 SirCharles.DESIGN

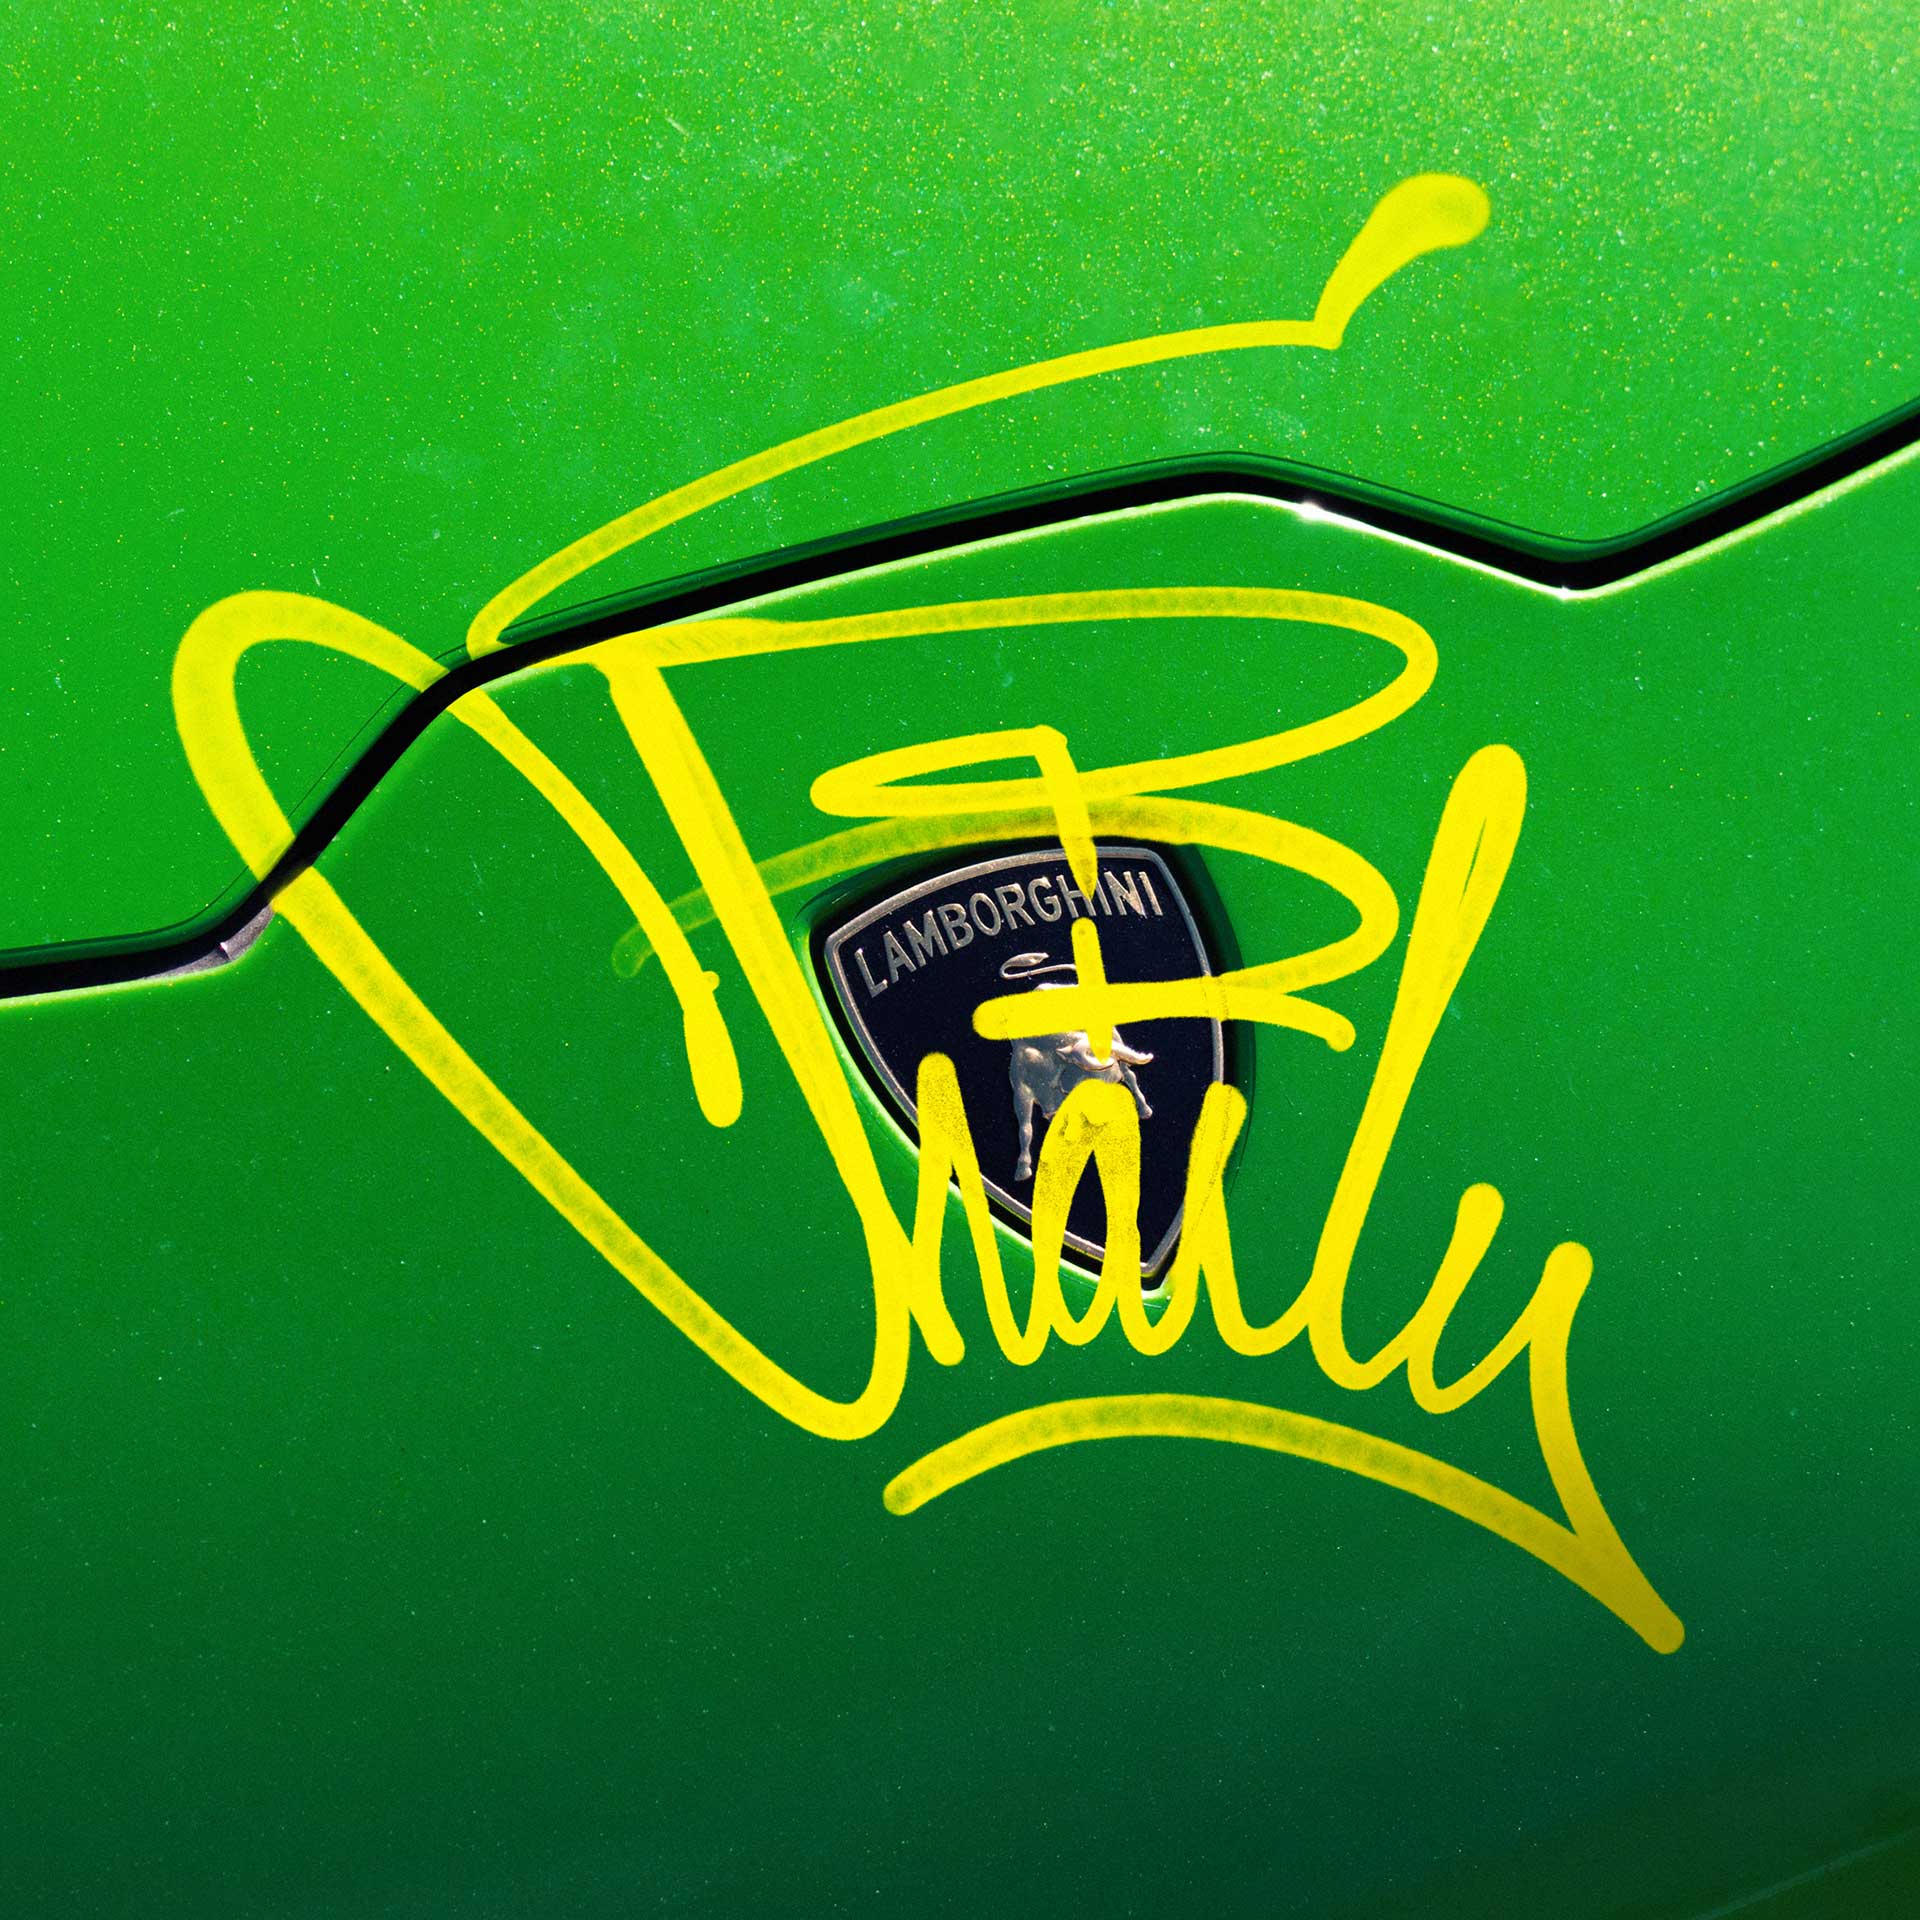
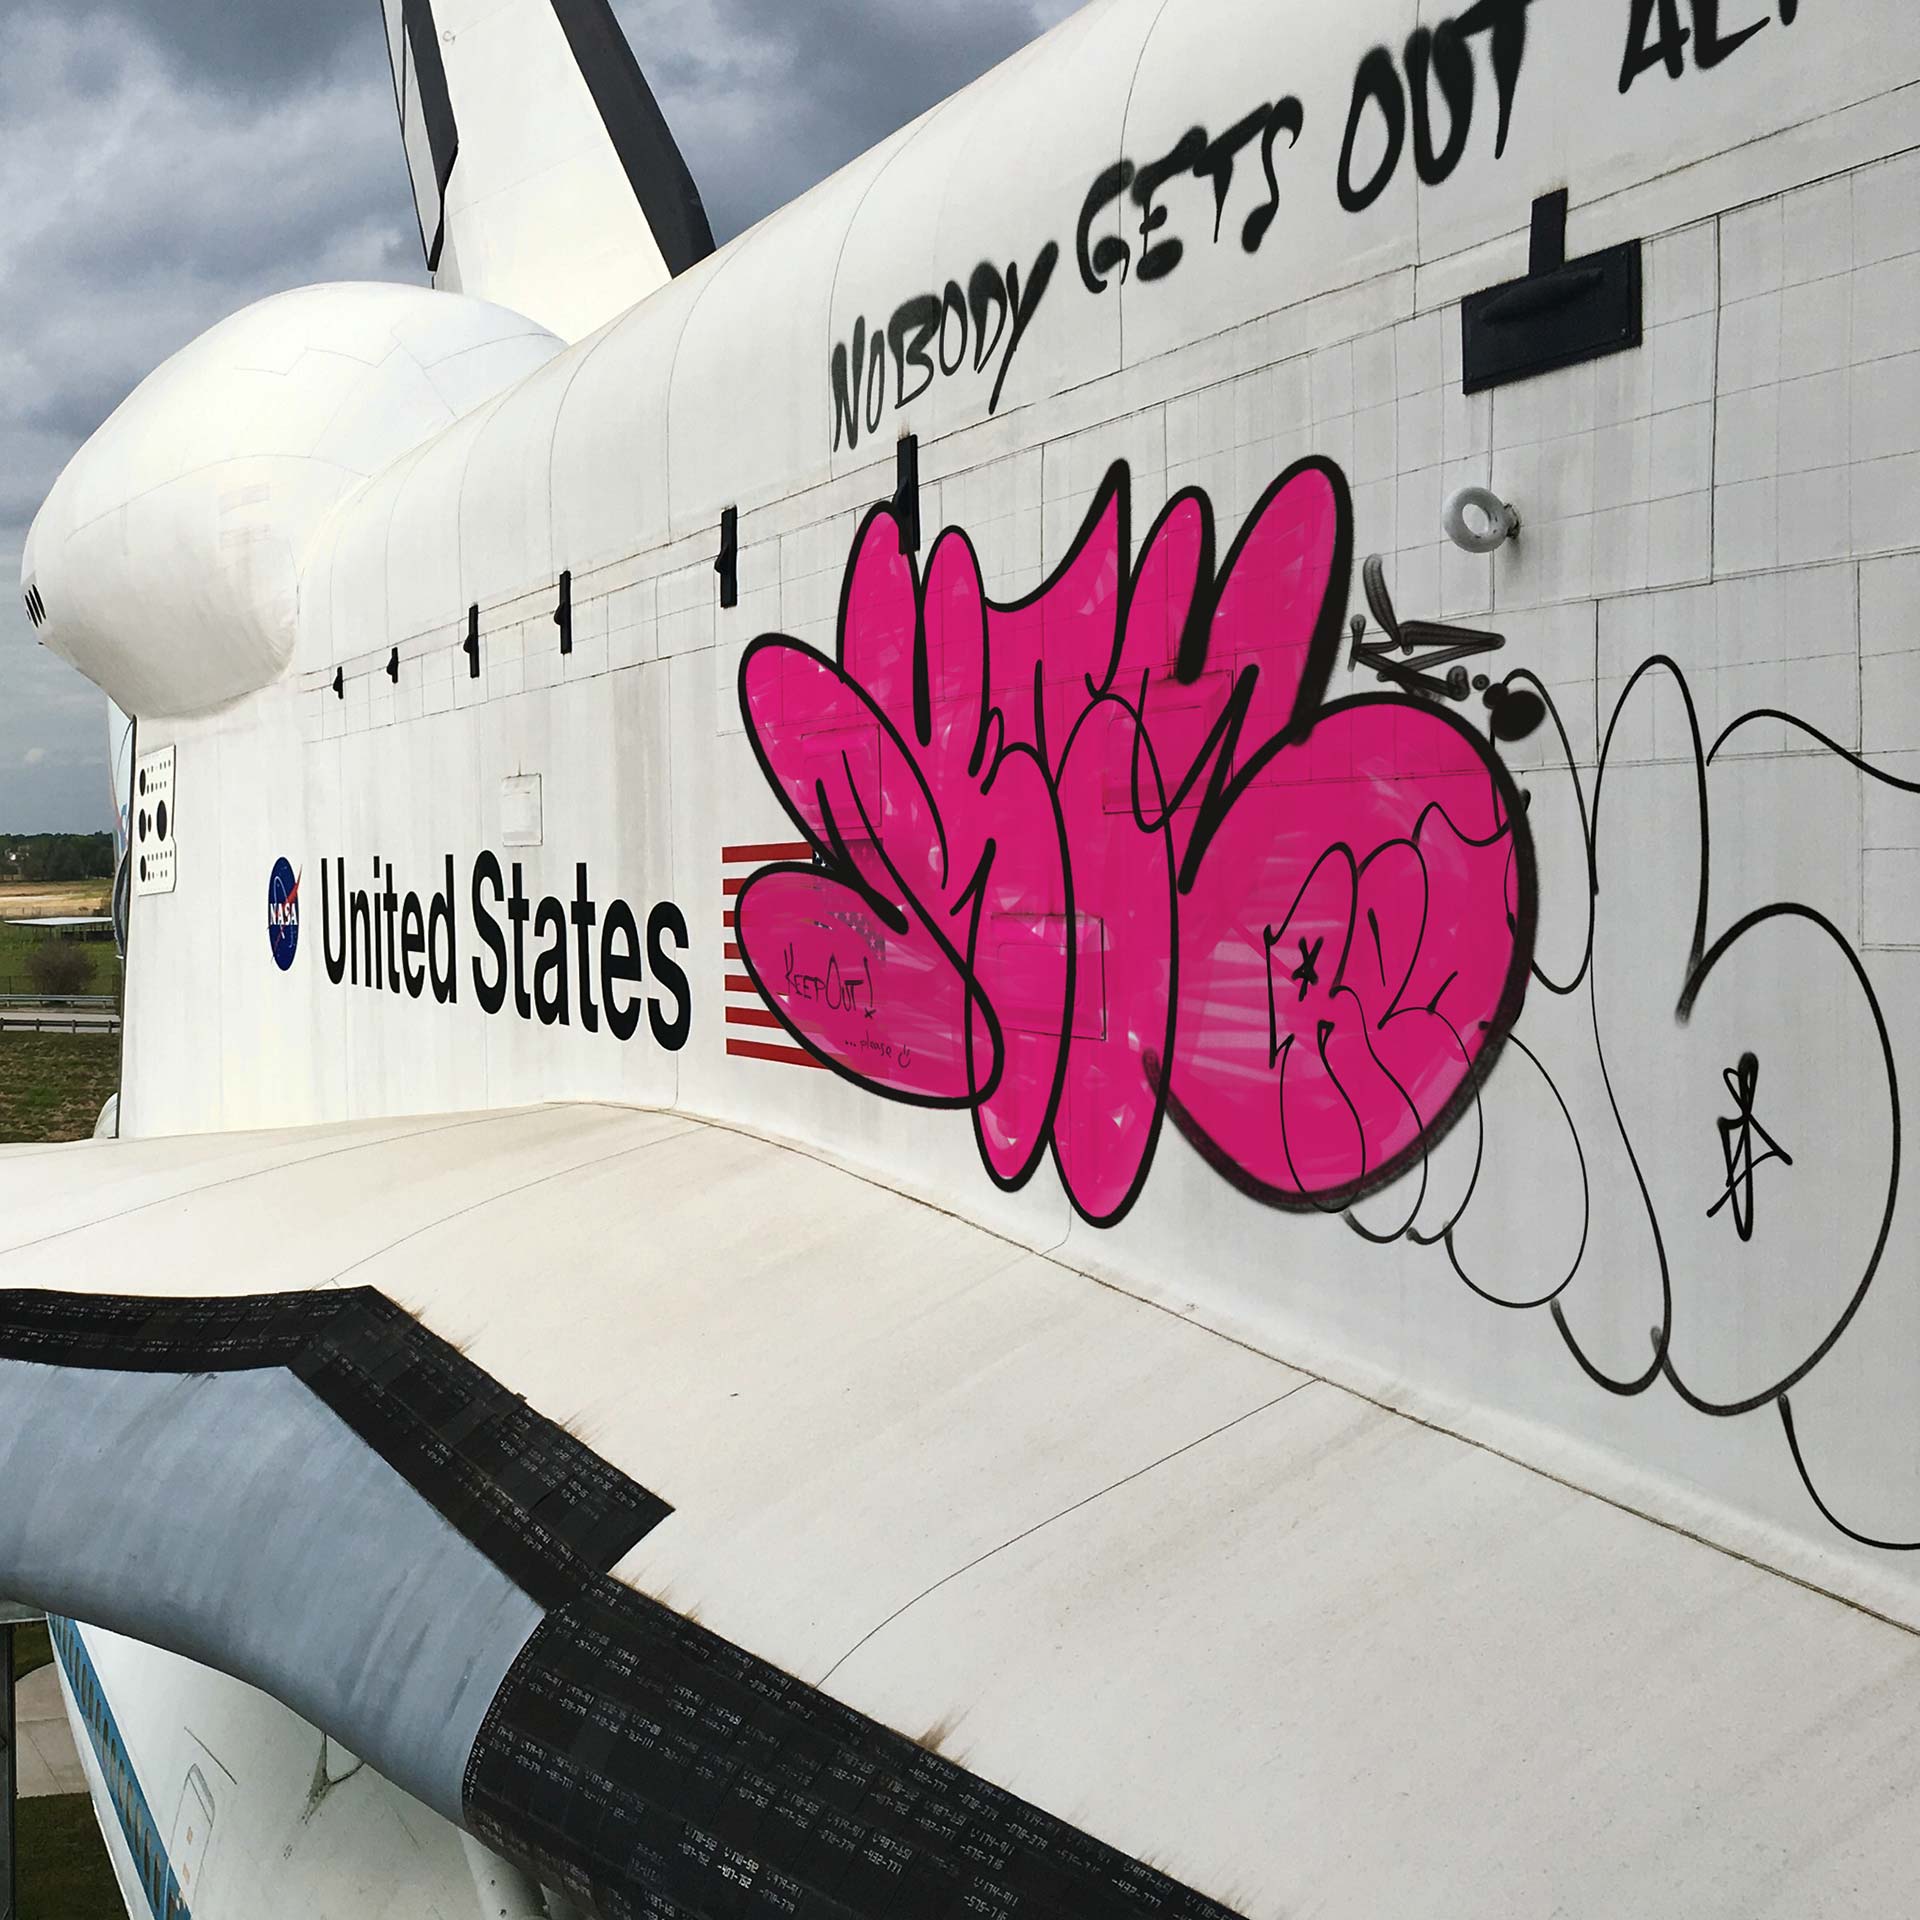
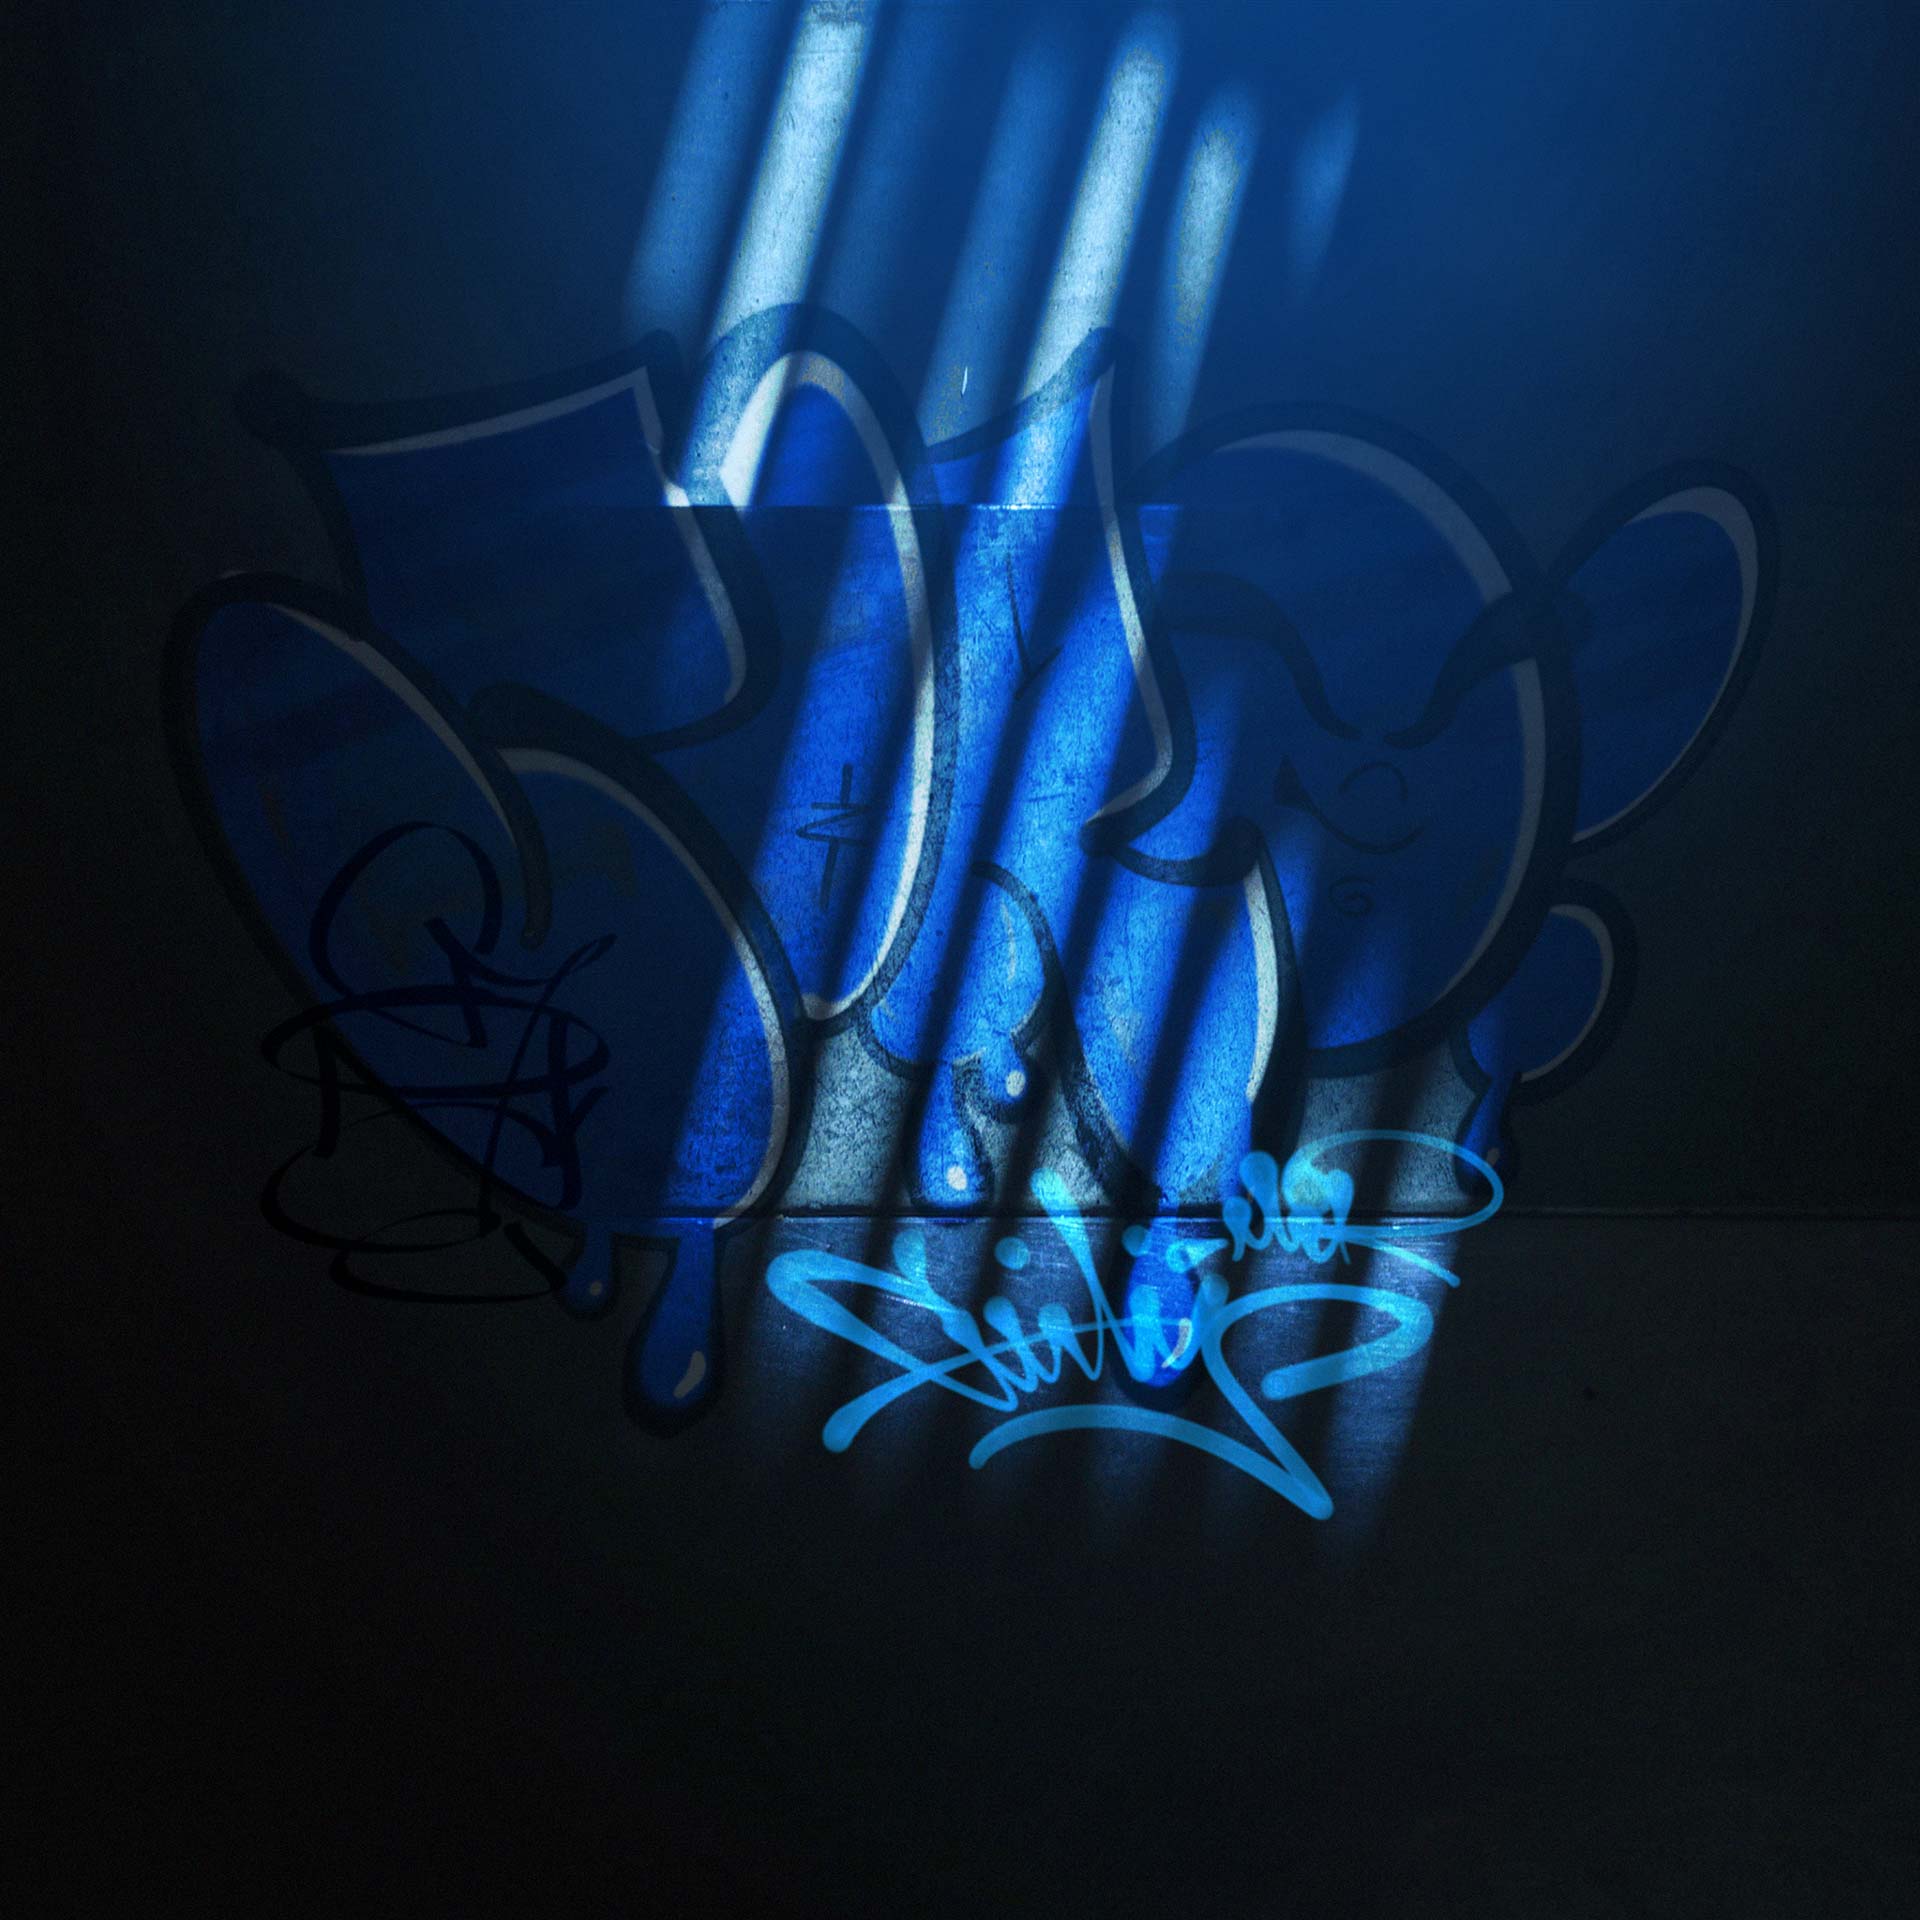
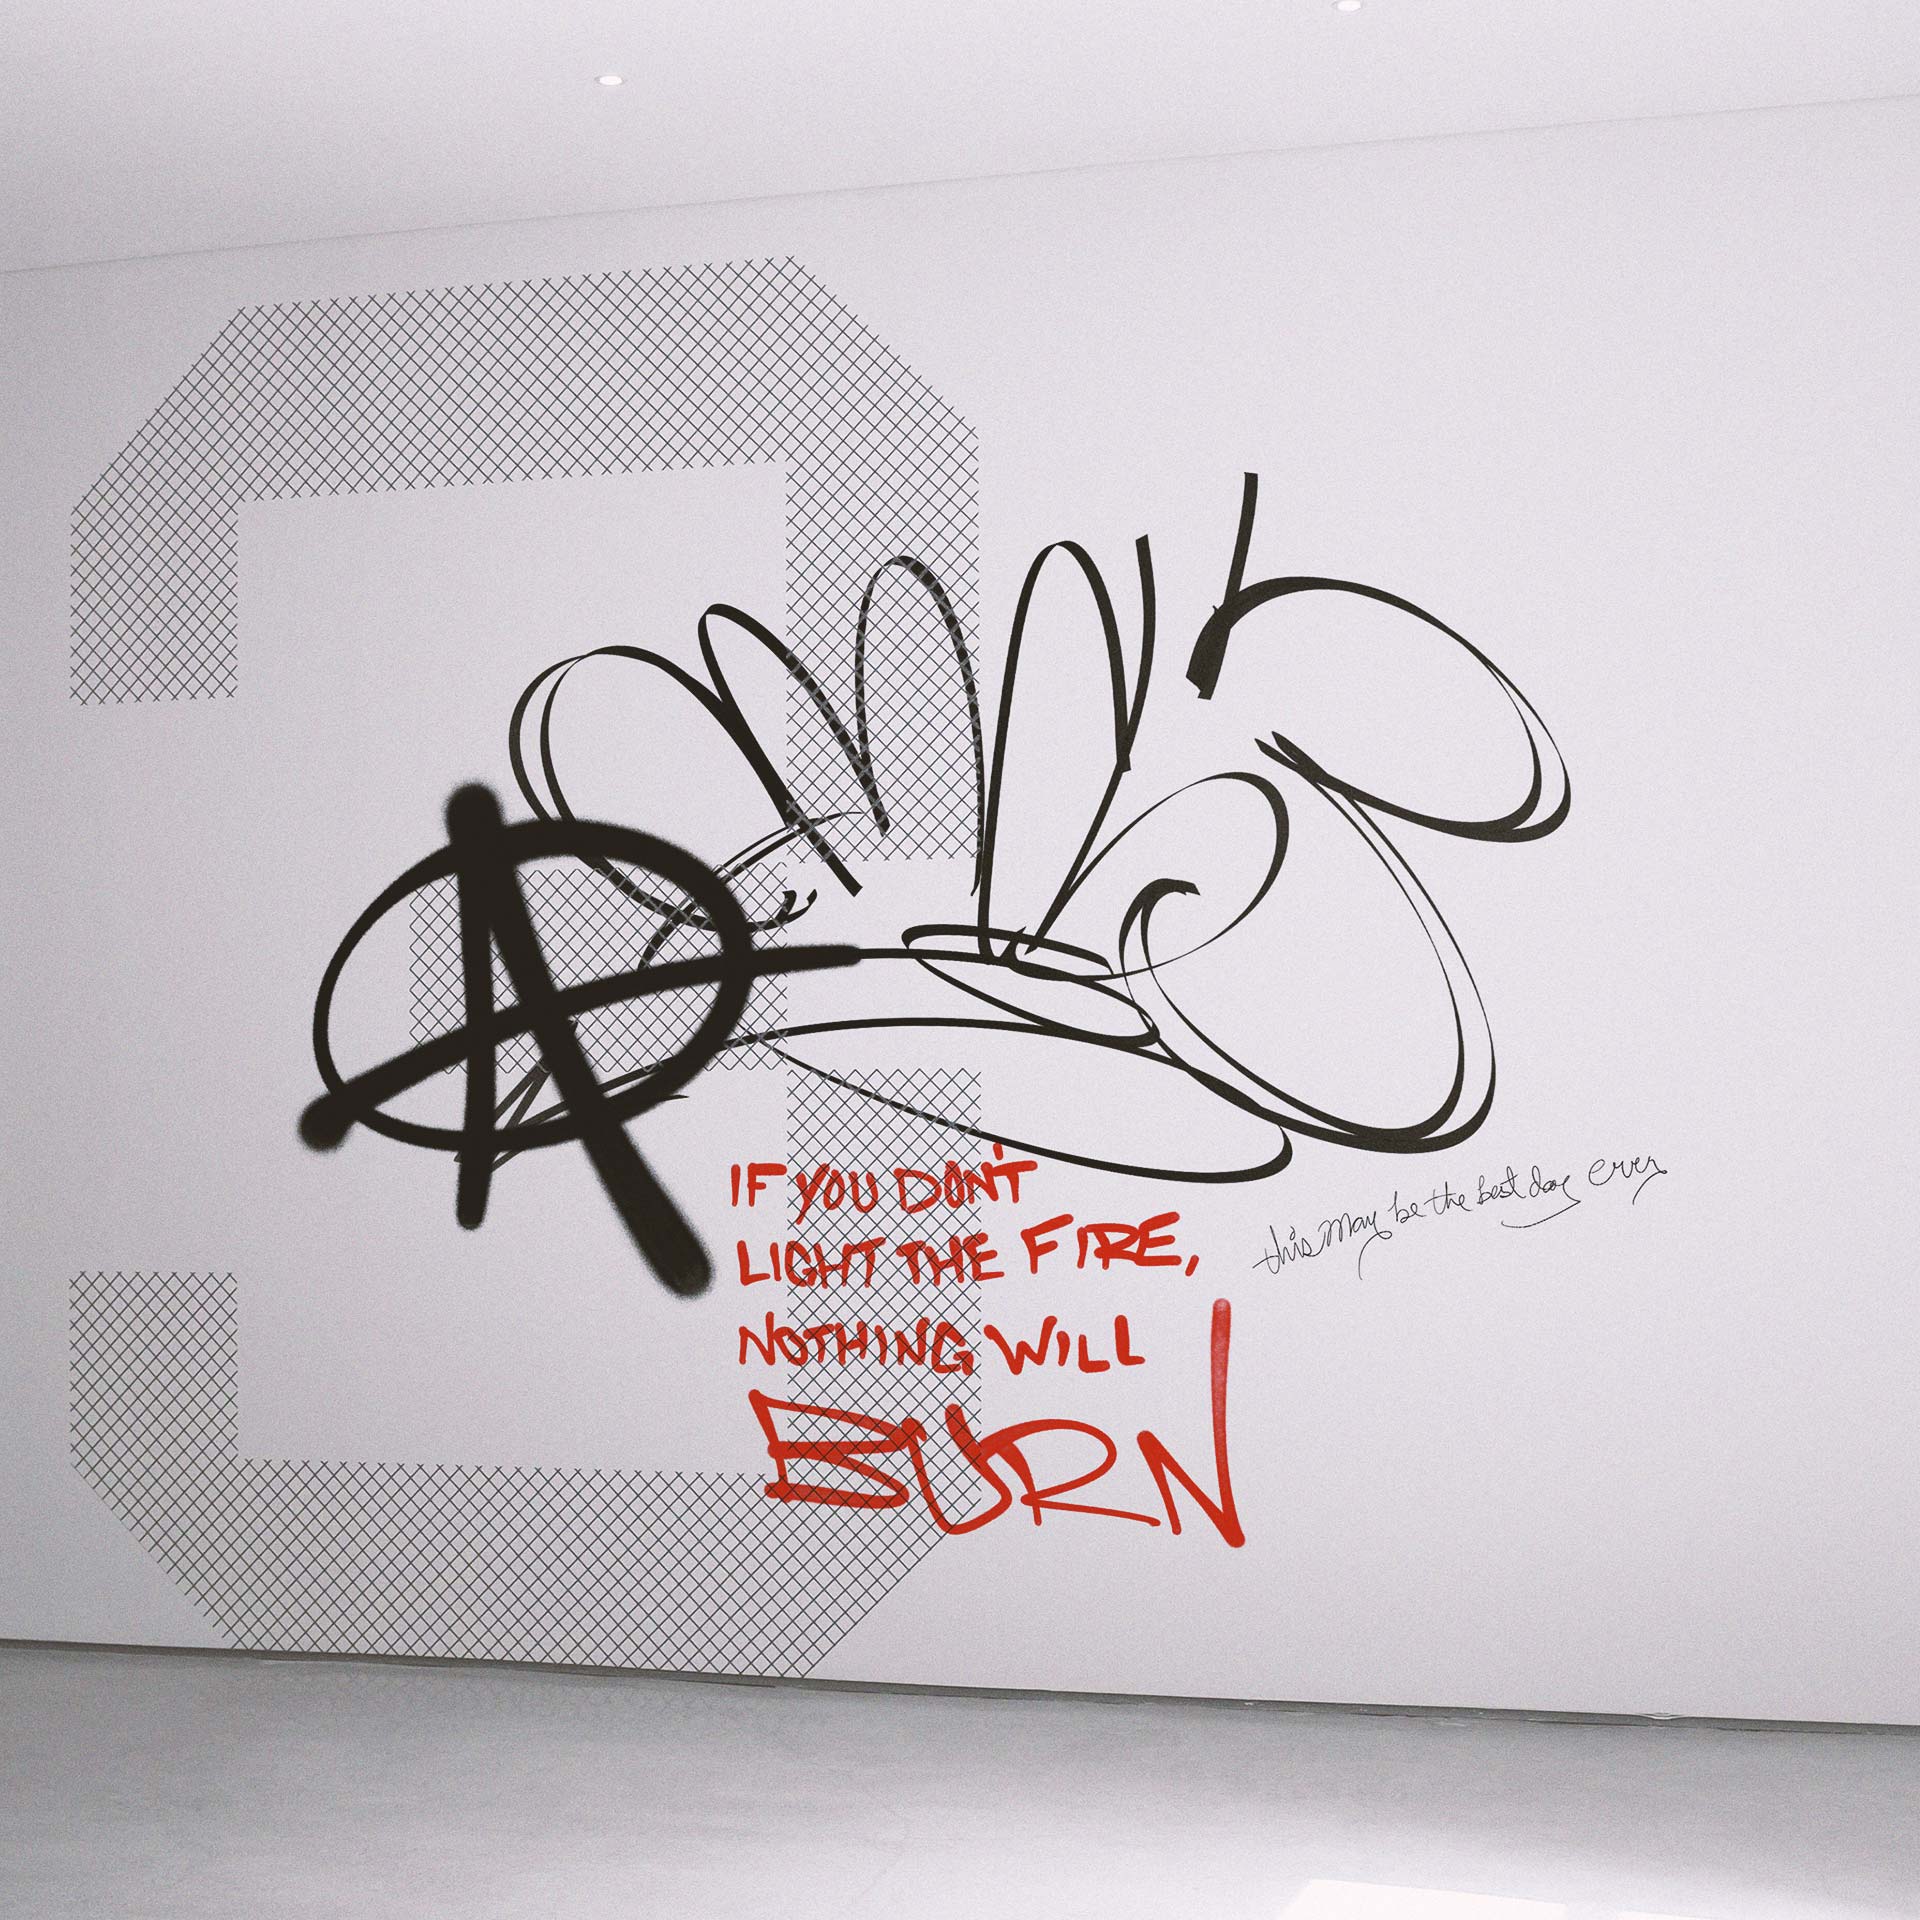
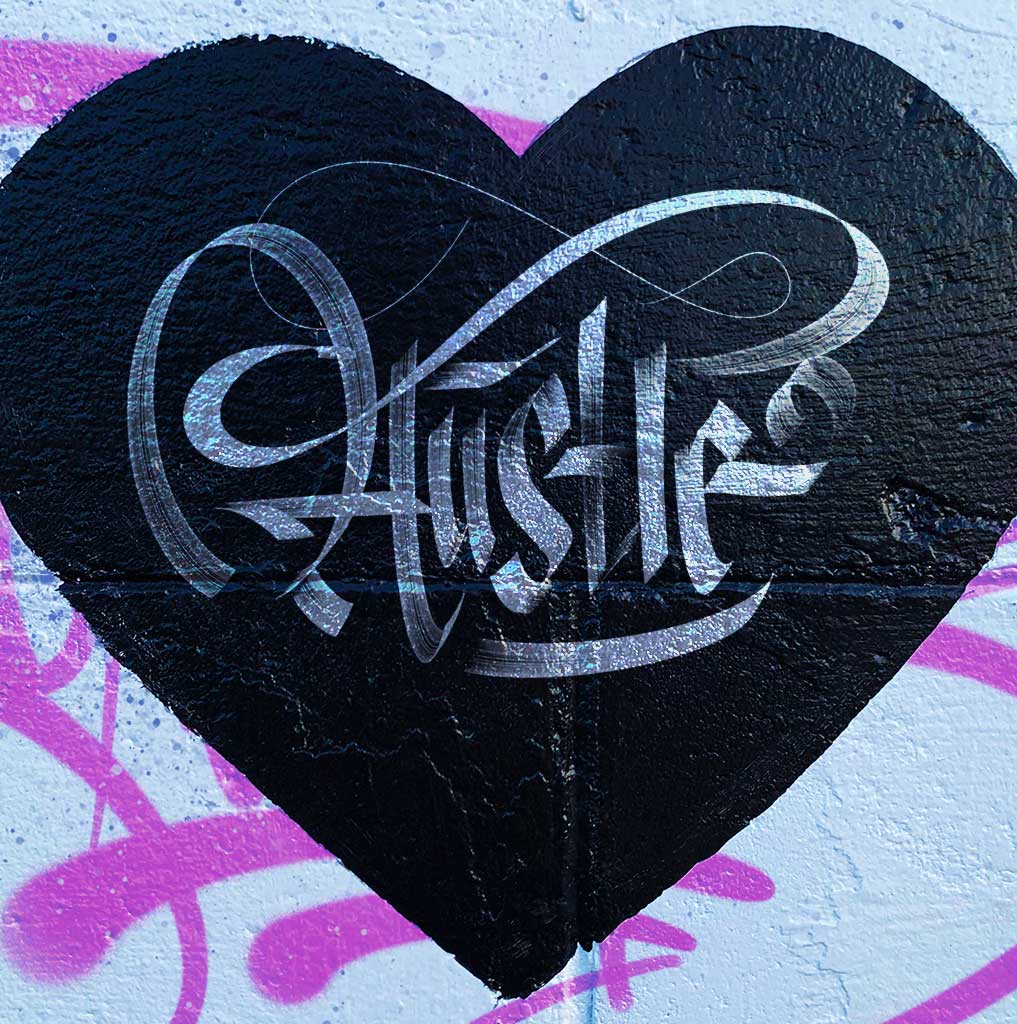
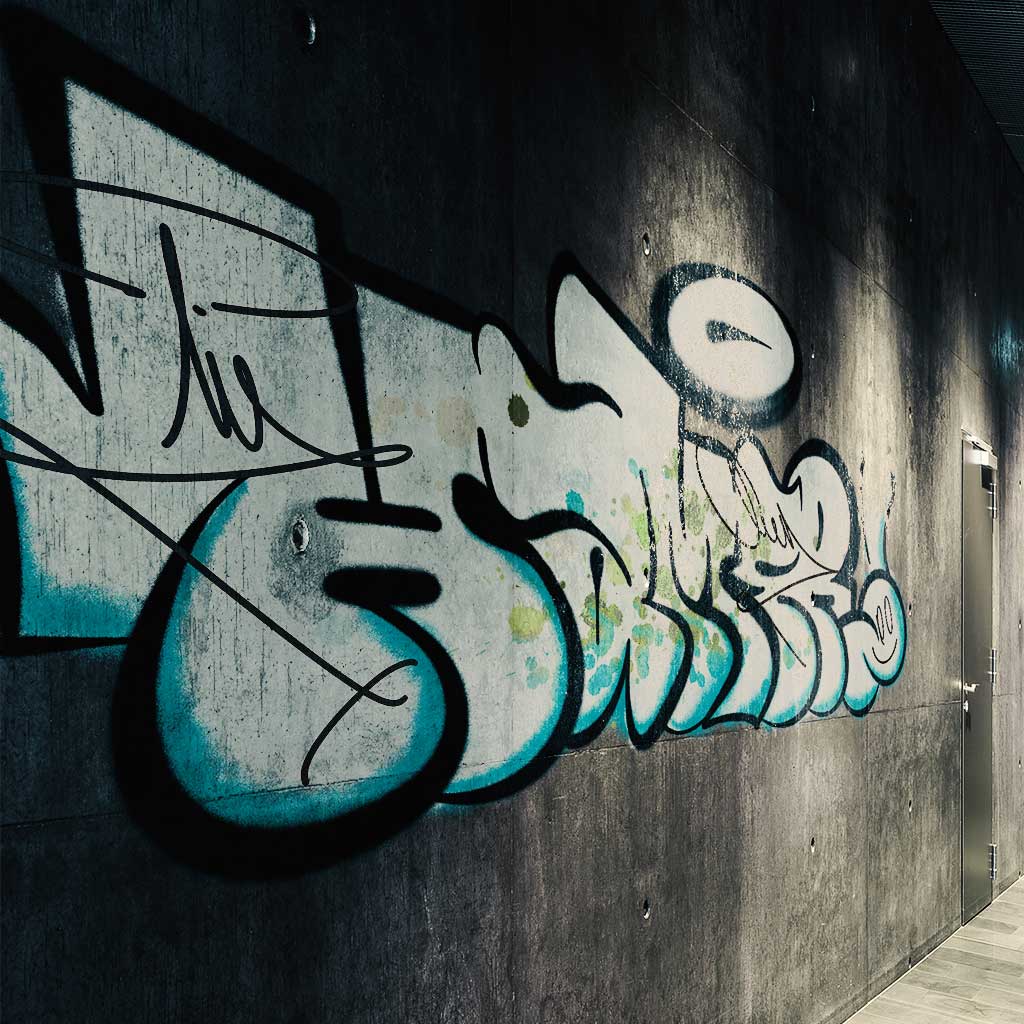

INSTALLATION & SETUP
Quick Start (3 Steps to Get Creating)
1. Download & Extract
- Download your URBAN GRAFFITI package from your SuperHive Market library
- Extract the ZIP file to a location you'll remember (we recommend: Documents/3D Assets/URBAN_GRAFFITI/)
- Keep all resolution folders organized together
2. Choose Your Resolution
- 4K PNG - High-resolution renders, close-ups, hero assets
- 2K PNG - Standard game dev, real-time applications, VR/AR
- 1K PNG - Mobile games, performance-critical projects, background details
3. Import into Your Software
- Navigate to your chosen resolution folder
- Import files directly into your project
- Reference the folder structure guide below for easy navigation
You're ready to create authentic urban environments!
FILE STRUCTURE & ORGANIZATION
Root Directory Layout
URBAN_GRAFFITI/
├── 4K_PNG/
│   ├── 01_Drawings/
│   ├── 02_Hand_Written/
│   ├── 03_Hollows/
│   ├── 04_Tags/
│   ├── 05_Throwups/
│   ├── 06_Updates/
│   └── Alphabet_Set/
├── 2K_PNG/
│   ├── [Same category structure]
├── 1K_PNG/
│   ├── [Same category structure]
├── License_Agreement.pdf
└── README.txt
Naming Convention
All assets follow a consistent naming pattern:
URBANGRAFFITI_[Category]_[Number]_[Description].png
Examples:
- URBANGRAFFITI_Tag_001_QuickThrowup.png
- URBANGRAFFITI_Wildstyle_023_ComplexPiece.png
- URBANGRAFFITI_Stencil_045_UrbanIcon.png
This naming system allows you to:
- ✓ Quickly identify asset categories
- ✓ Sort and filter in your file browser
- ✓ Find specific assets across projects
- ✓ Maintain organized asset libraries
THE 6 URBAN GRAFFITI CATEGORIES + ALPHABET SET
All assets are provided with authentic alpha transparency, allowing you to apply them to any surface with realistic integration. Each piece captures the raw energy and authentic aesthetic of street art culture.
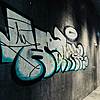
01 - TAGS & THROW-UPS (30 assets)
Category Focus: Quick tags, throw-ups, and street signatures
Visual Language:
- Fast tags and hand styles
- Bubble letters and throw-ups
- Marker and spray can signatures
- Crew tags and call signs
- Quick hits and one-liners
- Street calligraphy variations
Best For:
- Urban environment detailing
- Background street texture
- Alleyway and subway scenes
- Authentic city atmosphere
- Layered urban decay
- Street culture storytelling
Design Philosophy: Tags are the foundation of graffiti culture—quick, bold statements of presence. These assets capture the raw energy of street writing, from simple tags to complex throw-ups. Each piece reflects authentic street calligraphy techniques, spray patterns, and the spontaneous nature of urban marking.
Usage Tips:
- Layer multiple tags for authentic wall coverage
- Vary opacity to simulate age and weathering
- Combine with drip effects for realism
- Use different scales to create depth
- Mix tag styles for multi-artist environments
02 - WILDSTYLE & COMPLEX PIECES (35 assets)
Category Focus: Elaborate graffiti productions and wildstyle letters
Visual Language:
- Intricate wildstyle letter forms
- Complex interlocking designs
- 3D letters with depth and shadow
- Arrow and connector elements
- Background fills and patterns
- Color-ready complex compositions
Best For:
- Featured wall art and murals
- Urban showcase pieces
- Street art focal points
- Graffiti hall of fame scenes
- Detailed production environments
- Hip-hop and urban culture visuals
Design Philosophy: Wildstyle represents graffiti's highest art form—elaborate, stylized letter compositions that push the boundaries of legibility while showcasing technical mastery. These pieces capture the complexity, flow, and artistic ambition of production graffiti, from classic wildstyle to contemporary developments.
Usage Tips:
- Use as centerpiece elements on featured walls
- Scale appropriately for wall size realism
- Add custom colors to match your palette
- Combine with drips and weathering for age
- Layer with tags for multi-artist authenticity
03 - STENCILS & STREET ART (12 assets)
Category Focus: Stencil art, paste-ups, and street art graphics
Visual Language:
- Political and social imagery
- Portrait stencils
- Iconic symbols and motifs
- Paste-up style compositions
- Wheat paste aesthetics
- Contemporary street art graphics
Best For:
- Political and narrative environments
- Urban storytelling
- Protest and activism scenes
- Contemporary city settings
- Art district atmospheres
- Documentary-style urban visuals
Design Philosophy: Stencil art and street art represent graffiti's evolution into broader cultural commentary. These assets capture the precision of stencil work, the impact of wheat-paste imagery, and the graphic power of contemporary street art. Each piece balances artistic expression with social messaging.
Usage Tips:
- Apply to various urban surfaces (brick, concrete, metal)
- Use weathering effects to show age and deterioration
- Combine multiple stencils for layered narratives
- Vary placement for guerrilla art authenticity
- Mix with other categories for diverse urban environments
04 - CHARACTERS & ICONS (18 assets)
Category Focus: Graffiti characters, mascots, and iconic imagery
Visual Language:
- Classic graffiti characters
- Cartoon-style mascots
- Urban mythology figures
- Stylized portraits
- Street culture icons
- Comic-influenced designs
Best For:
- Character-driven urban scenes
- Playful street environments
- Hip-hop culture visuals
- Urban fantasy settings
- Youth culture atmospheres
- Street art storytelling
Design Philosophy: Characters bring personality and narrative to graffiti art. These assets capture the playful, rebellious, and often subversive nature of graffiti characters—from classic cartoon-inspired mascots to contemporary street art figures. Each character adds life and attitude to urban environments.
Usage Tips:
- Scale characters to interact with environment
- Position at eye level for maximum impact
- Combine with text elements for complete pieces
- Use shadows and highlights for dimensional depth
- Create character clusters for multi-artist walls
05 - DRIPS & TEXTURE EFFECTS (10 assets)
Category Focus: Paint drips, splatters, and aging effects
Visual Language:
- Spray paint drips and runs
- Paint splatters and overspray
- Texture overlays and weathering
- Fade and sun-damage effects
- Layered paint buildup
- Urban decay textures
Best For:
- Realistic graffiti weathering
- Age and decay simulation
- Layered urban surfaces
- Authentic spray paint effects
- Environmental storytelling
- Texture and depth enhancement
Design Philosophy: Real graffiti lives, ages, and decays. These texture effects capture the physical reality of spray paint on urban surfaces—the drips, the overspray, the weathering from elements, and the layering of multiple pieces over time. These assets add crucial authenticity and temporal depth to graffiti work.
Usage Tips:
- Layer over base graffiti for realism
- Use varying opacities for different ages
- Combine multiple drip effects for complexity
- Add to edges and bottom sections naturally
- Mix with weathering textures for authenticity
06 - URBAN SYMBOLS & MARKERS (10 assets)
Category Focus: Street symbols, arrows, and urban markers
Visual Language:
- Directional arrows and pointers
- Peace signs and symbols
- Stars, crowns, and icons
- Gang and crew markers
- Urban navigation symbols
- Street code graphics
Best For:
- Background urban detail
- Navigation and wayfinding
- Territorial marking
- Street culture authenticity
- Layered environmental storytelling
- Urban worldbuilding
Design Philosophy: Street symbols form a visual language of urban spaces. These assets capture the marks, symbols, and icons that populate city walls—from simple arrows to complex symbolic systems. Each element contributes to the visual vocabulary of street culture and urban communication.
Usage Tips:
- Scatter throughout environments for authenticity
- Vary sizes and placements naturally
- Layer with other graffiti categories
- Use for subtle environmental storytelling
- Create visual paths and narratives
BONUS: ALPHABET SET (36 alphanumeric assets)
Category Focus: Individual graffiti-style letters and numbers for custom tag creation
Visual Language:
- Complete A-Z alphabet in graffiti style
- Numbers 0-9 for dates, addresses, and codes
- Consistent design across the entire set
- Authentic tag lettering aesthetics
- Mix-and-match for custom words and tags
Best For:
- Creating custom tags and names
- Personalized graffiti elements
- Crew names and custom text
- Player-generated content systems
- Dynamic text in urban environments
Design Philosophy: The alphabet set gives you complete creative freedom to create any custom tags, names, or text elements you need. Each letter is designed with authentic graffiti aesthetics, allowing you to spell out crew names, location markers, or any custom text that fits your urban narrative.
Usage Tips:
- Combine letters to create custom tags
- Vary letter sizes slightly for hand-written feel
- Add slight rotation and position variation for authenticity
- Layer with drips and effects for weathered appearance
- Perfect for procedural or player-generated graffiti systems
ASSET COMBINATION STRATEGIES
Creating Authentic Urban Environments
The Layered Approach: Real urban walls accumulate graffiti over time, creating complex palimpsests of street art. Mix categories strategically for authentic environments:
Example: Alleyway Wall
- Base Layer: Older, faded tags and throw-ups (lower opacity)
- Mid Layer: Wildstyle piece or stencil art (featured element)
- Detail Layer: Fresh tags over older work
- Texture Layer: Drips, weathering, and age effects
- Accent Layer: Small symbols and markers
Example: Featured Mural Wall
- Hero Element: Large wildstyle piece or character (centerpiece)
- Supporting Elements: Surrounding tags and signatures
- Context Layer: Stencils and street art nearby
- Weathering: Drips and texture effects for age
- Detail: Urban symbols and small tags in corners
Example: Urban Decay Environment
- Heavy Layering: Multiple overlapping tags and pieces
- Varied Ages: Mix fresh and weathered graffiti
- Texture Heavy: Abundant drips and weathering
- Random Placement: Organic, unplanned appearance
- Visual Chaos: Authentic multi-artist coverage
Asset Hierarchy in Designs
Establish Visual Priority:
- Hero Elements (40%) - Featured pieces, large wildstyle, main characters
- Supporting Elements (35%) - Medium tags, stencils, secondary pieces
- Background Texture (25%) - Small tags, symbols, drips, weathering
This creates authentic complexity while maintaining visual clarity and storytelling focus.
SOFTWARE-SPECIFIC WORKFLOWS
BLENDER (Standard Workflow)
Method 1: Direct Image Texture
- Select your object and enter Edit Mode
- Add a new material in the Shading workspace
- Add an Image Texture node
- Load your chosen URBAN GRAFFITI PNG asset
- Connect to a Mix Shader to blend with base material
- Adjust placement using UV coordinates or texture mapping nodes
Method 2: Using as Decal with Shrinkwrap
- Add a plane (Shift+A > Mesh > Plane)
- Scale to approximate graffiti size
- Apply material with graffiti texture
- Add Shrinkwrap modifier targeting your model
- Position plane over desired surface area
- Adjust Shrinkwrap offset for perfect surface placement
Pro Tip: For layered graffiti walls, create multiple planes with different graffiti assets at varying opacities to simulate years of accumulated street art.
BLENDER WITH KIT OPS
Setup:
- Install KIT OPS addon (https://gum.co/kitops)
- Create a KPACK folder in your KIT OPS library
- For each graffiti asset you want quick access to:
- Create a simple plane with the asset material applied
- Export as FBX/OBJ to your KPACK folder
- Refresh KIT OPS library
Usage:
- Select your wall or surface
- Open KIT OPS INSERT menu
- Browse to your URBAN GRAFFITI KPACK
- Click graffiti to instantly place on surface
- Adjust using KIT OPS scaling and rotation tools
Installation Tutorial: https://youtu.be/05LkAZBZIn0
Custom PNG Tutorial (For importing your own PNG files): https://youtu.be/eM9MaKLVE2k?si=rBTJMC2OXfuOuXqD&t=230
Advantages:
- Instant placement with mouse click
- Real-time visual feedback
- Non-destructive workflow
- Easy repositioning and scaling
- Perfect for rapid urban environment building
BLENDER WITH DECALMACHINE
Setup:
- Install DECALmachine addon
- Navigate to DECALmachine preferences
- Add URBAN GRAFFITI folder as a decal library
- DECALmachine will automatically recognize PNG files
Usage:
- Select your wall model
- Activate DECALmachine (default: D key)
- Browse your URBAN GRAFFITI library
- Click to project graffiti onto surface
- Asset automatically wraps around geometry
Installation Tutorial: https://youtu.be/iKNtCkGOWvY
Advanced Features:
- Parallax mapping for depth
- Automatic UV handling
- Smart surface wrapping around corners
- Decal stacking for layered graffiti
- Perfect for organic urban surfaces
UNITY
Import:
- Create Assets/Textures/URBAN_GRAFFITI/ folder structure
- Drag asset folders into Unity project
- Unity automatically imports PNG files as textures
Usage Method 1: Standard Shader
- Create new material
- Assign graffiti asset to Albedo texture slot
- Enable transparency (Rendering Mode: Transparent)
- Apply to plane positioned on wall surface
- Adjust to blend naturally with environment
Usage Method 2: Decal Projector (URP/HDRP)
- Create new Decal Projector
- Assign URBAN GRAFFITI asset to projector material
- Position projector on wall surface
- Adjust projection size and angle
- Layer multiple decals for complex graffiti coverage
Usage Method 3: UI/Canvas Elements
- Use directly as UI sprites for urban interface designs
- Perfect for hip-hop game menus
- Street culture themed overlays
UNREAL ENGINE
Import:
- Drag PNG files into Content Browser
- Unreal automatically creates Texture assets
- Organize in Content/Textures/URBAN_GRAFFITI/ structure
Usage Method 1: Deferred Decals (Primary Method)
- Create new Material with Domain set to "Deferred Decal"
- Add Texture Sample node with your URBAN GRAFFITI asset
- Connect RGB to Base Color
- Connect Alpha to Opacity
- Place Decal Actor on wall
- Assign material and adjust projection
- Layer multiple decals for authentic urban environments
Usage Method 2: Standard Material on Planes
- Create material with graffiti texture
- Enable transparency (Blend Mode: Translucent)
- Apply to plane mesh
- Position slightly off wall surface to avoid z-fighting
- Perfect for larger featured pieces
Pro Tip: Use Deferred Decals for most graffiti. For hero pieces that need special attention, use planes with dedicated materials for more control.
SUBSTANCE PAINTER
Import:
- Create custom smart material or drag onto surface
- Add Fill layer with URBAN GRAFFITI asset as alpha
Usage:
- Create new Fill layer
- Add URBAN GRAFFITI asset to the layer's alpha channel
- Adjust blend mode for desired effect
- Use projection tools for complex surfaces
- Add custom colors to match your scene palette
Advanced Workflow:
- Create material variations with different colors
- Layer multiple graffiti assets
- Add roughness variation for spray paint texture
- Combine with dirt and grime generators
- Create aged, weathered urban surfaces
Pro Tip: Use generators to create wear patterns that reveal or obscure graffiti naturally, simulating years of urban weathering.
ADOBE PHOTOSHOP/GRAPHIC DESIGN
Direct Usage:
- Open/Place PNG files directly
- Alpha transparency automatically recognized
- Use as layers in compositions
- Resize, color, and blend as needed
Best For:
- Concept art and pre-visualization
- Urban environment mockups
- 2D game backgrounds
- Marketing materials
- Album covers and hip-hop visuals
- Graphic design projects
Advanced Techniques:
- Use blend modes (Multiply, Overlay) for realistic integration
- Add Gaussian blur for depth of field effects
- Use adjustment layers to match lighting conditions
- Create custom color variations quickly
- Build texture libraries for consistent style
BEST PRACTICES & PRO TIPS
Resolution Management
When to Use 4K PNG:
- Close-up wall shots
- Hero graffiti pieces
- High-resolution renders
- Cinematic productions
- VR applications
- Featured art showcases
When to Use 2K PNG:
- Standard game development
- Mid-distance urban scenes
- Real-time applications
- Most architectural visualization
- Balance of quality and performance
When to Use 1K PNG:
- Background graffiti
- Distant urban elements
- Mobile games
- Performance-critical projects
- Small or far-view graffiti
Color Customization Strategy
Matching Your Scene Palette:
- Import PNG into image editor
- Use Hue/Saturation adjustments to shift colors
- Match lighting conditions (day, night, neon-lit)
- Create color-coordinated graffiti sets
- Export customized versions for your project
Popular Color Schemes:
- Classic Hip-Hop: Bright primaries, bold contrasts
- Cyberpunk Urban: Neon pinks, cyans, purples with high saturation
- Gritty Realistic: Muted earth tones, weathered colors
- Contemporary Street Art: Pastel palettes, modern aesthetics
- Post-Apocalyptic: Faded, desaturated, rust and decay tones
Layering & Composition for Urban Realism
Creating Believable Graffiti Walls:
- Base Layer: Older, faded pieces (30-50% opacity)
- Mid Layer: Medium-age graffiti (60-80% opacity)
- Fresh Layer: Recent pieces (100% opacity)
- Texture Layer: Drips, weathering (20-60% opacity)
- Detail Layer: Small tags and symbols
Placement Authenticity:
- Tags concentrate at accessible heights (3-7 feet)
- Large pieces occupy prominent wall sections
- Corners and edges accumulate more marks
- Under overhangs: less weathering, more preservation
- Sun-exposed areas: more fading and wear
Scale Realism:
- Tags: 1-3 feet typical size
- Throw-ups: 3-6 feet
- Pieces: 6-15 feet
- Murals: 15+ feet
- Characters: Varies, often 8-12 feet
Authenticity & Realism for Urban Projects
Wall Surface Considerations:
- Brick: Graffiti follows mortar lines and texture
- Concrete: Smooth application, more dripping
- Metal: Sharp edges, rust interaction
- Wood: Paint soaks in differently, weathering unique
- Glass: Rare, special properties when present
Environmental Storytelling:
- Gang/crew territory: Consistent styles, repeated tags
- Transit areas: Quick tags, high turnover
- Art districts: More elaborate pieces, curation
- Abandoned areas: Heavy layering, no removal
- Gentrifying neighborhoods: Mix of old graffiti and new removal
Temporal Realism:
- Fresh graffiti: Crisp edges, vibrant colors
- 1-2 years: Some fading, slight drips
- 3-5 years: Significant weathering, partially covered
- 5+ years: Heavy fading, multiple layers, barely visible
Common Pitfalls to Avoid
✗ Perfect, pristine graffiti: Too clean and digital-looking ✓ Solution: Always add drips, weathering, and imperfections
✗ Random, illogical placement: Graffiti in impossible locations ✓ Solution: Respect real-world accessibility and cultural logic
✗ Single-layer walls: Unrealistic for most urban environments ✓ Solution: Layer multiple pieces at different ages
✗ Uniform weathering: All graffiti aged identically ✓ Solution: Vary weathering based on position, exposure, age
✗ Wrong scale: Graffiti too large or small for context ✓ Solution: Reference real-world dimensions and photos
✗ Ignoring surface properties: Same appearance on all materials ✓ Solution: Adjust opacity and texture based on substrate
PROJECT-SPECIFIC WORKFLOWS
GAME DEVELOPMENT
Urban Open-World Implementation:
- Create modular wall prefabs with graffiti layers
- Build graffiti variation system for uniqueness
- Implement LOD for distant graffiti (simpler, lower res)
- Use texture atlases for performance
- Create neighborhood-specific graffiti sets
Optimization Checklist:
- ✓ Use texture atlases to reduce draw calls
- ✓ Implement aggressive LOD for background graffiti
- ✓ Compress textures appropriately for platform
- ✓ Use lower resolution for distant/background elements
- ✓ Profile memory usage and optimize
Asset Organization:
- Separate by category for easy access
- Create themed sets (neighborhood, gang territory, etc.)
- Organize by prominence (hero, mid, background)
- Maintain asset library with naming conventions
VR/AR DEVELOPMENT
Immersive Urban Experiences:
- Use higher resolutions (2K-4K) for close inspection
- Apply graffiti at realistic world scale
- Add subtle normal maps for depth perception
- Ensure readable from various angles
- Test comfort with visual density
VR-Specific Considerations:
- Detail level appropriate for viewing distance
- Performance optimization crucial for comfort
- Consider 360-degree environments
- Graffiti as environmental narrative tool
- Interactive graffiti elements (optional)
FILM & ANIMATION
Cinematic Urban Environments:
- Maximum resolution for close-ups
- Camera-angle-specific placement
- Continuity across shots essential
- Lighting interaction crucial
- Story-driven graffiti selection
Animation Workflow:
- Establish graffiti in establishing shots
- Maintain consistency throughout sequence
- Use graffiti for visual interest in backgrounds
- Consider animated elements (dripping paint, etc.)
- Hero pieces get special attention and detail
ARCHITECTURAL VISUALIZATION
Realistic Urban Context:
- Historically accurate graffiti styles for location/era
- Appropriate density for neighborhood type
- Scale accurate to architectural elements
- Lighting affects graffiti appearance
- Client-appropriate level of realism
Visualization Strategies:
- Before/after scenarios (clean vs. urban reality)
- Neighborhood character establishment
- Authentic urban atmosphere
- Cultural context communication
CONCEPT ART & PRE-VISUALIZATION
Rapid Urban Development:
- Quickly establish urban atmosphere
- Explore different neighborhood feels
- Create mood boards and style guides
- Test graffiti density and placement
- Generate client presentations
Art Direction Applications:
- Character environment development
- World-building visual language
- Cultural backstory communication
- Era and location establishment
TROUBLESHOOTING
Problem: Graffiti looks too perfect or digital
Causes:
- No weathering or drip effects applied
- Single layer without complexity
- Uniform opacity across entire piece
Solutions:
- Always layer drip and texture effects
- Vary opacity across the graffiti piece
- Add multiple layers at different ages
- Include imperfections and overspray
- Use subtle blur on older pieces
Problem: PNG transparency not working properly
Causes:
- Material not set for transparency
- Alpha channel not enabled
- Texture import settings incorrect
Solutions:
- Unity: Set material to "Transparent" or "Fade" mode
- Unreal: Enable "Blend Mode: Translucent" in material
- Blender: Enable alpha in material settings
- Verify PNG file has alpha channel intact
Problem: Graffiti appears flat or unrealistic on surface
Causes:
- No ambient occlusion or shadowing
- Perfect alignment with surface (no depth)
- Missing texture interaction
Solutions:
- Add slight offset from wall surface to avoid z-fighting
- Use ambient occlusion in material
- Add subtle shadows beneath graffiti edges
- Adjust roughness to match spray paint properties
- Consider slight normal mapping for depth
Problem: Graffiti placement looks illogical or impossible
Causes:
- Not considering real-world accessibility
- Ignoring cultural graffiti patterns
- Random placement without thought
Solutions:
- Research real graffiti placement patterns
- Consider height, accessibility, visibility
- Respect cultural logic (tags low, pieces high)
- Avoid impossible-to-reach locations
- Study reference photography
Problem: Performance issues with many graffiti decals
Causes:
- Too many unique materials
- High-resolution textures everywhere
- No LOD implementation
- Excessive overdraw
Solutions:
- Use texture atlases to batch similar graffiti
- Implement aggressive LOD for distant elements
- Use lower resolution for background graffiti
- Optimize with draw call batching
- Profile and identify bottlenecks
TECHNICAL SPECIFICATIONS
File Format Details
PNG Format:
- Bit Depth: 8-bit per channel
- Color Space: sRGB
- Channels: RGBA (Red, Green, Blue, Alpha)
- Compression: Lossless PNG compression
- Provided in: 4K, 2K, 1K resolutions
Alpha Channel:
- Pure transparency workflow
- No pre-multiplied alpha
- Clean edge anti-aliasing
- Perfect for overlay and decal usage
Resolution Specifications
| Resolution | Dimensions | File Size (avg) | Best Use Cases |
|---|---|---|---|
| 4K PNG | 4096 x 4096 | 5-15 MB | Close-ups, hero pieces, VR |
| 2K PNG | 2048 x 2048 | 1-4 MB | Standard game dev, mid-distance |
| 1K PNG | 1024 x 1024 | 250 KB - 1 MB | Background, mobile, distant |
Total Collection Size:
- Complete package (all formats): ~3.5GB
- 4K PNG only: ~2GB
- 2K PNG only: ~600MB
- 1K PNG only: ~150MB
System Requirements
Minimum:
- 4GB RAM
- 6GB free storage
- Graphics card with 1GB VRAM
- Any software supporting PNG textures
Recommended:
- 16GB+ RAM
- 10GB+ free storage
- Modern graphics card with 4GB+ VRAM
- SSD for faster asset loading
ADDITIONAL RESOURCES
Video Tutorials
KIT OPS Integration:
KPACK Installation: https://youtu.be/05LkAZBZIn0
Custom PNG Tutorial: https://youtu.be/eM9MaKLVE2k?si=rBTJMC2OXfuOuXqD&t=230
DECALmachine Integration:
Installation & Usage: https://youtu.be/iKNtCkGOWvY
Recommended Reading:
- Urban Environment Design Best Practices
- Graffiti Culture and History
- Street Art Photography References
- Real-Time Urban Scene Optimization
- Architectural Visualization Techniques
SUPPORT & CONTACT
Need Help?
Technical Support:
[email protected]
- File/download issues
- Software compatibility questions
- Technical troubleshooting
- Integration assistance
License Questions:
[email protected]
- Usage rights clarification
- License upgrades
- Commercial use questions
General Inquiries:
[email protected]
- Feature requests
- Custom asset requests
- Feedback and suggestions
- Partnership opportunities
Response Time: Typically within 24-48 hours
QUICK REFERENCE CHECKLIST
First-Time Setup
- ☐ Download and extract ZIP file
- ☐ Review the 6 graffiti categories
- ☐ Choose appropriate resolution for your project
- ☐ Import into your primary software
- ☐ Test a few assets to verify workflow
- ☐ Save your license documentation for reference
Starting a New Urban Project
- ☐ Determine appropriate resolution based on viewing distance
- ☐ Identify which categories fit your project needs
- ☐ Plan graffiti hierarchy (hero, mid, background)
- ☐ Create color palette for your urban environment
- ☐ Document your asset organization system
Urban Environment Workflow
- ☐ Create base surfaces (walls, concrete, metal)
- ☐ Apply background/older graffiti layer
- ☐ Add mid-layer graffiti elements
- ☐ Place hero pieces and focal points
- ☐ Apply drips and weathering effects
- ☐ Add detail tags and symbols
- ☐ Test from multiple angles and lighting conditions
- ☐ Optimize performance (LOD, texture compression)
Quality Check
- ☐ Graffiti scale appropriate for surfaces
- ☐ Layering creates authentic aged appearance
- ☐ Placement follows real-world logic
- ☐ Weathering varies appropriately
- ☐ Color palette cohesive with environment
- ☐ Performance optimized for target platform
LEARNING PATH SUGGESTIONS
Beginner: Start with Tags & Simple Pieces
- Easy to apply and understand
- Immediate impact on urban atmosphere
- Practice layering and opacity
- Learn basic graffiti placement logic
Intermediate: Explore Stencils & Characters
- More complex compositions
- Practice surface projection
- Develop storytelling through art
- Learn color customization
Advanced: Create Complete Urban Environments
- Build layered, multi-aged graffiti systems
- Master authentic placement and weathering
- Develop neighborhood-specific styles
- Create dynamic urban narratives
- Optimize for production pipelines
FINAL TIPS FOR SUCCESS
The Authentic Urban Approach
These assets represent real street art culture—raw, spontaneous, layered, and authentic. Each category reflects genuine graffiti practices, from quick tags to elaborate productions. When building urban environments, you're not just decorating walls; you're telling stories about culture, territory, time, and expression.
Key Principles:
- Layering is everything: Real walls accumulate graffiti over time
- Context matters: Different neighborhoods have different styles
- Imperfection is perfection: Drips, weathering, and overspray add realism
- Scale and placement: Follow real-world accessibility and logic
- Cultural respect: Represent street art culture authentically
Remember:
- Graffiti always shows its age and environment
- Multiple artists create visual diversity
- Accessibility determines placement patterns
- Every piece tells a story about the space
- Less pristine = more authentic
Most Importantly: Study real urban environments! Look at street photography, visit cities, observe how graffiti layers, ages, and interacts with surfaces. These assets are tools to recreate that authentic urban energy—combine them, weather them, layer them, and make them tell the stories your projects demand.
Document Version: 1.0
Last Updated: October 2025
Product: URBAN GRAFFITI - Authentic Collection
© 2025 SirCharles.DESIGN. All rights reserved.
-
$25
$25 Total (Base Price) ✅ Personal projects and portfolio work ✅ Educational and skill development ✅ Non-commercial creative exploration ✅ 115+ authentic graffiti elements ✅ All resolution options (4K, 2K, 1K) ✅ Cross-platform compatibility
-
$35
$35 Total ($10 additional) ✅ Everything in Personal License plus: ✅ Client projects and commercial design work ✅ Professional asset sales and digital art ✅ Professional visualization presentations ✅ Unlimited commercial use
-
$45
$45 Total ($20 additional) ✅ Everything in Commercial License plus: ✅ Team and multi-user applications ✅ Large-scale commercial projects and publishing ✅ Enterprise use with full liability protection ✅ Unlimited team members
Have questions about this product?
Login to message
| Sales | 100+ |
| Rating | 2 ratings |
| Dev Fund Contributor | |
| Published | about 7 years ago |
| Blender Version | 2.6x - 4.5 |
| Render Engine Used | Arnold, Blender-Internal, Blender-Game-Engine, Cycles, Eevee, Freestyle, Luxrender, Mental-Ray, Octane, Vray, Yafaray |
| License | Royalty Free |
Discover more products like this
urbangraffiti sircharles decals hand drawn kit ops urban decalpack graffiti blender real graffiti b3d boxcutter tags sircharles.design 3d decalmachine hardops kitops