Smart Camera Rig V2
 CelladorProject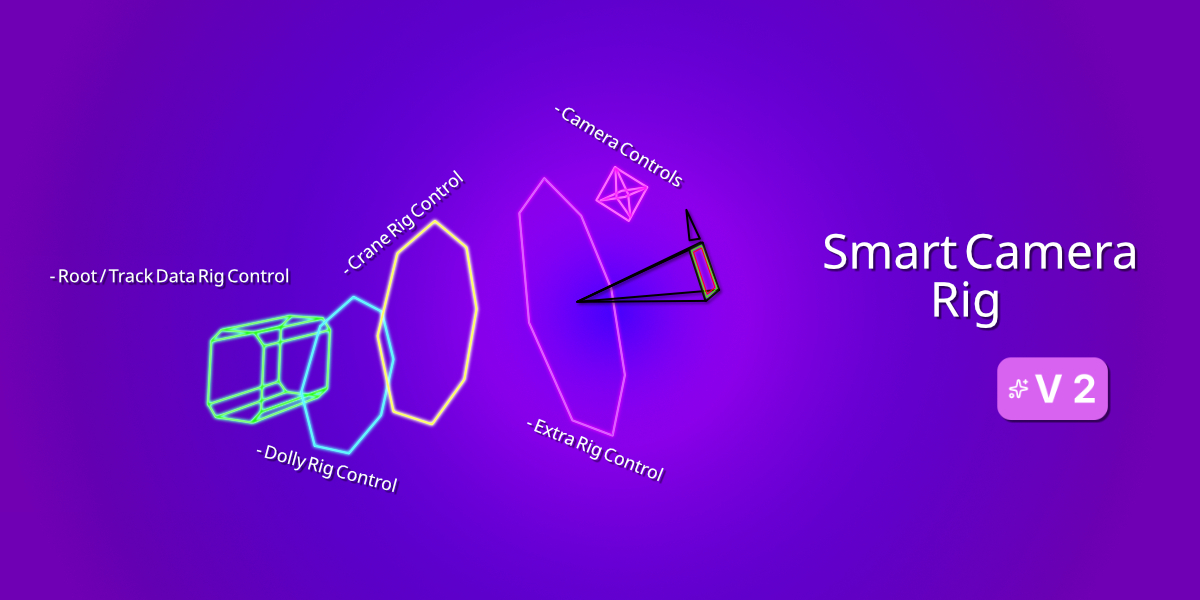
# SmartCam Rig Tool Documentation
**Version:** 1.2.0
**Author:** Cellador Project
**Blender Compatibility:** 4.2.0+
**Category:** Camera Tools
## Table of Contents
1. [Overview](#overview)
2. [Installation](#installation)
3. [Getting Started](#getting-started)
4. [Core Features](#core-features)
5. [Advanced Features](#advanced-features)
6. [User Interface](#user-interface)
7. [Workflows](#workflows)
8. [Troubleshooting](#troubleshooting)
9. [Technical Reference](#technical-reference)
10. [FAQ](#faq)
---
## Overview
The SmartCam Rig Tool is a comprehensive camera rigging system designed for professional filmmaking workflows in Blender. It provides advanced camera controls, composition guides, image plane integration, and safety frame visualization - all wrapped in an intuitive interface that streamlines the cinematography process.
### Key Benefits
- **Professional Camera Rigging**: Multi-level transform controls (Root, Dolly, Crane, Extra)
- **Real-time Visual Feedback**: Composition guides, safe frames, and camera name display
- **Image Plane Integration**: Reference imagery with timeline synchronization
- **Lens Control System**: Real-time focal length, DOF, and sensor adjustments
- **Safety Compliance**: Title and action safe frames that follow camera movement
- **Workflow Optimization**: Streamlined controls for animation and previz work
---
## Installation
### Prerequisites
- **Blender 4.2.0 or higher**
- **Optional**: Camera Plane extension (for enhanced image plane functionality)
### Installation Steps
1. **Download the Addon**
- Clone or download the SmartCam_Rig_Tool folder
- Ensure the folder structure is maintained
2. **Install in Blender**
```
Edit > Preferences > Add-ons > Install...
Navigate to: SmartCam_Rig_Tool folder
Select the folder and click "Install Add-on"
```
3. **Enable the Addon**
- Search for "SmartCam Rig Tool" in the Add-ons list
- Check the box to enable it
- Click "Save Preferences"
4. **Verify Installation**
- Check for "SmartCam Rig" panel in 3D Viewport sidebar (N-panel)
- Look for "SmartCam Controls" tab when a settings control is selected
---
## Getting Started
### Creating Your First SmartCam Rig
1. **Position the 3D Cursor**
- Place cursor where you want the camera rig origin
- Use `Shift+S > Cursor to Selected` for object-based positioning
2. **Create the Rig**
- Open 3D Viewport sidebar (N key)
- Navigate to "SmartCam Rig" tab
- Adjust "Size" parameter if needed (default: 1.0)
- Click "Add Smart Camera Rig"
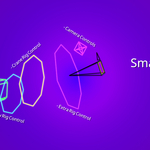
3. **Understanding the Rig Structure**
```
SmartCam_001_Transform_A_ctl (Root) - Main positioning
└── SmartCam_001_Transform_B_ctl (Dolly) - Forward/back movement
└── SmartCam_001_Transform_C_ctl (Crane) - Up/down movement
└── SmartCam_001_Transform_D_ctl (Extra) - Fine adjustments
└── SmartCam_001_settings_ctl - Camera settings and controls
├── SmartCam_001_Camera - The actual camera
└── SmartCam_001_aim_ctl - Target aiming control
```
---
## Core Features
### 1. Multi-Level Transform System
#### Transform Controls Hierarchy
- **Root (A)**: Primary position and orientation
- **Dolly (B)**: Tracking and dolly movements
- **Crane (C)**: Vertical crane movements
- **Extra (D)**: Fine-tuning and micro-adjustments
#### Usage Tips
- Use Root for major camera positioning
- Use Dolly for smooth tracking shots
- Use Crane for height adjustments
- Use Extra for subtle framing adjustments
### 2. Camera Settings Control
The settings control (`_settings_ctl`) provides centralized access to all camera parameters:
#### Lens Settings
- **Lens Unit**: Switch between Millimeters and Field of View
- **Focal Value**: Real-time focal length adjustment
- **Shift X/Y**: Lens shift for perspective correction
- **Clip Start/End**: Near and far clipping planes
#### Sensor Settings
- **Sensor Fit**: Auto, Horizontal, or Vertical fitting
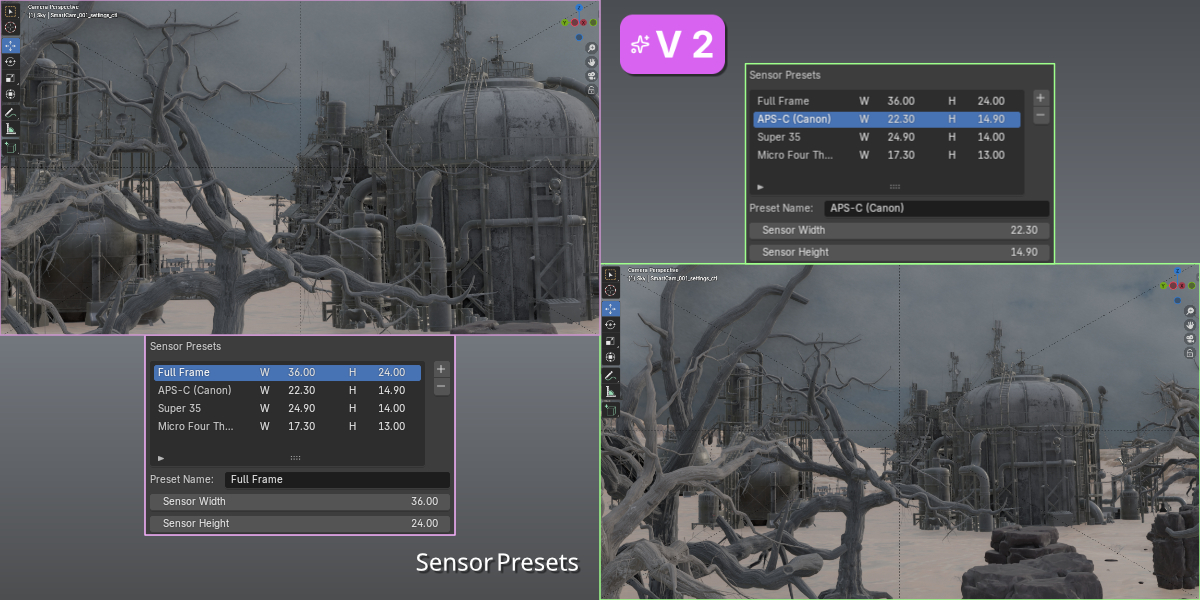
- **Sensor Width/Height**: Physical sensor dimensions
- **Presets**: Common sensor formats (35mm Full Frame, Super 35, IMAX)
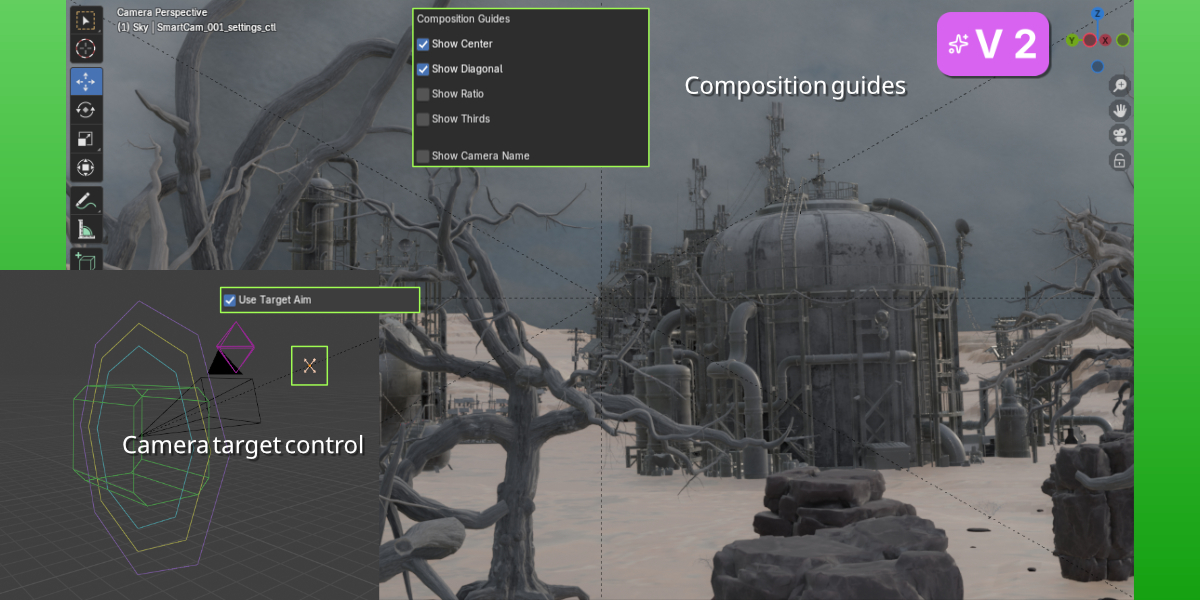
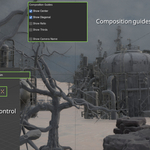
### 3. Composition Guides
Visual aids for better shot composition:
- **Rule of Thirds**: Classic 3x3 grid overlay
- **Center**: Center cross for balanced composition
- **Diagonal**: Diagonal lines for dynamic composition
- **Golden Ratio**: Mathematical composition guide
#### Activation
1. Select the `_settings_ctl` object
2. In SmartCam Controls panel, toggle desired guides
3. Guides appear in camera view and viewport
### 4. Camera Name Display
- **Show Camera Name**: Toggle 3D text display above camera frame
- **Automatic Positioning**: Text follows camera movement and focal changes
- **Customizable**: Updates with camera renaming
---
## Advanced Features
### 1. Target Aiming System
#### Setup
1. Select settings control object
2. Enable "Use Target Aim" in SmartCam Controls
3. Aim control (`_aim_ctl`) becomes visible and active
#### Usage
- Position aim control where camera should look
- Camera automatically tracks the target
- Constraint can be toggled on/off without losing aim position
### 2. Image Plane Integration
#### Creating Image Planes
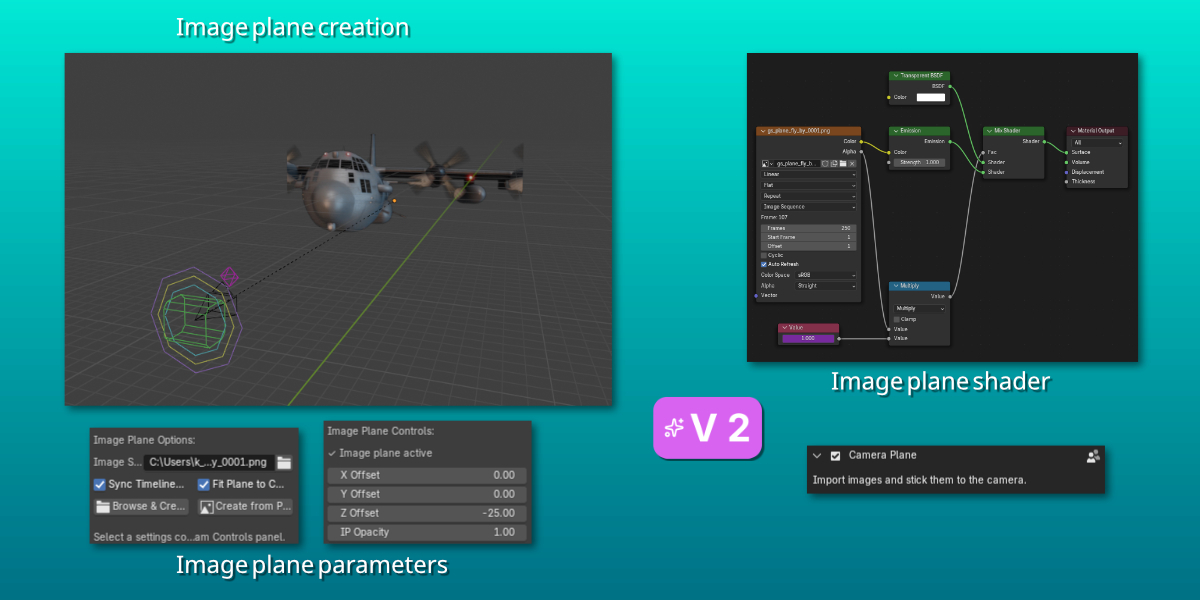
1. **Browse & Create Method** (Recommended):
- Click "Browse & Create" button
- Select first image of sequence
- Image plane created automatically with timeline sync
2. **Manual Path Method**:
- Enter image path manually
- Click "Create from Path"
#### Image Plane Controls
- **X/Y/Z Offset**: Position adjustment relative to camera
- **IP Opacity**: Transparency control (0.0 = invisible, 1.0 = opaque)
- **Timeline Sync**: Automatically sets scene frame range
- **Fit to Camera**: Scales plane to match camera output
#### Best Practices
- Place image plane at appropriate Z-offset (default: -25 units)
- Use opacity to blend with scene elements
- Sync timeline for image sequences
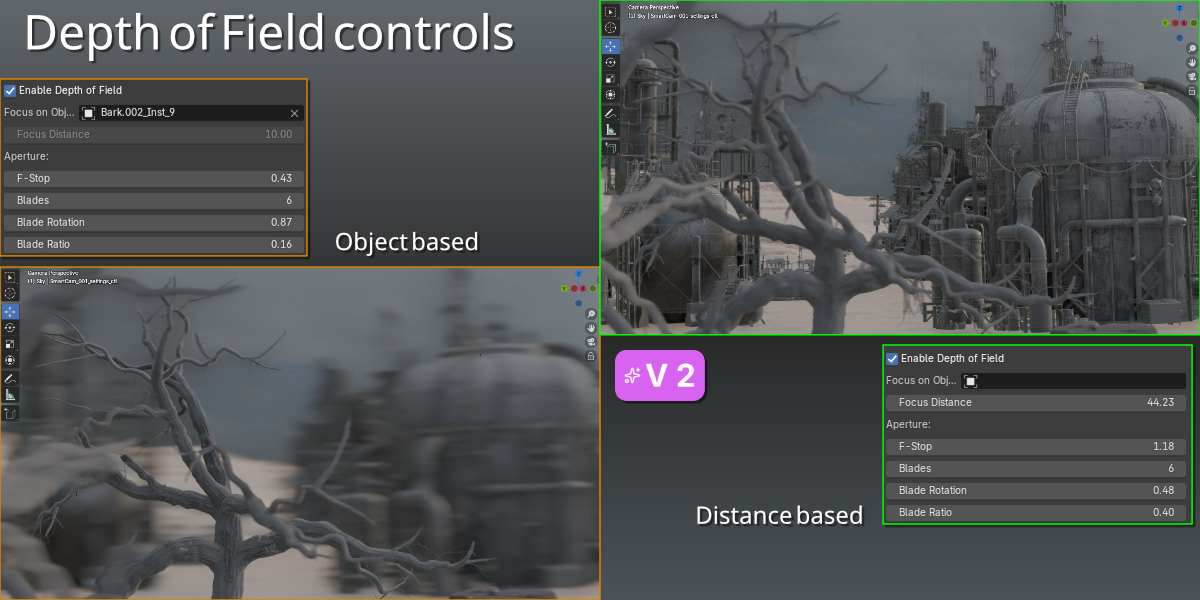
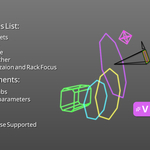
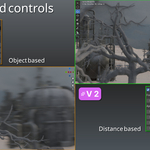
### 3. Depth of Field (DOF) Controls
#### DOF Settings
- **Enable Depth of Field**: Master toggle
- **Focus Object**: Select scene object to focus on
- **Focus Distance**: Manual distance control (when no object selected)
- **F-Stop**: Aperture control (lower = more blur)
- **Aperture Blades**: Number of iris blades
- **Blade Rotation**: Iris orientation
- **Blade Ratio**: Iris shape (circular vs. angular)
#### Workflow Tips
- Use Focus Object for animated focus pulls
- Lower F-Stop values create stronger bokeh
- Adjust blade count for different lens characteristics
### 4. Safe Frame System
Professional broadcast-safe area visualization:
#### Title Safe Frame
- **Default Scale**: 90% of image area
- **Purpose**: Text and graphics safety zone
- **Color**: Green wireframe
- **Toggle**: "Toggle Title Safe Frame" button
#### Action Safe Frame
- **Default Scale**: 80% of image area
- **Purpose**: Critical action safety zone
- **Color**: Red wireframe
- **Toggle**: "Toggle Action Safe Frame" button
#### Dynamic Updates
- Frames automatically update with focal length changes
- Follow camera movement and lens shift
- Scale adjustable via properties panel
---
## User Interface
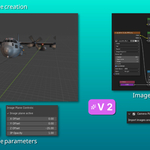
### SmartCam Rig Panel (Creation)
Located in 3D Viewport sidebar > SmartCam Rig tab:
- **Size**: Control rig scale
- **Add Smart Camera Rig**: Create new rig
- **Image Plane Options**: Quick image plane setup
### SmartCam Controls Panel
Available when `_settings_ctl` object is selected:
#### Image Plane Section
- Path selection and creation tools
- Offset and opacity controls
- Status indicator
#### Composition Guides Section
- Individual guide toggles
- Camera name display toggle
- Visual guide controls
#### Camera Settings Section
- Lens and sensor parameters
- Preset management
- Real-time updates
#### Safe Frame Section
- Title and action safe controls
- Scale adjustments
- Toggle buttons
#### Depth of Field Section
- DOF enable/disable
- Focus controls
- Aperture settings
---
## Workflows
### 1. Basic Camera Animation
```
1. Create SmartCam rig at starting position
2. Set keyframe on Root control (I > Location & Rotation)
3. Move to end frame
4. Position Root control at end position
5. Set keyframe (I > Location & Rotation)
6. Adjust timing curves in Graph Editor
```
### 2. Focus Pull Setup
```
1. Enable Depth of Field in SmartCam Controls
2. Set initial F-Stop (e.g., 2.8 for shallow depth)
3. Create empty objects at focus points
4. Animate Focus Object property:
- Frame 1: Focus on Object A
- Frame 50: Focus on Object B
5. Fine-tune with Focus Distance if needed
```
### 3. Image Plane Reference Workflow
```
1. Prepare image sequence (numbered files)
2. Create SmartCam rig
3. Select settings control
4. Click "Browse & Create"
5. Navigate to first image in sequence
6. Adjust Z-offset to desired distance
7. Set opacity for blend with scene
8. Enable timeline sync for playback
```
### 4. Multi-Camera Setup
```
1. Create first SmartCam rig (SmartCam_001)
2. Position and configure
3. Create second rig (SmartCam_002)
4. Use different control colors/shapes if needed
5. Switch active camera in scene properties
6. Use markers for camera cuts
```
---
## Troubleshooting
### Common Issues
#### Image Plane Not Visible
- **Check Opacity**: Ensure IP Opacity > 0
- **Check Z-Offset**: Verify plane is in front of camera
- **Material Issues**: Ensure image loaded correctly
- **Viewport Shading**: Switch to Material Preview or Rendered view
#### Composition Guides Not Showing
- **Camera View**: Guides only visible in camera view
- **Overlay Settings**: Check 3D Viewport overlay settings
- **Guide Toggles**: Verify guides are enabled in SmartCam Controls
#### Safe Frames Not Updating
- **Focal Length**: Safe frames update automatically with lens changes
- **Driver Issues**: Recreate frames if drivers are broken
- **Scale Values**: Ensure scale properties are not zero
#### DOF Not Working
- **Render Engine**: Eevee and Cycles required for DOF
- **Focus Distance**: Check focus distance is appropriate
- **F-Stop**: Ensure F-Stop value creates visible effect
- **Viewport DOF**: Enable DOF in viewport shading
### Performance Optimization
#### Large Image Sequences
- Use proxy images for viewport
- Adjust image sequence cache settings
- Consider packed vs. external images
#### Complex Scenes
- Disable unused composition guides
- Hide image planes when not needed
- Use simplified viewport shading during animation
---
## Technical Reference
### File Structure
```
SmartCam_Rig_Tool/
├── __init__.py # Addon registration
├── smartcam_core.py # Core functionality
├── smartcam_shapes.py # Control curve definitions
└── documentation.md # This file
```
### Property Groups
#### Camera_Control_Settings
- `lens_unit`: Enum (MM, FOV)
- `focal_value`: Float (1.0-250.0)
- `shift_x_value`: Float (-1.0-1.0)
- `shift_y_value`: Float (-1.0-1.0)
- `clip_start_value`: Float (0.001-1000.0)
- `clip_end_value`: Float (55.0-100000.0)
- `sensor_fit`: Enum (AUTO, HORIZONTAL, VERTICAL)
- `sensor_width`: Float (1.0-100.0)
- `sensor_height`: Float (1.0-100.0)
#### DOF_Settings
- `dof_enable`: Boolean
- `focus_object`: String (Object name)
- `focus_distance`: Float (min: 0.0)
- `aperture_fstop`: Float (min: 0.1)
- `aperture_blades`: Integer (min: 1)
- `aperture_rotation`: Float
- `aperture_ratio`: Float (min: 0.1)
#### Image_Plane_Settings
- `x_offset`: Float
- `y_offset`: Float
- `z_offset`: Float (default: -25.0)
- `ip_opacity`: Float (0.0-1.0)
#### Composition_Guide_Settings
- `show_thirds`: Boolean
- `show_center`: Boolean
- `show_diagonal`: Boolean
- `show_ratio`: Boolean
- `use_target_aim`: Boolean
- `show_camera_name`: Boolean
### Custom Properties
Applied to `_settings_ctl` objects:
- `linked_camera`: String (Camera object name)
- `title_safe_scale`: Float (default: 0.9)
- `action_safe_scale`: Float (default: 0.8)
- `_last_focal_length`: Float (internal tracking)
### Update Handlers
#### Timer-Based Updates
- Prevents infinite recursion during property updates
- Batches multiple changes for performance
- Handles timeline scrubbing and animation playback
#### Scene Update Integration
- `depsgraph_update_post`: Camera parameter sync
- `frame_change_post`: Safe frame updates during animation
---
## FAQ
### General Questions
**Q: Can I use multiple SmartCam rigs in one scene?**
A: Yes, the system automatically generates unique IDs (SmartCam_001, SmartCam_002, etc.)
**Q: Does this work with existing cameras?**
A: The tool creates its own camera rigs. To use existing cameras, you'd need to parent them to the rig structure manually.
**Q: Can I animate the composition guides?**
A: Composition guides are viewport overlays and cannot be directly animated, but they follow camera movement.
### Image Plane Questions
**Q: What image formats are supported?**
A: Any format Blender supports (PNG, JPG, EXR, TIFF, etc.)
**Q: Can I use video files?**
A: The system is designed for image sequences. For video, use Blender's built-in movie clip functionality.
**Q: How do I sync image sequences with different frame rates?**
A: Adjust the image sequence offset and duration in the material node properties.
### Technical Questions
**Q: Why do safe frames sometimes not update?**
A: Safe frames use drivers that may need manual refresh. Toggle the safe frame off/on to refresh.
**Q: Can I customize the control shapes?**
A: Yes, edit the `smartcam_shapes.py` file to modify control curve definitions.
**Q: How do I backup my rig settings?**
A: Save custom sensor presets and note your property values. Consider creating custom startup files with configured rigs.
### Performance Questions
**Q: The addon seems slow with large image sequences. What can I do?**
A: Use smaller proxy images for viewport work, or reduce the image sequence cache size in Blender preferences.
**Q: Can I disable certain features to improve performance?**
A: Yes, disable unused composition guides and hide image planes when not needed.
---
## Support and Development
### Getting Help
- Check this documentation for common solutions
- Review the troubleshooting section
- Examine the console for error messages
### Feature Requests
The SmartCam Rig Tool is designed to be extensible. Key areas for future development:
- Additional composition guide types
- Custom control shape library
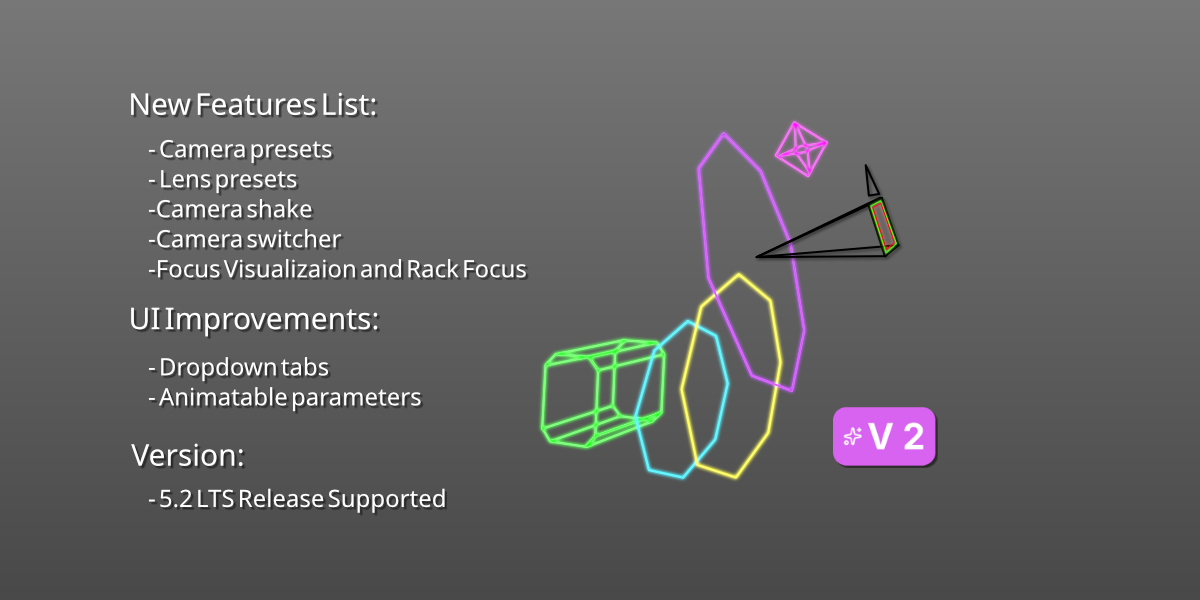
- Camera preset management
- Advanced constraint systems
### Contributing
The addon is structured with clear separation between:
- Core functionality (`smartcam_core.py`)
- Visual elements (`smartcam_shapes.py`)
- User interface components
This modular design facilitates extension and customization.
---
**End of Documentation**
*For the latest updates and additional resources, check the addon source files and comments.*
$44.99
Have questions about this product?
Login to message
| Dev Fund Contributor | |
| Published | 11 months ago |
| Blender Version | 4.5 - 5.2 |
| Extension Type | N/A |
| Render Engine Used | Blender-Internal, Cycles, Eevee |
| License | Mit |
Discover more products like this
Camera setup camera previs layout Layout Camera Rig animation blender 3d