💎 Smart Mesh Blend 2 - Geometry Nodes Asset
 Trinumedia


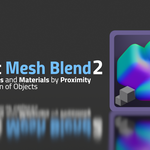


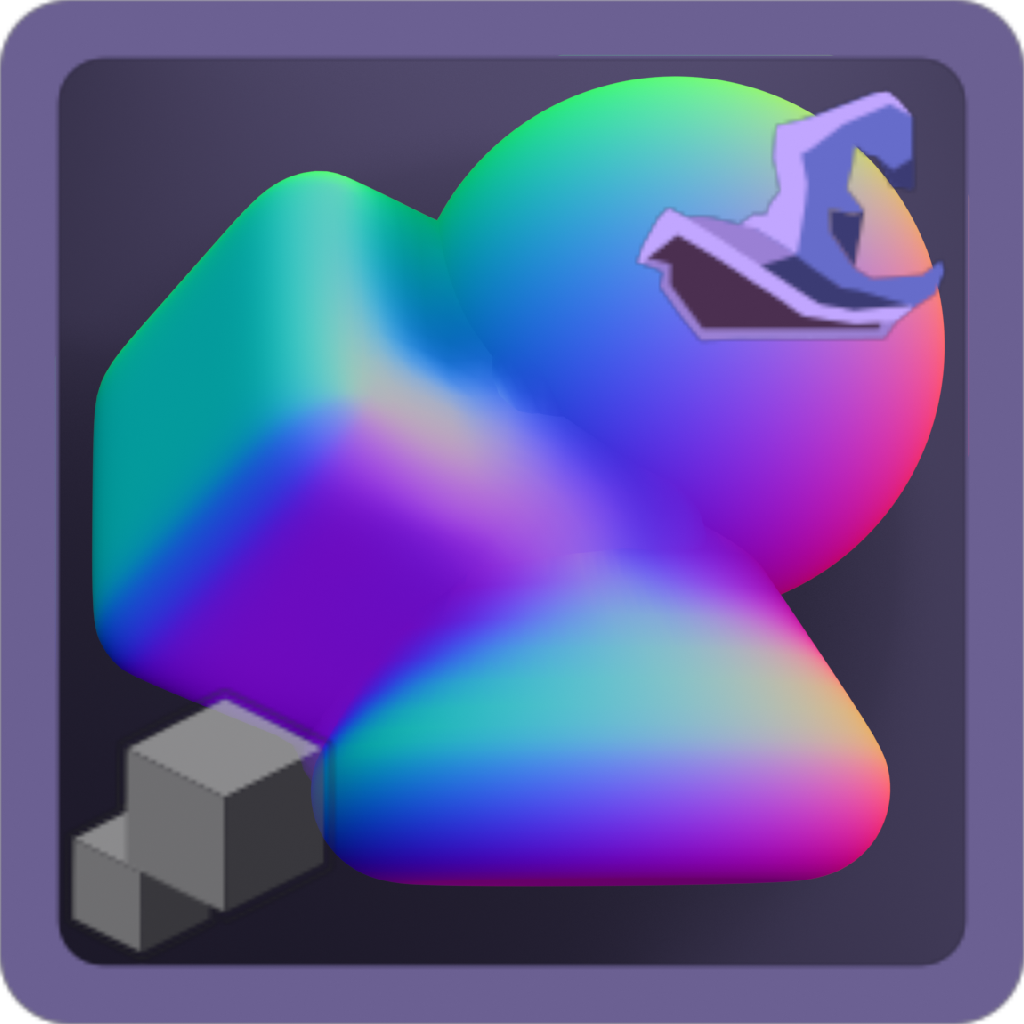
Adds an object that references a collection to merge all children mesh objects with blended normals and materials by proximity, through intersection distance and blur. This also displaces meshes at intersections.
This asset is ideal for smoothing transitions between intersecting surfaces, faking lighting continuity, or unifying shading across modular components.
If you use only default cubes and a plane, it won't blend due to a lack of topology, but if you use a rounded subdivided cube with bevels and a grid, it will blend.
1.1 Use - The Wizard
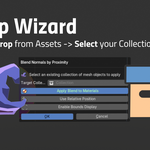
This contains a setup Wizard to begin.
- Drag and drop the asset into the scene from the Asset Shelf or Asset Browser.
- You will be prompted to select a Target Collection, this will then convert the target collection into driver objects.
- Toggle optional Bounds Display, Relative Position and Material Blending – this will change and affect the Target Collection viewport display after applying. Here you can add or remove properties from the Target Collection by rerunning the Wizard and toggling the settings.
- After confirming, this will create a new purple collection with a new Smart Mesh Blend by Proximity object. This is where the blended mesh is stored.
- Change the settings by selecting the blended mesh and going to the Item tab in the Viewport Sidebar or the Modifier tab in the Properties Editor.
Asset Structure:
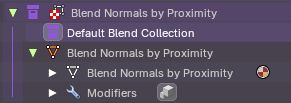
- The Blend Normals by Proximity object is where the Geometry Nodes asset is stored. This is where the settings are stored.
- The Purple collection is where the asset is stored as a point of reference.
- The Default Blend Collection can be used as a reference if you have no Target Collection.
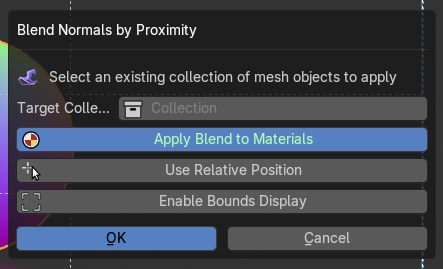
Wizard Dialogue that pops up
Wizard Options
Target Collection
Specifies the collection of the group of mesh objects used to influence the normal blending.
Apply Blend to Materials
This applies an intersection gradient alpha nodegroup to the target collection object materials. This will iterate through all objects and materials and then applies the alpha at the Geometry Nodes intersection.
If you toggle this option off and re-apply the Wizard, it will remove the Material Blend from all materials and objects in the target collection.
Use Relative Position
This will enable the relative position of the source target collection objects, making the new blended mesh snap to the original position. If you keep this off, the new blended mesh will spawn or move to its asset placement position.
Enable Bounds Display
This will turn on Bounds display for all the objects in the target collection, useful to remove any z-fighting normals when using a Relative Position on the new blended normals mesh object.
If you turn it off and re-run and re-apply the wizard, it will remove the Bounds display from all objects in the target collection.
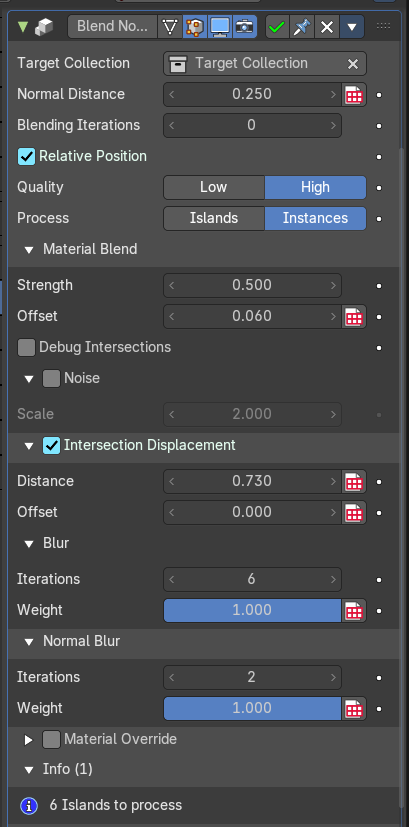
Modifier Properties
Target Collection
Specifies the group of objects used to influence the normal blending.
Normal Distance
Sets the range within which intersecting geometry will contribute to the normal blending by proximity process.
Blending Iterations
Adds another blending iteration to the group of objects to assist in solving self-intersecting blending issues. This will affect performance as this repeats the operation.
Relative Position
When enabled, calculates blending based on object-relative coordinates. Useful for maintaining orientation consistency with source objects from the target collection.
Quality
This defines the quality of the normal blending which affects performance.
- High: Uses blending by proximity. Default. This can be low on performance if there are many islands or instances being evaluated.
- Low: Uses a "neutral" normal at the intersections. This is more performant but less noticeable.
Process
This defines the method the blending evaluates mesh islands or instances.
- Islands: Uses blending by proximity. Default. This can be low on performance if there are many islands or instances being evaluated.
- Instances: Uses a "neutral" normal at the intersections. This is more performant but less noticeable.
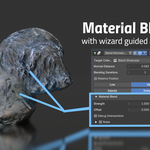
Material Blend
Strength
Controls how strongly materials are blended at the intersections.
Offset
Shifts the blend region inward or outward from the intersection. Fine-tunes where the material transition begins.
Debug Intersections
Visualizes intersection zones for troubleshooting. Helpful for verifying blend boundaries or for using it to bake to a new texture.
Noise
Adds procedural noise to the blend region. Useful for organic or stylized transitions.
Scale
Controls the scale of the noise pattern. Higher values produce larger, more visible noise features.
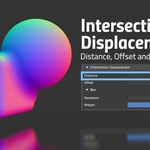
Intersection Displacement
Enables geometry displacement at intersection zones. Controls how intersection regions between meshes are offset and displaced before normal blending. Used to create bulges, dents, or organic merging effects.
Distance
The threshold for detecting intersections. This defines how far the geometry is displaced from its original surface.
Offset
Shifts the displacement region relative to the intersection. Moves vertices slightly to resolve overlap artifacts.
Blur
Softens the influence of blended normals across adjacent geometry.
Iterations
Number of smoothing passes on the displacement.
Weight
Intensity of smoothing. Higher values lead to broader averaging.
Normal Blur
Optional secondary blur targeting only normals.
Iterations
Number of blur passes applied to normals.
Weight
Strength of normals blur smoothing.
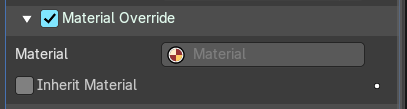
Material Override
Toggles material overrides, otherwise it will inherit each object's material from the target collection.
Material
Selects the material for the material override.
Inherit Material
This toggles the use of the material in the Material tab of the Properties editor as the override.
Info
Displays how many mesh islands are currently being blended. Useful for performance monitoring and debugging.
-
$7
The latest version of the Extension addon and asset compatible with Blender 5.0, 5.1 and 5.2
Have questions about this product?
Login to message