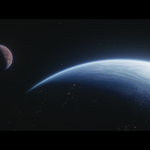
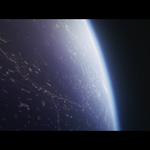
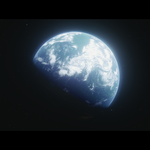
Space Hdris - Forest Planet
 MLT-Studios



Documentation – Using HDRIs in Blender
These HDRIs are provided in .hdr and .exr formats and work in both Cycles and Eevee. Adding them to your scene is quick and straightforward:
How to add an HDRI in Blender
-
Open your scene in Blender.
-
Switch to the Shading workspace.
-
In the top bar, change the shader type from Object to World.
-
In the Shader Editor, you’ll see a Background node connected to the World Output.
-
Add an Environment Texture node (
Shift + A → Texture → Environment Texture). -
Connect Color → Color (Environment Texture → Background).
-
Click Open on the Environment Texture node and load your chosen .hdr or .exr file.
-
Switch to Rendered View (
Z → Rendered) to preview the HDRI in your scene.
Tips for Best Results
-
Optimized for wide lenses (promo images were shot at 24mm).
-
Add a Glare node in the Compositor for some extra glow (promo images include this effect).
-
Slightly raise the black level (darkest point) for a cinematic look — an RGB Curves node works well for this.
-
Rotate the HDRI easily by adding a Mapping node and Texture Coordinate node, giving you full control over lighting direction.
-
For faster previews, use the 3k or 4k versions while working, and switch to 8k or 16k for final renders.
Compatibility
-
Works in Cycles and Eevee.
-
Compatible with Blender 2.61 and newer.
-
$0
You will get: 1 HDRI in 3k resolution Formats: .exr and .hdr 32-bit color depth for maximum dynamic range
-
$25
You will get: 10 unique HDRIs Resolutions: 4k, 8k, and up to 16k Formats: .exr and .hdr 32-bit color depth for maximum dynamic range
Have questions about this product?
Login to message
| Downloads | 60+ |
| Published | about 1 year ago |
| Blender Version | 2.6x - 4.5 |
| Render Engine Used | Arnold, Cycles, Eevee, Mental-Ray, Octane, Vray |
| License | Royalty Free |
