 SkdSam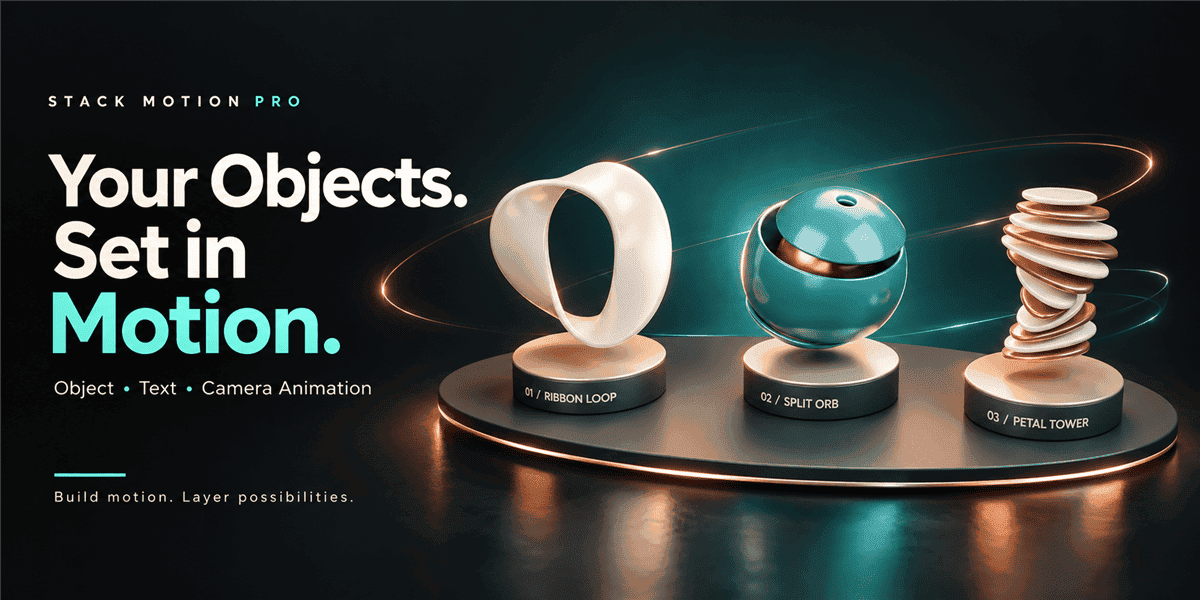
Getting Started & User Guide
Stack Motion Pro Documentation
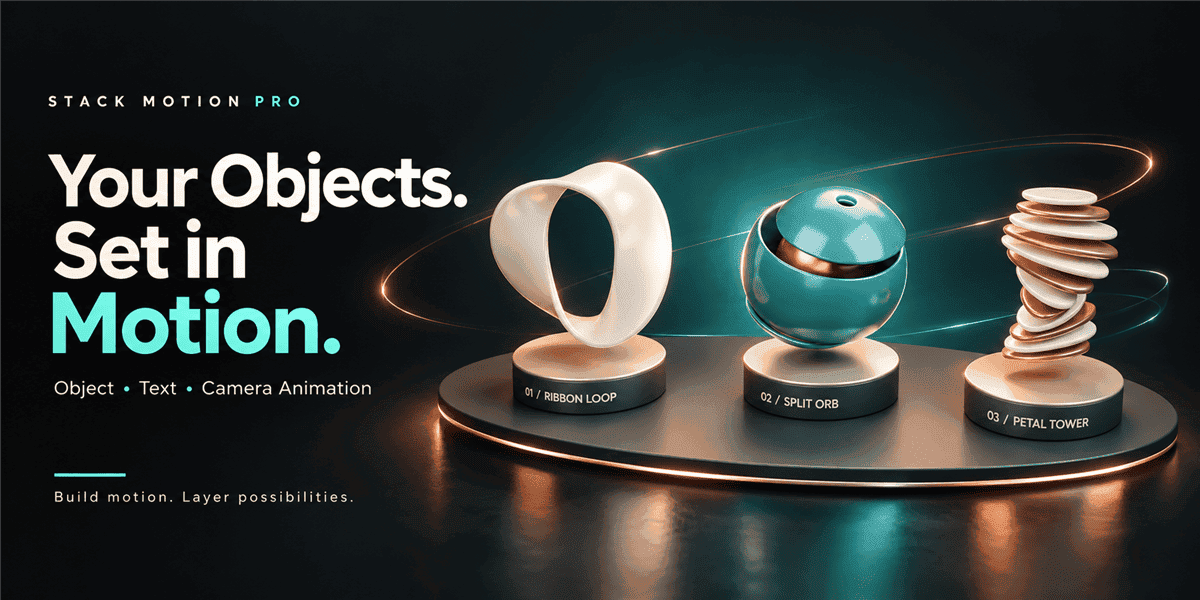
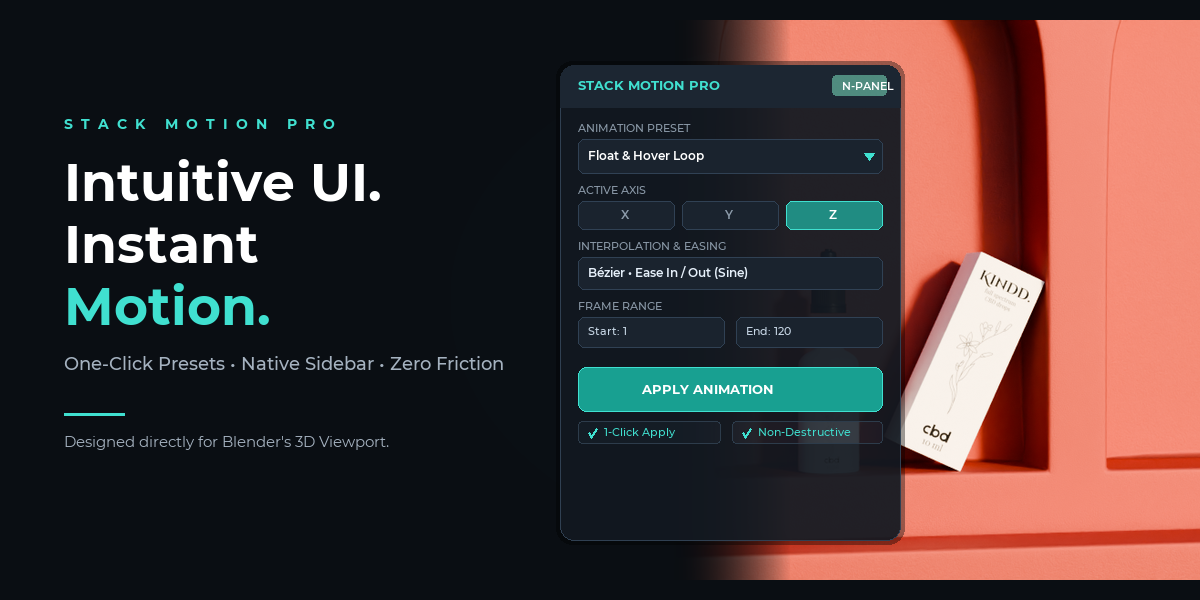
Create animated product presentations, motion graphics, coordinated object sequences and animated typography inside Blender. Apply a preset, adjust its timing and controls, then combine compatible animations to build your own motion.
The main addon provides the animation tools and built-in presets. Expansion packs add themed presets to the same interface. The packs available to you depend on the product version or bundle purchased; check your selected option for its included packs.
1. Installation
- Download the main Stack Motion Pro addon ZIP from your purchase downloads.
- Open Blender and go to Edit > Preferences > Add-ons.
- Use Blender’s Install or Install from Disk option, depending on your Blender version, and select the addon ZIP.
- Enable Stack Motion Pro if it is not already enabled.
- Return to the 3D Viewport, press N to open the sidebar and select the Stack Motion Pro tab.
Use the Blender version compatibility information shown on this product page when choosing your installation.
2. Installing Animation Packs
- Install and enable the main addon first.
- Expand Stack Motion Pro in Blender’s Add-ons preferences.
- Under Animation Packs, choose Install Pack ZIP and select your downloaded pack ZIP.
- Return to the Stack Motion Pro sidebar and choose the pack from the Source menu.
- If the list needs updating, use Reload Packs in the addon preferences.
Object and camera presets appear under Object Animations. Text presets appear under Text Animations. A pack containing both types contributes presets to both sections.
Refresh Catalog updates the available pack information. Use Install Pack ZIP to install the pack files you have downloaded.
3. Your First Object Animation
- Select the object you want to animate in Object Mode.
- Open Object Animations.
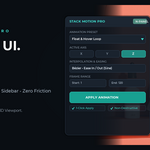
- Choose a Source, or browse All Animations. Use Search to find a preset by name.
- Choose an animation and set its Start and End frames.
- Open Animation Settings and adjust the controls available for that preset.
- Choose the relevant axis and easing options where supported, then click Apply Animation.
- Scrub the timeline or play the animation to preview the result.
Preset controls vary with the effect. These may include movement distance, rotation, scale, bounce, intensity, repetition or stagger. Object size and origin placement can influence the result, so begin with moderate values and preview before adding more motion.
4. Stacking & Layering Animations
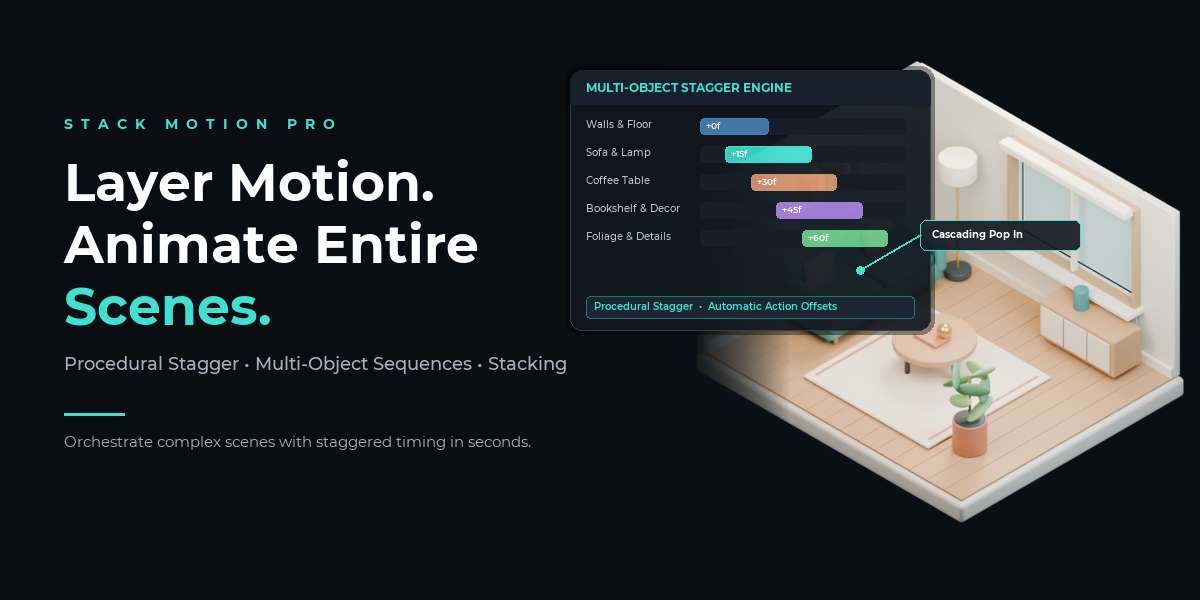
You can apply multiple compatible animations to the same object. Place them in separate frame ranges to create a sequence, or overlap their ranges to combine motion.
- Frames 1–36: combine Fly In and Scale Pop for the entrance.
- Frames 40–160: add Rotate In for a slower rotational movement.
- Frames 70–160: overlap Float Pulse to introduce vertical motion.
- Frames 110–150: add Heart Beat for a brief scale pulse while the other layers continue.
Start with one movement, preview it, then add another. Combining different kinds of motion, such as rotation and vertical movement, makes each layer easy to see.
Animations affecting the same properties can combine more strongly than expected. Reduce their amounts or adjust their overlap if the result becomes too exaggerated. Camera, material, visibility and procedural effects may require different handling from ordinary transform layers.
5. Managing Applied Animations
Select an animated object and expand Applied Animations to inspect its tracked applications.
- Enable or disable a layer: compare its contribution without deleting it.
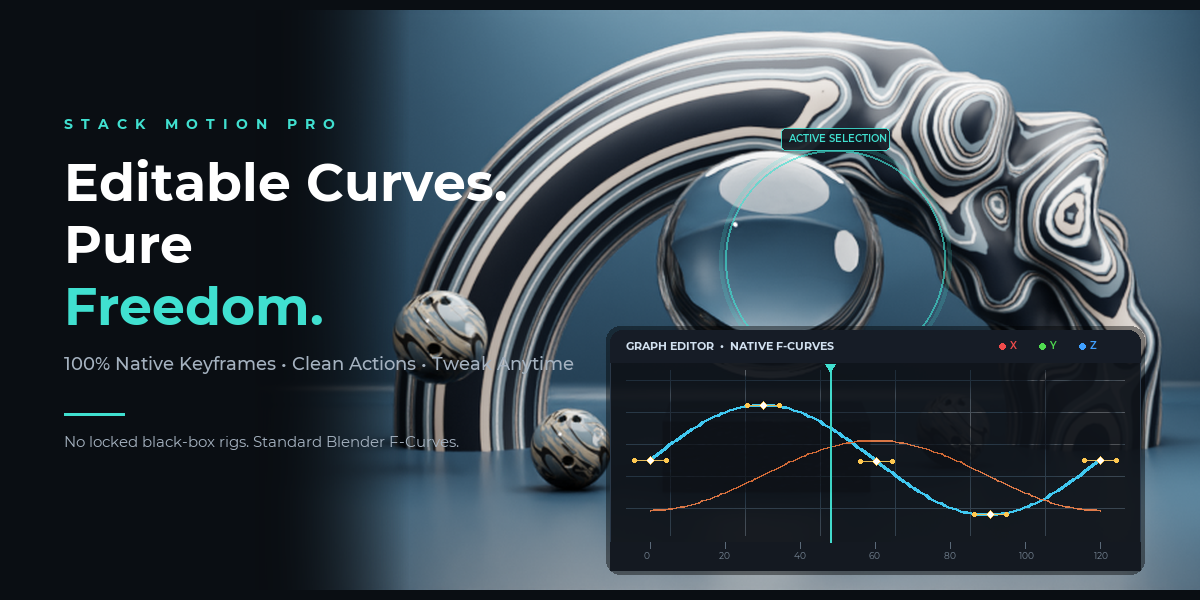
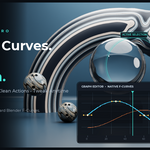
- Edit animation curves: refine the generated motion using Blender’s animation editors. Click Done when you finish editing the application.
- Remove an individual application: use its row’s remove control when you want to remove only that layer.
- Inspect camera data: camera applications that animate lens data can also provide a separate camera-data editing control.
Changing the preset controls prepares the next application. To revise an existing result, edit its curves or remove that application and apply it again with the new settings.
6. Multi-Object Animation
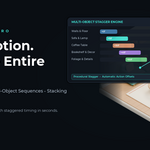
Multi-object presets use a selection of objects to create coordinated movement, such as sequential reveals, assembly patterns or staggered motion.
- Arrange and select the objects you want to include.
- Use the Multi-Object type filter under Object Animations.
- Choose a preset and check its minimum selection requirement.
- Adjust ordering, stagger and other available controls.
- Set the frame range and click Apply Animation.
The arrangement of your selection matters. Different presets use object positions and ordering to determine how the sequence develops.
7. Camera Animation
Camera presets help present your scene through movement such as arcs, orbits and push-ins. Available effects depend on your installed packs.
- Create a camera and establish an initial composition.
- Use the Camera type filter under Object Animations.
- Choose a preset and assign its Camera and Target where provided.
- Adjust the movement settings and frame range, then apply.
- Preview through the scene’s active render camera and check the full movement.
For a controlled composition, use an Empty as the target. When sequencing camera presets, match the end of one move to the start of the next, including the lens setting if either preset changes it.
8. Text Animation
- Open Text Animations and enter your wording in the Text field.
- Choose a source and animation preset.
- Set the font size, letter spacing, material and frame range.
- Use Choose Font to select a supported font file, or keep Blender Default.
- Adjust the preset’s controls and click Generate Text.
- Position the generated title using its placement control and preview the animation.
Text animations generate editable letter objects. Use the title’s outer placement control to move or rotate the complete title while preserving its internal motion.
Test Mode: generating again replaces the previous test output. Turn Test Mode off when creating titles you want to keep alongside one another.
9. Roll / Unroll
Create procedural rolling motion for sheet-like meshes, including rugs, paper, banners and roller blinds.
Moving Roll: the roll travels across the sheet as it gathers or releases the material.
Fixed Roller: the sheet feeds into a stationary roller, suitable for a blind-style motion.
- Select a suitable mesh and open Roll / Unroll.
- Click Auto Detect to configure the target and controller.
- Choose the motion mode and starting edge. Use Flip Coil Side if the curl faces the wrong direction.
- Adjust Core Radius, Thickness and Gap.
- Preview the deformation using Roll Amount.
- Choose Roll or Unroll, set the frame range and click Animate Roll / Unroll.
Use enough mesh subdivisions along the rolling direction for a smooth bend. Check the controller orientation and follow any scale or setup guidance shown in the panel before animating.
The procedural Roll / Unroll tool is separate from the object preset named Roll Up, which creates translation along the enabled axes.
10. Timing, Preview & Rendering
- Timing: shorter frame ranges produce faster motion; longer ranges spread the movement over more time.
- Playback: make sure the scene’s playback range includes all your animations.
- Layer review: preview entrances, overlaps and ending frames. Temporarily disable layers to understand their individual contributions.
- Presentation: set up your camera, materials and lighting in Blender to suit the scene.
- Transparent output: enable Film transparency and choose PNG with RGBA colour output in Blender. Render an image sequence to preserve the alpha channel.
Stack Motion Pro creates animation inside Blender. Final image and video rendering uses Blender’s render settings and output tools.
Troubleshooting
I cannot find the addon panel.
Check that Stack Motion Pro is enabled. Move your pointer over the 3D Viewport, press N and look for the Stack Motion Pro sidebar tab.
An installed preset is missing.
Clear Search, choose All Animations and check the type filter. Look in the appropriate Object Animations or Text Animations section. Use Reload Packs and review any Pack Issues reported in preferences.
Nothing moves when I play the timeline.
Check the selected object, application frame range and scene playback range. Confirm that the application is enabled. Multi-object presets also need the required number of selected objects.
The layered result is too strong or jumps.
Disable the applications one at a time to identify the overlap. Reduce movement or scale amounts, adjust the timing, or refine the curves and transitions in Blender’s animation editors.
The roll bends in the wrong direction.
Check the starting edge and controller orientation, then try Flip Coil Side. Preview with Roll Amount before creating the animation, and resolve any setup warnings shown in the panel.
Text does not use the font I expected.
Check the chosen font file and any warning shown when generating. If the font cannot be loaded, select another supported font or return to Blender Default and regenerate.
Getting Help
When contacting support through the product page, include your Blender version, Stack Motion Pro version, pack and preset name, and a short description of the steps that produced the issue. Screenshots of the relevant settings and any error message help identify the problem.
-
$20
✓Core Addon ✓Animation Pack (Transitions) ✓Animation Pack (UI/HUD Motion) ✓Animation Pack (Organic Motion)
-
$25
✓Core Addon ✓Animation Pack (Transitions) ✓Animation Pack (UI/HUD Motion) ✓Animation Pack (Organic Motion) ✓Animation Pack (Camera Motion) ✓Animation Pack (Cinematic Motion Volume One) ✓Animation Pack (Kinetic Choreography) ✓Animation Pack (Kinetic Physics) ✓Animation Pack (Logo Reveals) ✓Animation Pack (Mechanical Systems) ✓Animation Pack (Multi-Object Ensemble) ✓Animation Pack (Product Showcase) ✓Animation Pack (Broadcast Titles) ✓Animation Pack (Social Video)
-
$10
Requires add-on to use the animations packs! (Only to be purchased if you have bought starter add-on) ✓Animation Pack (Camera Motion) ✓Animation Pack (Cinematic Motion Volume One) ✓Animation Pack (Kinetic Choreography) ✓Animation Pack (Kinetic Physics) ✓Animation Pack (Logo Reveals) ✓Animation Pack (Mechanical Systems) ✓Animation Pack (Multi-Object Ensemble) ✓Animation Pack (Product Showcase) ✓Animation Pack (Broadcast Titles) ✓Animation Pack (Social Video)
Have questions about this product?
Login to message
| Blender Extension Compatible | Yes |
| Dev Fund Contributor | |
| Published | about 17 hours ago |
| Blender Version | 3.6 - 5.2 |
| Extension Type | Add-on |
| Render Engine Used | Cycles, Eevee |
| License | Mit |