Step & Select
 Blender.Fun
Step & Select Keys
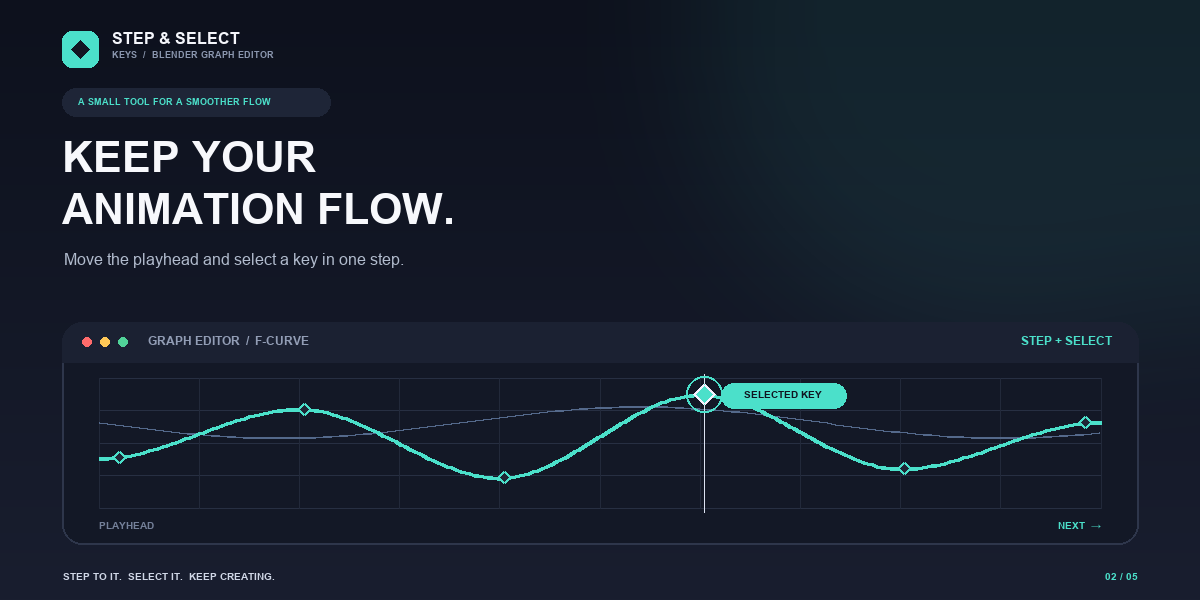
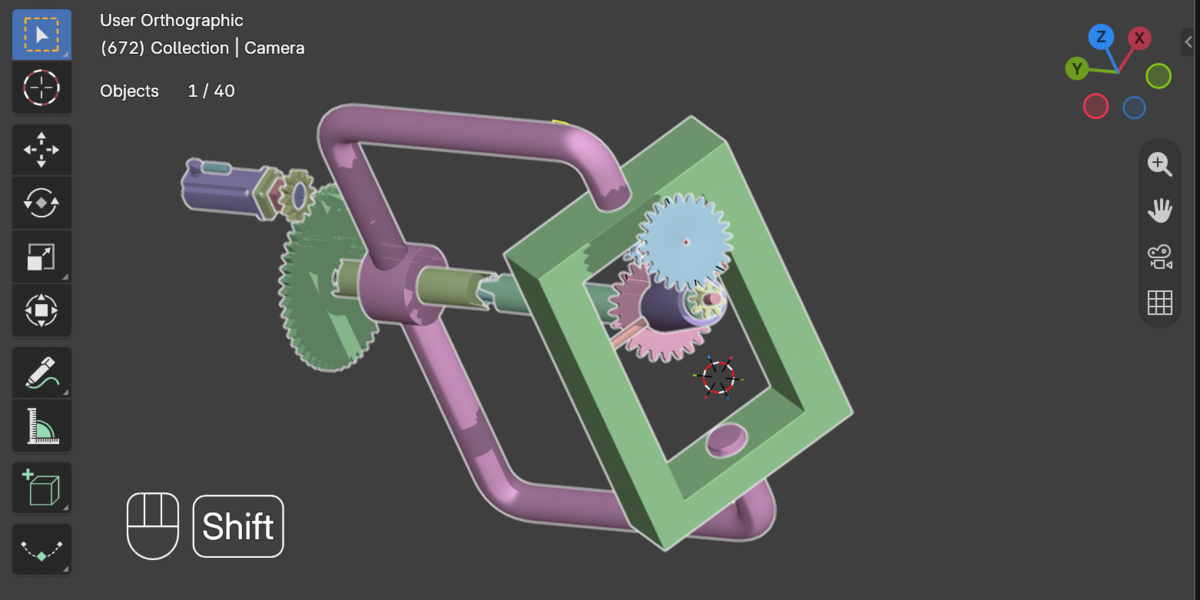
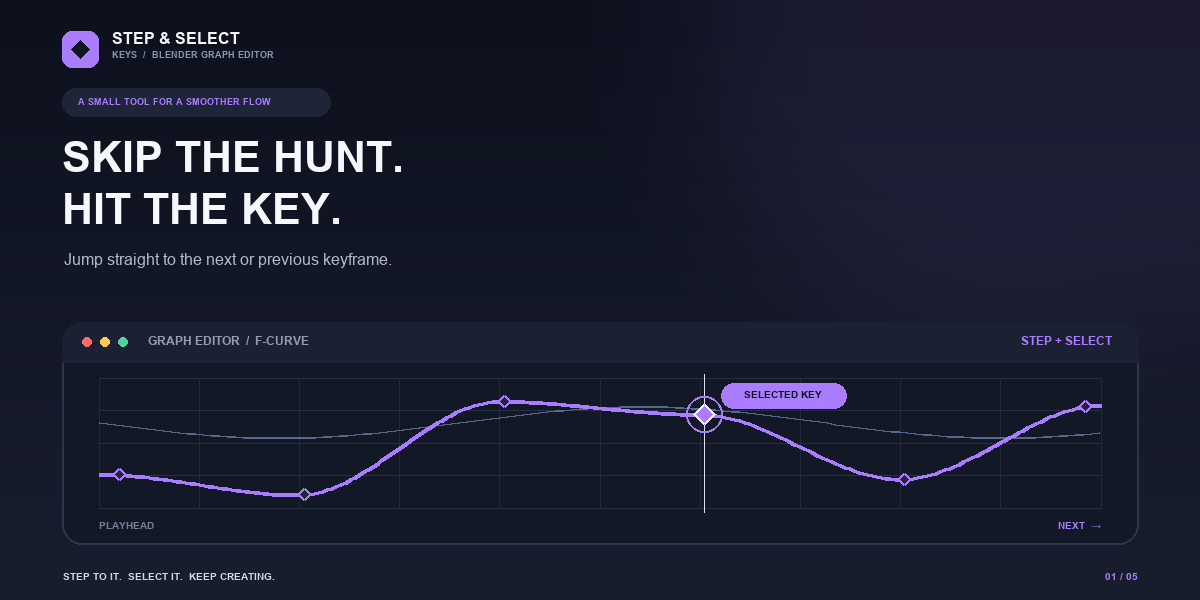
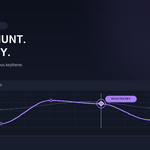
Step & Select Keys helps you move through animation efficiently in Blender's Graph Editor. Jump to the next or previous keyframe on the relevant F-curves, move the playhead there, and select the keyframe so it is ready to edit.
The add-on works with object animation as well as pose-bone animation. Its shortcuts are configurable independently for each direction.
Requirements
- Blender 4.2 or later when installing as a Blender Extension.
- An animation displayed in the Graph Editor.
- works from Blender 2.8 on as add-on
Installation
1. In Blender, open **Edit > Preferences**.
2. Open **Get Extensions** and choose **Install from Disk**.
3. Select the add-on ZIP file and install it.
4. If the add-on is not enabled automatically, find **Step & Select Keys** in the add-ons list and enable it.
Using the add-on
1. Open a **Graph Editor** and display the animation you want to edit.
2. Set the playhead before or after the keyframe you want to reach.
3. Press the configured **Next Keyframe** or **Previous Keyframe** shortcut.
4. The playhead moves to the nearest keyframe in that direction, and the key is selected.
The add-on considers keyframes strictly ahead of or behind the current playhead position. If there is no keyframe in the requested direction, it leaves the playhead and selection unchanged and reports that no keyframe was found.
Choosing which curves to use
The add-on chooses curves in this order:
1. **Selected F-curves:** All selected, editable F-curves in the Graph Editor are used.
2. **Selected pose bones:** If no F-curve is selected, visible F-curves belonging to selected pose bones are used. This supports navigating bone animation even when its curve itself is not selected.
3. **A single visible F-curve:** If there is exactly one visible F-curve and no curves were found by the previous rules, that curve is used automatically.
When multiple curves are used, the add-on finds the closest keyframe across those curves. Any of the curves with a key at that frame will have that key selected.
Shortcut preferences
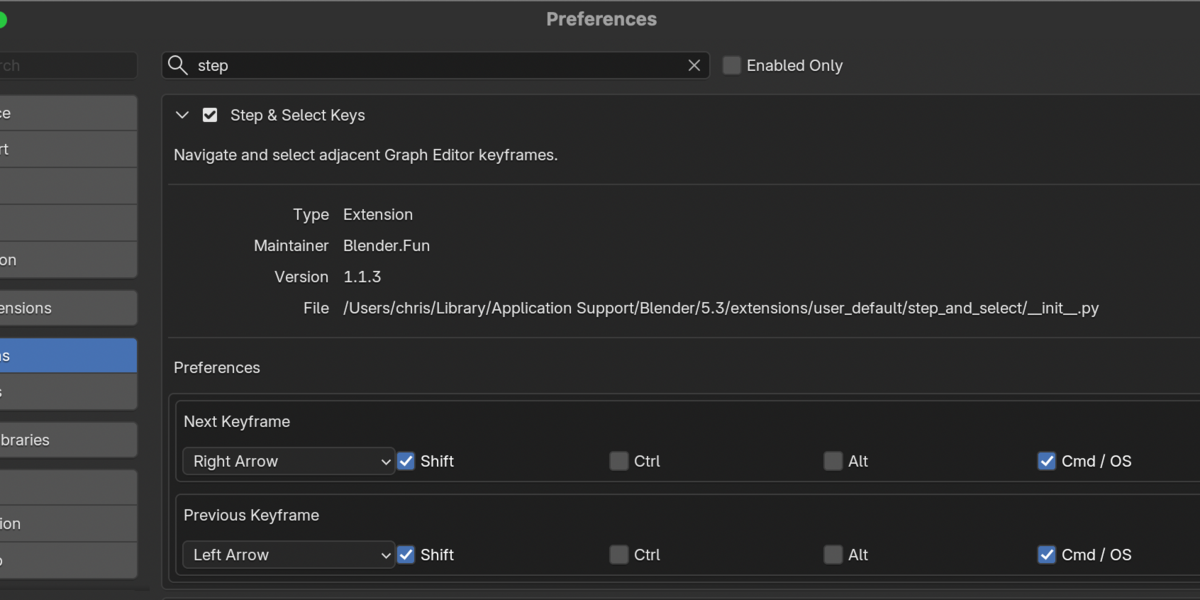
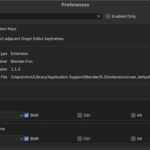
Open **Edit > Preferences > Add-ons**, expand **Step & Select Keys**, and set the shortcut for **Next Keyframe** and **Previous Keyframe**. Each direction has its own key and modifier controls. Changes take effect immediately.
The defaults are:
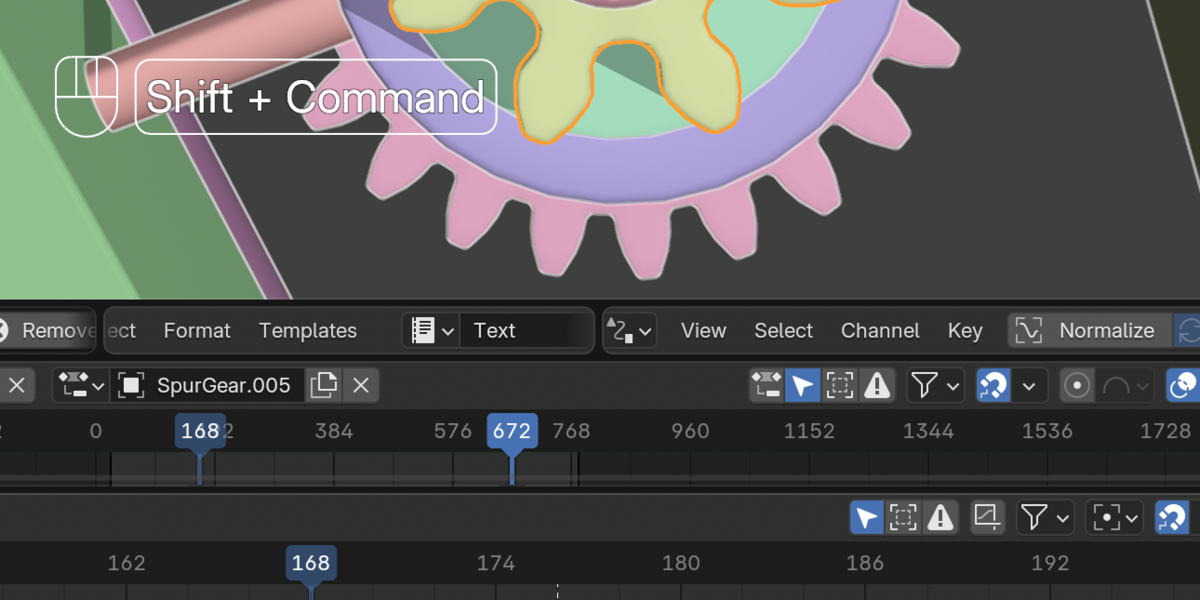
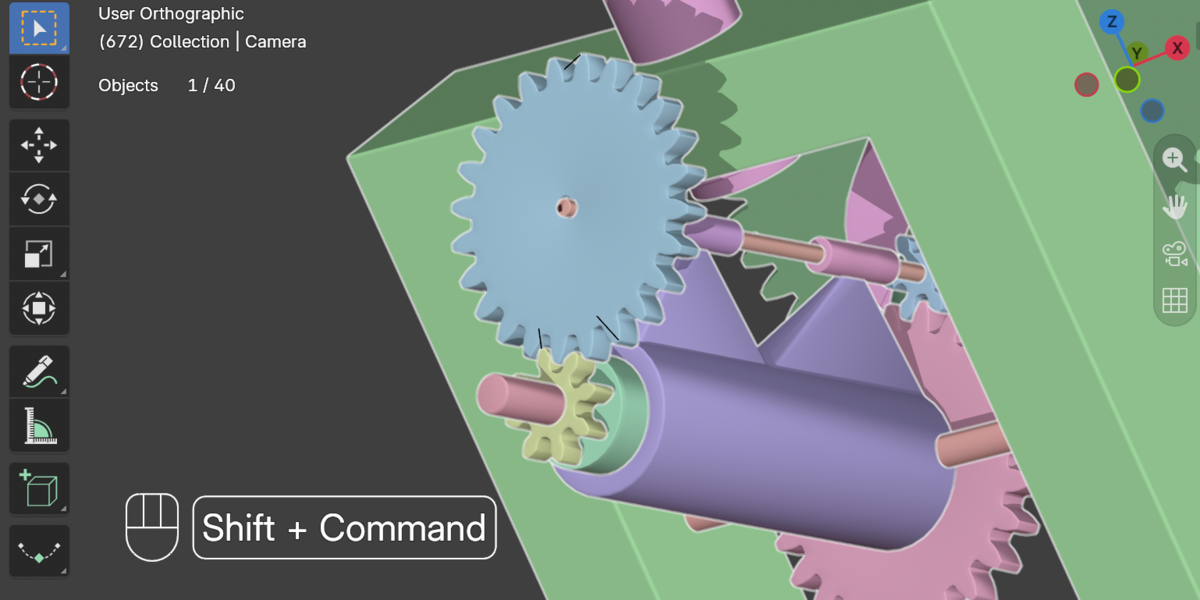
- **Next Keyframe:** OS key (Command on macOS) + Shift + Right Arrow
- **Previous Keyframe:** OS key (Command on macOS) + Shift + Left Arrow
Choose different shortcuts if these conflict with your Blender keymap or operating-system shortcuts.
## Deselecting other keys
The operators include a **Deselect Others** option, enabled by default. When enabled, stepping clears other key selections on the curves being used and selects the keyframe at the destination. You can change this option in the operator panel after running the command (press **F9**).
## Troubleshooting
- **Nothing happens:** Make sure the pointer is over a Graph Editor and that it is showing editable animation curves.
- **No keyframe is selected:** Check that the playhead is not already beyond all keyframes in the requested direction.
- **The wrong curves are used:** Select the intended F-curves in the Graph Editor, or select the relevant pose bones when navigating bone animation.
- **A shortcut does not run the command:** Check the add-on's shortcut preferences for conflicts with other keymap entries.
Have questions about this product?
Login to message
| Blender Extension Compatible | Yes |
| Dev Fund Contributor | |
| Published | about 1 hour ago |
| Blender Version | 2.8 - 5.3 |
| Extension Type | Add-on |
| License | GPL |
