 BLUE NILE 3D


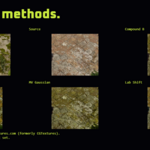
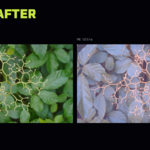


Video demo / Blender workflow
See Style Thief in action.
A step-by-step example of matching a mesh’s textures to a chosen colour palette.
Watch on YouTubeTexture set / One reference
Give a texture set a shared palette.
Match several colour textures to one reference with Batch Input. Bring stone, walls and architectural details closer together without repainting each asset. Works with loaded images or image folders.
SHARED TARGET

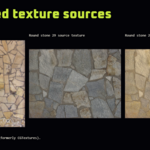
Use one reference across the set.


Round stone 02


Round stone 29


Temple wall


Carved column
Texture photographs: Textures.com (formerly CGTextures).
Batch in either direction
One image. Several reference palettes.
Batch Target matches one source to several references in one run. Try a different look for each shot, material or render without setting up every match separately. Use loaded images or a folder of references.
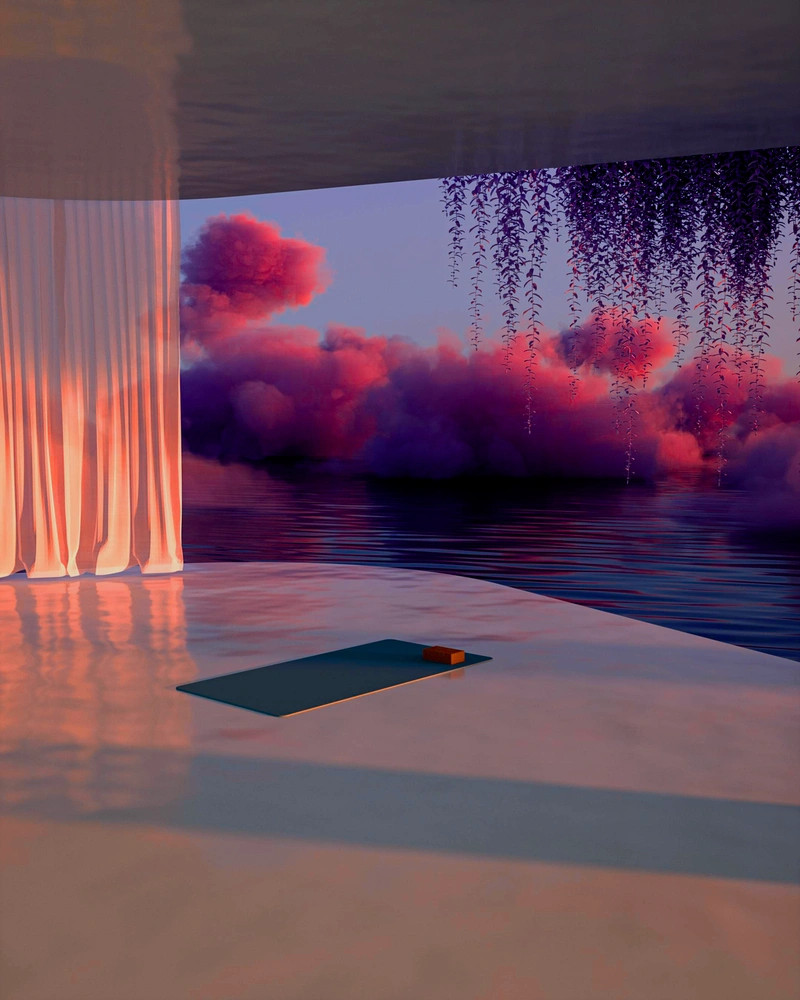
Source / original render

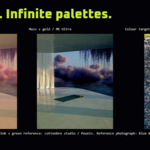
The same render and matching method in every result. Only the reference changes.
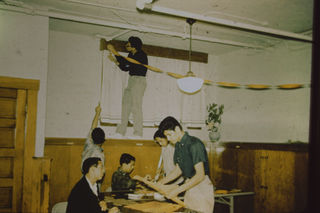
Violet + cyan / MK Ultra
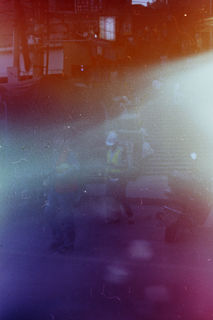
Colour target
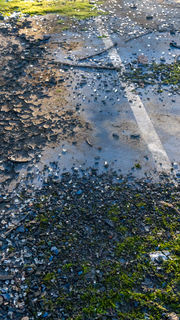
Olive + cream / MK Ultra

Colour target
Moss + gold / MK Ultra

Colour target
Pink + green / MK Ultra

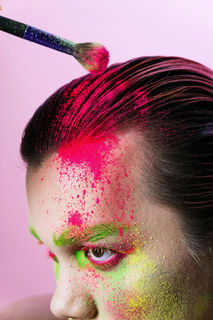
Colour target
Rust + blue / MK Ultra

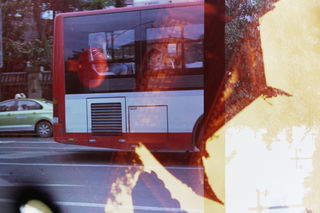
Colour target
Original render: Mo Eid / Pexels. Pink + green reference: cottonbro studio / Pexels. Other reference photographs: Blue Nile. All five results use MK Ultra in Style Thief 1.4.0.
Colour matching / Color Ramp comparison
Why not use color ramps instead?
Matching a complex reference by hand with a Color Ramp can introduce hard bands and flatten tonal variation. Here, Style Thief moves the source toward the same target palette while preserving smoother transitions.
SOURCE

TARGET

COLOR RAMP

STYLE THIEF

Paintings by Robert Genn. Colour-matched result made with Style Thief.
If the comparison does not load, open the interactive comparison directly.
In the add-on, All Modes creates a result for every method in one run. Compare the results and keep the ones that suit your image.
Source and reference textures: Textures.com (formerly CGTextures).
If the comparison does not load, open the before-and-after comparison.
Photographs / renders / artwork / HDRIs
Recolour more than textures.
Use a photograph, texture, render, painting or HDR image as your colour source or reference. The result keeps your original image resolution.
SOURCE

TARGET

RESULT

PHOTOGRAPH / SOURCE + TARGET → RESULT
Shift the atmosphere without changing the place
Source photo: Nadezhda Moryak / Pexels. Reference artwork: GRIS / Nomada Studio.
SOURCE

TARGET
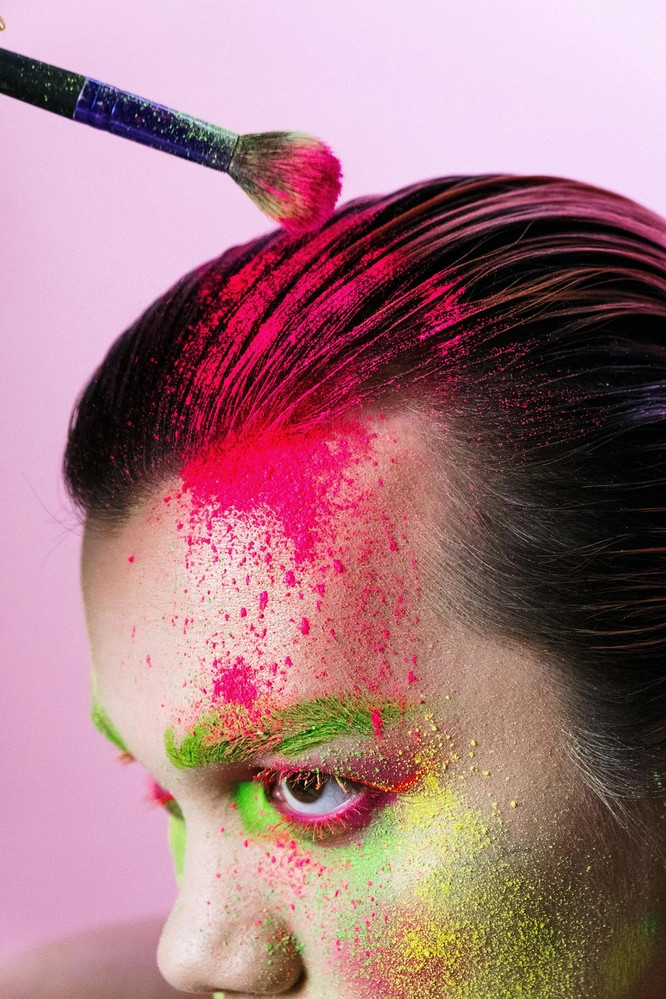
RESULT

PHOTOGRAPH / SOURCE + TARGET → RESULT
Try a bolder palette.
Source photo: Blue Nile. Colour target: cottonbro studio / Pexels.
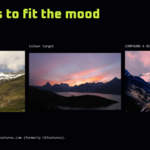
Source / target / result
Same mountain. New colour direction.
Match background plates and backdrop images to your scene’s colour palette.
SOURCE

Colour target

COMPOUND A RESULT

Source and reference photographs: Textures.com (formerly CGTextures).
How it works
Choose a reference. Match. Keep the result.
Choose source and target
Use Blender images or files, paste from the clipboard, capture a screen region, or start from a texture node.
Match the colours
Choose one of ten colour-matching methods, or compare the full range from the same source and reference.
Keep the result where you need it
Save to disk, keep the image in Blender, or create matched image-texture nodes beside the originals.
Keep results beside the originals
Create matched image-texture nodes for comparison, or replace existing links only when you choose to.
Paste or capture a reference
Paste from the OS clipboard or grab a screen region without first saving and importing a file.
Work with sRGB, Linear and HDR images
Carry the same reference-led workflow into standard colour, scene-linear and high-dynamic-range imagery.
What to expect
Colour transfer, not image generation.
The result retains the source dimensions and alpha channel. Shapes and composition stay in place.
Very different, weak, monochrome or low-resolution inputs can produce limited shifts.
Methods can produce similar results on some pairs and very different ones on others. PCCM is experimental and can produce extreme colour changes.
Do not colour-transfer normal, roughness, displacement or other non-colour data maps.
Update / Style Thief 1.4.0
recent updates
Version 1.4.0 expands the creative range, adds two-way batch processing and improves difficult colour matches.
Improved protection against blown highlights, washed-out matches and visual artifacts.
Lab Shift, Crosscut, Matrix and PCCM bring the total to ten matching methods.
Explore many references from one input, alongside the existing many-inputs-to-one-target workflow.
Use standard colour, scene-linear and high-dynamic-range images in the same reference-led workflow.
A cleaner panel and more efficient multi-result processing keep comparison work moving.
Compatibility
Style Thief 1.4.0 supports Blender 4.3 and newer.
Use it from Blender's Image Editor N-panel on Windows, macOS or Linux. Matching is processed locally; a network connection is not required for your working images.
Blender 4.3+MINIMUM SUPPORTED VERSION
Windows · macOS · Linux
Local processingNO CLOUD IMAGE UPLOAD
FAQ
Questions before you buy.
Does it use generative AI?
No. Style Thief uses local image-processing algorithms to match colour distributions. It does not upload your working images or generate new subject matter.
Can I batch either side?
Yes. Batch Input matches many inputs to one target. Batch Target matches one input to several references. Both can use Blender images or image directories.
Can I process a texture set?
Yes. Use Batch Input for colour or base-colour images. Do not apply colour transfer to normal, roughness, displacement or other non-colour data maps.
Can it update material nodes?
Yes. Add matched texture nodes beside the originals for comparison, or replace links only when you explicitly choose to.
Can it work with Linear or HDR images?
Yes. Style Thief supports sRGB, scene-linear and HDR imagery for source and target workflows.
Which Blender versions are supported?
Style Thief 1.4.0 supports Blender 4.3 and newer on Windows, macOS and Linux.
Keep exploring
Guides, answers and more tools.
Go deeper with the full guide, find quick answers, or see the other Blender tools I make.