 NicoHartl
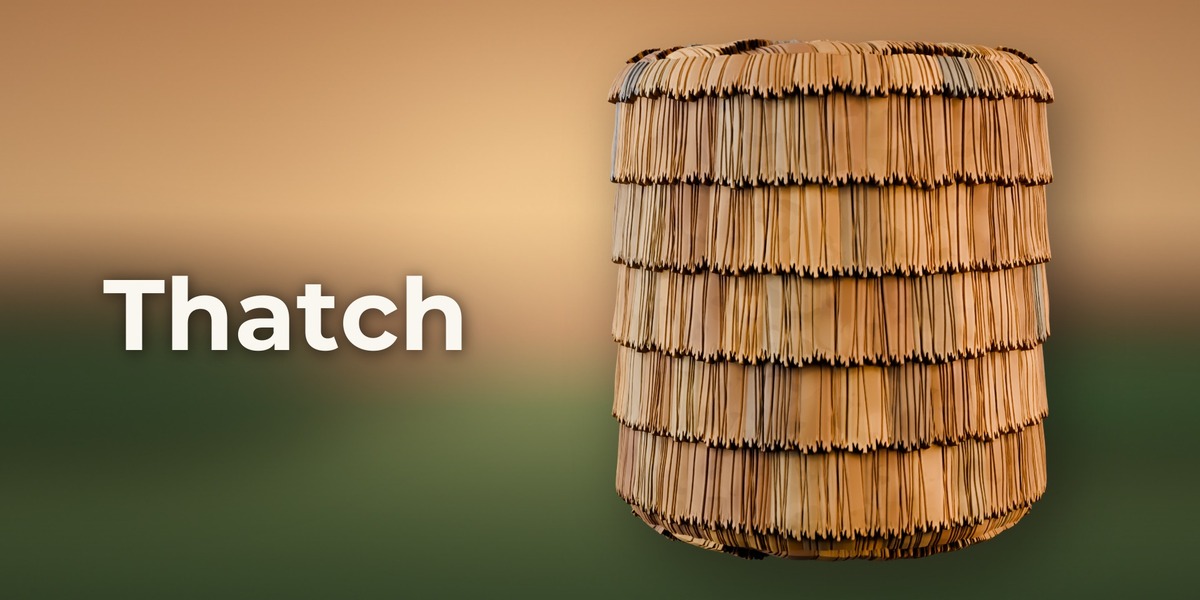
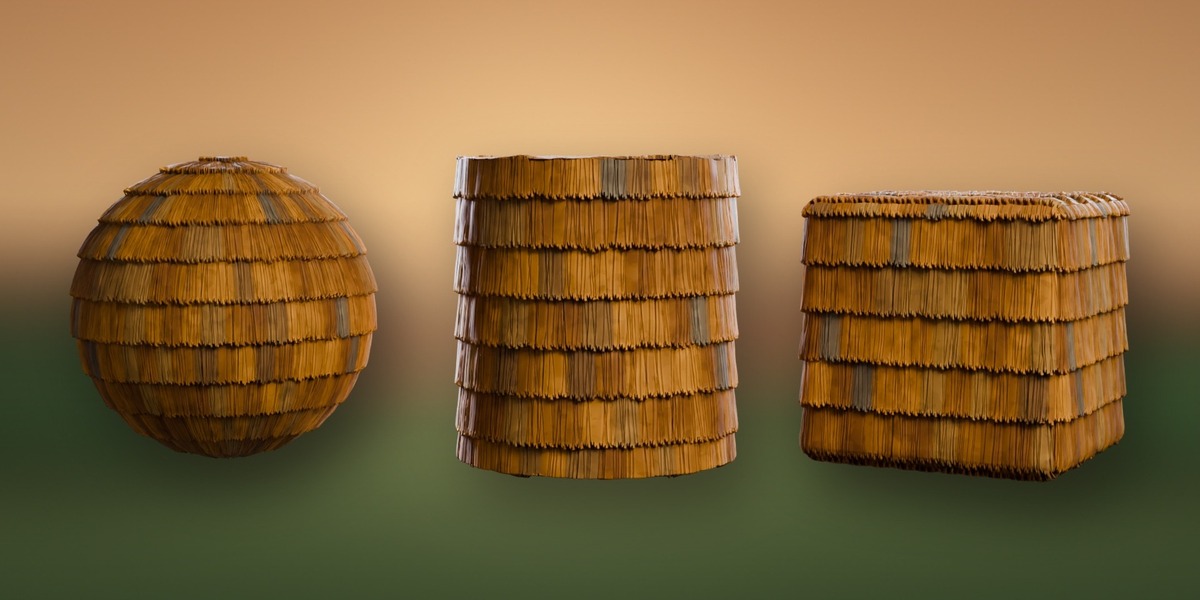
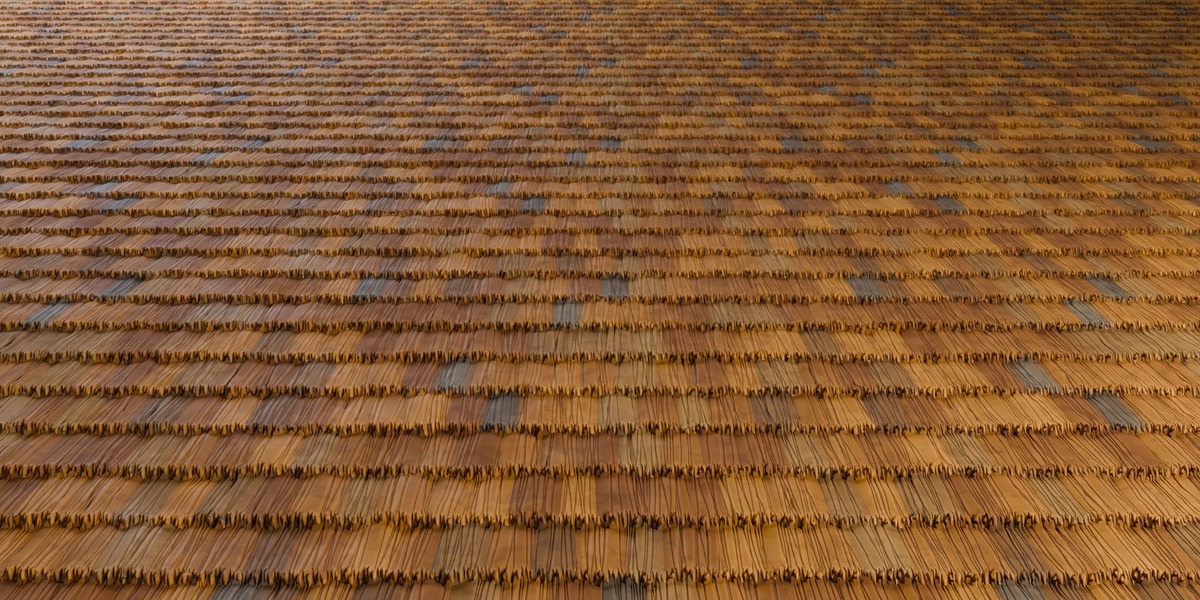
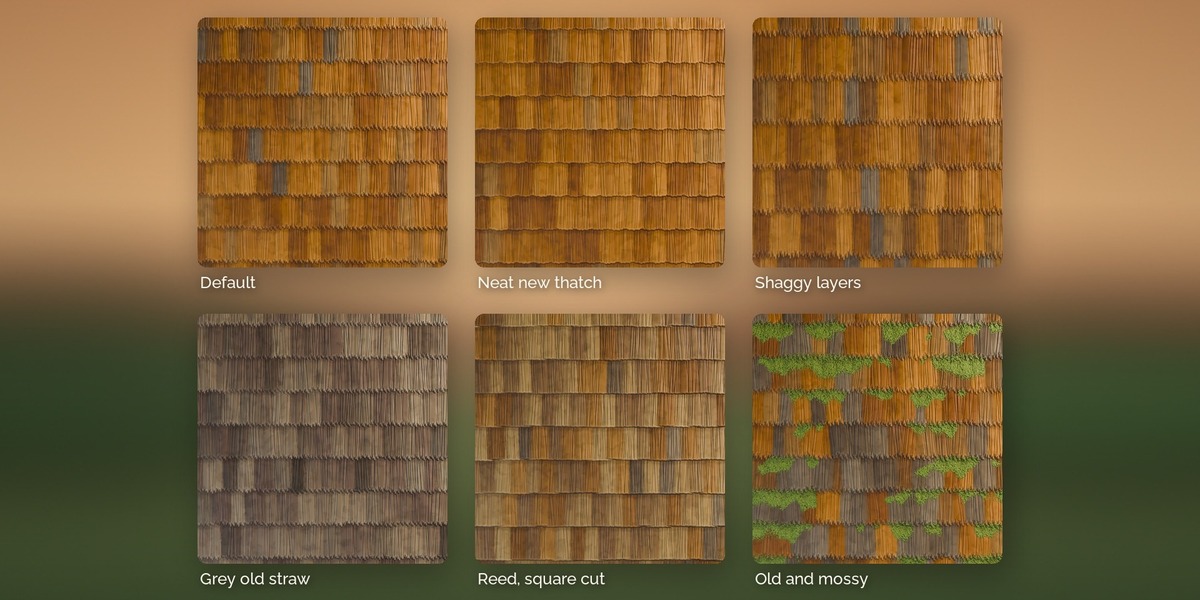

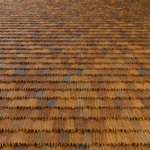
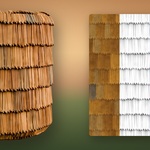
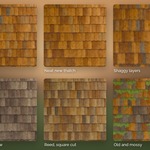
Stylized Thatch
Version 1.0. Stylized, hand-painted look PBR materials, seamless tiling, made for Blender, Unreal Engine and Unity.
Materials
| Material | Real-world size of one tile | Height range |
|---|---|---|
| Thatch | 2.0 m | 5 cm |
Texture sizes included: 2048, 1024 px. Set your UVs so one UV unit covers the tile size above (or scale the material), then the stones have the intended real-world size.
Maps
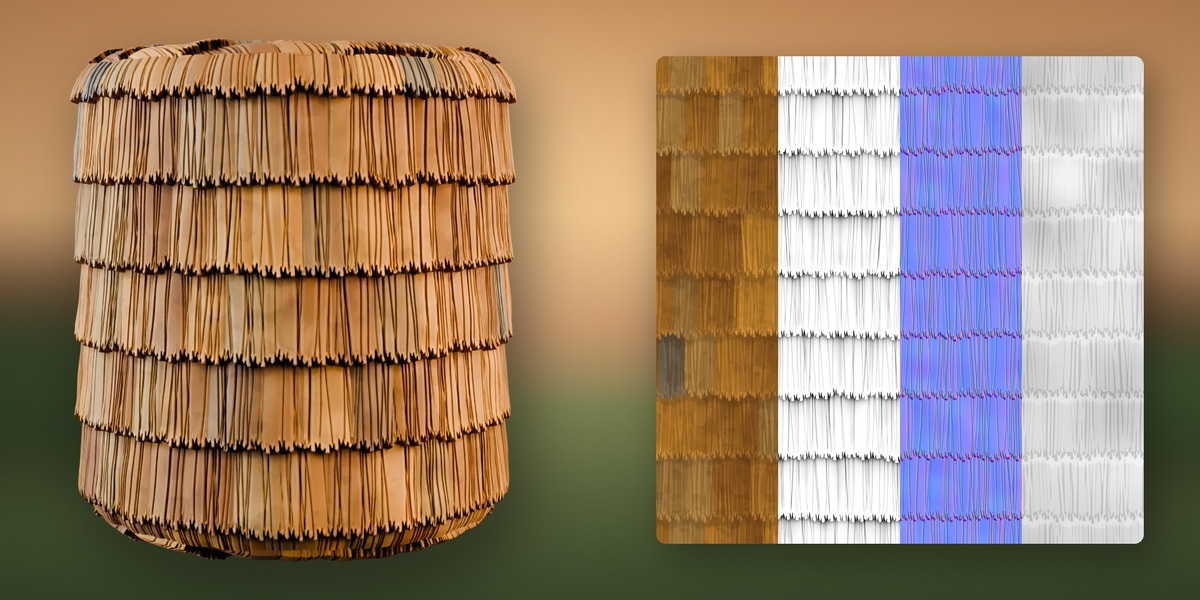
- BaseColor (sRGB)
- Normal: OpenGL (Blender, Unity) and DirectX (Unreal) versions
- Height (16 bit, 0 = deepest joint, 1 = highest point)
- AO, Roughness, ORM / Metallic-Smoothness / Mask Map packed versions per engine
- Masks (RGBA): R edge, G cavity, B moss reveal order (0 = no moss), A random value per stone
Blender (4.2 or newer, tested in 5.2)
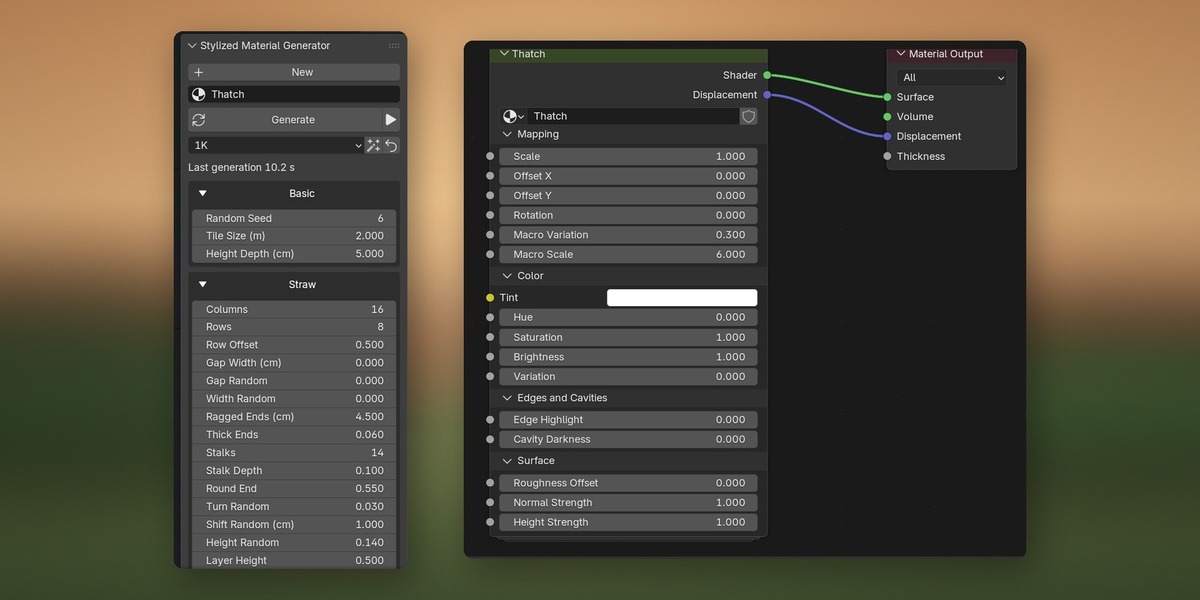
Two parts: this library (textures, materials, showcase) and the add-on "Stylized Material Generator" (Stylized_Material_Generator_v1.1.zip, separate download). Every material product ships the same add-on with its own material; install each one you own: they collect in one panel (Blender user data folder nh_stylized_materials).
Stylized Material Generator add-on (procedural)
- Edit > Preferences > Add-ons > Install from Disk, choose
Stylized_Material_Generator_v1.1.zip, enable it. - 3D Viewport sidebar (N) > tab "Stylized", or Material Properties: pick a material type, press New.
- Change the shape and colour parameters (stone size, joints, wobble, height variation, colours, moss, roughness, seed ...) and press Generate (Live Preview updates a 512 px version while you drag). Every parameter regenerates the maps, so shape and layout really change, not only colours.
- Export writes the maps for Unreal (ORM, DirectX normal) and Unity (Metallic Smoothness, Mask Map).
The generated textures are saved next to your .blend in its own folder per material (relative paths).
Ready made library
- Open
Stylized_Medieval_Village_Materials_Showcase.blendto see the material set up and ready to render. - Add this folder as an Asset Library (Edit > Preferences > File Paths > Asset Libraries > +). The materials appear in the Asset Browser; drag one onto an object.
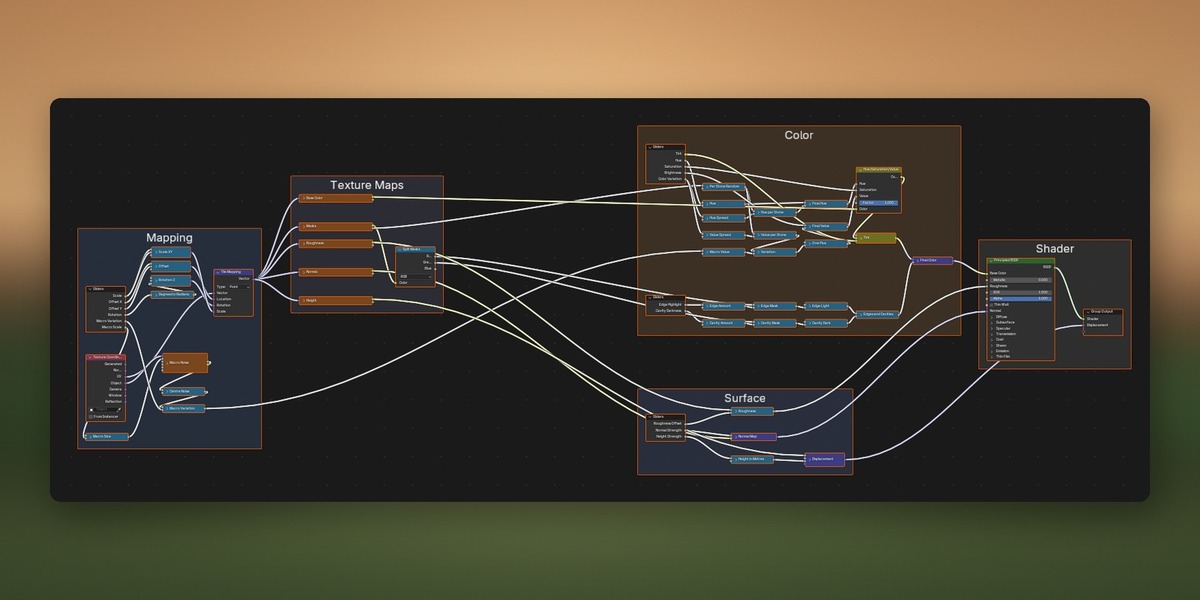
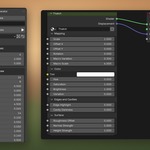
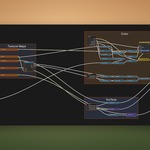
- Sliders on the material's node group: Scale, Offset X / Y, Rotation, Tint, Hue, Saturation, Brightness, Variation, Edge Highlight, Cavity Darkness, Macro Variation, Macro Scale, Roughness Offset, Normal / Height Strength, and Moss Amount + Moss Tint on materials generated with moss.
- Real displacement: Cycles, Material > Settings > Displacement "Displacement and Bump" (already set), and enough geometry (Subdivision Surface modifier). Eevee shows the normal map.
Notes
Designed with Claude, made procedurally in Blender and Python, art directed and checked by a 3D artist. Preview lighting uses the CC0 HDRI "Studio Small 09" from Poly Haven (not included).
Have questions about this product?
Login to message
| Published | 8 days ago |
| Blender Version | 4.2 - 5.2 |
| Render Engine Used | Cycles, Eevee |
| License | GPL |
Discover more products like this
Game asset texture seamless hand painted straw thatch Generator Material roof medieval procedural stylized