 Mamba CG



Stylized Water Pro - Documentation
Overview
Stylized Water Pro is a one-click stylized water system for Blender. The addon creates a ready-to-use water object, assigns a stylized water shader material, adds the Geometry Nodes setup, creates the required helper collections, and gives you an organized sidebar panel for controlling waves, surface settings, foam, ripples, floating objects, volume settings and presets.
Use this addon when you want to create stylized lakes, ponds, rivers, fantasy water scenes, low-poly environments, game-style scenes or animated water backgrounds without building a complex shader and Geometry Nodes setup manually.
Quick Start
1. Install the addon
Open Blender.
Go to
Edit > Preferences > Add-ons.Click
Install.Select the Stylized Water Pro zip file.
Enable the addon.
After enabling the addon, open the 3D View sidebar and find the Stylized Water tab.
2. Check the asset file
Stylized Water Pro uses a bundled asset file named:
assets/Water_Surface_MambaCG.blend
This file must stay inside the addon assets folder. If the file is missing, the water system cannot be created correctly.
3. Create the water system
Open the 3D View.
Press
Nto open the sidebar.Go to the
Stylized Watertab.Click
Create Stylized Water.
The addon will automatically create the main water setup in your scene.
It creates:
SWP_Waterobjectstylized water material
Geometry Nodes wave setup
Stylized_Water_Systemroot collectionStatic_ObjectscollectionFloating_ObjectscollectionRipple_Pointscollectiondefault water settings
Addon UI Panel
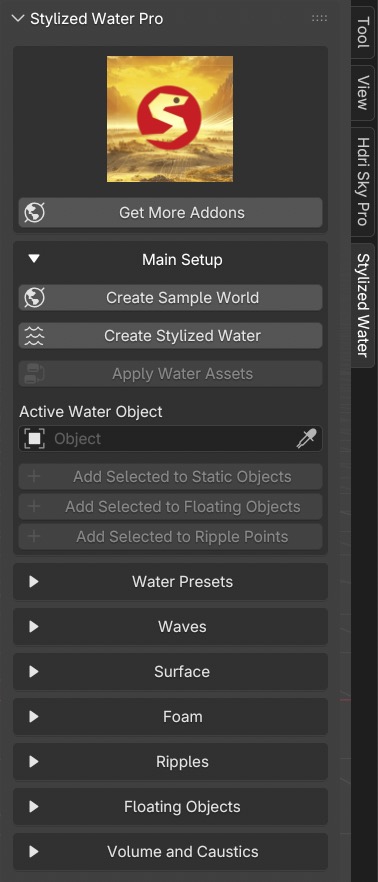
Panel Description
The Stylized Water Pro panel is located in the 3D View sidebar. It is designed to keep the full water workflow in one place.
Main Setup
The Main Setup section is used to create or rebuild the water system.
Main buttons:
Create Stylized Water- creates the full water system in the scene.Rebuild Water Setup- rebuilds and reconnects the water object, material, Geometry Nodes and collections.Create Required Collections- creates the required helper collections if they are missing.Create Sample World- adds the sample HDRI world if included in the addon package.
Use this section first when starting a new scene.
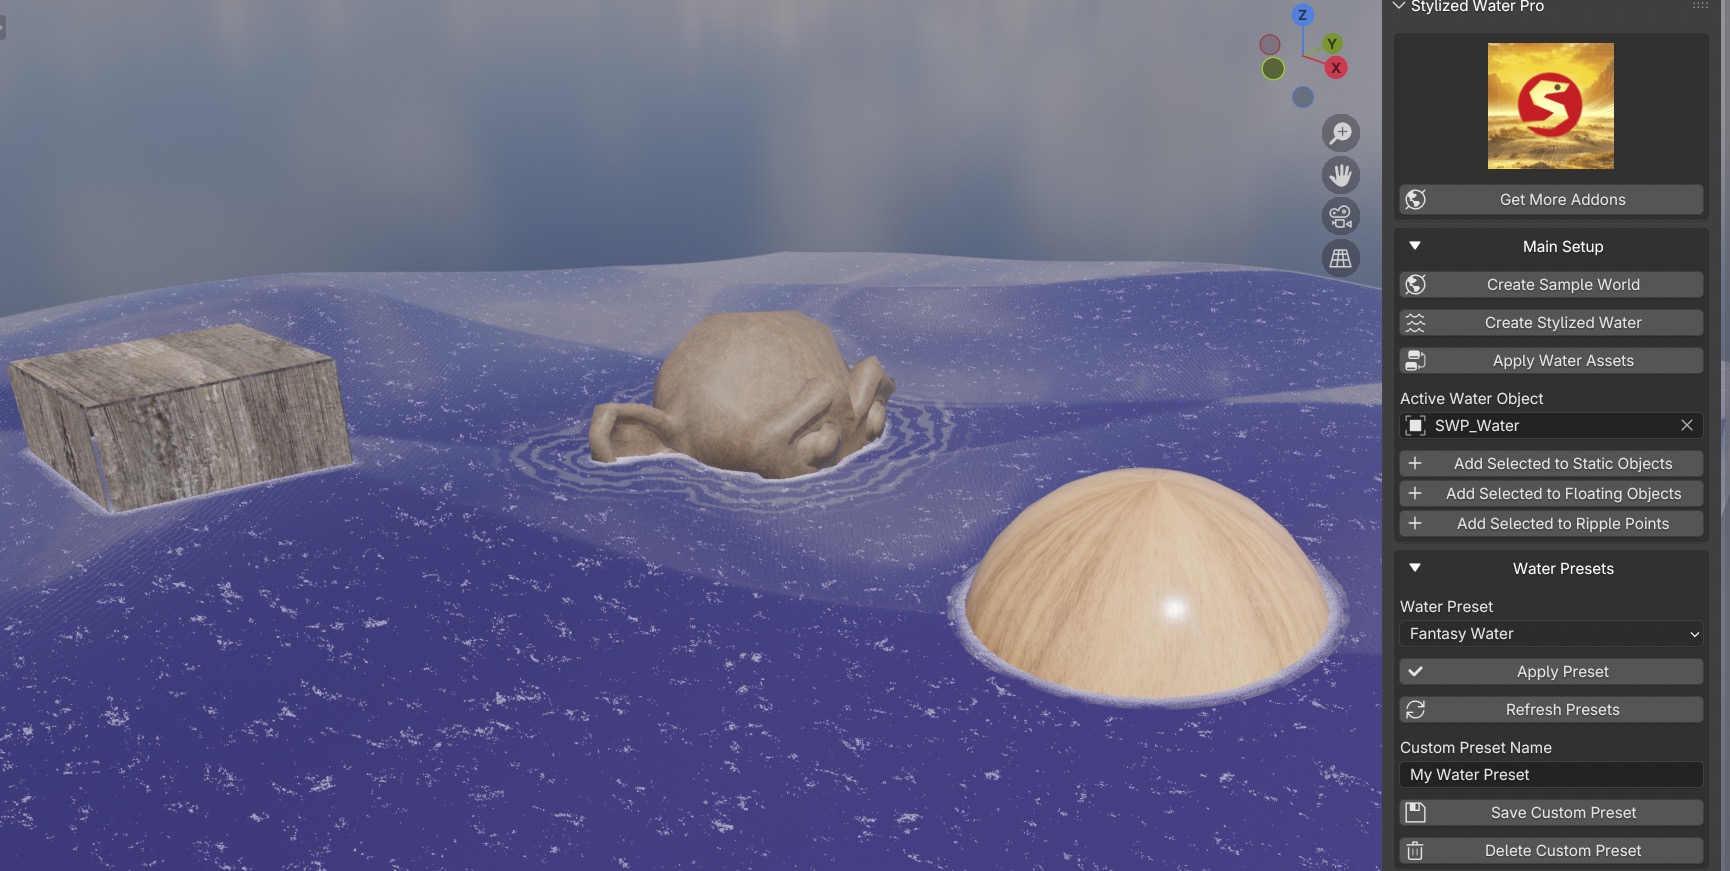
Presets
The Presets section lets you quickly change the look of the water.
You can use built-in presets or save your own custom presets. Presets are useful when you want to reuse the same water style across different scenes.
Typical preset workflow:
Create the water system.
Choose a preset.
Adjust waves, surface, foam and ripple settings.
Save a custom preset if needed.
Waves
The Waves section controls the animated water surface.
Stylized Water Pro uses Geometry Nodes wave layers. These controls help you adjust the motion and shape of the water without editing the node tree manually.
Use this section to control:
wave strength
wave scale
wave speed
wave direction
layered wave variation
Surface
The Surface section controls the general water appearance.
Use this section to adjust the visual style of the water material, including the main water color and surface look.
This is the best place to tune the water for different scene moods, such as calm pond water, bright stylized water, fantasy water or darker river water.
Foam
The Foam section controls the visible foam behavior.
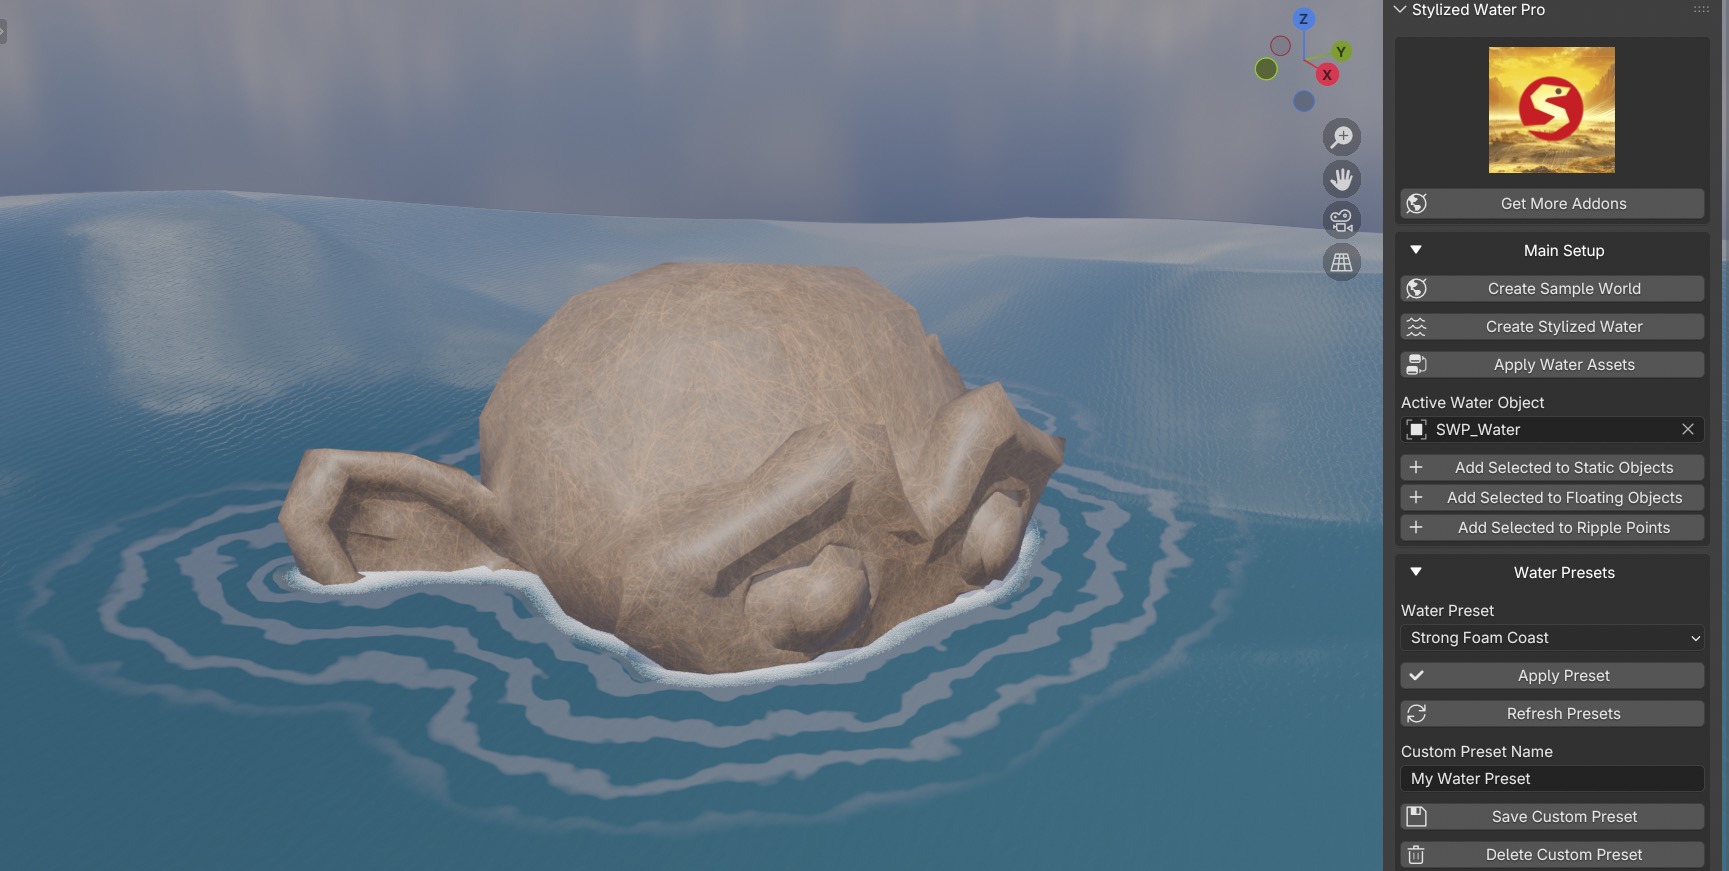
To create foam around objects:
Select the object in the scene.
Click
Add Selected to Staticin the addon panel.The object will be added to the
Static_Objectscollection.Adjust the foam settings in the panel.
The Static_Objects collection is used for contact-style water interaction and foam around objects.
Ripples
The Ripples section controls localized ripple effects.
To create ripples:
Select an object or ripple proxy.
Click
Add Selected to Ripple.The object will be added to the
Ripple_Pointscollection.Adjust ripple settings in the panel.
Use ripple points when you need circular or localized water movement around specific objects or positions.
Floating
The Floating section is used for objects that should move with the water surface.
To add a floating object:
Select the object.
Click
Add Selected to Floating.The object will be added to the
Floating_Objectscollection.The addon will set up the floating workflow for that object.
Use this for boats, leaves, props, rocks, fantasy objects or any object that should visually interact with the animated water surface.
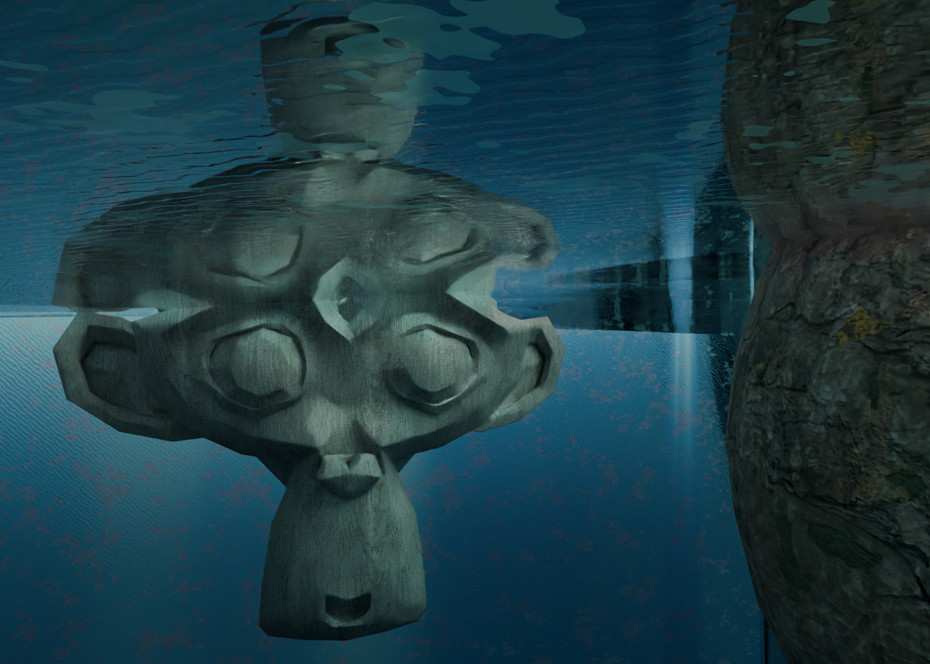
Volume
The Volume section controls depth-style and underwater-style visual settings if they are included in your material setup.
Use this section to adjust the feeling of depth, water density and underwater color behavior.
Basic Workflow
Create a simple stylized lake
Click
Create Stylized Water.Scale the water object to fit your scene.
Choose a water preset.
Adjust wave settings.
Adjust surface color.
Render the scene.
Add foam around rocks or environment objects
Create the water system.
Select rocks, bridge supports or other objects touching the water.
Click
Add Selected to Static.Adjust foam settings.
Render or preview the result.
Add ripple effects
Create the water system.
Add or select an object where you want ripples.
Click
Add Selected to Ripple.Adjust ripple size, strength and falloff.
Add floating objects
Create the water system.
Select the object that should float.
Click
Add Selected to Floating.Adjust floating settings if needed.
Preview the animation.
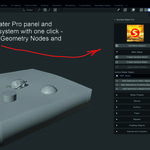
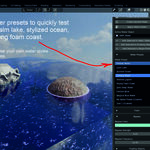
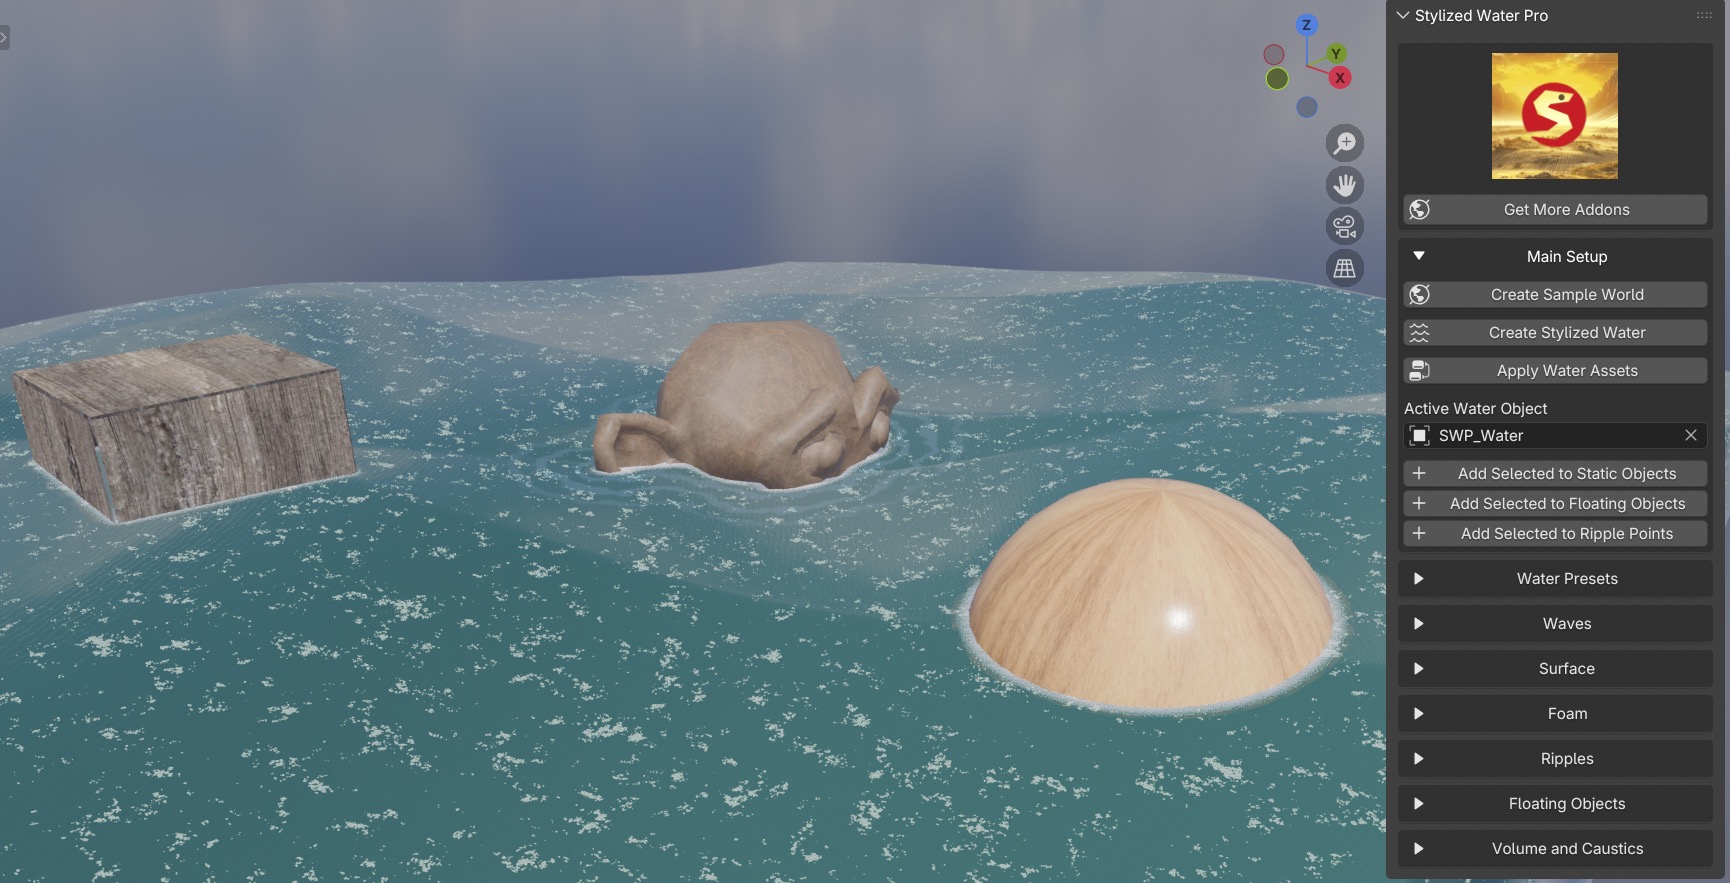
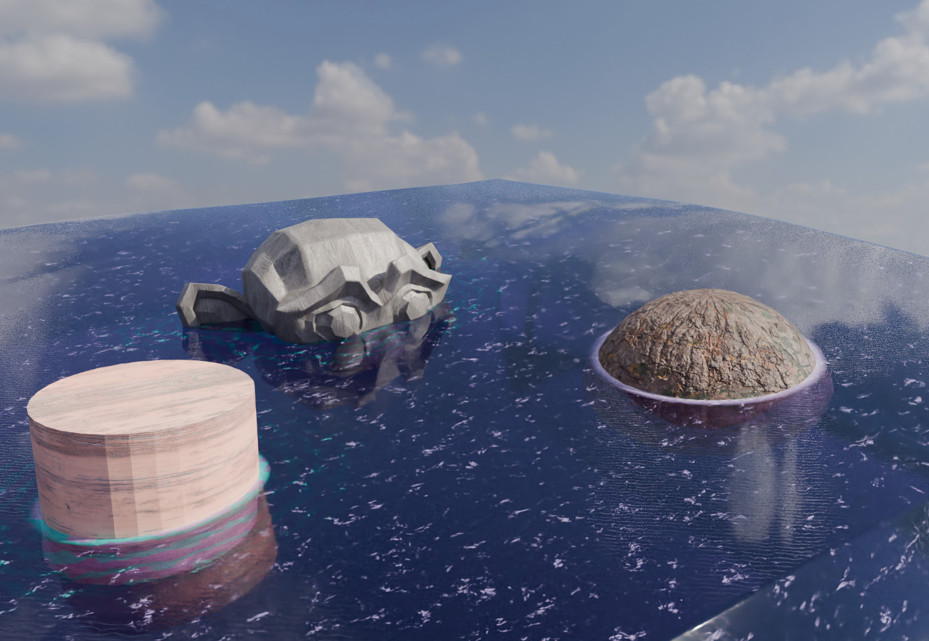
One-click setup result - EEVEE
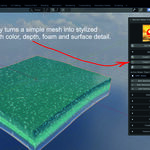
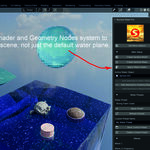
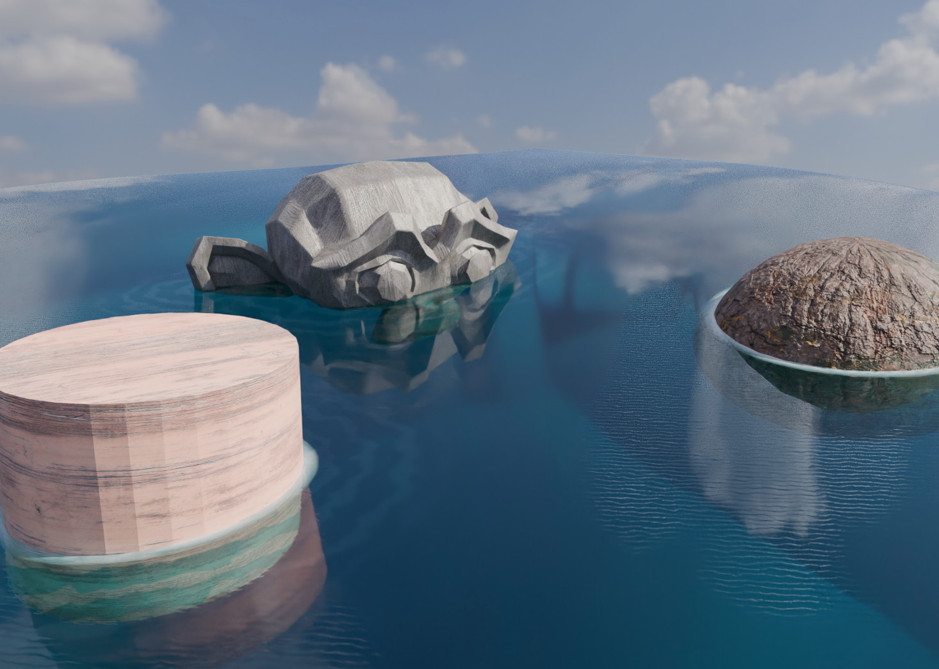
One-click setup result - Cycles
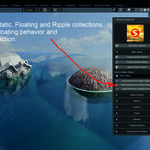
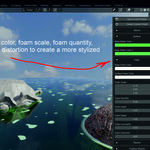
Foam and Ripple Workflow - EEVEE
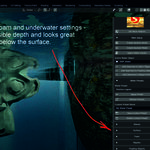
Underwater workflow
Quick Start Tutorial
Recommended video length: 45-90 seconds.
Show:
Installing/enabling the addon.
Opening the panel.
Creating the water system.
Adding objects to Static, Floating and Ripple collections.
Applying a preset.
Final render preview.
Troubleshooting
The water system does not create
Check that assets/Water_Surface_MambaCG.blend exists inside the addon folder.
Foam is not visible
Make sure the object is added to the Static_Objects collection using the addon panel. Also check the foam settings and make sure the water system has been created correctly.
Ripples are not visible
Make sure the ripple object or proxy is added to the Ripple_Points collection. Then adjust the ripple settings in the panel.
Floating objects do not move correctly
Make sure the object was added through Add Selected to Floating and is inside the Floating_Objects collection. Rebuild the water setup if necessary.
Settings do not update
Use Rebuild Water Setup to reconnect the water object, material, Geometry Nodes modifiers and collection bindings.
Tips
Keep the required collections organized and do not rename them unless you know how the system is connected.
Use lower settings while editing heavy scenes.
Save custom presets when you find a water look you want to reuse.
Use separate objects for static foam, ripple points and floating behavior.
For best product-page presentation, show short GIFs instead of only still screenshots.
Summary
Stylized Water Pro is a Blender addon that creates a complete stylized water system with one click. It includes a ready-to-use water object, stylized shader material, Geometry Nodes waves, foam workflow, ripple interaction, floating objects, helper collections, and presets for fast environment creation.
Have questions about this product?
Login to message