Surface Stroke Fx
 Diego Contreras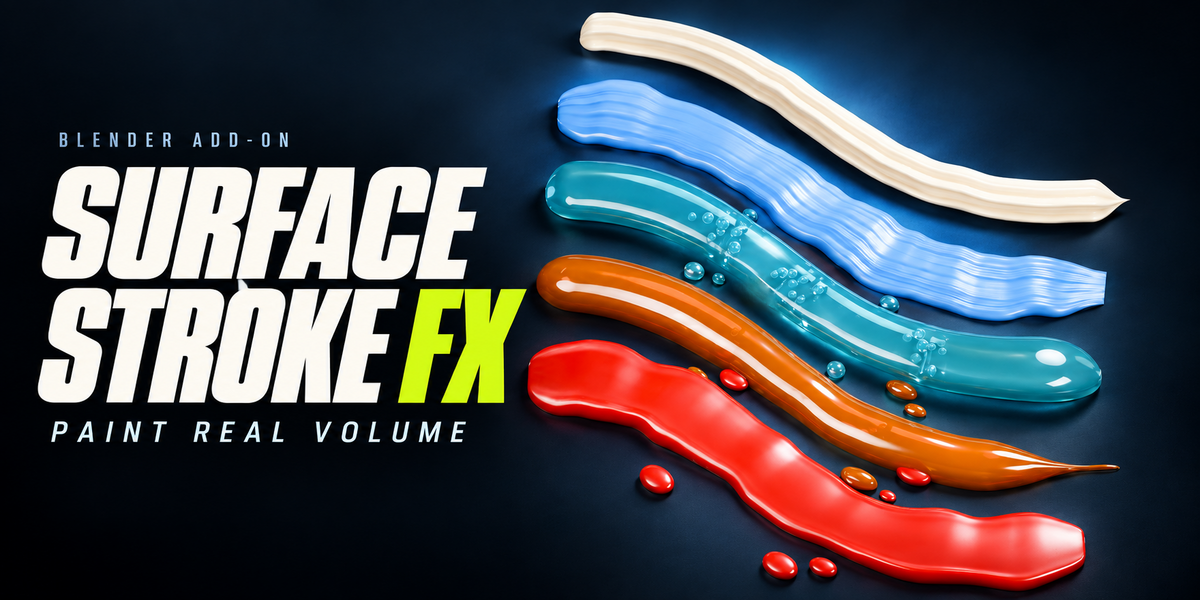
SurfaceStroke FX — User Guide
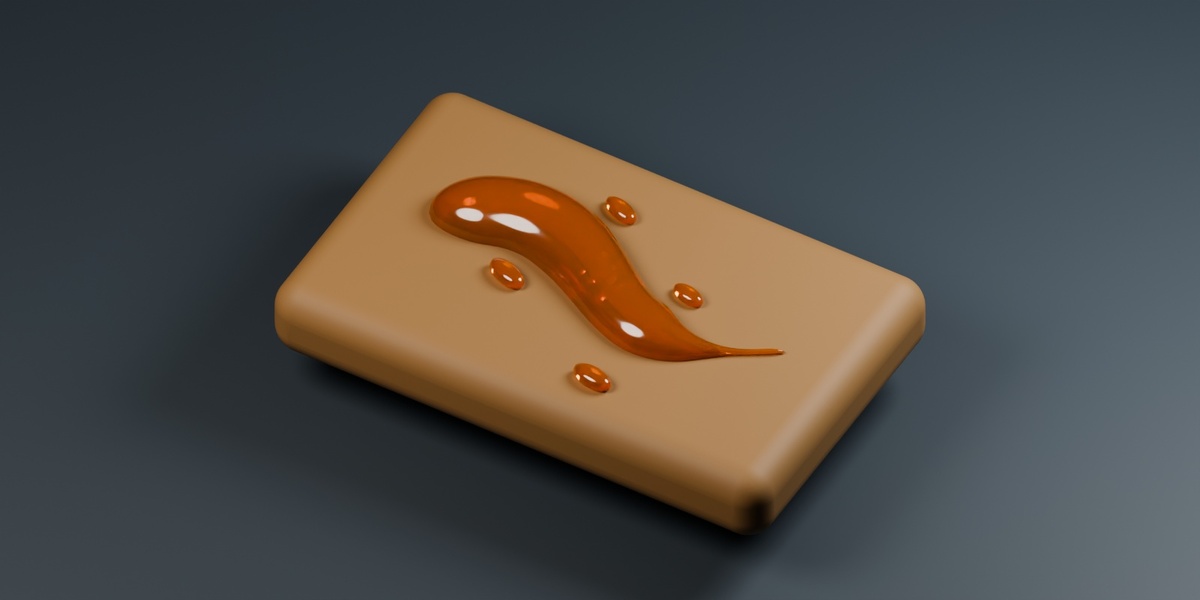
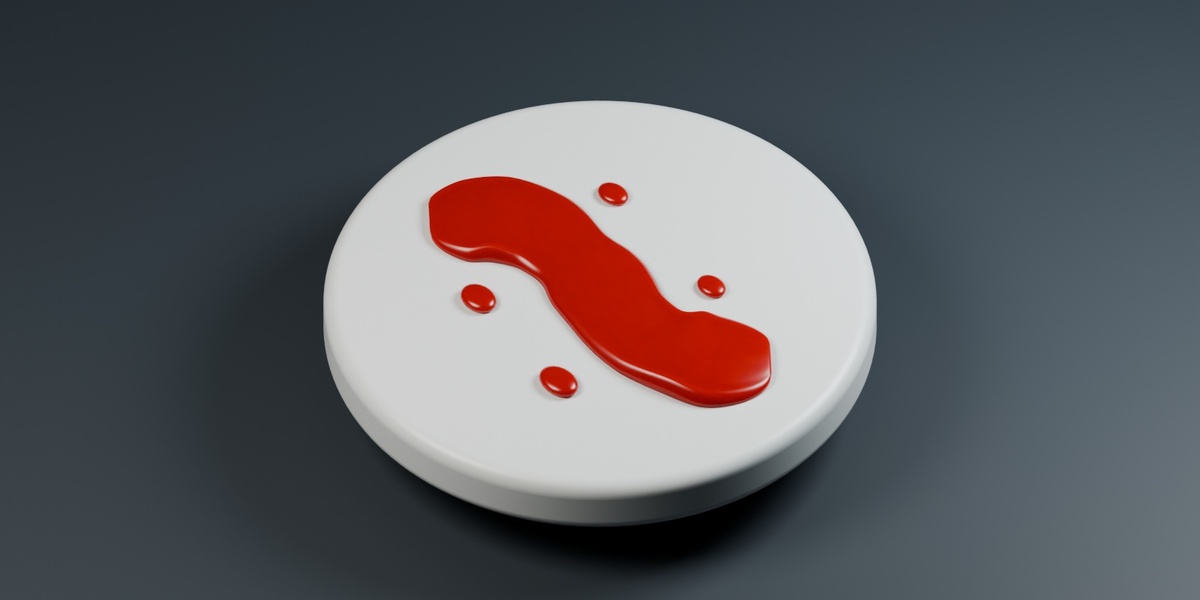
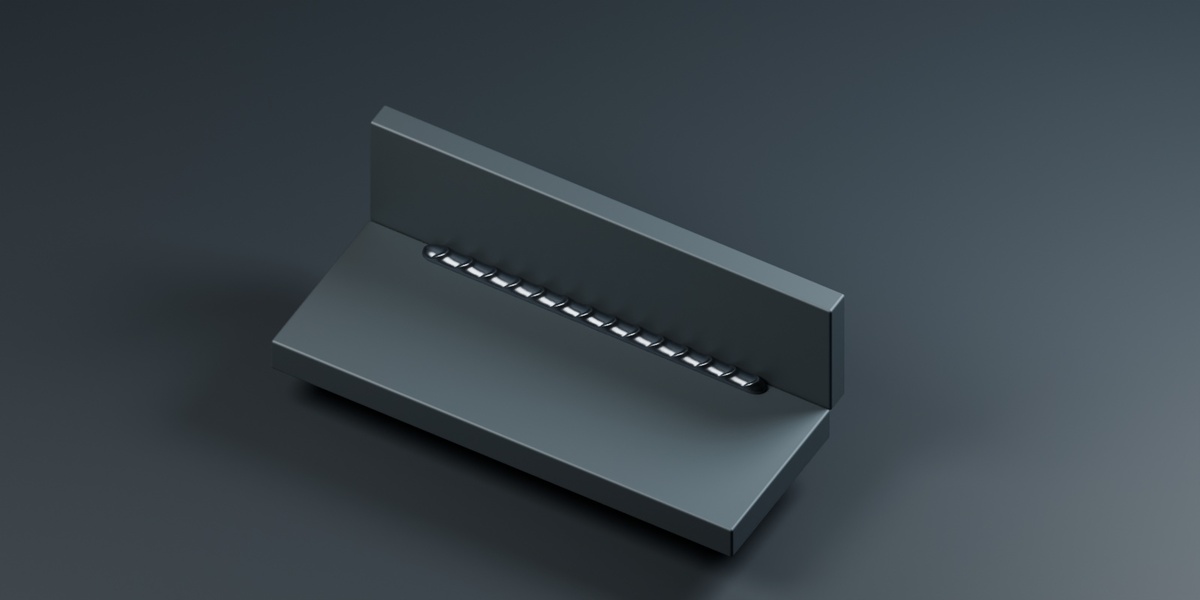
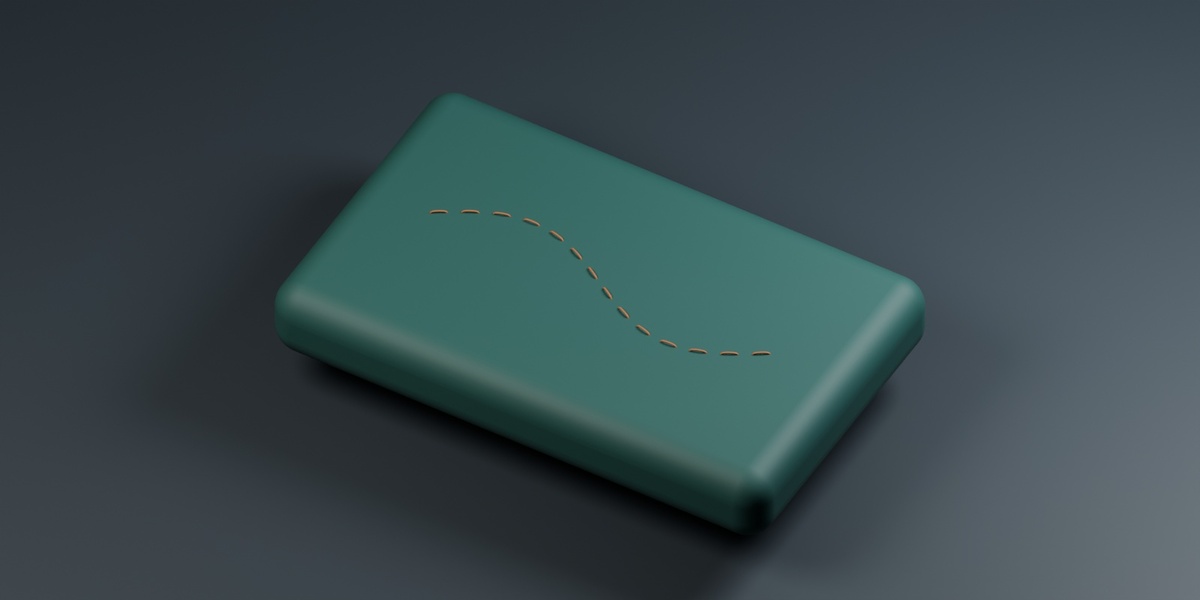
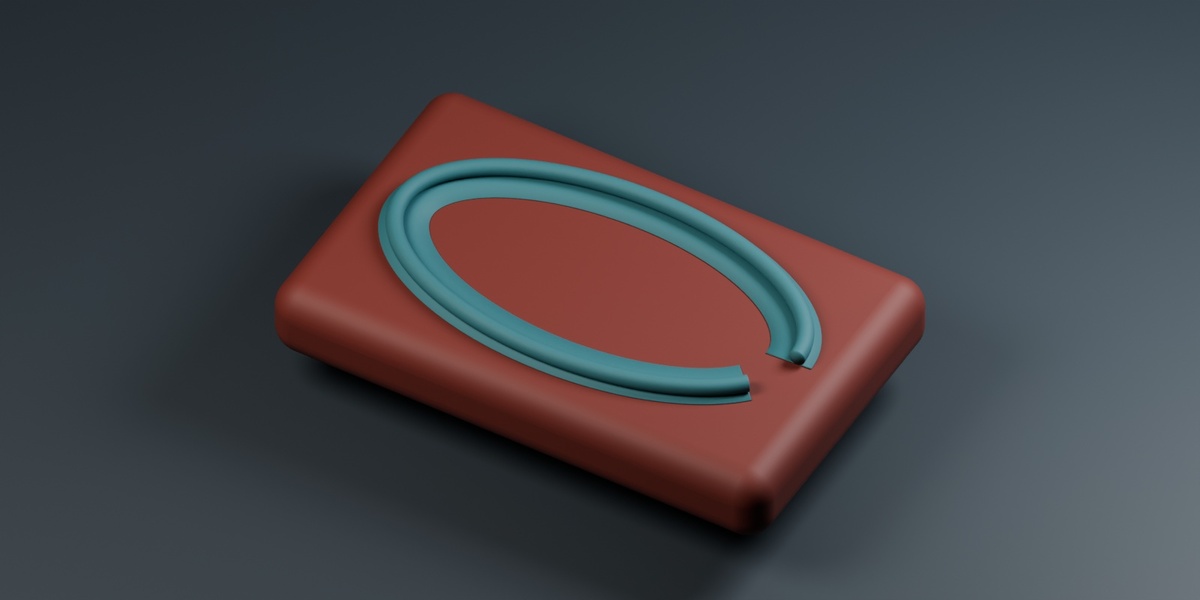
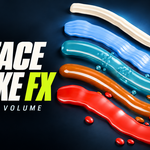
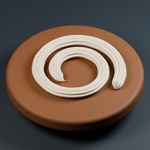
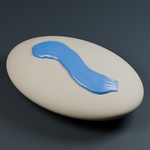
SurfaceStroke FX creates editable surface details directly on Blender meshes. Paint cream, thick paint, gel, honey and sauce, or add welds, stitches, piping and decorative trim.
The library includes 15 artistic presets and 3 Legacy starting points. Each layer preserves the captured paths, so you can adjust the generated shape and material after painting.
Requirements
Blender 5.2 LTS, within the 5.2 compatibility line.
Object Mode with one mesh active as the painting target.
Verified on Windows. Other operating systems, Blender versions and every tablet/driver combination are not certified.
No account, internet connection or additional Python packages required.
Installation
Download surface_stroke_fx-1.0.0.zip and leave it zipped.
Open Edit > Preferences > Extensions in Blender.
Open the menu in the upper-right corner and choose Install from Disk.
Select the addon ZIP and enable SurfaceStroke FX.
In the 3D Viewport, press N and open the SurfaceStroke FX tab.
Before updating, save a backup of important Blender files. Files saved with newer addon data may not be compatible with older releases.
Your First Stroke
Select a mesh in Object Mode.
Choose a family from Effect Library.
Click the preset name below its preview to apply it.
Adjust the brush size to suit your object.
Click Paint Strokes, then hold the left mouse button and drag over the target.
Release to store the stroke. You can continue painting more strokes.
Press Esc to exit the painting tool.
Adjust the shape and material in the panel, then save your Blender file normally.
Use Material Preview or Rendered viewport shading to inspect the material.
Painting Controls
Left mouse drag: paint on the active target.
Ctrl + mouse wheel: change brush radius.
Backspace: delete the last stored stroke in the active layer.
C: immediately clear the active layer while painting, without confirmation.
Esc: exit painting. Completed strokes remain; an unfinished gesture is discarded.
Painting across empty space splits the captured path. A single gesture cannot continue across different mesh objects.
Layers and Presets
Use Stroke Layers to organize your work. Click + to create a layer, select its name to activate it, and use the eye control to change its visibility.
Continue Painting adds strokes to the active layer. Select Stroke and the adjacent X let you remove a specific stored stroke. Clear Layer removes all strokes after confirmation; the trash button deletes the layer.
Each layer shares its effect and material settings. Use separate layers when you need different looks.
Applying a preset replaces the complete recipe, including its shape and material settings, while preserving the captured path. Manual adjustments display Custom settings. Save a project copy before replacing a setup you want to keep.
Included Effects
Volume Materials
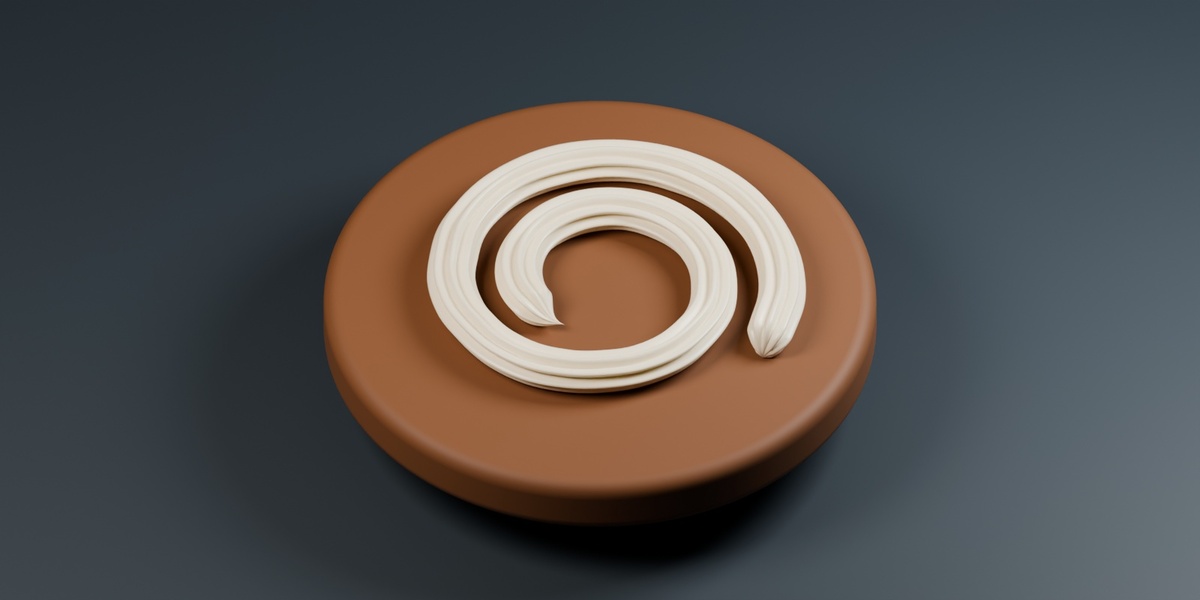
Ridged Cream
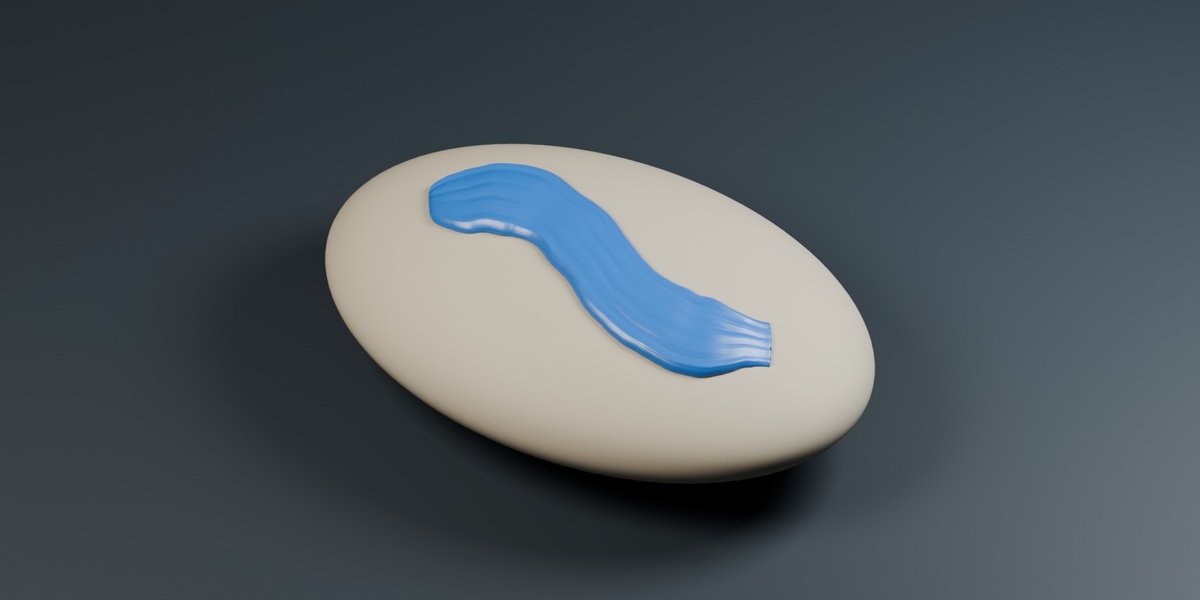
Thick Paint
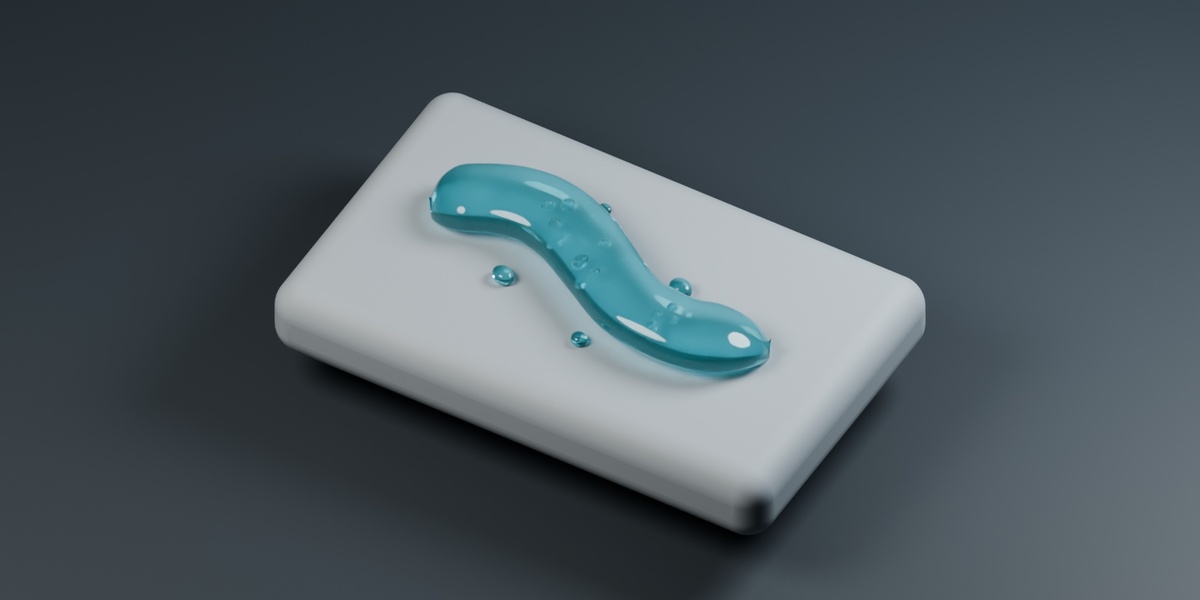
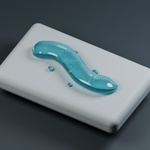
Aqua Gel
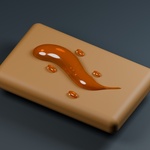
Amber Honey
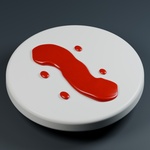
Tomato Sauce
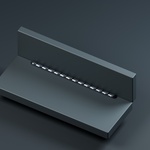
Weld Bead
Classic Weld
Fine TIG Weld
Heavy MIG Weld
Stitches / Seam
Classic Stitch
Saddle Stitch
Double Seam
Cord / Piping / Trim
Tailored Piping
Twin Rubber Cable
Leather Welt
Braided Decorative Trim
Legacy Round / Ribbon
Cord
Raised Seam
Flat Band
Shape and Brush Settings
Width / Thickness: independently control the footprint and relief of Volume Materials.
Radius / Height: control the size of applicable profiles in other families.
Surface Offset: moves the generated profile along the sampled surface normals.
Spacing: controls the distance between newly captured samples. Changing it does not resample existing strokes.
Smoothing: smooths the derived path while preserving the original samples.
Effect-specific controls adjust details such as striations, weld ripples, stitch spacing, piping construction, taper and end caps.
Distance values use Blender world units. Adjust preset dimensions to suit your scene scale.
Tablet Pressure and Lazy Mouse
The five Volume Materials support optional tablet pressure for width and thickness. Set Pressure Width or Pressure Thickness above zero to enable it. Pressure Smoothing softens transitions.
Weld, Stitches and Cord / Trim do not vary dimensions with tablet pressure.
Lazy Mouse stabilizes new gestures across all families. Enable it before painting and adjust Lazy Distance (px). The stroke ends at the green surface tip when you release, not at the pointer.
Materials and Rendering
Use the layer’s Material controls for supported, persistent adjustments. Rebuilding a managed shader may replace manual Shader Editor changes.
Cycles is the reference for refraction and internal bubbles. Allow sufficient transmission bounces when viewing cavities.
Eevee uses a different artistic transparency approximation. Results may appear lighter or show transparency noise.
Preset thumbnails are static Cycles references. Your lighting, scene and edited settings will affect the final appearance.
Performance
For lighter generated geometry, increase Advanced > Path Resolution or reduce Profile Resolution, then inspect the silhouette.
Lower bubble and drop density when needed. Detail density is a requested amount, not a guaranteed visible count; placements may shrink or be skipped to fit the surface.
Long strokes, dense target meshes and high detail settings take longer to regenerate.
Important Limitations
Effects are static geometry and materials. They do not flow, drip under gravity or merge automatically.
Normal operation preserves the original target mesh, but major topology changes or deformation can invalidate attachment.
Tight bends, crossings and wide deposits may intersect. Open strokes are the supported workflow.
Custom profiles, custom repeated elements, an integrated Bezier point editor and a contact eraser are not included.
Bubbles are internal cavities and need transmission to be visible.
Welds, stitches and braided trim are artistic constructions, not physical or engineering simulations.
Troubleshooting
The panel is missing: confirm the extension is enabled, then press N in a 3D Viewport. Restart Blender after updating if necessary.
Nothing is drawn: use Object Mode, make a mesh active and drag directly on its surface.
Missing target: restore the deleted target with Undo if appropriate, or delete the orphan layer from the addon panel.
Target transform is singular: restore every target scale axis to a non-zero value.
Layer is read-only: keep the original file and use a compatible addon version or a known-good backup. Do not force version numbers or delete stored attributes.
Support
Use Contact the Creator on the SurfaceStroke FX product page.
Include your addon version, exact Blender build, operating system, steps to reproduce the issue and any error messages. Attach a minimal Blender file only if it contains no private material.
SceneHelm was used for demonstration lighting. It is a separate product and is not required or included.
Have questions about this product?
Login to message
| Blender Extension Compatible | Yes |
| Published | 5 days ago |
| Blender Version | 5.2 |
| Extension Type | Add-on |
| Render Engine Used | Cycles, Eevee |
| License | GPL |
Discover more products like this
surface strokes procedural materials piping welds gel decorative trim honey cream stitches thick paint procedural modeling sauce