 blenderVfxMaster
SyncTools for Houdini
Overview
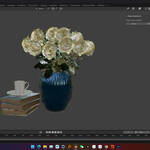
SyncTools Pro is a cross-software tool designed to simplify the process of copying and pasting detailed scene data between different applications, such as Blender and Houdini. With a single click, you can export and import objects (including meshes, lights, cameras, materials, animations, etc.) from one scene to another, saving you significant time and effort in your production workflow.
Multi-DCC Platform Support
The SyncTools series now extends support to major digital content creation software, including:
- SyncTools for Blender (Released)
- SyncTools for Maya (Released)
- SyncTools for 3ds Max (Released)
- SyncTools for Cinema 4D (Released)
- SyncTools for Houdini (Released)
- SyncTools for Zbrush (In Development)
- SyncTools for Rhino (Released)
- SyncTools for Marvelous Designer (Released)
- SyncTools for Substance Painter (In Development)
- SyncTools for Unreal Engine (In Development)
- SyncTools for Unity (In Development)
All plugins use a unified data exchange protocol, enabling seamless cross-platform, lossless asset conversion and true multi-software collaborative workflows.
Blender Side
1. Plugin Installation
-
Step 1: Open Blender and navigate to
Edit > Preferences > Add-ons. -
Step 2: Click the
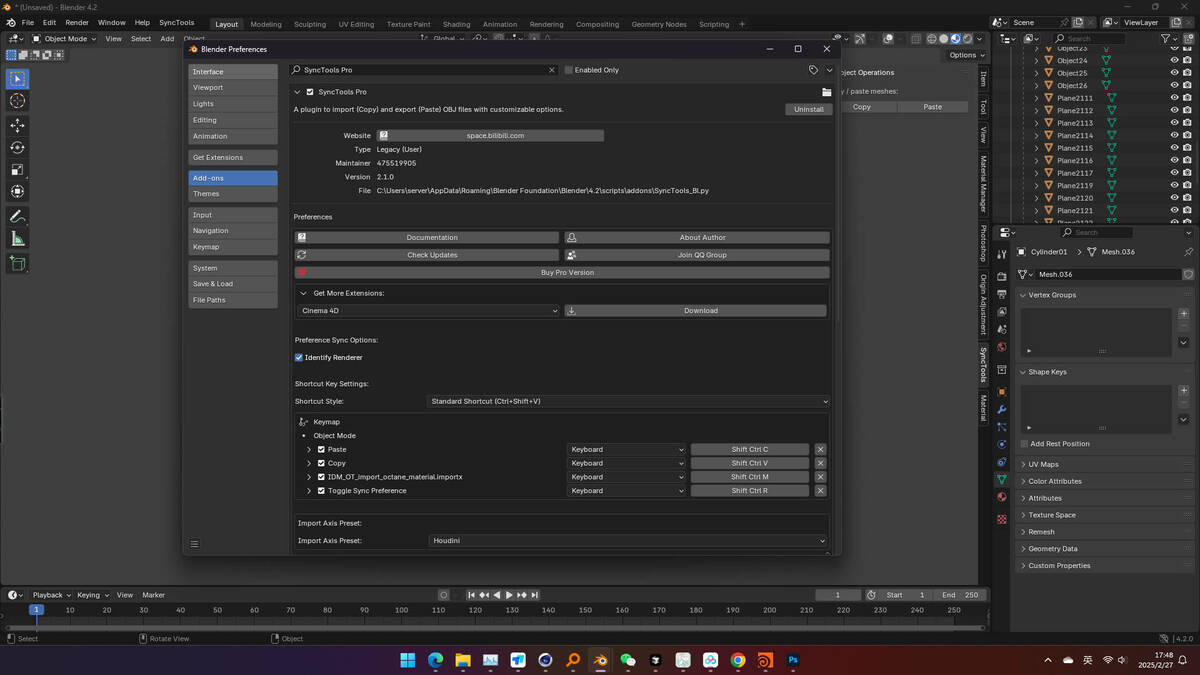
Installbutton and select the SyncTools Pro ZIP file. - Step 3: After installation, enable the plugin by checking the box next to SyncTools Pro. The plugin interface will appear under the SyncTools tab in the 3D View sidebar.
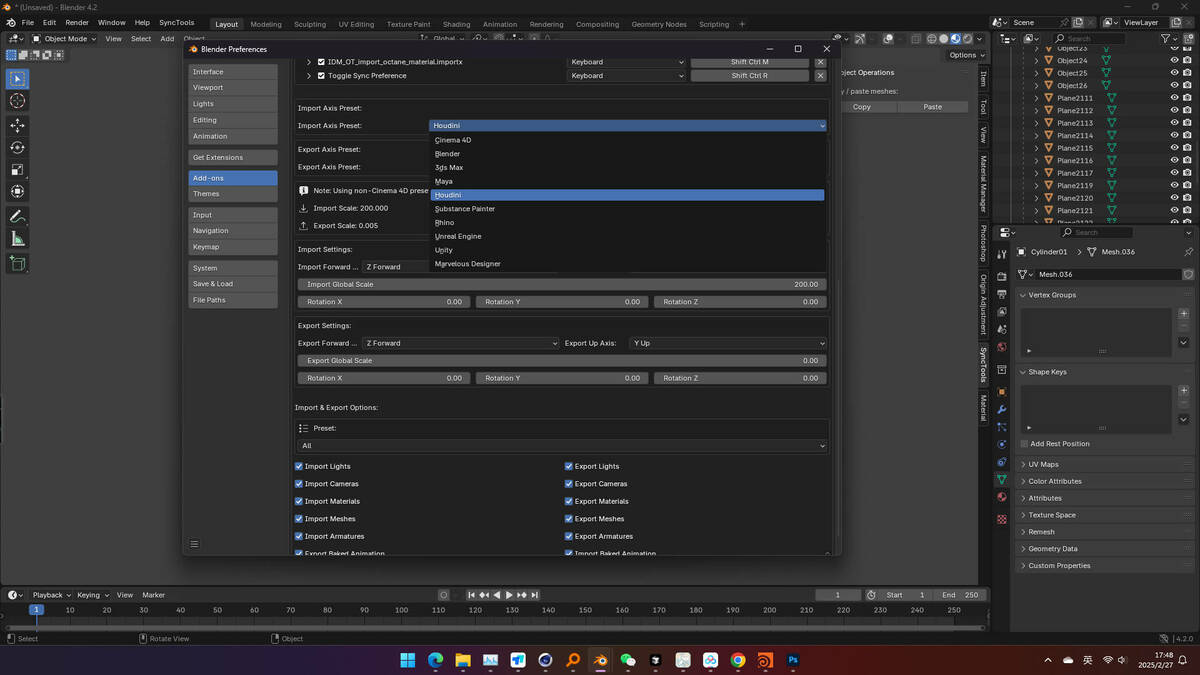
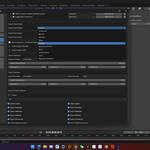
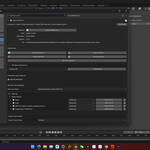
2. Plugin Settings
In the Preferences menu, you can configure various options with an intuitive interface:
- Shortcut Mode: Choose between standard keyboard shortcuts or mouse drag methods based on your personal workflow.
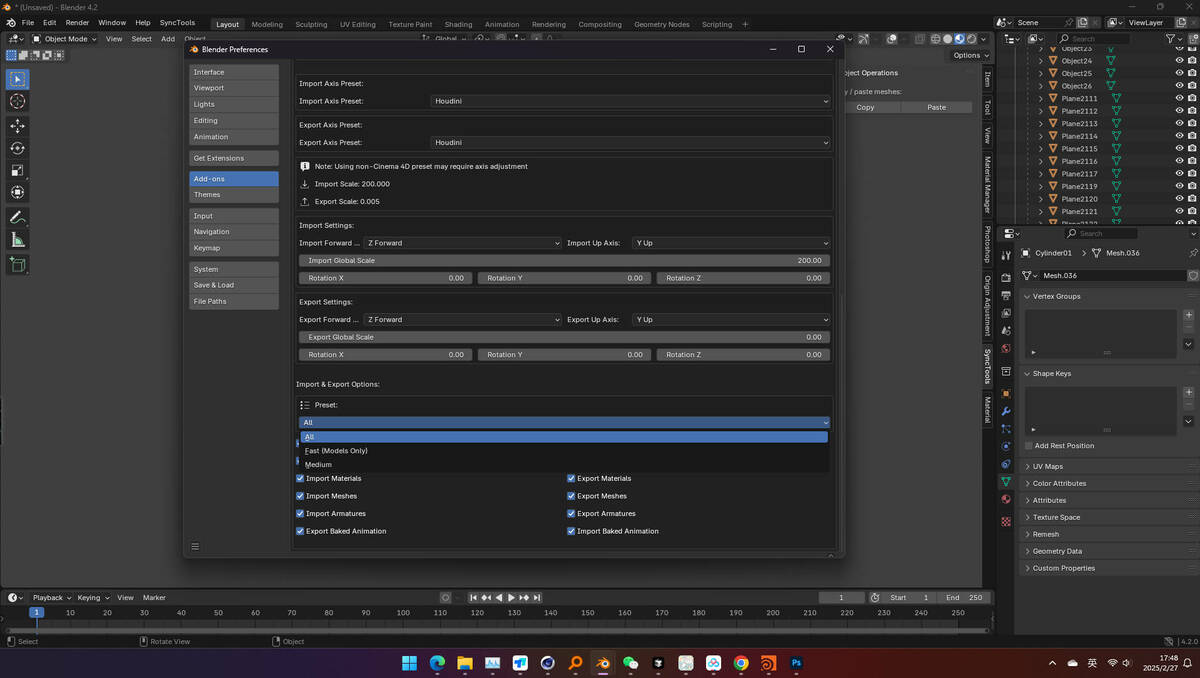
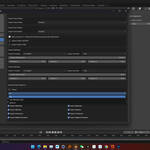
- Import/Export Options: Select the elements to include when transferring data. Options include lights, cameras, materials, meshes, skeletons, and baked animations.
- Global Scaling Settings: Adjust the overall scale applied to the scene during import and export.
- Renderer Sync Feature: Enable the "Sync Renderer" option (e.g., for Octane material sync) to ensure material settings stay consistent across different environments.
Note: All changes in settings take effect automatically in the background, no extra steps are needed after adjustments.
3. Workflow
Copying
- Select: In the 3D View, select the objects you want to copy.
-
Copy: Click the
Copybutton in the SyncTools panel or use the assigned shortcut (default:Ctrl+Shift+C). -
Export: The plugin exports your selection as an FBX file to the specified cache folder (
Documents/cachefolder).
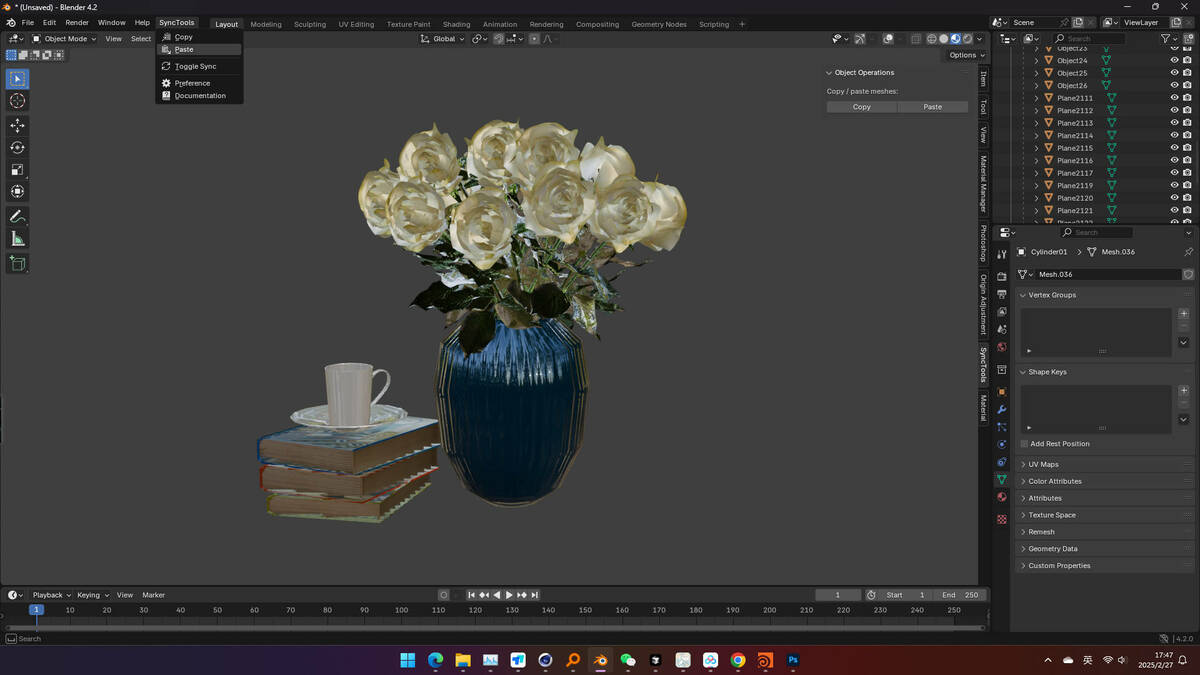
Pasting
- Switch Scenes: Move to the target scene or project.
-
Paste: Click the
Pastebutton or use the appropriate shortcut (default:Ctrl+Shift+V). - Import: The plugin automatically imports the latest FBX file from the cache and filters out any data according to your import settings.
Using Shortcuts
In addition to panel buttons, you can use customizable shortcuts (e.g., Ctrl+Shift+C for copy, Ctrl+Shift+V for paste) to streamline your workflow. These shortcuts can be adjusted in the plugin settings if necessary.
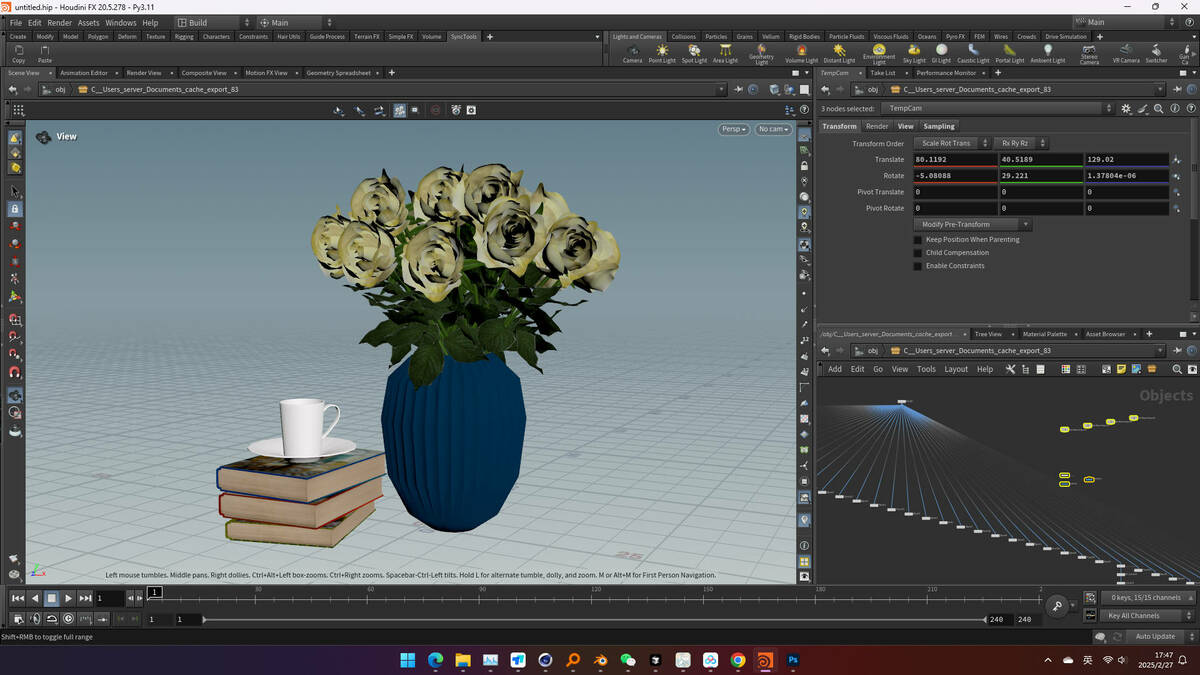
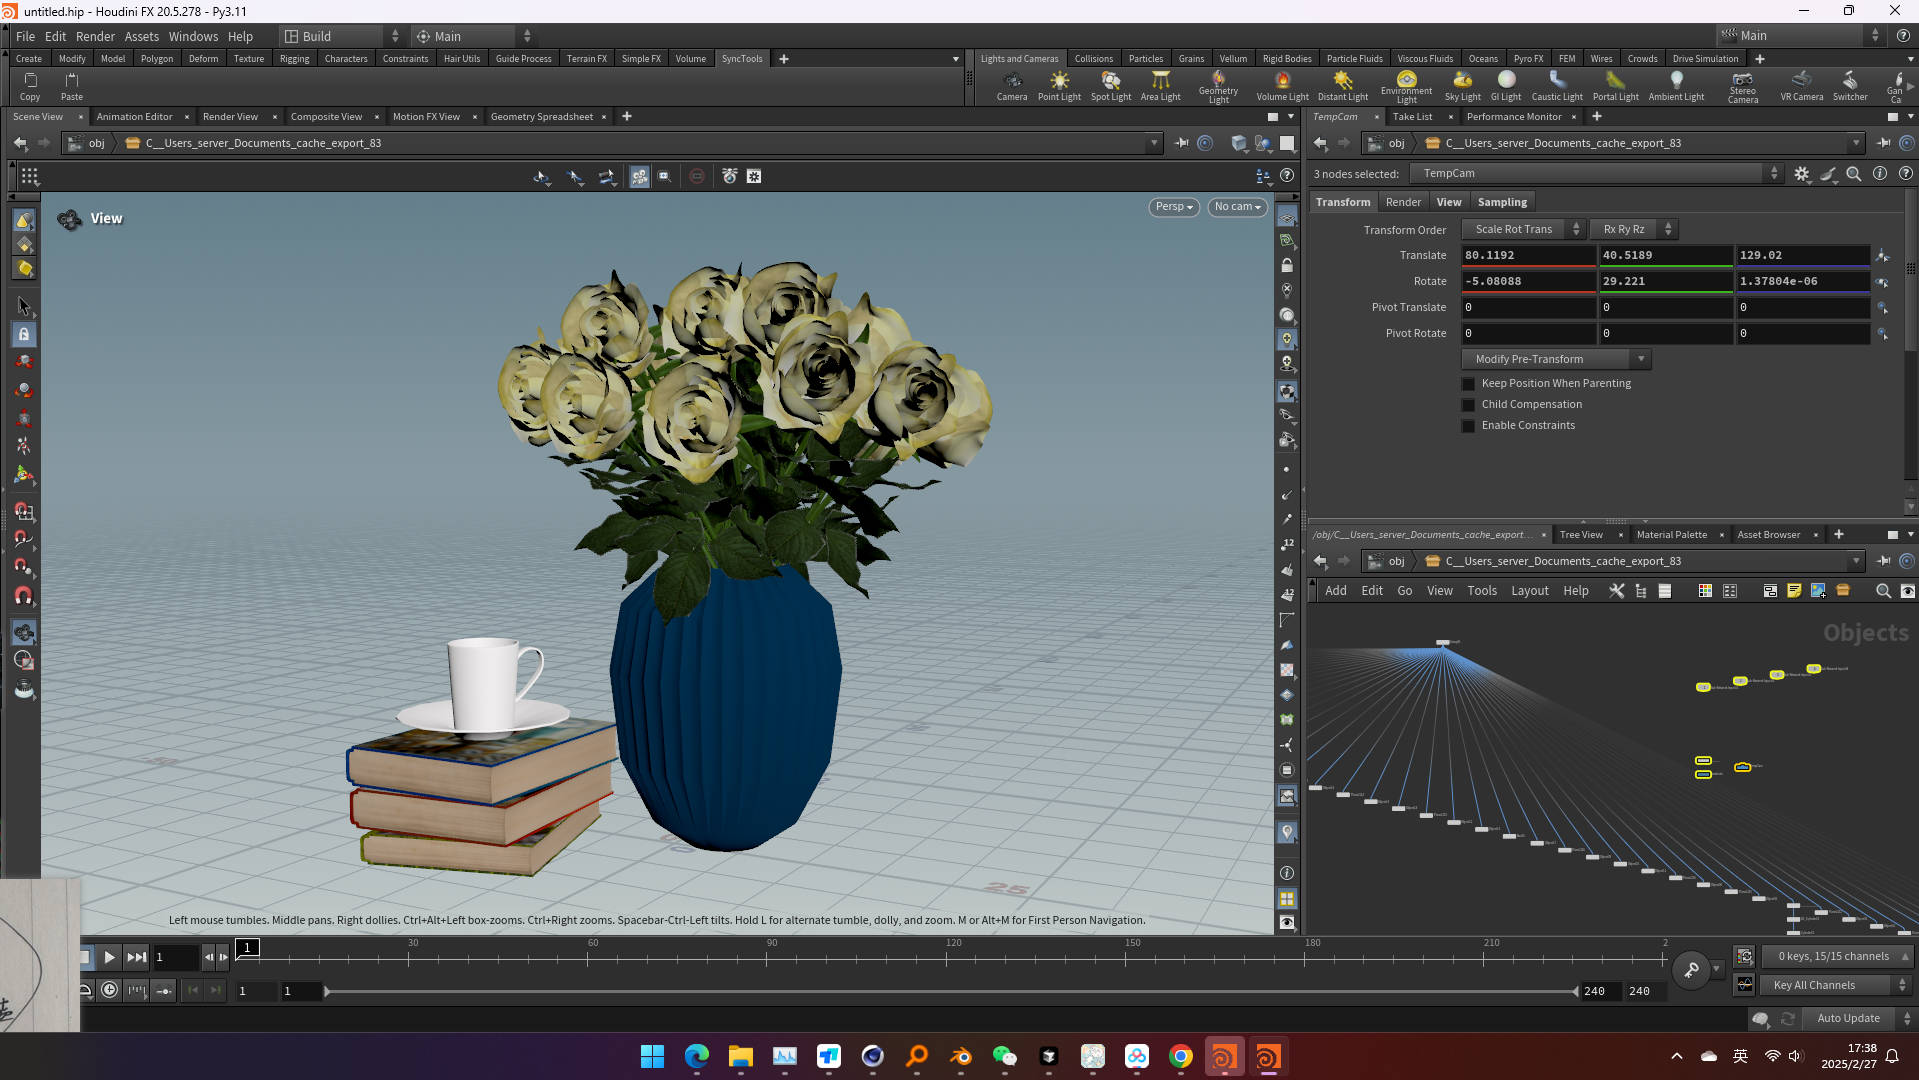
Houdini Side
1. Plugin Installation & Initialization
System Requirements:
- Houdini 16 or higher
- Supports Windows, macOS, Linux
Installation Steps:
- Copy
SyncTools_Copy.pyandSyncTools_Paste.pyfiles into Houdini’s toolbar directory:- Windows:
C:\Users\【Your Username】\Documents\houdiniVersion\toolbar - macOS:
~/Documents/houdiniVersion/toolbar - Linux:
~/houdiniVersion/toolbar
- Windows:
- Launch Houdini.
- Create a new shelf tab:
- Right-click on the shelf tab bar, select
New Shelf Tab. - Name it
SyncTools, clickAccept.
- Right-click on the shelf tab bar, select
- Add the Copy tool:
- Right-click on the
SyncToolstab, selectNew Tool. - Name it
Copy, and paste the content ofshelf_cfile into the script area. - Click
Acceptto save.
- Right-click on the
- Add the Paste tool:
- Right-click again on the
SyncToolstab, selectNew Tool. - Name it
Paste, and paste the content ofshelf_pfile into the script area. - Click
Acceptto save.
- Right-click again on the
Note: If you're using a version earlier than Houdini 20.5, modify the script path:
python > toolbar_path = os.path.expanduser("~/Documents/houdiniVersion/toolbar")
2. Using the Plugin
Copying
- Select: In Houdini, select the objects you want to copy.
-
Copy Command: Click the
Copybutton on the shelf. -
Export: The plugin exports the selected objects as an FBX file and saves it in the
Documents/cachedirectory.
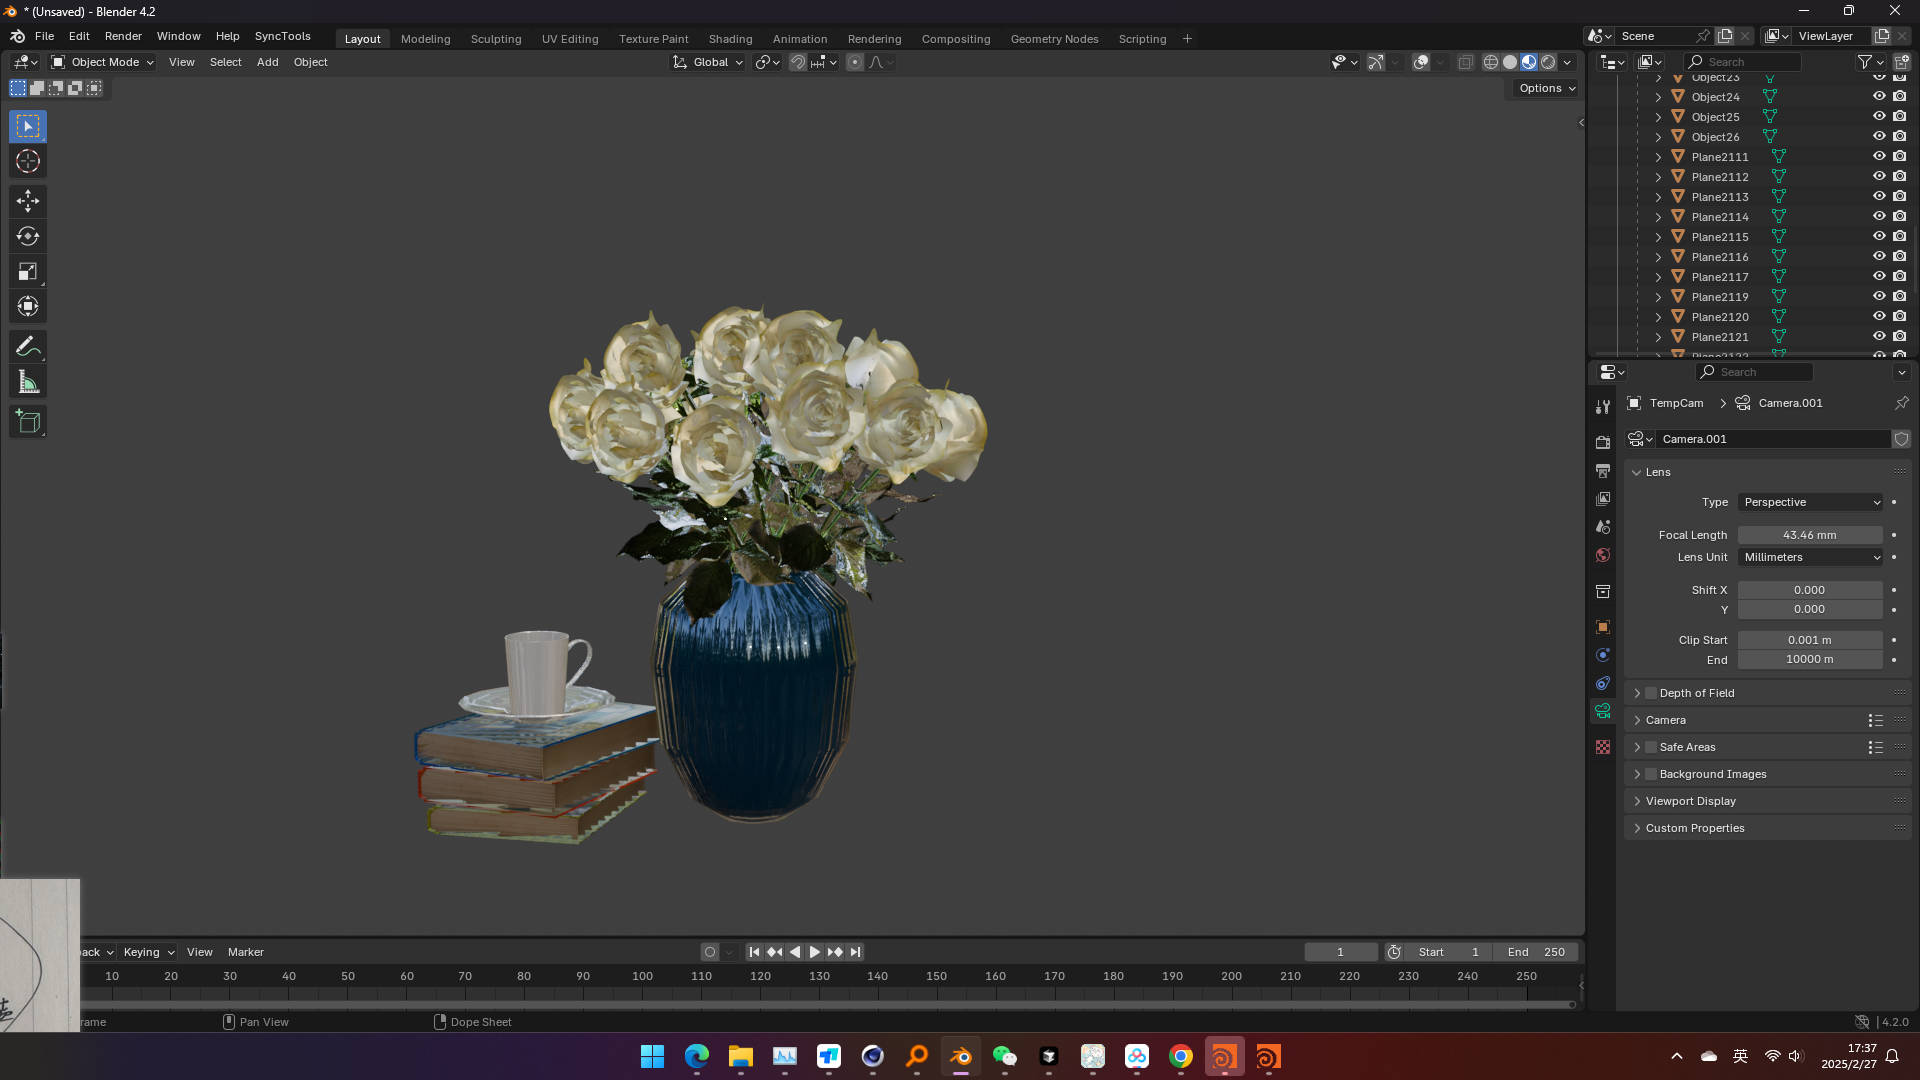
Pasting
- Target Scene: Open or switch to the scene where you want to import the data.
-
Paste Command: Click the
Pastebutton on the shelf. - Import: The plugin automatically imports the latest FBX file from the cache and integrates it into the scene.
Version Compatibility
Blender Support:
- Official: 4.2 LTS and later
- Experimental: 4.0–4.1 (limited advanced features)
Houdini Support:
- Official: Houdini 20.x
- Compatible: Houdini 16.x - 19.x (path adjustments may be needed)
Data Compatibility
Fully Supported:
- ✔ Basic geometry (Meshes/NURBS)
- ✔ Transform hierarchy
- ✔ Core material properties (PBR workflow)
- ✔ Point light/Spotlight/Directional light
- ✔ Basic animation keyframes
- ✔ Camera parameters (FOV/Focal Length)
Partially Supported:
- ⚠ Complex shader nodes (auto-converted to approximate values)
- ⚠ Skinning weights (vertex order must match)
- ⚠ Driven animations (equivalent expressions required)
- ⚠ UV maps (up to 4 channels supported)
Not Supported:
- ✖ Particle systems
- ✖ Fluid simulation data
- ✖ Procedural textures (need to be pre-baked)
- ✖ Custom shader networks
- ✖ Dynamic constraints (rigid body/fabric)
- ✖ Houdini-specific procedural assets (HDA)
Important Notes
- Unit System: It is recommended to use the metric system (meters).
- Axis Conversion: Automatically handles Y-Up ↔ Z-Up conversion.
- Material Mapping: Blender Principled BSDF ↔ Houdini materials.
-
Naming: Special characters (e.g.,
@,#,%) may cause import issues. - Plugin Dependencies: Requires matching SyncTools versions.
-
Cache Location: All temporary files are stored in the
Documents/cachedirectory.(Data conversion via FBX middleware – check release notes for the latest compatibility updates.)
Troubleshooting
If the tool is not working, please check:
- Whether the files are in the correct path.
- Whether the script paths match your Houdini version.
- If the
~/Documents/cachedirectory exists and has write permissions. - If there are any console error messages during import/export.
Additional Resources
For detailed tutorials and updates, visit: Official Documentation
Conclusion
SyncTools for Houdini provides a seamless and efficient way to transfer scene data between Blender and Houdini. By utilizing simple copy and paste controls, you can easily exchange detailed scene information, simplifying your creative process. With SyncTools for Houdini, enjoy a more efficient workflow!