 a.lbos

Installation
There's no add-on to install and nothing to enable in Preferences. The shaders ship as node groups inside a .blend file, and you pull them into your own scenes with Blender's Append system.
1. Download the .blend file and put it somewhere permanent.
Somewhere you won't accidentally delete it — a Blender/Assets folder, your project library, wherever you keep reusable resources. You'll be pointing Blender at this file every time you want the shaders, so a stable location saves you hunting for it later.
2. In the scene where you want the shaders, go to File > Append.
3. Navigate to the downloaded .blend file and click into it.
Blender treats .blend files like folders in the file browser. Double-click the file and you'll see a list of its internal data types — Object, Material, NodeTree, and so on.
4. Open the NodeTree folder.
5. Select both node groups and hit Append.
Box-select them, or click one and Ctrl-click the other. Both get copied into your current file.
6. Use them from the Shader Editor.
With any material open, Add > Group and both shaders will be listed. Shift+A also works.
Notes on appending
Append copies the node groups into your file rather than linking them. Your scene doesn't depend on the source .blend afterwards, and you can freely modify your copy without touching the original — handy if you want to tweak the internals for a specific project.
The flip side is that appending the same group twice into one file gives you Thin Film.001 alongside Thin Film. If you end up with duplicates, delete the extras and re-point your materials at the original.
If you append the groups but don't immediately place them in a material, Blender will discard them when you save and reload — unused data blocks get cleaned up. Either add them to a material right away, or click the shield icon (Fake User) next to the group name in the sidebar to force Blender to keep them.
Faster access (optional)
If you use these constantly, two options save you the Append dance:
-
Mark as Asset. Open the shader pack
.blend, right-click each node group in the Outliner (switch it to Blender File view), and choose Mark as Asset. Point your Asset Library preferences at the containing folder, and both shaders become drag-and-drop from the Asset Browser in any scene. -
Bake them into your startup file. Append them once into an empty scene, place them in a material with Fake User enabled, then
File > Defaults > Save Startup File. Every new project starts with them available.
Thin Film
Two inputs, one output.
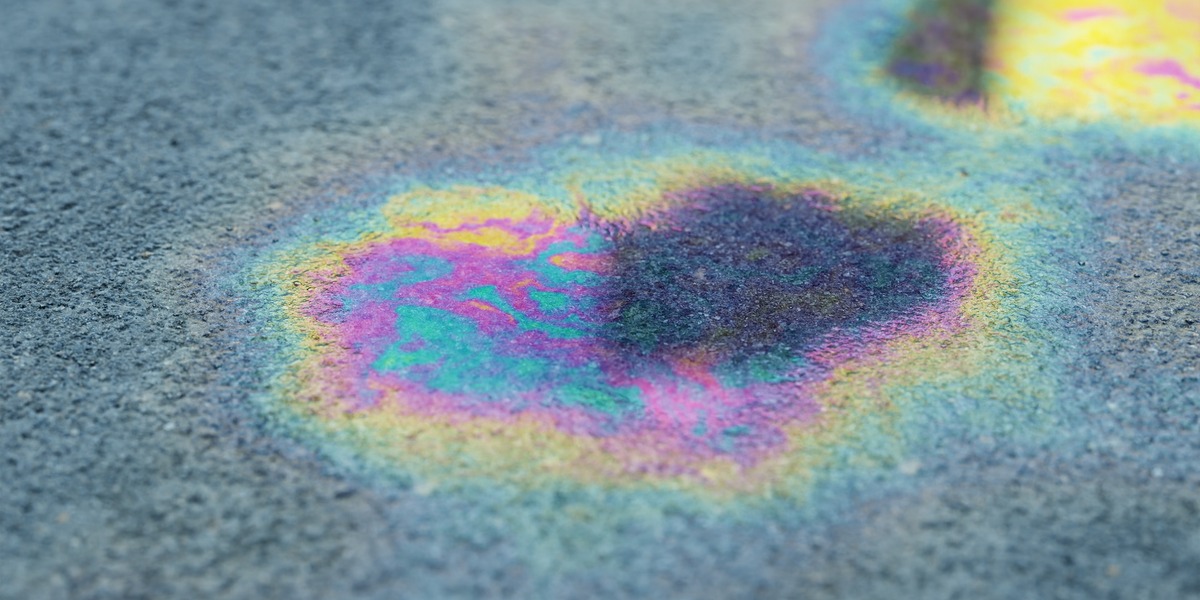
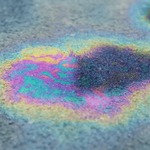
IOR — the refractive index of the film itself, not the surface underneath it. Real-world thin films sit in a fairly narrow band: soap and detergent films land around 1.33–1.35, oil slicks on water around 1.45, and thin oxide layers on metal somewhat higher. Raising this value pushes the interference bands further apart and shifts the whole sequence toward the longer-wavelength end of the spectrum.
Thickness (nm) — the physical thickness of the film in nanometres. This is the control that actually drives the colour. Below roughly 100nm the film is too thin for visible interference and reads near-black; between 200–600nm you get the strong, saturated first-order colours; above that the colours cycle faster and progressively wash out toward a pale pearlescent white, which is the real behaviour of thick films rather than a limitation of the shader.
The output is raw colour, deliberately. It isn't a BSDF, so you can route it wherever the effect belongs — a Glossy BSDF's Color input, the Coat Tint on a Principled BSDF, an emission tint, or the Reflection input on the Advanced Glass shader in this pack.
Driving thickness with a texture
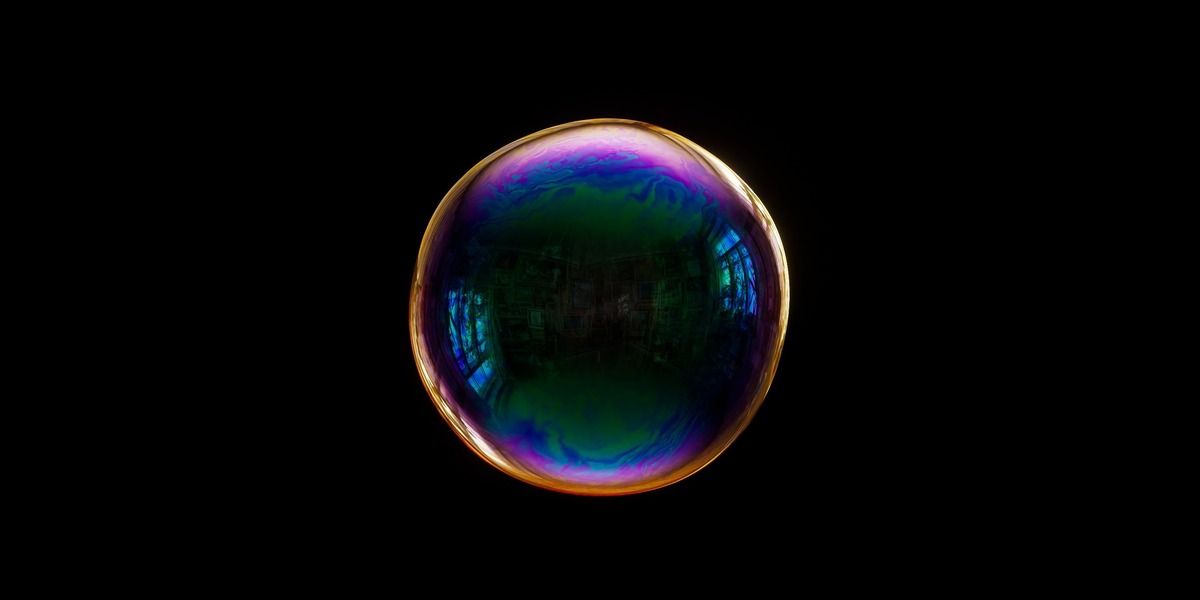
The single most useful thing you can do with this node is plug something into Thickness instead of typing a number. Real films are never uniform — the swirling colour bands in a soap bubble exist because the film varies in thickness across the surface, thinning at the top as gravity pulls the liquid down.
A Noise Texture through a Map Range (say 150–600nm) gives you convincing soap film immediately. A Gradient Texture along the object's local Z, remapped so the top is thinner than the bottom, reproduces the draining-bubble look. Wave Texture gives you oil-slick banding.
Advanced Glass
Connecting it
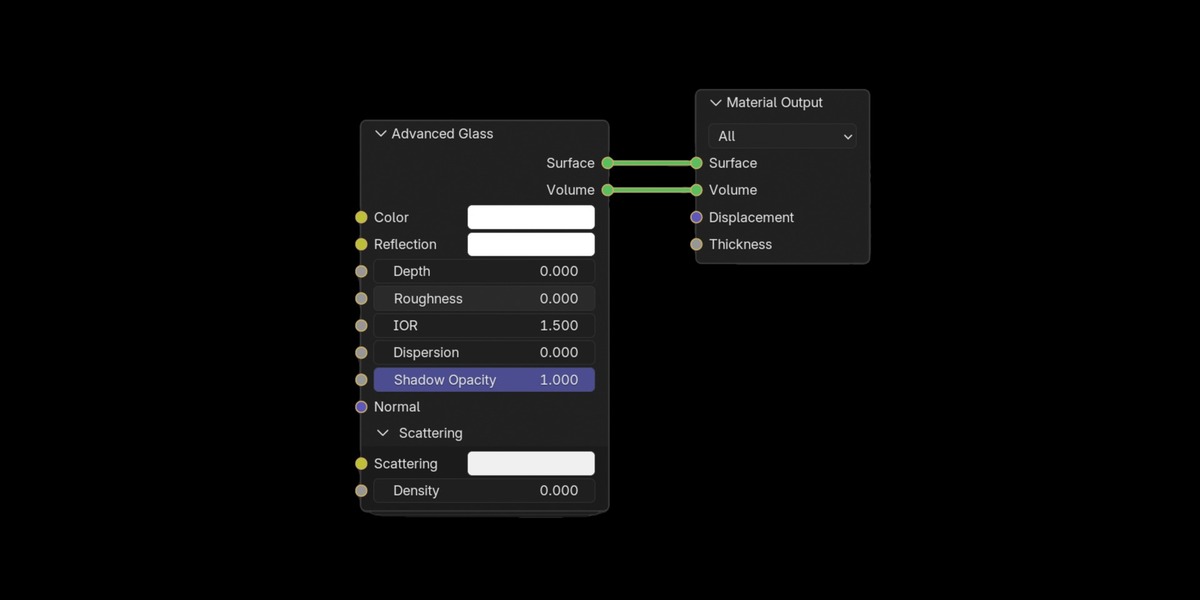
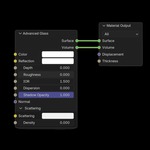
This shader has two outputs, and both need to go somewhere. Surface connects to Surface on the Material Output, Volume connects to Volume.
If you only connect Surface, the shader still works, but the Depth and Scattering controls will do nothing — those effects live in the volume, not on the surface. Connecting both is the default state and you should generally leave it that way.
The volumetric side also requires closed, manifold geometry. A plane or an open shell has no interior for light to travel through, so absorption and scattering have no distance to accumulate over. Solidify your geometry, or model it as a genuine closed volume.
Colour and absorption
Color tints light as it passes through the glass, following Beer–Lambert absorption. This is not a surface tint — it's the colour the medium imparts over distance, which is why real glass gets deeper and more saturated where the object is thickest. A wine bottle is nearly clear at the lip and almost black at the base, from the same material.
Depth controls how strongly that absorption accumulates, behaving the same way Density does on a Volume Absorption node in Cycles. At 0 absorption is switched off and Color has no effect at all. Raising it deepens and saturates the tint — higher values give you dense, strongly-coloured glass, lower values leave the tint faint and visible only where the object is thickest.
Absorption is still distance-based underneath, so the wine bottle behaviour holds at every setting. Depth just scales how quickly it sets in.
That also makes it scale-dependent: it's measured against scene units, so the same value on a 1cm bead and a 1m sculpture will read completely differently. If you scale an object and the glass suddenly looks wrong, this is why.
Reflection tints the specular reflection independently of the transmission. Color has no influence here at all — the two are fully separate, which means you can have deep amber glass with clean neutral reflections, or clear glass with a coloured sheen, without one contaminating the other.
Leave it white for ordinary dielectric glass, where reflections are colour-neutral regardless of what the glass itself looks like. Tinting it is how you get coated or treated glass — mirrored sunglasses, dichroic panels, gold-coated optics.
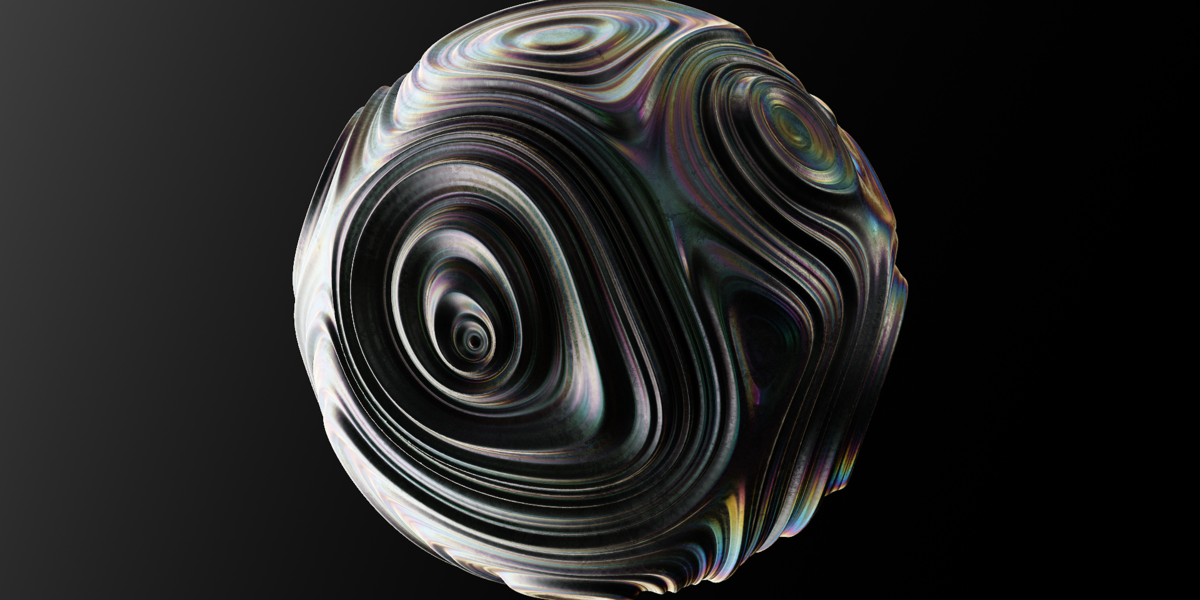
This is also the socket to feed the Thin Film node into. A thin film sits on the surface and colours what bounces off it, while the glass body colours what passes through, so the two effects layer the way they do physically.
Surface behaviour
Roughness scatters the reflection and refraction across a microfacet distribution. At 0 you get perfectly clear glass. Small values (0.05–0.15) give the slightly soft, imperfect look of real cast or moulded glass, which reads far more convincingly than absolute clarity. Higher values move you into frosted, etched, and sandblasted territory.
Rough refraction is expensive to resolve and one of the noisiest things you can ask a path tracer to do. Expect to raise your sample count.
IOR is the index of refraction — how sharply light bends entering the surface, and by extension how strong the Fresnel reflections are. Useful reference points:
| Material | IOR |
|---|---|
| Air | 1.000 |
| Ice | 1.31 |
| Water | 1.333 |
| Acrylic / plexiglass | 1.49 |
| Window glass | 1.52 |
| Crown glass | 1.52 |
| Flint glass | 1.62 |
| Sapphire | 1.77 |
| Cubic zirconia | 2.15 |
| Diamond | 2.42 |
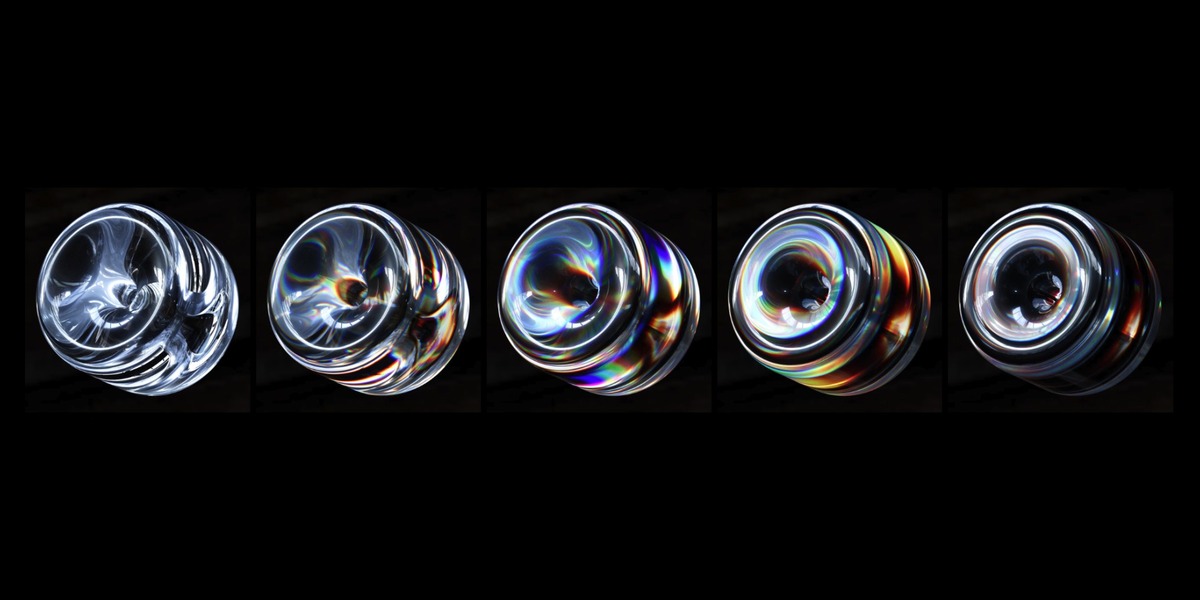
Dispersion splits light into its component wavelengths, producing the rainbow fringing seen in prisms, diamonds and cut crystal. It works because real glass has a slightly different IOR for each wavelength — the value here controls how pronounced that spread is, following the same Cauchy-style relationship Octane uses for its dispersion coefficient.
Keep it subtle. Real optical glass has quite low dispersion, and values that look correct in a prism test render will look like a broken television on a drinking glass. It also multiplies render cost significantly, since the renderer now has to sample wavelengths as well as paths. 0 disables it.
Normal takes a Normal Map or Bump node in the usual way, for etched patterns, surface imperfections and manufacturing texture.
Shadow Opacity
This one has no equivalent in Blender's stock glass shader, and it's the control most worth understanding.
Physically accurate glass casts a dark shadow with a bright caustic inside it, and resolving that caustic honestly takes an enormous number of samples. In practice, glass objects in Cycles often render with an ugly grey blob underneath them that never quite cleans up.
Shadow Opacity controls how much light the surface blocks when a shadow ray hits it, decoupled from how it behaves for camera and reflection rays. At 1.0 the glass blocks light normally — physically correct, potentially noisy. Lower it and light passes through more freely, brightening the shadow. At 0.0 the object casts no shadow at all and light passes straight through.
Somewhere around 0.1–0.4 usually gives you a shadow that reads as glass — soft, light, present — without the noise cost of resolving the real thing. It's a cheat, and it's the same cheat Octane exposes as fake shadows, because it's the difference between a glass render that finishes and one that doesn't.
Scattering
The Scattering panel turns the glass from a clear medium into a translucent one, letting light bounce around inside instead of passing straight through.
Scattering sets the colour of light scattered within the volume. Density controls how much scattering happens per unit distance — at 0 the medium is perfectly clear and this section is disabled.
This is what separates glass from jade, marble, wax, milk, honey, resin and skin-like materials. Low density gives a faint interior glow and softens light passing through. High density makes the material progressively opaque and milky, with light penetrating only a short way in from the surface.
Scattering and absorption stack, and the interaction between them is where the good materials live. Jade is scattering plus green absorption. Honey is heavy amber absorption with light scattering. Milk is dense near-white scattering with almost no absorption. Frosted glass is light scattering with a little surface roughness.
Density is scale-dependent for the same reason Depth is — it's measured per scene unit, so scaling the object changes the result.
Renderer compatibility
Both shaders are built for Cycles, where every feature works as documented.
Thin Film works fully in EEVEE. It's driven by geometry and maths rather than any ray-traced effect, so it renders identically in both engines. If you're building iridescent surfaces for realtime, animation previews, or a viewport-heavy workflow, it'll behave exactly as it does in a final render.
Advanced Glass is partially supported in EEVEE. Two features have no EEVEE equivalent and will simply do nothing:
- Dispersion — no effect.
- Shadow Opacity — no effect. EEVEE handles glass shadows through its own transparency settings in the Material Properties panel instead.
The remaining controls behave as expected, but bear in mind that EEVEE's refraction is a screen-space approximation rather than true ray-traced transmission. Anything not visible on screen can't be refracted, so glass will look different — often quite noticeably — depending on camera angle and what's behind the object. You'll also need Raytracing enabled in the Render Properties, and Raytraced Transmission enabled per-material, before refraction shows up at all.
The short version: use EEVEE freely for Thin Film, and treat EEVEE renders of Advanced Glass as a fast preview rather than a final result.
Performance
Volumetric scattering, rough refraction and dispersion are individually expensive, and stacking them compounds. If a render is crawling, the usual order to check is: dispersion first (it's the most costly for the least visible gain), then scattering density, then roughness.
Raising Max Bounces and specifically Transmission Bounces in the Light Paths panel matters more for glass than for almost any other material. The default transmission bounce count will make thick or nested glass render black in the interior — 16 or higher is a reasonable starting point for anything with multiple glass surfaces stacked front to back.
Have questions about this product?
Login to message
| Sales | 70+ |
| Rating | 1 ratings |
| Published | almost 3 years ago |
| Blender Version | 4.5 - 5.2 |
| Render Engine Used | Cycles, Eevee |
| License | Royalty Free |