 KVD
KVD


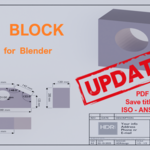
TITLE BLOCK Add-on:
An add-on for blender that adds a title block to a paper sheet.
You can create your own title block from scratch, all within Blender.
And add dimensions to scaled object(s) that are visibly rendered.
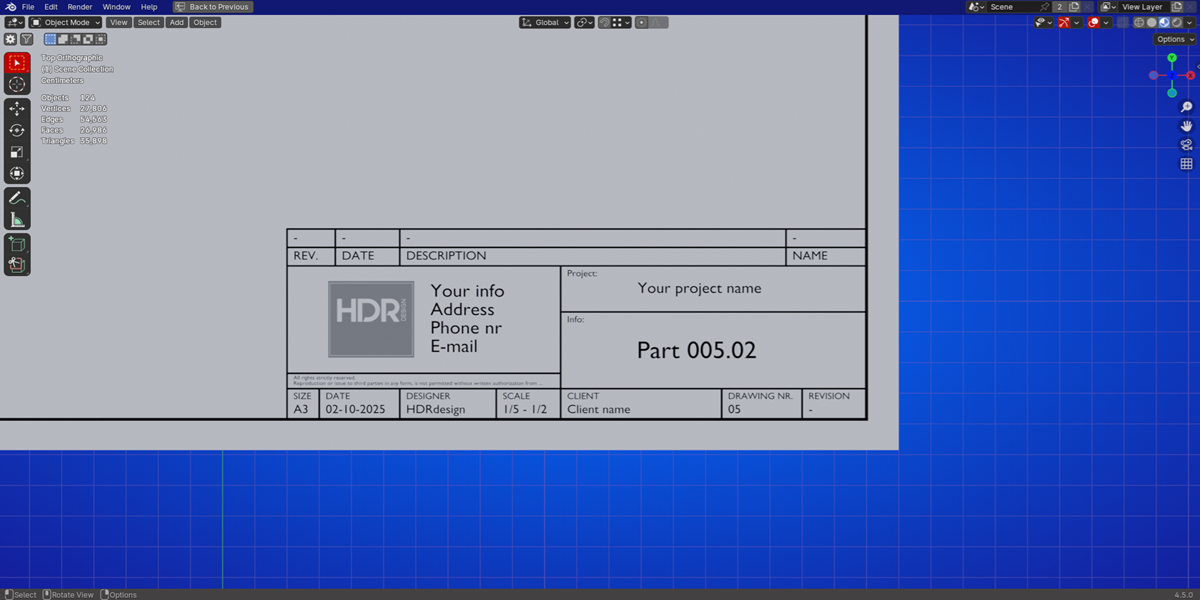
TITLE BLOCK:
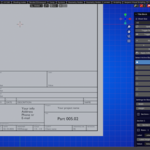
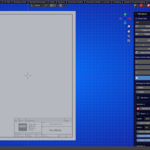
Press the, add paper sheet button to start.
As default it is set to A4.
Select your sheet size in the dropdown and i press the update button.
Also set the orientation to landscape or portrait.
At the same time the camera is adjusted to the size and orientation of the sheet.
In the options section you can also change the border offset to another value if wanted.
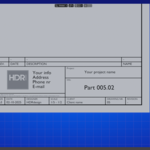
Press the add block button and a block is added to the right bottom corner of your border.
The active block is immediately highlighted in the panel.
The height and width can be changed for the block.
Each section has 2 texts that can be changed in the panel itself
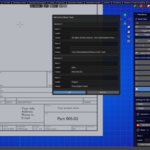
Or if you press the edit text button, a popup appears with all your sections neatly stacked.
The width of each section can be changed in the panel
All the sections will automatically have an equal width.
But each section can have a fixed width by locking it.
Adding a second block is stacked on top of the first one.
In the panel it is now the active selected one
Keep in mind that it is always adding sections and than rows.
If you need a full row, just use a new block.
You can always delete a block if needed.
Just select it in the panel and press the remove button.
And the stack is automatically adjusted
Or you can change the stack order, by moving your active block up or down with the arrows.
You can still change the orientation and sheet size if needed
The font of the text can be changed for each selected text differently.
In the options section you load your font.
The selected text will be changed to that font, when the apply button is pressed.
The visible font in the selector, is now the font used when you add a new block.
But of course, it can always be changed back.
You can also add your logo to the title block.
Select your folder and by pressing the select and add image button, you can select your image.
The logo is added to the location of a selected text in your title block.
Just use your blender commands to move your logo and you are done.
DIMENSION:
There is a second panel to make kind of a technical drawing.

By selecting your object and selecting the scale,
Just like you would do if you create a viewport in a cad program.
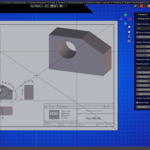
Press the button, and the object is now scaled and added to the sheet.
Use the empty to move the object to where you want on your sheet.
Now some dimensions can be added to the object
Just to set the scale of the dimensions to the same scale as the object.
So the correct dimensions will show on the object.
The added dimensions will show up in the render.
No need to use the compositor or anything else.
The dimensions can be scaled, offsetted, shifted and so on.
The settings for the dimensions can be changed per object but not per dimension.
So the changes have effect on all the dimensions added to the object
It is always possible to add other objects, with another scale, to the same sheet.
The toggle button to hide the sheet and title block, is usefull when adding the dimensions
Now that the dimensions are added the render can be made.
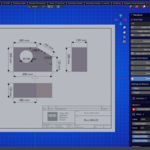
The result is, a technical drawing with dimensions and with a custom title block.
All within blender.
Changelog v2.0:
- Updated version of the add-on where you can now add more than 1 sheet and have a different title block on each sheet.
- Selecting sheet size, oriëntation and naming can now be done before the sheet is added.
- Added ANSI and ARCH sheet sizes to the existing A0-A5 ISO sizes.
- Added a colored marker on the sheet to clearly see the active selected sheet, when there are multiple sheets in the scene.
- Added a colored marker on the active block to see clearly what block you are editing when the title block has multiple stacked blocks.
- Created title blocks can now be saved and used as a template (complete blocks, texts, fonts and images are stored in a default or custom folder).
- Export your sheet with border, title block, added objects and dimensions to PDF or PNG directly to a default or custom folder.
- Also for Blender 5.2.0 LTS
Changelog v1.3:
- Updated version of the add-on to resolve the issue where the camera was not being added correctly above the sheet when the location of the 3D cursor is not on the 0,0,0 location. Now the sheet and camera will be added wherever the 3D cursor is in the scene, but still be showing flat on the x-y view.
- When 'Add Dimension' is pressed, and you hover over your first and second point, you will now have a visual marker before selecting your dimension points.
Changelog V1.2:
- Updated version where you can now add your object to the sheet with a custom scale. Just select 'Custom' in the enum in the panel, and add your scale in the field below the enum. For your dimensions, just select 'Custom' in the dropdown so it gets the same scale as the object.
Changelog V1.1:
- Updated version where the sheet, camera and border now are added to a collection when created.
- problem resolved where some functionalities were not showing when a sheet was added while a custom collection was selected
Changelog V1.0:
- Initial release
