True Depth: Depth Map Generator
 Lewis Martin


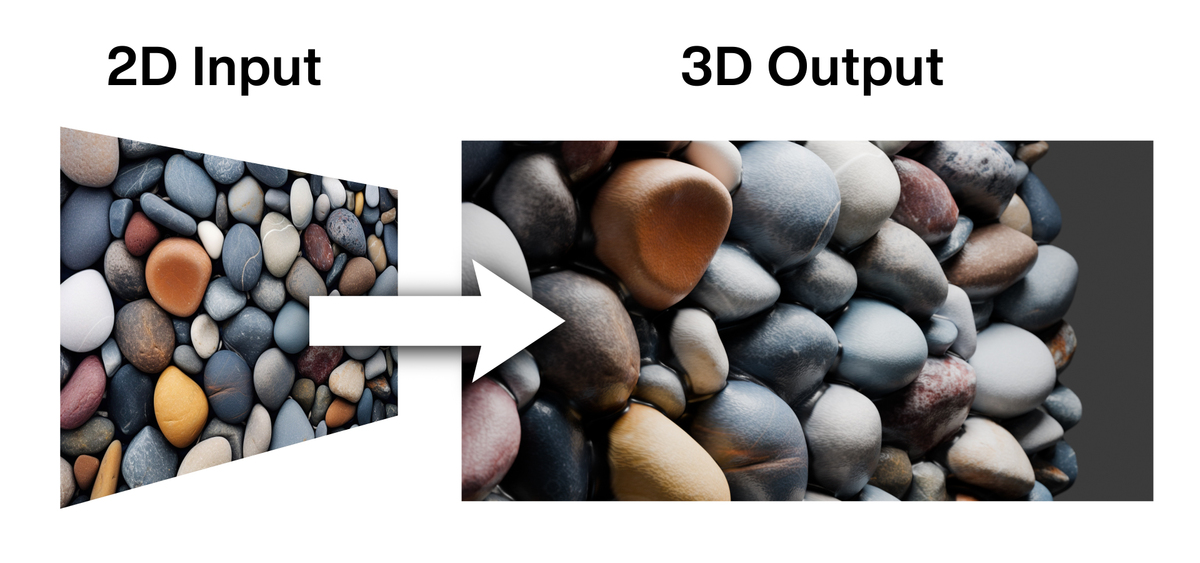
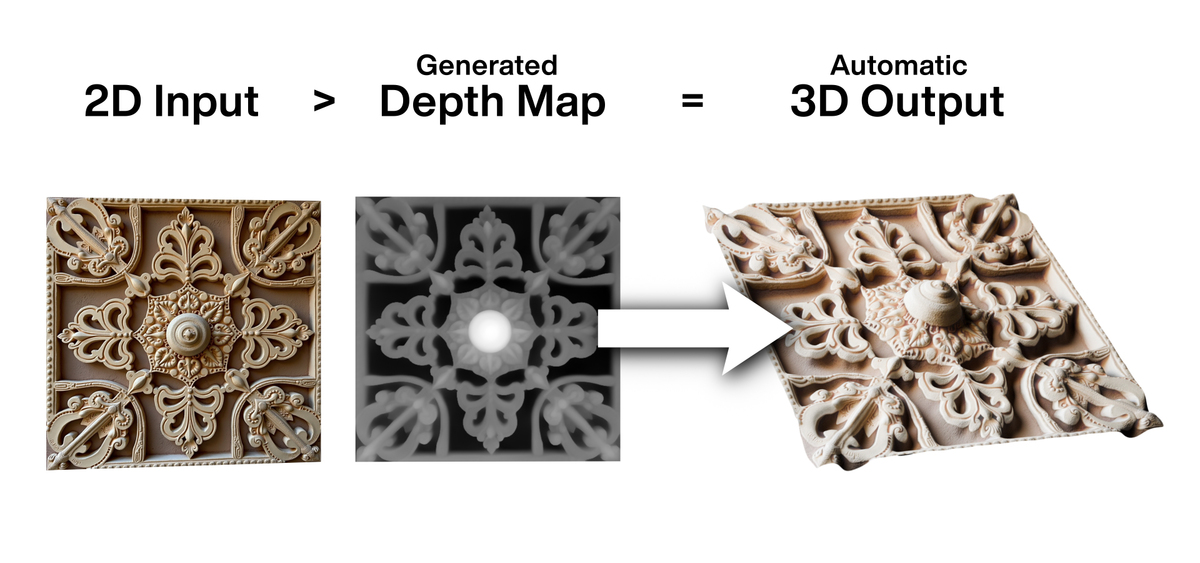








Documentation & User Guide
Everything you need to install, understand and get the most out of TrueDepth V3. Use the contents below to jump to a section.
Contents
- System Requirements
- Installation (Windows & macOS)
- First-Time Setup — Dependencies & AI Model
- Quick Start — Your First Depth Map
- Core Features & Controls
- Perspective & 360° Projection
- HDRI Dome Studio
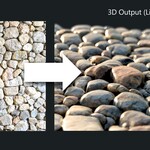
- Seamless Tiling (Make Seamless)
- Camera Projection (2.5D Parallax)
- 3D Printing
- Video Depth
- Tips for Best Results
- Troubleshooting
- Frequently Asked Questions
- Support & Contact
System Requirements
- Blender: 4.2 or newer (V3 is developed and tested on Blender 5.x).
- Operating System: Windows 10/11 (64-bit) or macOS (Apple Silicon & Intel).
- Disk space: ~8 GB free — the AI dependencies (PyTorch etc.) are a one-time ~2.5 GB download, plus space for models.
- RAM: 8 GB minimum, 16 GB+ recommended for 4K images and video.
- GPU (optional but recommended): An NVIDIA card enables up to 3× faster generation. CPU mode works on any machine.
- Internet: Required once, for the initial dependency and model download. After that, TrueDepth runs fully offline.
Installation
The install process is identical on Windows and macOS. You install the add-on, install its dependencies once, then download an AI model — all from inside Blender.
Step-by-step
- Keep the .zip zipped. Do not extract it.
- Open Blender → Edit → Preferences → Add-ons.
- Click the drop-down arrow (▾) top-right → Install from Disk…
- Select the TrueDepth .zip file and confirm.
- Enable the add-on by ticking its checkbox.
- Open the TrueDepth tab in the 3D Viewport's side panel (press N if the side panel is hidden).
macOS note: If macOS blocks the add-on, ensure Blender itself is allowed to run in System Settings → Privacy & Security. TrueDepth installs its Python dependencies into a self-contained folder in your home directory and does not require admin rights.
First-Time Setup — Dependencies & AI Model
1 · Install dependencies
In the add-on preferences, choose CPU or GPU, then click Install Dependencies. This downloads ~2.5 GB (PyTorch and friends) one time.
⚠ This is normal: Blender will look frozen for several minutes while it installs — please don't close it. On Windows you can click Show Console to watch progress. When it finishes, it will say “Dependencies are installed, nothing to do here!”
2 · Download an AI model
In the TrueDepth panel, choose a Model Size and click Download Model. A progress bar appears and Blender stays fully responsive — you can keep working while it downloads.
- ViT-S (Small ≈ 99 MB): fastest, great for most work and lower-spec machines.
- ViT-B (Base ≈ 390 MB): a balance of speed and detail.
- ViT-L (Large ≈ 1.3 GB): maximum detail; best on a capable GPU.
Models are stored outside the add-on folder, so updating TrueDepth never deletes them — download once, keep forever.
Quick Start — Your First Depth Map
- Set Mode to Single Image.
- Under Select Image for depth generation, open your image.
- Click Generate Depth Map. Your depth map appears in the Depth Image panel.
- Choose a projection type — Flat Relief, Perspective, or 360° Dome.
- Click Create Mesh (or Create 3D Scene / Create HDRI Dome). Done!
Core Features & Controls
- CPU / GPU switch — choose your processing device.
- Model Size — S, B or L (see above).
- Precision — Float32 (accurate) or Float16 (faster, lighter).
- Modes — Single Image, Video File, or Batch Images.
- Include Alpha Channel — supports PNGs with transparency.
- Use Color Palette — optional colour-mapped depth (for visual/aesthetic use).
- Tilt Correction — flattens tilt using a plane-of-best-fit.
- Save Location — where depth maps are written.
- Displacement & Detail — control displacement strength, detail passes and smoothing.
- Add Base + End Cap — solidify geometry for 3D printing.
- Boolean Geometry Removal — clean up unwanted geometry.
Perspective & 360° Projection
In Single Image mode you can turn depth into real 3D geometry three ways. Choose the mode above the Create button; all settings are in the sidebar and update as you rebuild.
Flat Relief
The classic TrueDepth mesh: a plane displaced by the depth map, with the full modifier stack (displacement, detail, smoothing).
Perspective
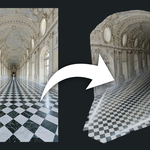
Unprojects the photo through a virtual camera into true 3D geometry — scenes genuinely recede into the distance.
- • Field of View — match the lens the photo was shot with (phones ≈ 60–75°).
- • Depth Mapping — Inverse (dramatic) or Linear (tamer).
- • Near / Far Distance and Grid Resolution.
- • Remove Stretched Faces — cleans depth-edge “taffy”.
- • Detail Bump & Detail Displacement — pull fine surface detail from the photo.
- • Surface Presets — one-click Glossy Floor, Glass, Mirror, Matte (whole mesh in Object Mode, or selected faces in Edit Mode).
360° Dome
For equirectangular / 360° images. Choose HDRI Studio (see next section) for a full backplate environment, or Depth Sphere to displace a full sphere using the depth map for 360° photos with real nearby content.
HDRI Dome Studio
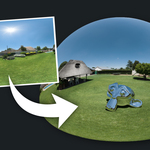
Turn any HDRI or 360° image into a complete backplate studio — a seamless dome with a real, shadow-catching floor. Select your image, choose 360° Dome → HDRI Studio, and click Create HDRI Dome. No depth map required. Every slider updates live; only a Shape change needs a rebuild.
DOME
- Shape — Dome (outdoor HDRIs) or Box (indoor).
- Scale — exponential size: 1.00 ≈ 10 m, 2.00 ≈ 100 m, 3.00 ≈ 1 km.
- Rotation — spin the environment.
- Projection Height — where the image was shot from; moves the horizon on the floor.
- Projection Stretch — vertically stretch/squash to tame floor distortion.
- Light Strength — how strongly the HDRI lights the scene.
- Invisible Mode — hides the dome and turns the floor into a shadow catcher (Cycles).
- Hide Environment — keeps the world HDRI out of the viewport for a clean look while still lighting the scene.
LOOK
Live colour grading of the whole environment: Exposure, Gamma, Saturation, Warmth and Tint. All zero-centred — 0.00 means the image is untouched.
FLOOR
- Reflect — Amount, Blend, Roughness & Roughness Variation.
- Bump — surface detail from the image.
- Projection — Spread (spreads ground detail evenly), Brightness (matches floor to sky), Blend (melts floor into the wall).
- Puddles — procedural water puddles with Amount & Size.
Seamless Tiling (Make Seamless)
When you build a relief from a repeating texture and tile it, the depth at the edges usually doesn't line up — so you get a visible seam where the copies meet. Make Seamless blends the depth map's edges together so the tiled result has no seam. It appears right under the depth map preview once you've generated one.
⚠ Your source texture must already be tileable. Make Seamless fixes the depth so it repeats cleanly, but it can't make a non-repeating photo tile. Start with a proper seamless / tileable texture (the colour image itself must repeat) — then this makes its depth repeat too.
How to use it
- Load a tileable texture and click Generate Depth Map.
- Click Make Seamless. The depth map's edges are blended so it tiles.
- Set your Vertical Blend and click Make Seamless again to see the result — repeat until it looks right (see below).
- Click Create Mesh, then tile it — the cleanest way is an Array modifier with Merge enabled, so the vertices weld at the join.
Vertical Blend slider
Controls how far the top and bottom edges blend together. It's a trade-off:
- • Low (≈0.02–0.05) — keeps almost all the real texture detail right up to the edge. Best for chunky, high-relief textures like rough stone.
- • High (up to 0.25) — a wider, gentler ramp that guarantees a clean join but flattens detail near the edge. Best for smoother, flatter textures (plaster, fabric, fine gravel).
The horizontal (left/right) edges use a fixed, well-judged blend, so you only need to tune the vertical.
Recalculate & Revert
Make Seamless always works from the original depth map, so you can freely experiment: change the Vertical Blend and click Make Seamless again and it recalculates from scratch — clicks never stack on top of each other.
Revert (next to the button) restores the untouched original depth map at any time. Note: because the seamless depth map is saved to disk, Blender's normal Ctrl+Z won't undo it — use Revert instead.
How it works
For each row, the right edge is blended toward the value of the left edge across a margin, with the influence ramping up as it nears the edge — and the same for the top edge toward the bottom. The outermost pixels are then locked to match exactly, so opposing edges are identical and the tile repeats with no depth step. Only the edge margins are touched; the interior of your depth map is left completely intact.
It's a blend, not a redraw: it makes the depth values match at the seam, but can't invent a stone that continues perfectly across the boundary. On a properly tileable texture the join is effectively invisible.
💡 Feature credit: the Seamless Tiling approach was suggested by TrueDepth user Anthony Attwood, whose own experiments proved the technique. Thank you, Anthony!
Camera Projection (2.5D Parallax)
Select any TrueDepth mesh and click Setup Camera Projection. This creates:
- TrueDepth_Projector — pins the photo to the geometry (leave this camera in place).
- TrueDepth_ShotCam — the animatable camera, set as the scene camera.
Keyframe a slow drift on the Shot Camera and your still photo becomes a moving shot with real parallax — the classic documentary look.
3D Printing
The 3D Printing Settings panel turns your work into guaranteed-watertight, real-world-sized solids.
Convert Your Mesh (recommended)
Turns your Flat Relief or Perspective mesh into a watertight print exactly as displayed — subdivision levels, displacement strength and detail passes all baked in. Tip: set your viewport subdivision to the quality you want before converting. (360° domes can't be converted — they wrap around the viewer.)
Generate from Image
- • AI Relief — depth-driven relief sculpture.
- • Lithophane — brightness-driven; print upright in white filament at 100% infill and backlight to reveal the image.
Settings & Export
Real millimetre Width (height follows automatically), enforced Min/Max thickness, smoothing, invert, optional raised frame, and stand-upright orientation. Detail resolution is chosen automatically from the print size. Click Export STL for a slicer-ready file (Bambu Studio, PrusaSlicer, Cura, etc.), correctly scaled in millimetres.
Video Depth
Set Mode to Video File to generate depth for each frame. You can save the result as a depth video or as a sequence of 16-bit PNG frames, and choose a frame step. Depth frames can then be used to drive displacement or comp work.
Tips for Best Results
- ✔ Use GPU where possible — dramatically faster, especially with the Large model.
- ✔ Start at a lower Grid Resolution while dialling in Perspective settings, then raise it for the final build.
- ✔ For Perspective, matching the Field of View to the original lens is the single biggest factor in realistic proportions.
- ✔ For HDRI studios, use Projection Height and Stretch together to line the horizon up with the floor.
- ✔ Grayscale depth maps project more reliably than colour-palette ones.
- ✔ 360° dome rendering (panoramic camera) and Invisible Mode's shadow catcher require the Cycles render engine.
Troubleshooting
Blender freezes when I click Install Dependencies
That's expected — it's downloading ~2.5 GB and installing in the background. Wait a few minutes and don't close Blender. On Windows, click Show Console to watch progress.
“Checkpoint not found” / it won't generate
You haven't downloaded a model yet, or the selected Model Size differs from the one you downloaded. Click Download Model for the selected size.
The HDRI looks washed-out / “raw”
Check Render Properties → Color Management → View Transform is set to AgX. Also avoid running another environment/HDRI add-on on the same image in the same scene, as they can change shared colour settings.
Lights don't affect my Perspective mesh
Switch the viewport to Rendered (or Material Preview with Scene Lights on), and turn Shadeless (Emission) OFF — emission ignores scene lights by design.
I updated the add-on and a setting broke
Fully close and reopen Blender after installing an update so the new code loads. Existing scenes remember old slider values — use a section's reset arrow (↺) to restore defaults.
Frequently Asked Questions
Do I need an internet connection to use TrueDepth?
Only once, to download the dependencies and a model. After that everything runs fully offline on your machine.
Are my images uploaded anywhere?
No. The AI model runs locally. Your images never leave your computer. No subscriptions, no cloud services.
Do I need a powerful GPU?
No — CPU mode works on any machine. A GPU (especially NVIDIA) simply makes generation up to 3× faster. Lower-spec machines can use the Small model.
Is V3 a free update if I already own TrueDepth?
Yes! All updates are free for life. Your existing dependencies and models are preserved, and all V2 workflows still work.
Which model size should I use?
Start with Small — it's fast and great for most work. Move to Base or Large when you want more fine detail and have the hardware for it.
Can I use this commercially?
Yes — you can use the geometry, prints and renders you create in your own commercial projects. If in doubt about a specific case, just email me.
Does it work with video?
Yes — Video File mode generates depth per frame, saved as a depth video or a 16-bit PNG sequence.
Why does my depth map still show a seam after Make Seamless?
Make Seamless fixes the depth, but your source texture (the colour image) must itself be tileable. If the photo doesn't repeat, the colour will still seam. Start with a proper seamless texture, and tile with an Array modifier + Merge so vertices weld at the join.
Can I 3D print what I make?
Absolutely. The 3D Printing panel produces guaranteed-watertight, millimetre-accurate solids and exports slicer-ready STL files. Lithophanes and AI reliefs are both supported.
Support & Contact
Need help, found a bug, or have a feature request? I'd love to hear from you — TrueDepth is actively developed and your feedback shapes future updates.
Lifetime support & free updates included with your purchase.
❤ A portion of every sale is donated to the Blender Foundation to support its development. Thank you for supporting independent Blender tools!
-
$25
TrueDepth for Individuals
-
$35
TrueDepth - For 3 Seats
-
$85
TrueDepth - For 10 Seats
Have questions about this product?
Login to message
| Sales | 6800+ |
| Rating | 57 ratings |
| Dev Fund Contributor | |
| Published | over 1 year ago |
| Blender Version | 3.1 - 5.2 |
| Extension Type | Add-on |
| Render Engine Used | Blender-Internal, Cycles, Eevee, Octane |
| License | GPL |
