Universal Hotspot Uv
 AL3K
AL3K


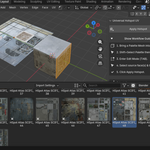
Welcome to Universal Hotspot UV!
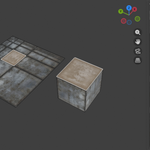
This tool uses Blender's Multi-Object Edit mode to transfer UVs from a "Palette" object to a "Target" object. Here is how to get started in 5 simple steps.
The Workflow:
Prep your Scene: Drag a 3D Atlas/Trim Sheet mesh (your Palette) from your Asset Browser into your scene next to your working model (your Target).
Select Both: Shift + Click your Palette object first, and then your Target object second (making the Target the active object).
Enter Edit Mode: Press TAB. Both objects will enter Edit Mode simultaneously.
Make Your Selections: * Select the face(s) on the Palette you want to copy.
Select the face(s) on your Target you want to map.
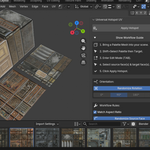
Apply: Open the N-Panel (View3D > Univ UV) and click Apply Hotspot.
Pro-Tips for Advanced Users:
Tiling Breakup: Check Randomize Rotation to spin every selected target face by a random 90-degree increment. Perfect for brick and plaster patches.
Greeble Scattering: Check Randomize Source Face. If you select 5 different decals on your Palette and 50 faces on your Target, the add-on will randomly distribute those 5 decals across the 50 faces in one click.
Aspect Ratio Override: By default, the add-on maps via the longest edge to keep trims flowing correctly. If you are mapping square decals onto rectangular faces and they look stretched, check Match Aspect Ratio to prioritize proportional fitting over edge length.
Have questions about this product?
Login to message
| Dev Fund Contributor | |
| Published | 3 months ago |
| Blender Version | 4.1 - 5.2 |
| Extension Type | N/A |
| Render Engine Used | Blender-Internal, Cycles, Eevee |
| License | GPL |
Discover more products like this
easy TexturingAssets trimsheet Texturing materials universalhotspot UV Workflow UVUnwrap hotspot