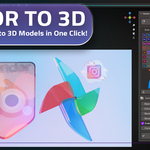
Vector To 3D
 Blender Procedural


Installation
- Download the addon
.zipfile from Blender Market or your source. - Open Blender and navigate to Edit > Preferences > Add-ons.
- Click Install... and select the downloaded
.zipfile. - Enable the addon by checking the box next to Vector to 3D.
- Save Preferences to ensure the addon is ready for use.
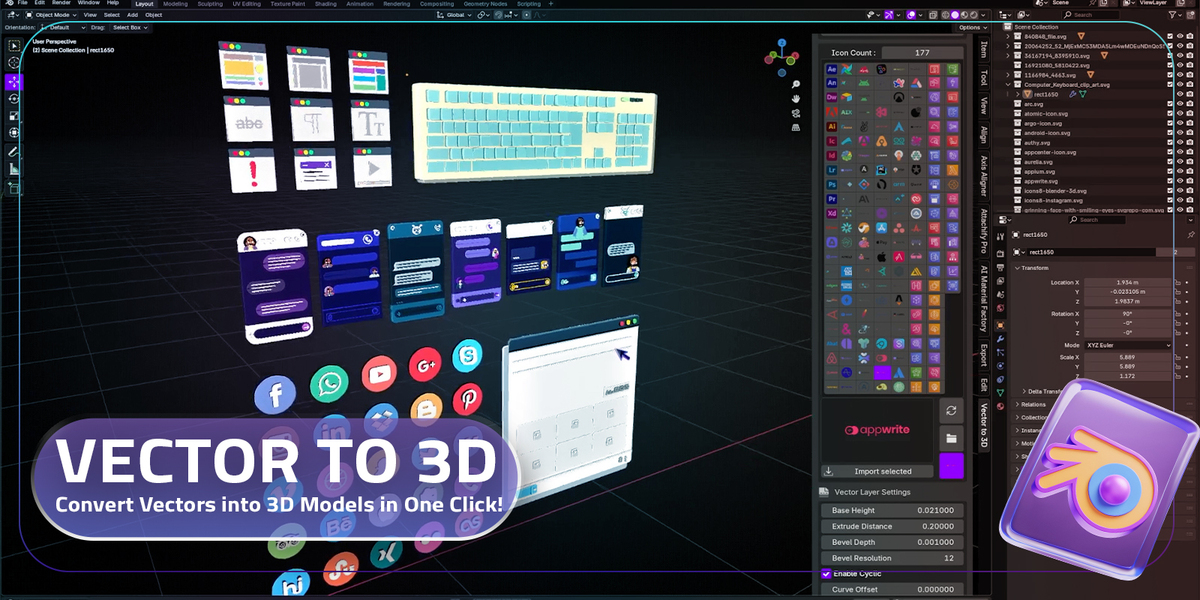
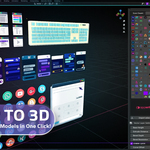
Interface Overview
The Vector to 3D interface consists of the following sections:
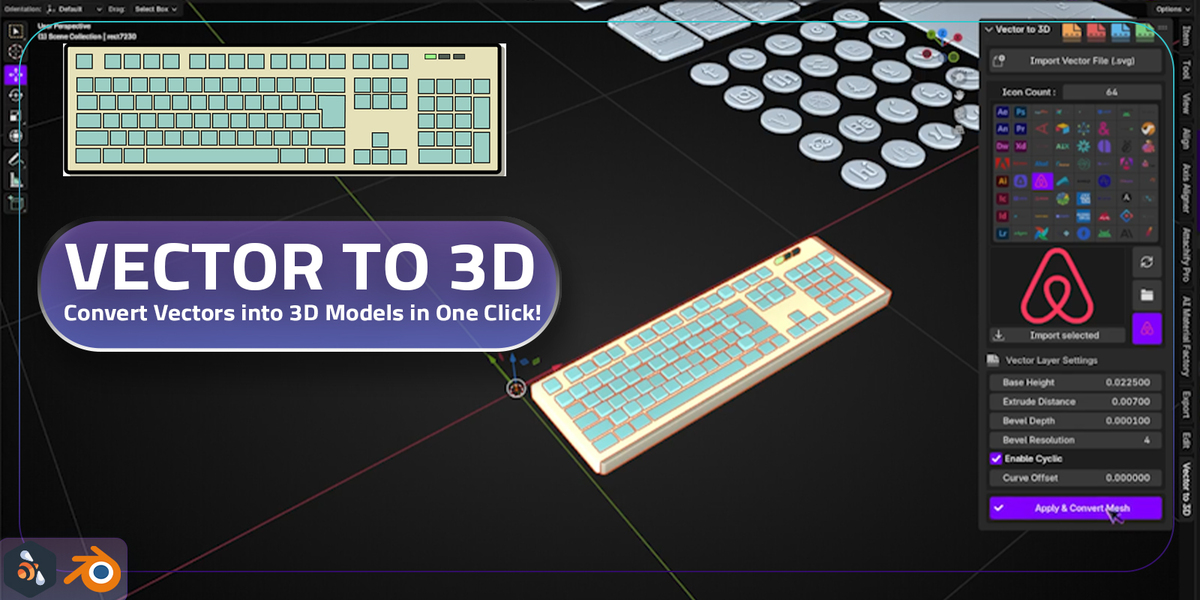
1. Import Vector File (SVG)
-
Button: Import Vector File (.svg)
- Select and load your SVG file into Blender.
- The imported vector will appear in the preview panel.
2. Icon Count
- Displays the number of vector layers/icons in the loaded SVG file.
- Use this to manage and navigate complex SVG files with multiple layers.
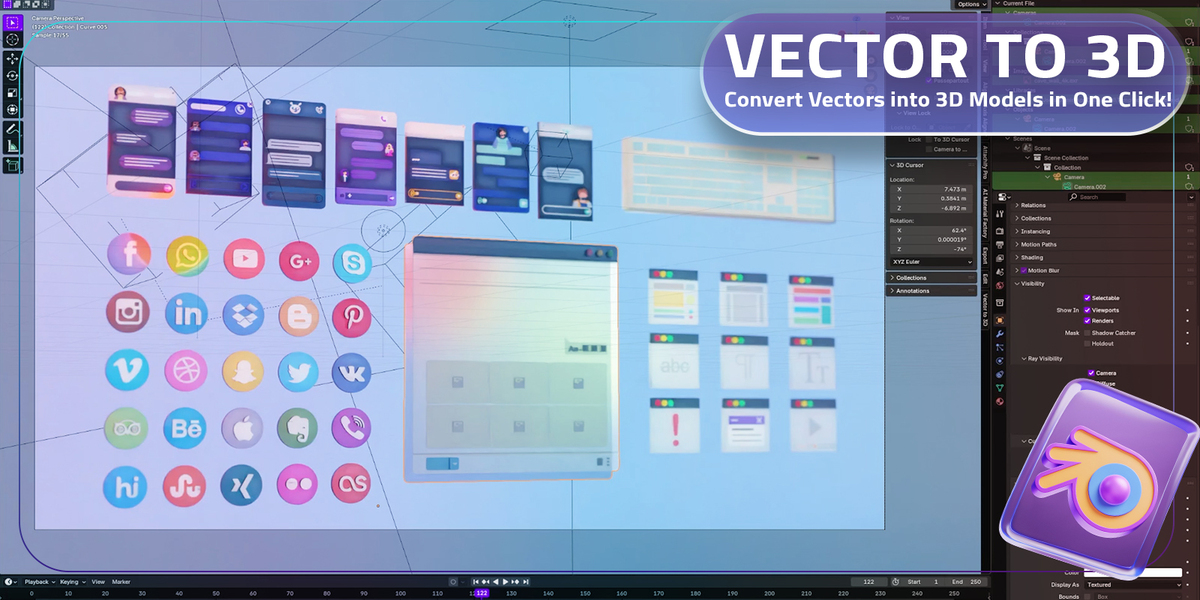
3. Icon Selection Panel
- Browse through the layers/icons of the imported SVG file.
- Feature: Click on an icon to select it for 3D conversion.
- Use the Import Selected button to confirm your choice.
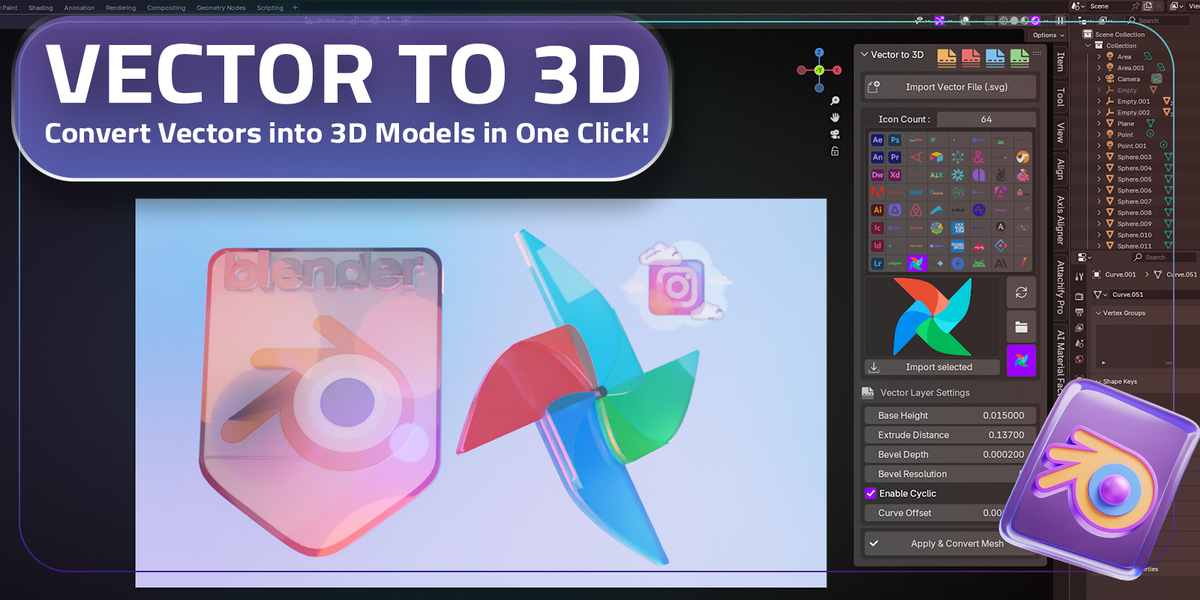
4. Vector Layer Settings
Adjust how your vector is converted into a 3D model:
- Base Height: Set the initial thickness of the base layer.
- Extrude Distance: Define the depth for extruding the vector into 3D.
- Bevel Depth: Add smooth bevels to edges for a polished look.
- Bevel Resolution: Adjust the smoothness of the bevel.
- Enable Cyclic: Create closed-loop geometry if your vector design allows it.
- Curve Offset: Fine-tune the position of the curve for precision.
5. Apply & Convert Mesh
- After setting the parameters, click Apply & Convert Mesh to generate the 3D model.
- The model will be added to your scene and ready for further adjustments or rendering.
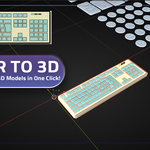
Workflow Example
- Click Import Vector File (SVG) and load your SVG design.
- Browse the Icon Selection Panel and choose the desired vector layer.
- Adjust the Vector Layer Settings to customize the 3D conversion.
- For example, set Extrude Distance to 0.05 for a moderate depth.
- Check the Enable Cyclic option for closed-loop designs.
- Click Apply & Convert Mesh to finalize the 3D model.
- Modify materials, add lighting, and render your creation!
Tips for Best Results
- Use clean and simple SVG designs for smoother conversions.
- Adjust Bevel Resolution for high-detail designs to avoid sharp edges.
- Experiment with Curve Offset to achieve precise alignment for intricate designs.
$6
Have questions about this product?
Login to message
| Sales | 100+ |
| Dev Fund Contributor | |
| Published | 3 months ago |
| Software Version | 4.3 |
| Extension Type | N/A |
| License | Royalty Free |
Discover more products like this
Inkscape to 3D Blender Automation 3D UI/UX Graphic design blender addon Illustrator to 3D Mockup Creation 3d modeling tool blender tools Figma to 3D UI/UX Design 3d textures Vector Graphics 3D Logo Creation Addon for Designers game development Logo to 3D 3D visualization Banner Design One-Click Conversion Easy 3D Modeling Extrusion Tool Creative Tools for Blender motion graphics 3d-icons Vector to 3D Blender Workflow SVG to 3D