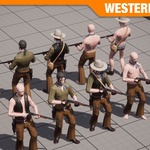
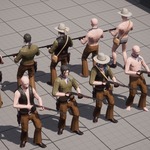
Western_Cowboy_04 | Modular Low-Poly Bounty Hunter Character
 UNIGAME STUDIO
Getting Started in Blender 4.2 LTS
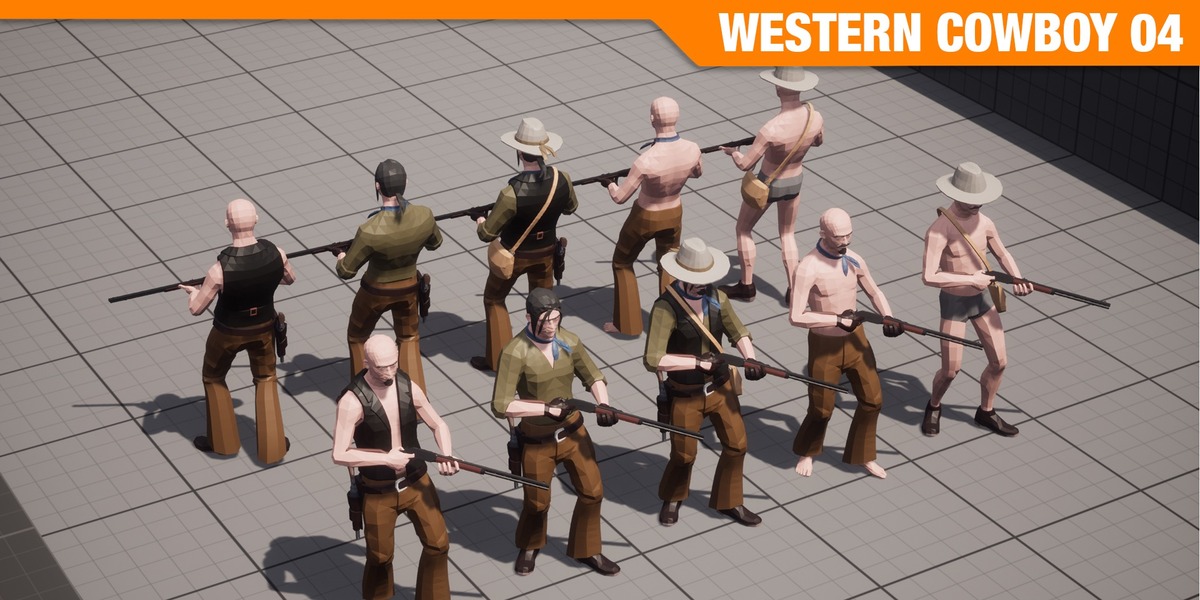
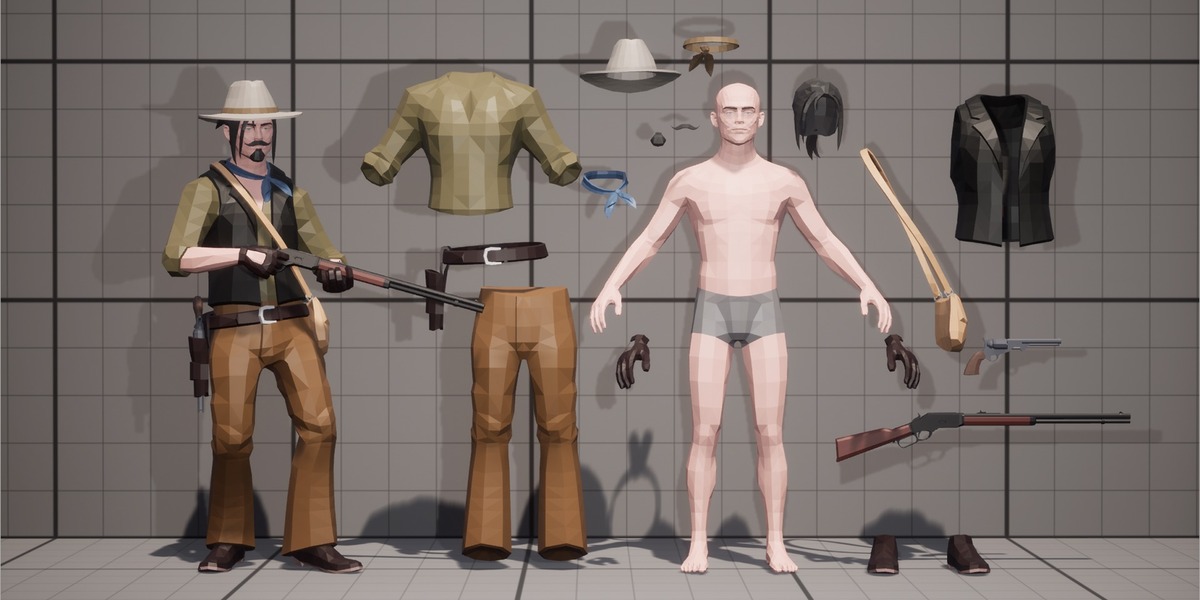
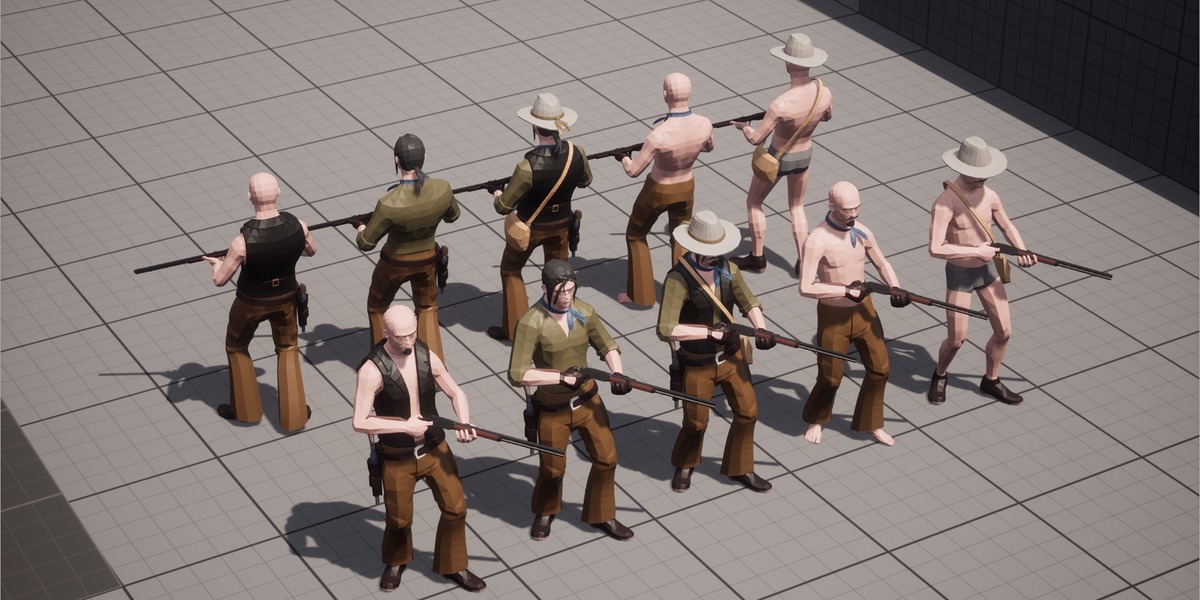
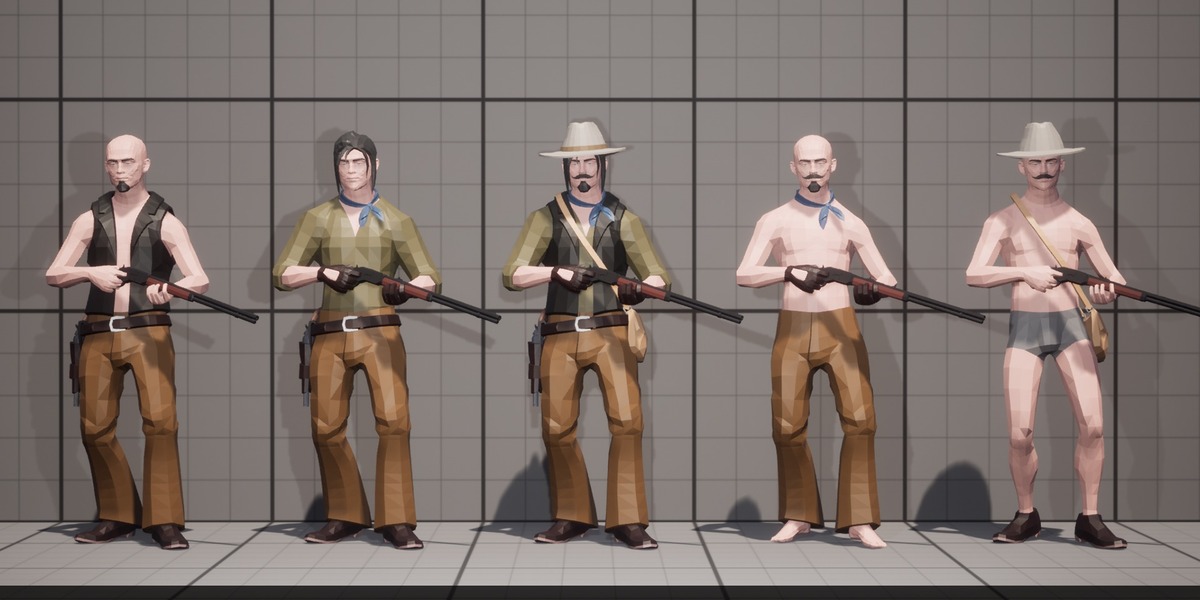
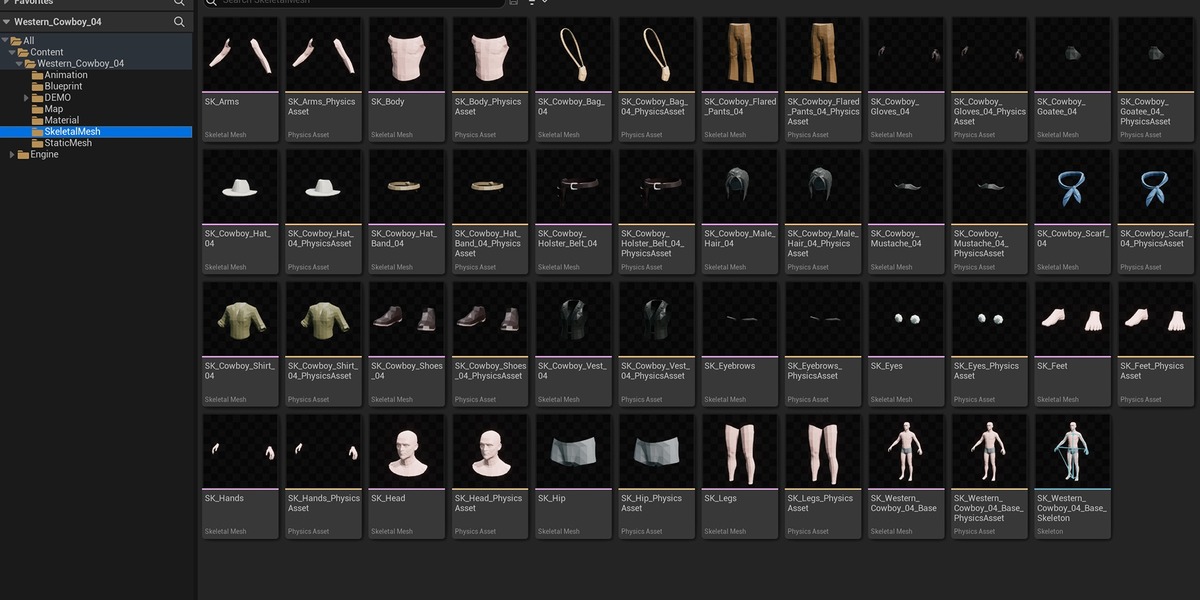
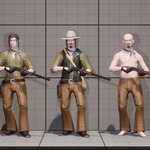
The character base mesh, armature, and all modular bounty hunter gear pieces are organized into clean Collections with standardized naming so you can drop them straight into your Blender 4.2 LTS production pipeline.
Importing into Your Scene
Using the Asset Browser: Add the provided blend file directory to your Blender Asset Library paths. Open the Asset Browser in Blender 4.2 LTS, locate the Western Cowboy 04 collection or individual modular parts, and drag and drop them directly into your viewport.
Using File > Append: Navigate to File > Append, open the character blend file, enter the Collection folder, and append the main Western Cowboy 04 collection to import the rig, base body, and all modular mercenary equipment together.
Customizing Loadouts and Exporting
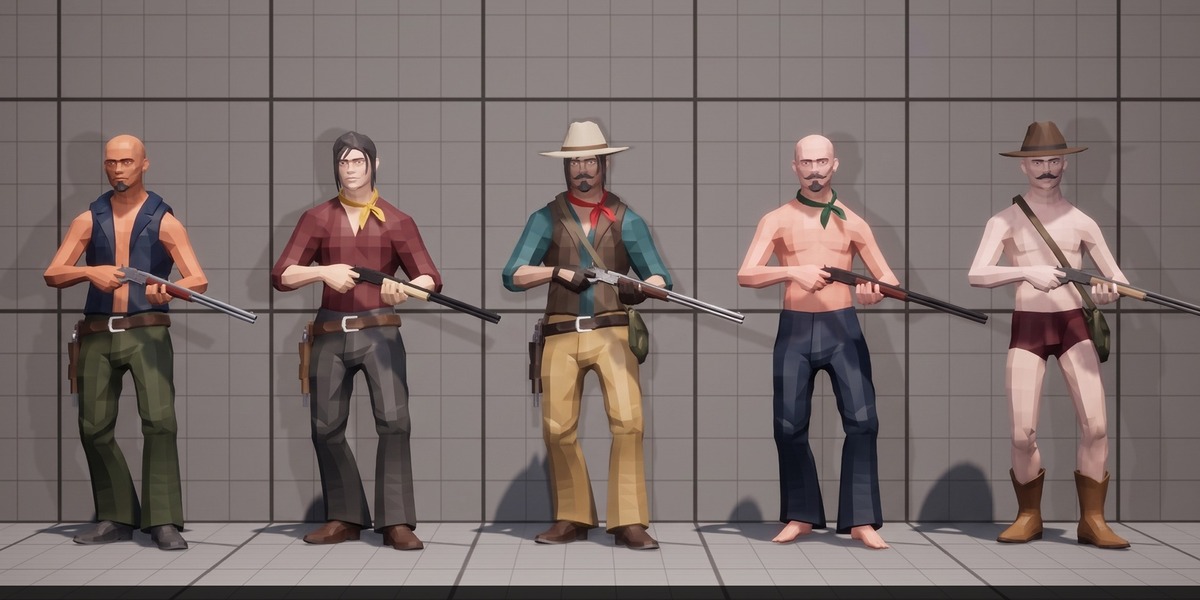
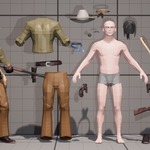
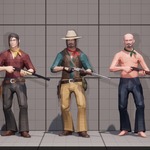
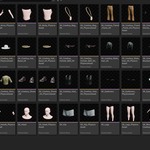
Modular Mercenary Gear Swapping: Expand the character hierarchy in the Outliner and use the viewport (eye icon) and render (camera icon) visibility toggles to show or hide individual pieces—including the Duster Vest, Reinforced Leather Ammo Belts, Leather Gloves, Utility Bag, Revolver Holster, and Hunter Hat—to create distinct tracker loadouts.
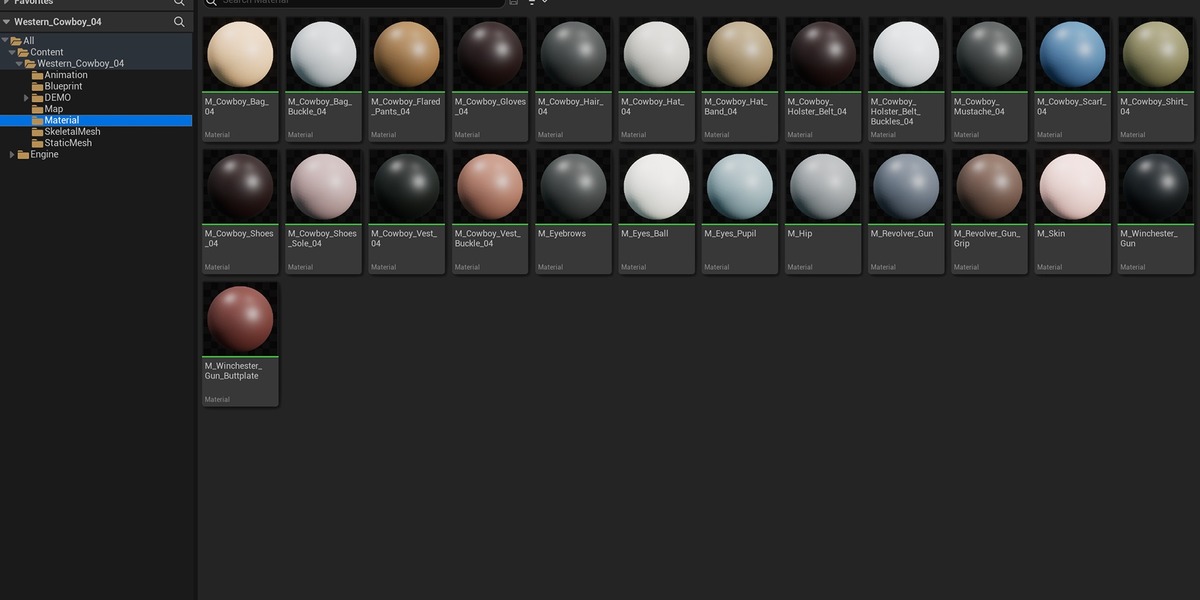
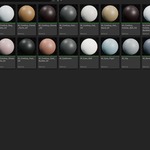
Materials and Weathered Textures: All surfaces are configured with native Principled BSDF nodes and weathered textures for consistent shading across both EEVEE and Cycles.
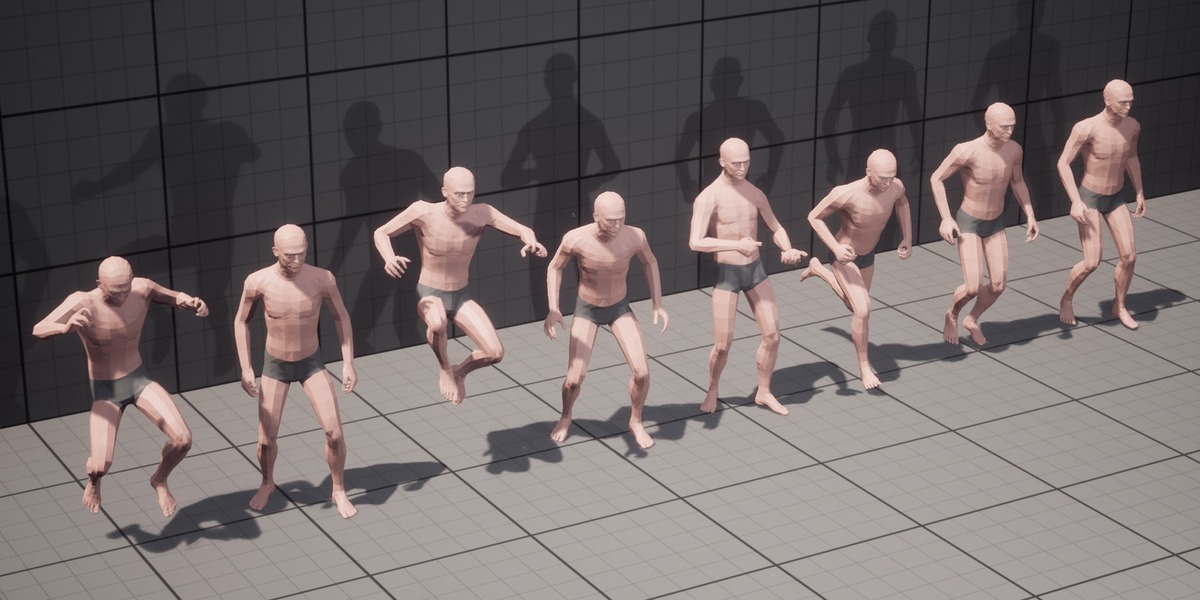
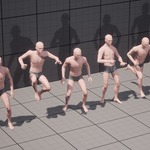
Posing and Game Engine Export: Select the armature and switch to Pose Mode to pose aggressive tracking stances, rifle aiming offsets, and shootout actions using the included IK and holster alignment bones. When exporting via File > Export > FBX, the standard humanoid bone hierarchy (Epic Skeleton / UE5 Manny compatible) transfers cleanly into Unreal Engine, Unity, or Godot.
Have questions about this product?
Login to message
| Published | about 19 hours ago |
| Blender Version | 4.2 - 5.3 |
| Render Engine Used | Cycles, Eevee |
| Misc Data | Uvs-Unwrapped, Rigged |
| License | Royalty Free |