Wicker Master
 AlexHappy


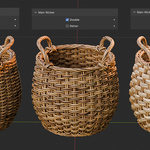
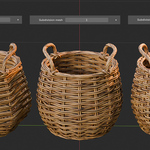

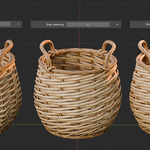
There are several important points for correct operation
- It only works with perimeter-closed geometry. It will not make weaving on a vertical plane, for example.
- The basic shape should have borders at the top and bottom. A weave will be created between these borders.
- The origin of the object should be located approximately in the center of the bottom of the model.
- It is advisable to use a multiple of 4 vertex along the perimeter: 4, 8, 12, 16, etc.
- In order to make the vertical branches break, you need to assign a Vertex Group to the points. M1 is to leave every second branch, M2 is to leave every 4th. This is necessary when the weaving narrows in narrow places and it is necessary to make the number of rods smaller. For example, on the bottom, on the lid of a product, or on the narrow neck of a bottle.
- To create an additional weave with a sharper transition, select the edges and click Mark Sharp.
Also see the example file
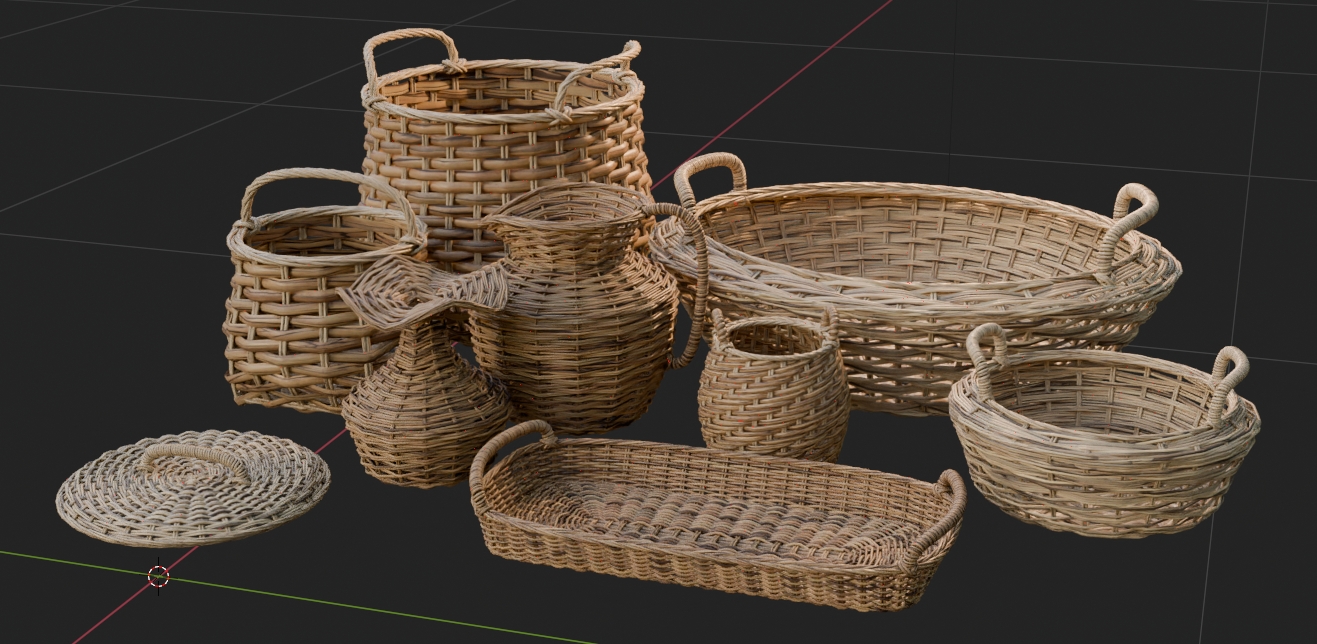
$9
Have questions about this product?
Login to message
| Sales | 50+ |
| Rating | 2 ratings |
| Published | about 1 year ago |
| Blender Version | 4.3 - 5.1 |
| Render Engine Used | Cycles, Eevee |
| License | Royalty Free |